Salad Fix: A Healthyish Addiction

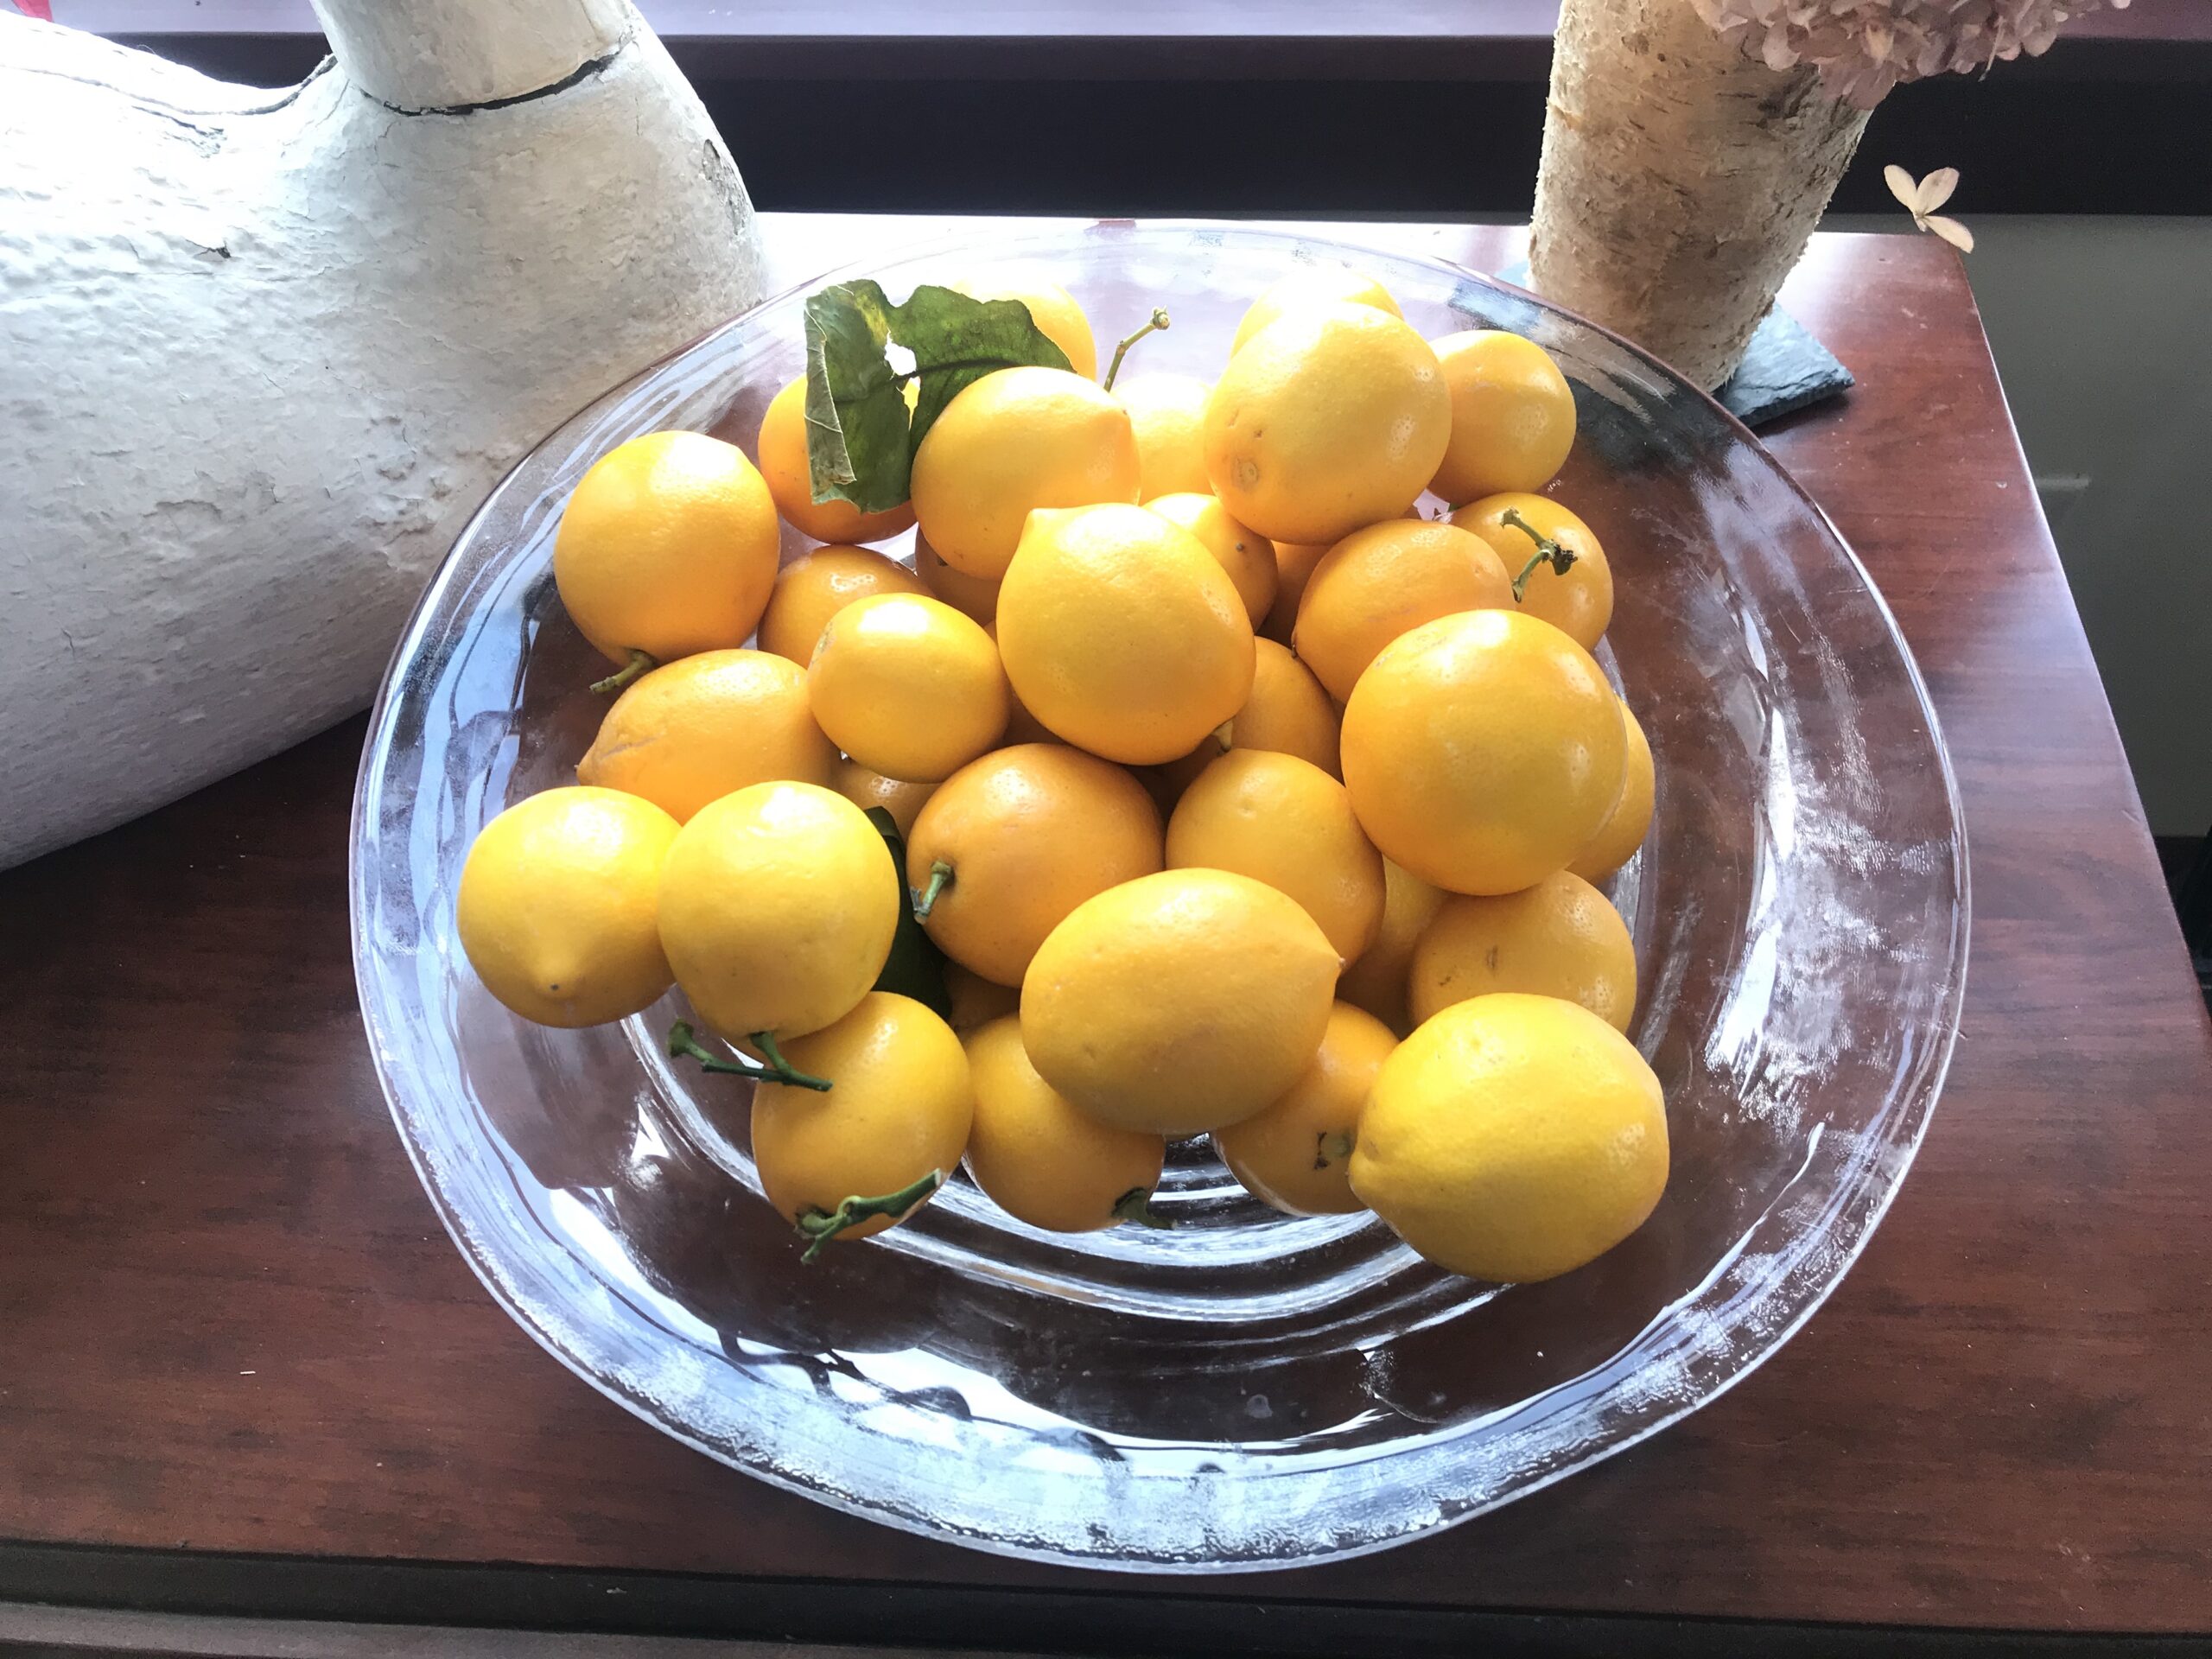
Maple creemees, Halyard ginger beer, Meyer lemons, chile crisp, Wordle. I don’t have many addictions, but the ones I have are strong. None of us go looking for more addictions, but they are wily. They sneak up and find you in places you’d least expect. Like, in your salad.

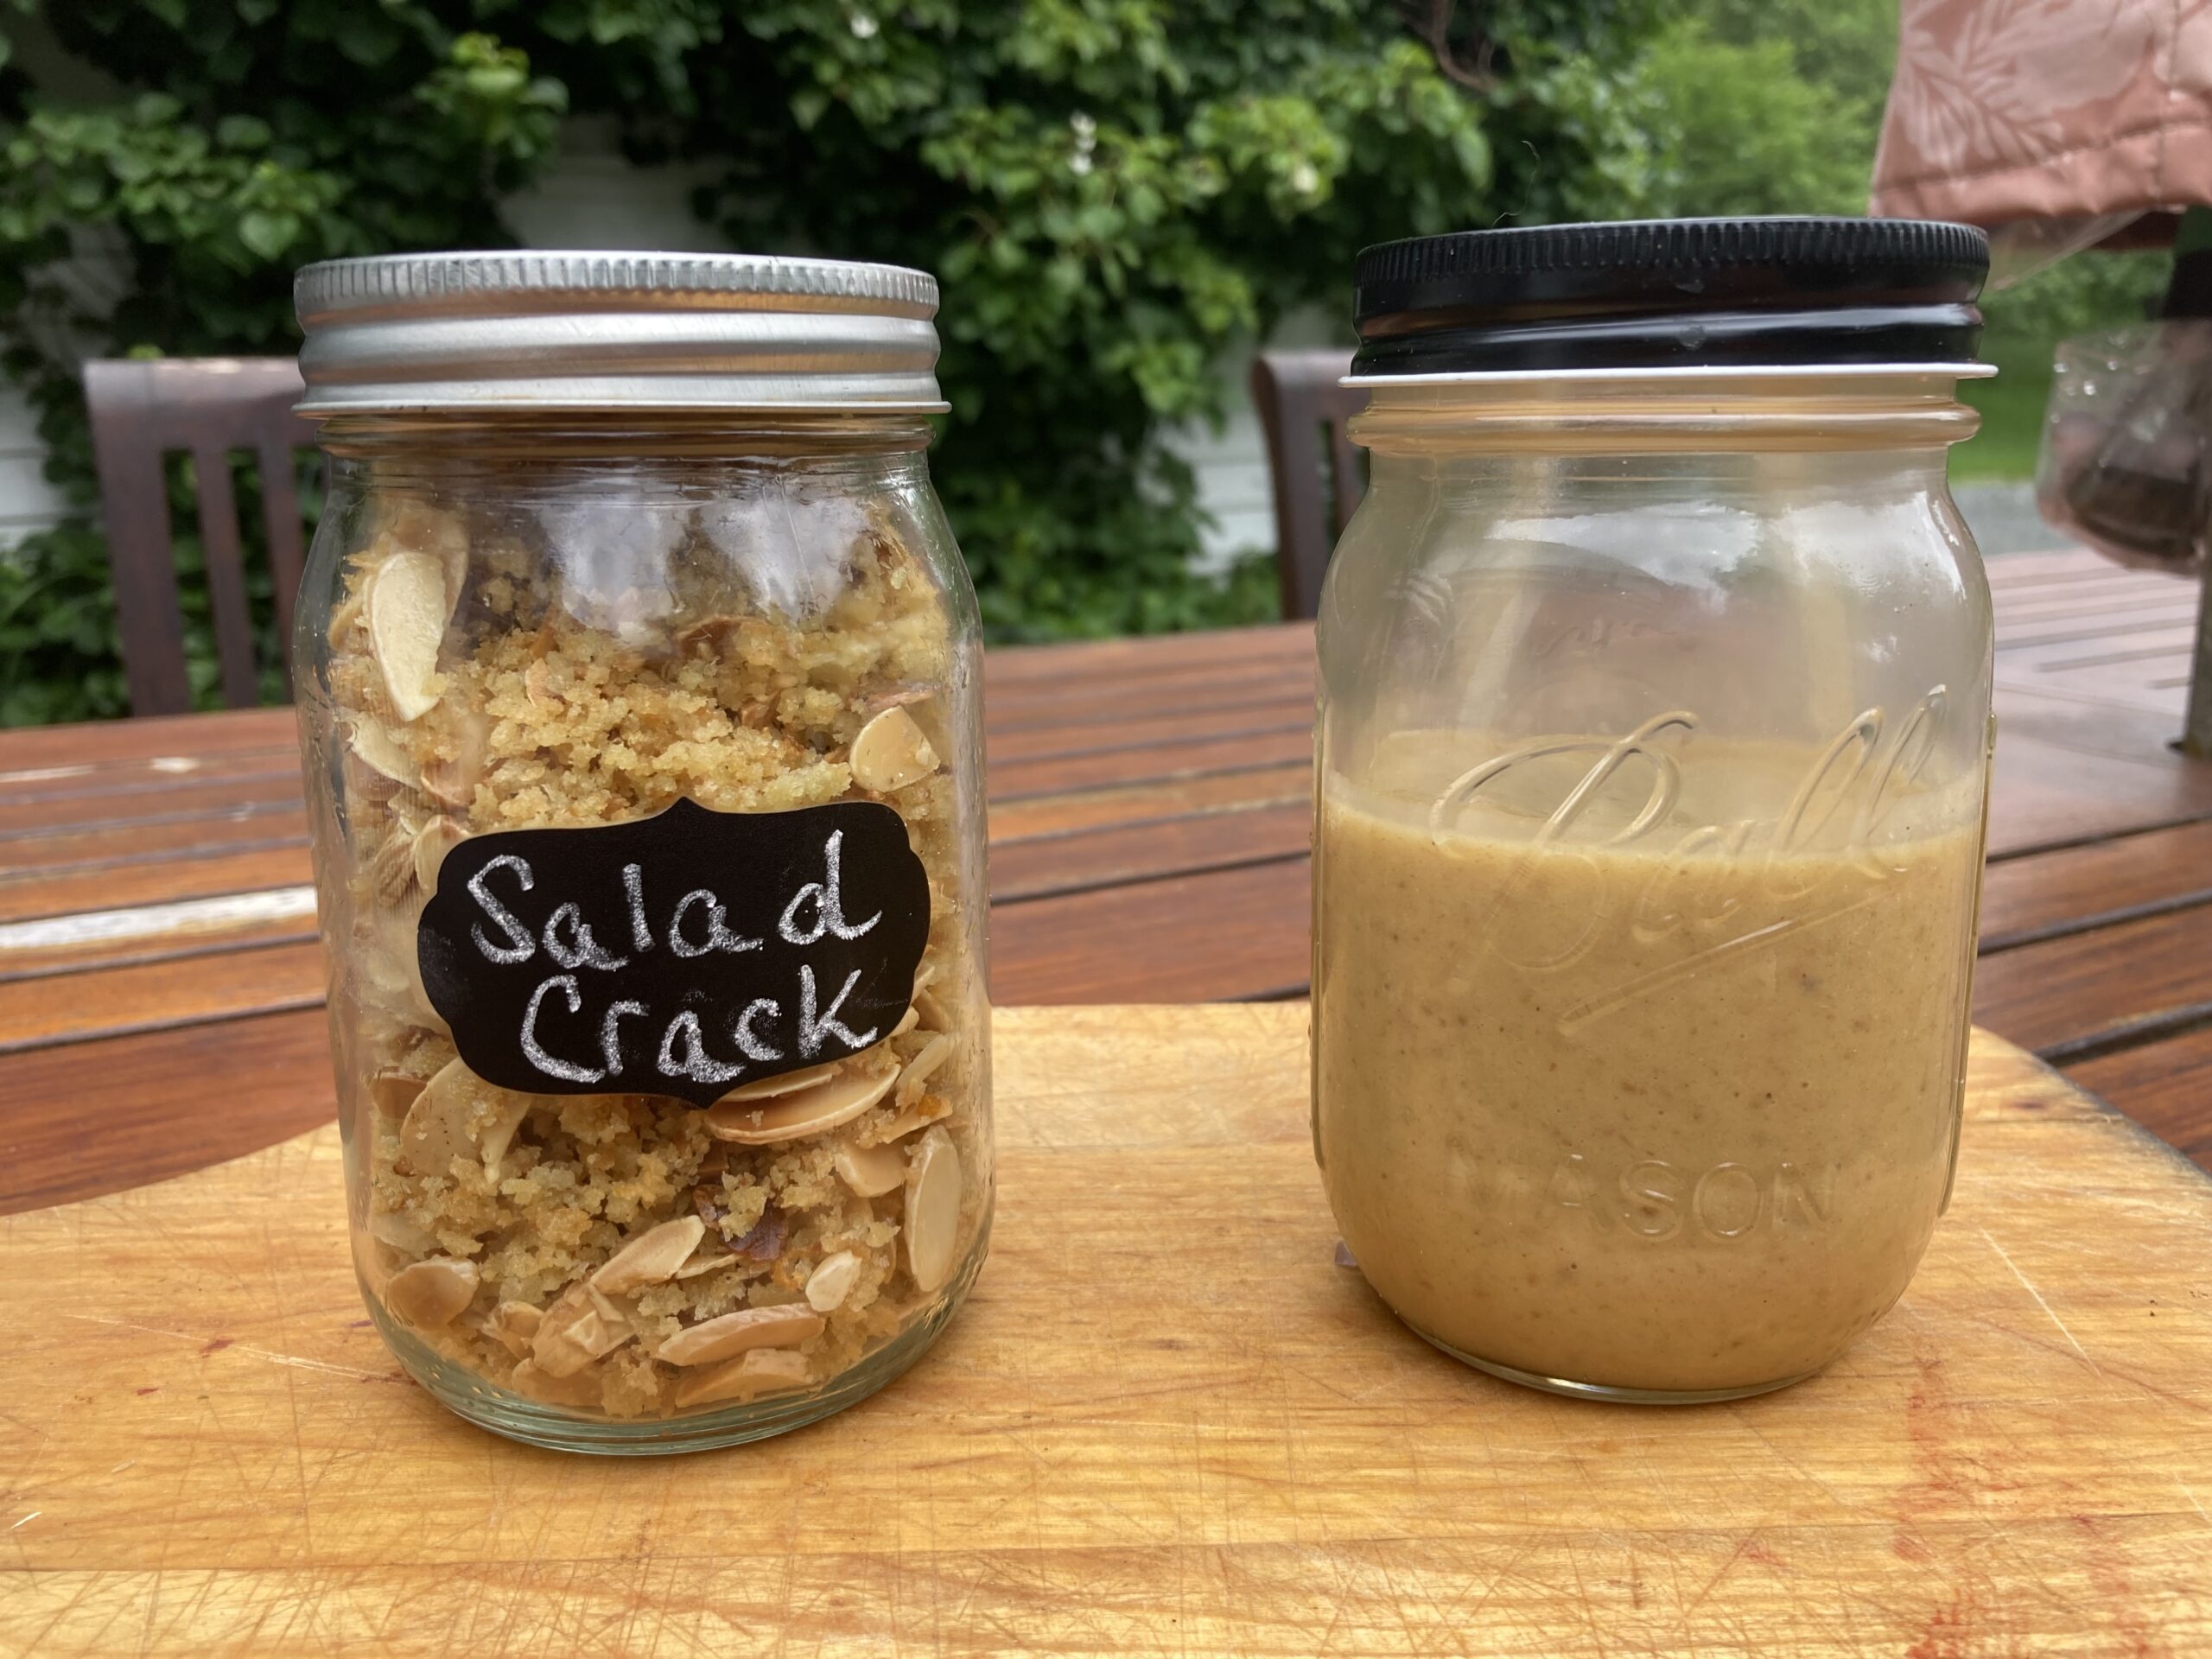
What we have here is a double header addiction—a sweet, creamy dressing and a salty crunchy topping that can be used on their own or together, on salad or on pretty much any veggie or side that needs a little cha-cha.

This particular addiction two-fer came from my young friend and culinary adventurer Mason McNulty. Mason moved to New York a few years back, and added foodie to her adulting repertoire. She recently started sending out a weekly newsletter with recipes she’s developed as a young professional with boundless energy, enthusiasm and creativity for cooking, but limited time, space and budget.

Mason’s recipes come with detailed instructions and touches that take new cooks by the hand and say, “get it together people–you can do this!” She separates out pantry, fridge and specialty ingredients; she lists necessary equipment; she includes the ingredient amounts measured in multiple ways, and those amounts in the ingredients as well as in the steps. She is the anti-slacker.

So, as one would expect, when I fell in love with her latest recipe combo, I slackered them right up (or down) to my capabilities. I am delivering them to you, BUT I am also attaching Mason’s original instructions and pictures so you can choose your adventure. Get the bare bones version here, and then click on Mason’s step by step version with pretty pictures. But wait there’s more! If you want to get Mason’s recipe newsletters, along with a little vicarious whiff of NYC living, just email her at lillianmasonmcnulty@gmail.com

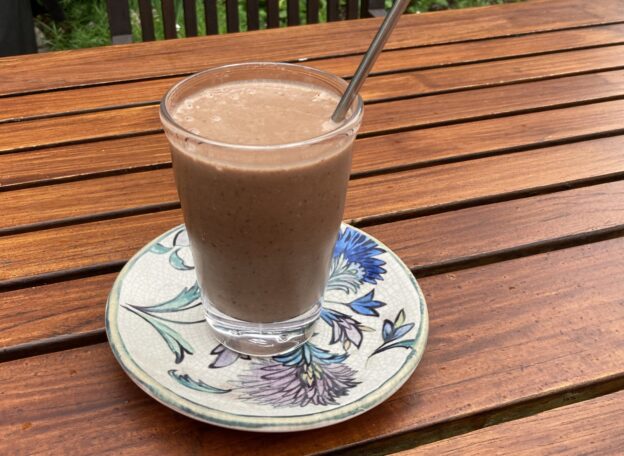
This recipe combo of Creamy Date and Shallot Dressing + Toasty, Crispy, Nutty Topping was entititled: “How to Make Any Salad or Vegetable Taste Great.” That says it all. The dressing is surprisingly simple and ridiculously good. As I was pondering what to use as an excuse for more dressing Mason suggested “a stick from the backyard” and I swear it would work. So there’s that.

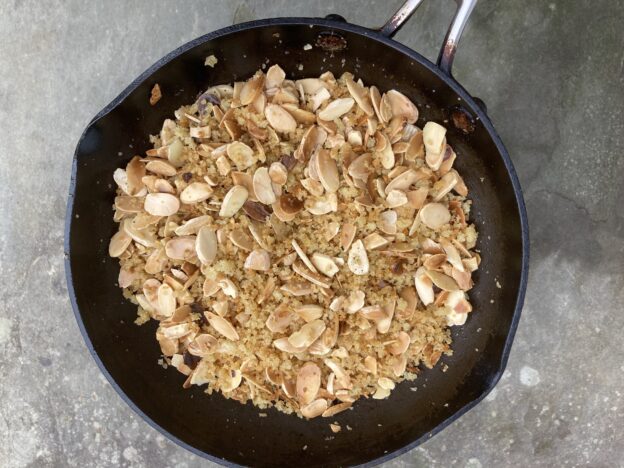
And then comes the topping, which is like almond brittle and homemade croutons got into a brawl and ended in a shattered heap, as BFFs. It has it all—crunchy, salty, sweet, a touch of citrus, optional heat and herbs with juuuuuust enough grease to feel indulgent but not irresponsible. It’s Smartfood vs Cheetos, but way better than either. Mason shows it as a topping for roasted asparagus. I’ve used it to add crunch to everything from caprese salad to egg salad, and I’m seeing it on pretty much every soup in my future.

So here you go. Happy 4th, because apparently the 1st is the new 4th and we’re in it! Don’t forget to click on Mason’s instructions for better pics and the full experience.

Part 1: Creamy Date and Shallot Dressing

Yields 1.5 – 2 cups dressing

Ingredients

  • 1 tablespoon dijon mustard
  • 2 ounces dried dates, measured without pits (~ scant ½ cup, loosely packed)
  • 1 small shallot (~1/4 cup)
  • 1⁄2 cup apple cider vinegar
  • 1⁄3 cup +1 tablespoon olive oil
  • Salt and pepper

Method

  1. Prep the ingredients: Pit the dates and roughly chop. Finely chop the shallot.
  2. Complete the initial blend: combine the chopped dates and shallots, the dijon (1 tablespoon), and the apple cider vinegar (1⁄2 cup) in a blender (a bullet blender works really well for this if you have one). Blend until well combined but still somewhat chunky
  3. Complete second blend: Add the olive oil (1⁄3 cup + one tablespoon), plus a big pinch of salt and a few cranks of pepper and blend until very smooth and emulsified. It will look like tahini! Taste and adjust seasonings as necessary
  4. Store: This dressing thicken in the fridge, but you can re-warm it by running warm water on the sides and shaking the container.

The killer combo

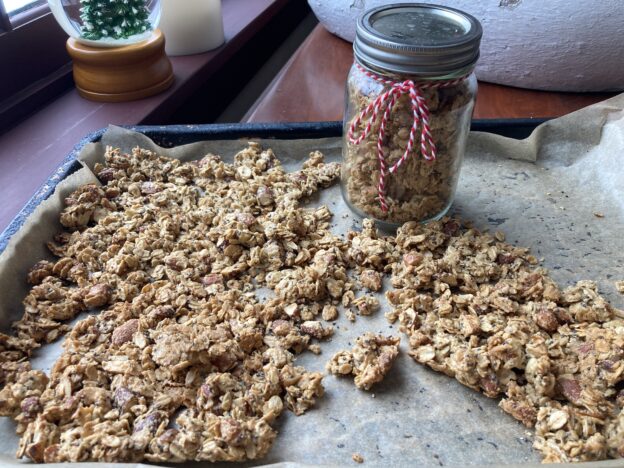
Toasty, Crispy, Nutty Topping AKA Salad Granola AKA Salad Crack

Yields ~1 cup (Pro tip: no shame in doubling it)

Ingredients

  • 1⁄2 cup (generous) sliced almonds*
  • 1⁄3 cup (generous) panko
  • 2 tablespoons olive oil
  • Salt
  • ¾ tsp (or more, packed) lemon zest
  • 1 tsp (generous) honey
  • 1/2 clove garlic* grated or finely chopped
  • optional: Red pepper flakes, fresh or dried herbs, lemon juice

Method

  1. Prep the ingredients:  Zest 1 teaspoon of the lemon (should be a packed 1 teaspoon); Grate or chop garlic clove *(add the other half if you like extra garlic!
  2. Fry the almonds: Add the olive oil (2 tablespoons) to a small frying pan over medium heat. Add the sliced almonds (heavy 1⁄2 cup) and cook until golden brown, stirring every so often with a rubber spatula (or whatever tool you want). This will take 5-8 minutes, depending on your stove. You will hear the nuts crackling and popping during the cooking process.

*Edie’s note here- I burned my first batch, so trust your eyes and nose more than the clock). Also, super slackers can start with Trader Joe’s sliced toasted almonds and get them hot before adding the panko.

  1. Add the panko: Still over medium heat, add the panko (heavy 1⁄3 cup) and mix. Cook until golden brown, an additional 45 seconds – 1 minute
  2. Optional: Add the garlic: Still over medium heat, add in the garlic (1⁄2 clove, now grated) and cook for just 45 seconds. Turn off the stove and remove the pan from the heat. Let cool for 5 minutes. Taste and feel free to add the other half of the clove if that’s your jam.
  3. Season the topping: In the same frying pan add in salt (a generous 3 finger pinch, or to taste), lemon zest (3⁄4 teaspoon, or more to taste), and honey (generous 1 teaspoon). Mix together thoroughly and add another pinch of salt if desired. Make this your own by adding red pepper flakes, fresh or dried herbs, lemon juice, etc.
  4. Store: Let the topping cool and then store in a room-temperature location. If you are a monk or have carb discipline it will last 3-5 days. Add however much you want on whatever dish you are serving it with. Some grated parmesan is delish too.

Did I mention the original recipe? Just testing you.  Get it here. To get on her list say hey to Mason at lillianmasonmcnulty@gmail.com

Everyone Crackers: Because Special Orders Don’t Upset Us

“Hold the pickles hold the lettuce….” If you had a heartbeat in the 70’s you know what comes next (and if not, there’s this https://youtu.be/pprTvtHnnTo)

Cutting to the chase of the Burger King jingle, special orders don’t upset us in this house. Granted, as a mother of bottomless pit boys, I love it when people eat everything with glee; but,  I also enjoy the challenge of the hunt when finding recipes to accommodate the “specials” — the gluten frees, the vegetarians, the paleos, the nut-frees, the dairy-frees, the garlic and cilantro haters, the Vegans and any “special combo” of the above. 

Regularly catering to a Paleo, Gluten-free, Vegan “special combo” might put me over the edge. But then again, I’d just make a LOT of these crackers. Everyone Crackers are the reverse concept of Everything seasoning, in that they have few main ingredients and tons of flavor options so they can accommodate everyone. Even the sesame averse have an easy workaround (see recipe notes at the end). 

These goes out to Jules, who also brought us the triple spicy margarita. For that alone she is worth any amount of extra effort. Jules is a “special combo” of gluten free and nut free. That last part is especially tough for someone like me who tries to slip nuts into everything. It’s also difficult because so many gluten free baked goods depend on the heft and flavor of nut flour. 

Say hello to cassava flour, the longtime secret weapon of the gluten-averse paleo crowd. Even for people with no dietary restrictions, these crackers that come straight from the Bojon Gourmet (kinda my food hero) are solid gold. They make a fine addition to any app spread and a vehicle for anything (well hello again, chile crisp!)

Full disclosure, making crackers is a bit of a pain. Within the cracker-making realm, however, these are as easy as it gets: One bowl, few ingredients and no chopping, pre-bake scoring, flipping, or resting time on the counter. The only real skill involved is getting them to a uniform thickness, and if you’ve done any time with Play-doh you’ve got this.  

You will need parchment paper and ideally two baking sheets without rims. Other than that, no special equipment. The ingredients, once you have them, last a good long time so you’ll be set for several batches.

Besides being substantial and delicious, these crackers allow for plenty of room to riff with seasonings in the mix or on top. I left the recipe exactly as written with my notes in italics. Stay tuned for another partner recipe from Bojon Gourmet–this one a crazy-good Vegan “paté”  that has only one wacky ingredient and stands on its own with meat eaters. It does have nuts so, sorry Jules…you’ll have to double down on the crackers!


Crackers, pre-breakup

…and after the bust

Everyone Crackers

From Alanna Taylor-Tobin AKA the Bojon Gourmet
Prep Time: 30 minutes minutes
Cook Time: 50 minutes minutes
Total: 1 hour hour 20 minutes minutes
Servings: 40ish crackers

Ingredients

  • 1 cup (160 g) cassava flour*
  • ½ cup (85 g) flax seeds (ground flax seeds will also work in a pinch)
  • ½ cup (70 g) sesame seeds
  • ½ cup (60 g) sunflower seeds
  • ½ teaspoon fine sea salt
  • 1 cup + 2 tablespoons (265 ml) boiling water*
  • ¼ cup (55 g) olive oil, plus 2 tablespoons for brushing (I often forget to add the oil until after everything is mixed. It still works out, but aim higher than me here and add the oil with the water)
  • flaky salt, for sprinkling

Method

  • Position racks in the upper and lower thirds of the oven and preheat to 300ºF.
  • Stir together the flour, seeds, and salt in a large bowl.
  • Add the olive oil and water, stir to combine. Let sit 10 minutes, then knead with your hands in the bowl into a smooth ball. Divide in two.
  • Roll one piece of dough between two pieces of parchment paper into a large, thin sheet that’s about the size of a baking sheet. If the dough cracks or tears, just squish it back together. You can trim away the wonky edges, stick them into the corners, and continue rolling to make a rectangle. Repeat with the other piece of dough.
  • Brush the dough all over with olive oil and sprinkle with flaky salt.
  • Bake the crackers until light golden, about 40-50 minutes (check at 15 minutes if using a different flour as some bake much faster than others).
  • Let the crackers cool, then break them into 2 to 3-inch pieces. If the crackers aren’t crisp enough after cooling, just return them to the oven for another 10 minutes or so.
  • Store the crackers airtight for up to a week or two… if you can make them last that long!

Notes and substitution suggestions:

For a non-paleo version, try these with buckwheat or corn flour. Or for a more traditional gluten-ful version, use rye flour or spelt flour. Decrease the water to 1 cup if using a flour other than cassava. 

Feel free to play fast and loose with the seeds, using any combination you like. You can try adding hemp, poppy, chia, and/or pumpkin seeds. See why I love this woman???

Seasoning suggestions (add to the dough or on top of the crackers):-minced fresh rosemary-everything bagel seasoning-1 teaspoon cumin or fennel seed-oregano-garlic and/or onion powder-nigella seed-flavorful oil, such as walnut or toasted sesame-chile flakes, Aleppo pepper, or togarashi-nutritional yeast. This is where you can really customize these, which I do differently every time. I often add lemon zest to the dough but my latest batch has Oaktown Spice Vadovan (fancy curry powder) in the mix. The endless array of seasonings from Trader Joe’s make great toppers. 


Chocolate Peanut Butter Easter Eggs

Spring is by far my favorite season. Although New England tries hard to convince me otherwise, with too many springs of all mud and no snow, this year spring is back, baby! Even in the east, we’ve got snow on the mountain and sun (sometimes) in the sky. And in the west, you have 20x all that.

I also love spring because it means Easter and Easter means good things like happy kids, tons of candy and cute bunnies. AND it reminds me of my mom, Nina. She hated the effort, planning and hoopla of the big holidays, but Easter—which is all about creativity and messy fun, and no rules—Easter was Nina’s jam!

Let’s be honest here, the green light on eating chocolate throughout the day, starting at breakfast, was and is a big draw. As much as I wish I could buy up all the half price malted milk robin’s eggs and Reese’s peanut butter eggs at CVS the day after Easter, it’s just not a good life plan.

That said, if there was a healthy, yummy, easy-to-make alternative that I could mass produce and keep in my freezer year-round, I’d be all over it. Well don’t you know, there is such a thing, and this recipe straight from Minimalist Baker is it.

The interior taste and texture is spot on, but without any hazardous ingredients. For God’s sake they’re Vegan, gluten-free and grain-free. We’re talking peanut butter, almond flour, maple syrup and salt. And it’s all wrapped up in the chocolate of your choice so you can pick your own adventure there.

My Easter candy fantasy ship has come in, and I invite you to climb aboard. These may or may not forever change your life, but at the very least they’ll let you feel a lot better about eating candy for breakfast. Hippity Hop and Happy Easter to all!

Chocolate Peanut Butter Possibly Breakfast Easter Eggs

AKA Easy Vegan Peanut Butter Eggs from Minimalist Baker

Ingredients

  • 2/3 cup almond flour
  • 1/3 cup creamy, drippy peanut butter
  • 2 ½ Tbsp maple syrup
  • 1/8 tsp sea salt
  • 1/2 cup semi-sweet chocolate chips (for Vegan/dairy-free Minimalist Baker suggests Enjoy Life)
  • 1 tsp coconut oil

Method

  • Line a small baking sheet or plate with parchment paper and set aside.
  • To a small mixing bowl, add almond flour, peanut butter, maple syrup, and sea salt. Use a spatula or spoon to thoroughly mix together. If it seems too wet to handle, add more almond flour. If it seems too dry, add more peanut butter.
  • Use a tablespoon-sized measuring spoon to measure out 1 scant Tbsp of filling and roll it in between your hands to form an oval. Flatten it slightly to form it into an egg shape. Place on the parchment-lined baking sheet or plate. Repeat with the remaining dough.

A double batch of nekkid eggs, chillin’

  • Once all of the eggs are formed, place the baking sheet or plate into the freezer and freeze for at least 15 minutes.
  • Meanwhile, place the chocolate chips and coconut oil into a small microwavable bowl (small is better than large so that you can more easily dip the eggs into it) and microwave in 30-second intervals, stirring in between to prevent burning, until smooth and melted. You can also melt on the stovetop by adding chocolate and coconut oil to a small glass or metal bowl and carefully placing it over ~1 inch of simmering water in a small saucepan, then stirring until melted. Set aside.
  • When the peanut butter filling is set, remove it from the freezer and use a fork to dip an egg into the melted chocolate, turning it over to coat evenly. Shake off the excess chocolate and place the egg back onto the baking sheet. Repeat with the remaining eggs.
  • When finished coating, place the eggs back into the freezer until set — at least 10 minutes. You can enjoy them directly from the freezer or store in the refrigerator. Store leftovers in the refrigerator for up to 1-2 weeks or in the freezer for up to 1 month.

Bringing It:

Channel your inner Easter Bunny and have at it!

Note: If you are at all nervous about your chocolate coating/dipping skills, I highly suggest following the instructions closely and watching the short video on the original post. I have a history of toddler-level chocolatiering but I followed the instructions and mine turned out perfectly first try.

     and voila!


Slacker Chile Crisp

I love Genevieve Ko. To be clear, I don’t know her, but when a stranger changes your life in a good way what’s not to love?

First, some background and context for this new crush. I am a huge fan of chile crisp, the reigning condiment of the year in our household. While I love the version that I first discovered, and shared here, it is a total pain in the arse to make. It involves lots of labor and time, at least one special ingredient you might not have on hand (star anise) and requires way too much focus with sharp knives. Furthermore, having undertaken the labor of love that is small-batch chile crisp production, it was always a gamble to give it to someone; if I later found out they didn’t love it, I kind of wanted to cry.

But then, I discovered Genevieve Ko’s version of chile crisp, or rather it discovered me, tenaciously popping up in my searches before the OG version. I hesitated to try it because it looked too easy to be good. Other than the Sichuan peppercorns (a bag of which will cost 2.99 and last you exactly forever) it involves no special ingredients. More importantly, it involves no chopping. And yet, it still has all the key elements of chile crisp: it’s crunchy, savory, spicy, salty and a just a tiny bit sweet.

This chile crisp is a slightly different animal than the classic—especially with the added twist of sesame seeds– but I think I like it even better. It’s hard to say because the ease of preparation makes me want to like it better. For sure it is on a different planet than Lao Gan Ma, the supposed King Daddy of commercially produced chili crisp. Sadly, I trusted the googleverse and bought a huge vat, which is still taking up space in the fridge. Trader Joe’s chile crisp is similar in texture but can’t hold a candle in taste. 

Make yourself up a batch, or better yet a double batch, because you’ll want this on eggs, pizza, sandwiches, quesadillas, fresh bread, etc. You may find yourself creating chile crisp “fry sauce” by stirring it into ketchup and mayo, and then stumble upon Ms. Ko’s chile crisp fettucine which will make you realize a double batch really doesn’t last all that long.

As with any recipe from the NYT, people have a LOT to say in the comments, and there are plenty of suggestions for how to tweak this to your tastes.

I hope you enjoy this chile crisp as much as my people do!

Slacker Chile Crisp

From Genevieve Ko via the New York Times

Ingredients

Yield: About 1¼ cups

  • ½ cup vegetable oil (or a bit more…there’s not a lot to spare here)
  • ¼ cup dried minced onion
  • 1 teaspoon granulated sugar
  • 1½teaspoons kosher salt (Diamond Crystal)
  • ⅓ cup finely crushed dried small red chiles or red-pepper flakes
  • 3 tablespoons sesame seeds
  • 1 teaspoon coarsely ground Sichuan peppercorns (optional…but Edie says not optional)

Method

Combine the oil, onion, ½ teaspoon sugar and ½ teaspoon salt in a small saucepan. Cook over medium heat, stirring occasionally, until the onion becomes evenly golden brown (careful not to overcook), 3 to 5 minutes.

Add the chiles, sesame seeds and Sichuan peppercorns, if using, and sizzle, stirring, for 1 minute, then stir in the remaining ½ teaspoon sugar and 1 teaspoon salt. Use immediately or refrigerate in an airtight container for up to 2 weeks. Spoon over everything. I mean everything. Maybe not chocolate cake but then again…


Golden Ticket Lemon Bars

This post goes out in preparation for the Hahnenkamm Downhill, the most fearsome event on the World Cup skiing tour, which takes place this weekend on “The Streif” in Kitzbuhel, Austria. Specifically, though it goes out in honor of Eric Keck, the American Downhiller who etched his name in Hahnenkamm legend by launching over the “safety fence” in 1991, and emerging bloodied but whole, wielding his broken ski like a battle prize. This remembrance of Keck by Steve Porino comes as close to capturing that particular moment, and the essence of Eric Keck, as the written word can.

Keck, ready to roll as always

Keck left us far too soon, in 2020, but his warrior spirit—a combo of bravery, mischief, humor, and the-sky’s-the-limit aspiration—remains with all who knew him and especially on the Streif. The contact high of being around Eric and his exuberance felt like getting a golden ticket, a window into life’s possibilities. Fittingly, the charity honoring Eric is called “Keck Golden Ticket” and aims to strengthen kid’s lives through the power of action sports.

Eric’s birthday was on January 11, and his favorite cake was not a cake at all. It was his mom Bev’s lemon bars. The recipe got further customized by Eric’s wife Beth, to accommodate Eric’s request for “twice the lemon, half the crust.”

Beth is herself another magical being. She reminds us that lemons are, “Where summer hides in January.” To Bev’s original version, she doubles the custard, and reduces the proportions of sugar. Beth rolls with 2 cups total vs 3, which is plenty for my tastes. Even when halved from the original, the crust is still plenty sturdy to hold the filling. She also sometimes subs out almond flour for the regular flour in the crust.

I took Beth’s adapted version and cross-referenced it with this recipe for lemon bars from John at Preppy Kitchen. He fills in some details and pro moves that don’t make the shorthand of handed-down family recipes. Among them: line the pan with parchment paper; wet the knife to cut the bars; freeze them if, say, you cannot be trusted alone with an entire batch of lemon bars in the dark days of January.

The Preppy version processes the zest into the sugar first, which is brilliant and I support the move, but in fuss-free kitchens…that ain’t happenin’! Plus, I kind of love the texture of zest when I run into it.

There are lots of options here, but there are some hard and fast rules:

  • Use fresh lemon juice…from real lemons you or your minions squeezed. Make us all happy by using Meyer lemons* if possible.
  • Chill before cutting, or you’re in for a messy situation. Better yet, make them the day ahead and you’ll be as ready as your lemon bars.
  • Enjoy every bite! No guilt, no excuses. Like Eric, these are pure goodness —bright, bold, sweet, sassy with just enough New England crust to keep their integrity.

I hope you enjoy this recipe as much as Eric did, and bonus points for enjoying them straight out of the pan with a fork while watching the Hahnenkamm this weekend. If you want to help more kids live large like Eric, please consider donating to Keck Golden Ticket.

Golden Ticket Lemon Bars

Ingredients

CRUST

  • 1 cup flour
  • 1/4 c confectioner’s sugar
  • 1/2 cup butter

FILLING

  • 8 eggs
  • 2 cups granulated sugar
  • *2/3 cup fresh lemon juice
  • *Zest of two lemons
  • ½ cup flour
  • 1 tsp baking powder

*Special shout out to Sister A for this particular Meyer lemon haul, and to my other lemon angels/dealers: Sister B, Cousin D and Auntie T (also featured in this splash of sunshine recipe). Have I mentioned using Meyer Lemons??? Ok, moving on…

Instructions

Make the crust:

  • Preheat oven to 325.
  • Prepare a 9 x 13 pan by spraying it, greasing it, or IDEALLY lining with parchment paper, pressed and folded nicely into the corners.
  • With a fork, cut butter into flour and confectioner’s sugar until it is the size of small peas. (I have not tried it, but Preppy John melts the butter then adds it). It won’t hang together until you dump it all into the pan and press into an even layer. Bake 20 minutes, until just golden (or however you like it).

Make the filling:

  • Beat eggs and add sugar, lemon juice, zest and flour. Combine well and pour mixture over the warm crust. Bake another 20-25 minutes, until set.
  • Cool, then chill two hours.
  • Sprinkle w confectioner’s sugar and cut into bars with a sharp knife. Wipe the knife with a damp cloth between cuts to make your edges nice and sharp, like you’d want them on the Streif.

Storing, Keeping, Bringing

Keep these in the fridge until they are gone, or freeze on a baking tray, then wrap tightly and freeze for up to three months (so they say). They travel like champs when the layers are separated by parchment or plastic wrap.

      Keck, taking a friend along for the ride


Crunch Time Tahini Granola

The internet is full of recipes that are made to look easy, but are a pain. This is especially true at the holidays where we are all looking for that holy grail food item—that thing to bring or give that is both delicious and memorable. Case in point, the Nutella puff pastry Christmas tree currently all over Instagram and so many other cleverly pieced-together videos. More often than not they lure you down the rabbit hole of something that may indeed be easy, but only after making it for a generation. And honey, we ain’t got no time for that during the holidays.

When I’ve tired of failed baking experiments I often go back to granola. In the pantheon of homemade treats—from this chocolate sauce that can be made in your sleep, to these GD chocolate dipped peanut butter balls (beware of anything that has to be rolled into individual balls! And/or dipped!)—granola is among the easiest. Not the cheapest, thanks to the precious nuts and honey/syrup, but the easiest. So, when I see easiest and granola together in one heading, I perk up.

This recipe delivers on its claim. Of course the ease comes with a price. You’ll swap out some steps and ingredients by springing for the jar of tahini. And if you go with pistachios as written (I used roughly chopped almonds), they’re the priciest option. BUT, they also require zero chopping, bringing this recipe to Level 1 on the effort meter. You will be rewarded for your lack of work with a delicious, not-too-sweet, crunch-perfect granola and extra time on your hands.

As with every recipe there is a slight catch, something that keeps the trained monkeys from taking over production. The catch here is the step of spreading the thick granola mass evenly on the cookie sheet. I used little chopping motions with a rubber spatula. You do whatever it takes, and it does not need to be perfect—we’re just aiming for somewhat even thickness so the granola at the edges doesn’t burn up while the stuff in the center stays soft and cuddly.

I wish you success in all your experiments. No matter how they turn out you deserve a gold star and a chocolate kiss for trying.  

Easy Tahini Granola

From Jenné Claiborne via Food52 Genius Recipes

Prep time: 5 min
Cook time: 15 min

Ingredients

  • 1/2 cup (125g) well-stirred tahini
  • 1/3 cup (80ml) maple syrup
  • 1 teaspoon vanilla extract
  • 1/4 teaspoon fine sea salt
  • 2 cups (180g) old-fashioned rolled oats
  • 1/2 to 1 cup (60 to 120g) shelled raw pistachios (or another nut or pepitas)
  • 2 tablespoons chia seeds
  1. Stir everything together: Heat the oven to 350°F (175°C) with a rack in the center. Line a sheet pan with a silicone baking mat or parchment paper. In a large mixing bowl, stir together the tahini, maple syrup, vanilla, and salt with a silicone spatula until it’s smooth and evenly combined. Stir in the oats, pistachios, and chia seeds.
  2. Bake the granola: Spread the wet, sticky oats onto the sheet pan in a thin, even layer. Bake for 10 minutes, then, using oven mitts, take the pan out of the oven and stir the granola—this will help it finish baking evenly. Return the pan to the oven and bake until the granola is dry and golden brown, another 5 to 10 minutes. Keep a close eye toward the end to make sure it doesn’t start to burn at the edges.
  3. Eat, Store, Give: Let the granola cool completely to crisp up, about 20 minutes, before breaking it into clumps with your hands. Eat as one does with granola. Store in a sealed container at room temperature for a week or more if you are disciplined. Pack it up in mason jars or treat bags for giving.  

It’s crunch time!


Stove-top Roasted Brussels Sprouts

We’ve been deep into apple and squash season for some time now, with nary a word from Bring It. If you are in search of some seasonal faves, there are plenty in the archives. I’ve been making my fair share of squash on toast, sugar and spice squash soup, all kinds of riffs on roasted squash and kale salad (often sans kale), and pretty much any way to mainline squash. Same with all things apple, though it is hard to stray far from apple crisp (using this topping) and its more intimidating sister, apple pie. Also psssst: make these apple cheddar scones on the weekend and you’re a hero, guaranteed.

With Thanksgiving breathing down our necks, I want to focus on Brussels sprouts, which for many of us place second only to lima beans as the most maligned veggie of our youths. They were recently featured in depth on cookthevineyard. The exposé discussed the merits of respective preparations—halved, quartered and sliced—and how to cook each, along with the one hard and fast rule of Brussels sprouts cookery, which is basically this: Never, ever boil them. This is gospel people.

Cookthevineyard has some excellent suggestions, but my new favorite way to cook them —more method than recipe— comes from Joy the Baker. My visits to her site are more voyeuristic than anything, because I’m just not a baker at heart. Other than Easiest French Bread Ever, which I bake like it is my job, I leave the baking glory to others. But her stovetop “roasting” take on Brussels sprouts is sheer brilliance. I can see it working on a cast iron pan on the grill too, just like these peppers and onions agradolce (fancy term for vinegar and syrup) that became this summer’s grilling addiction.

So, this is a quickie, but it is a method that I hope will come in handy this fall, because folks, it’s time to brush off your A Game in the kitchen.

Stove-top “Roasted” Brussels Sprouts

Taken completely, cleverness included, from Joythebaker

Ingredients:

  • 1 pound Brussels sprouts, ends trimmed and sliced in half
  • 1/4 cup olive oil
  • sea salt and fresh cracked black pepper
  • juice of half a lemon or splash of red wine vinegar
  • chopped fresh parsley
  • grated parmesan cheese

Method:

Trim the ends of the sprouts and cut them in half.  The cut side will create more space for that glorious browning and it’s always nice to see how Mother Nature made a whole ass cabbage to tiny and cute. Admire all the inner layers because vegetables are actually so cool.  All the little outside leaves that fluff off once the end is trimmed? Save those we’ll cook those, too.

Grab a skillet – a pretty big one that has a lid that fits cozy.  Nonstick isn’t important and I haven’t tried this recipe in cast iron though I suspect it works just fine.  Pour oil into the cold pan.  It will feel like a lot of oil and you might be tempted to use less oil but don’t.  Trust me on this one, ok?  Add the halved Brussels sprouts to the pan with oil, cut side down in a single layer.  Sprinkle the little leafy bits on top.  Put the lid on the pan.

Place the cold pan with oil, Brussels, and the lid over medium-high heat for 5-7 minutes.  Don’t lift the lid. Don’t shake the pan – just let it all go. This is where the magic happens.  The Brussels sprouts will create steam as they cook and that lid is helping them steam to tender all while the oil is heating and browning those little babies to golden.  After 5-7 minutes, remove the lid, shake the pan around and allow the Brussels to pan fry uncovered for another 5 minutes.  Test with a fork for doneness.

Remove the pan from the heat and toss in salt, pepper, lemon juice and parsley. Be generous. Be very cheffy about it. Optional extras: a spoonful of dijon mustard and brown sugar are glorious additions to the acid.

Notes: As I said, this is 100% from Joy, but I can vouch for the bennies of Dijon and maple syrup added at the end. I mix them up with the lemon juice and pour in the whole shebang. And, I’ve used cotija or grated cheddar cheese instead of parm with no complaints. As ever, love the one you’re with!

And, if you are a brussels sprouts fan dive into cookthevineyard’s rabbit hole on the topic. I am so trying the sprout potato hash…as soon as I work through some more squash and apples.


Mini Maple Creemee Pies

Dedicated readers will know that I already posted a recipe for maple creemeee pie, back in November. Then, it was a way to fill a seasonal void. At the height of summer in New England maple creemee options abound, but…what about our friends in the rest of the country? And around the globe? What are they to do?

And, what about those times when you want “just a taste” of maple creemee goodness and you don’t want to get in your car? Enter mini maple creemee pies, the best idea since, well, maple creemee pie.

Here’s the basic concept. Whip up the same amazing pretzel crust, but press it into lined muffin tins. Ladle in the same creamy filling, then pop the tray in the freezer. A couple hours later you’ll have individual servings you can eat by hand, using the liner as a napkin; alternatively you can be civilized, put it on a plate (even top it with some berries) and eat it with a fork.

The civilized version, ready for berries or just your fork

As discussed at length in the original post, my preferred version relies on the alcohol in maple liqueur for both extra flavor and to keep the filling from freezing up like a brick. To make up for both, the non alcoholic version called for more maple syrup. I got some feedback that the sober version was too sweet. I have since adjusted down the syrup in that version, and upped the cream in both versions. All that said, this is wayyyyy more art than science, so give a taste along the way and follow your heart. 

For non maple fans, or for a citrus option, this technique can easily be used to make mini versions of Nina’s Margarita Pie. Finally, to my Vegan friends. I still have not had a victory here, but this is the latest recipe I am going to try, once I find unsweetened oat milk creamer. If you beat me to it, let me know how it goes.

Now, my friends, as a late summer treat, I give you mini maple creemee pies. I hope you love them!

Maple Creemee Pies of All Sizes

Prep time: 15 mins, plus at least 4 hours freezing time for a big pie, and 2 for the minis.

Makes 1 yummy pie, or up to 20 mini pies

Ingredients

  • 12 cup margarine or butter
  • 14 cup sugar
  • 3 cups pretzels (to equal about 1 14 cups crushed)
  • 1 (14 ounce) can sweetened condensed milk
  • 3 Tbsp maple syrup*
  • ¼ cup maple liqueur* (mine was 30% alc/60 proof)
  • 1 ½-2 cups heavy cream**
  • Optional: Maple sugar candies crumbled on as topping***

*For non alcoholic version, omit liqueur, and adjust to use 1/4 cup maple syrup, or to taste,  plus 1/2 tsp vanilla (optional).

** I like the full 2 cups of cream. If you don’t use the liqueur, and boost the maple flavor with more than 1/4 cup syrup, extra cream is the right call. And make sure to whip it like you mean it!

*** These are way optional. Veteran testers say leave it alone as is, but one rogue tester notes that the pro pies at Mac’s Maple (with a far inferior crust BTW) featured these. He was enamored by the flourish.

The production line

Method:

Make Pie Crust:
Melt margarine or butter and combine with sugar and pretzel pieces. Press into buttered 9” pie pan. For the mini versions, line 20 (ish) regular sized muffin tins with cupcake liners. Spoon the crust mixture into the cups until it is all used up, then use an empty liner to press the crust in place firmly. Refrigerate or freeze to cool while you make the filling.

Filling: Combine condensed milk, maple syrup and maple liqueur and whisk until it is well incorporated.

Whip the cream until it is very thick and stiff. I mean it—this is your structure. Fold in the whipped cream as gently as you can until it is fully incorporated. Pour into pie crust or ladle into the mini crusts and freeze for at least four hours, more to be safe. Two hours for the minis should do it.

Bringing it:

If you are celebrating away from home, where you have the time and space for it to freeze, it is easily assembled on site. Just prep the pretzels first and put them in a Ziploc bag. Portion out the booze and syrup, grab a pie plate and fill a bag with the rest of the ingredients— cream, a stick of butter and that can of sweetened condensed milk that expires sometime this decade. Make the pie right away so it has max time to freeze, and you have max time to put your feet up and prepare to be worshipped.

On a side note, I had previously said it was not advisable to travel with this in warm weather. I stand corrected. I sent a pie, in the back seat in a reusable freezer bag, to a friend’s house, with instructions for the courier to immediately put it in the freezer. You can guess what didn’t happen. Flash forward to the following morning…the pie is secretly returned from the back seat to our own freezer, hidden under a big bag of blueberries.  Flash forward two weeks…I unearth the buried pie, have a piece and it’s still delish! That, my friends is a true story of survival.

A 9-inch cake pan, with plastic lid, is the perfect getaway vehicle.

Picnic Perfection Broccoli, and Grated Carrots Ooh La La

This is it. The Super Bowl of summer gatherings is here. The sun is hot, the timing is loose, the fridge is likely full and the setting is outdoors. What we have here is a picnic situation, and I’ve got you covered with some no-fuss potluck faves.

I could also call these McFaves, because they both came into my life from my favorite foodie McFamily. You know who you are!

Each of these are a little miraculous in the way they transform a humble vegetable and a few basic ingredients into something addictive. Both recipes originated from the New York Times, which means they come with lots of commentary. I have distilled the extensive kvetching to the finer points.

These sides are easy to make, healthy, great at room temp and smashing as leftovers. They also travel like champs. There is no downside here people!

Make them. Share them, or not. They will bring you joy and serious roughage. Happy 4th to all!

In the lunch rotation. Every….darned….day

French Grated Carrot Salad
By Martha Rose Shulman and the NY Times

Ingredients:

  • 6 tablespoons extra-virgin olive oil or canola oil (or a mix of the two), or use 2 tablespoons plain low-fat yogurt or buttermilk and 4 tablespoons oil
  • 1 tablespoon freshly squeezed lemon juice
  • 1 tablespoon sherry vinegar or white-wine vinegar
  • 1 teaspoon Dijon mustard
  • Salt and black pepper
  • 1 pound carrots, peeled and grated
  • ¼ cup finely chopped flat-leaf parsley

Preparation

  1. Whisk together the oil, lemon juice, vinegar, and mustard in a large bowl; season with salt and pepper. Add the carrots and parsley and toss to coat. Season to taste with salt and pepper. Refrigerate before serving (I recommend making this 30 minutes to 1 hour ahead, then tossing again).

Notes: Not a one. This is straight up perfection.

Picnic Perfect Broccoli
by Melissa Clark and the NY Times

Ingredients

  • 1 ½ teaspoons red wine vinegar (I say 1 Tbsp)
  • 1 teaspoon kosher salt, more to taste (kosher is key…science, man)
  • 2 heads broccoli, 1 pound each, cut into bite-size florets
  • ¾ cup extra virgin olive oil
  • 4 fat garlic cloves, minced
  • 2 teaspoons cumin seeds (ground cumin works in a pinch)
  • 2 teaspoons roasted (Asian) sesame oil
  • Large pinch crushed red pepper flakes.

Preparation

  1. In a large bowl, stir together the vinegar and salt. Add broccoli and toss to combine.
  2. In a large skillet, heat olive oil until hot, but not smoking. Add garlic and cumin and cook until fragrant, about 1 minute. Stir in sesame oil and pepper flakes. Pour mixture over broccoli and toss well. Let sit for at least 1 hour at room temperature, and up to 48 (chill it if you want to keep it for more than 2 hours). Adjust seasonings (it may need more salt) and serve.

Notes:

2 lbs of broccoli— deconstructed into florets — is a LOT of broccoli. You can easily scale it down, but don’t skimp on the vinegar. I boost up the vinegar to 1 Tbsp for the full recipe because it seems like the right thing to do.

There is much hand-wringing about all the oil, but remember, it’s a lot of broccoli. I’ve used 2/3 cup oil and that worked just fine. Some say 1/3 cup is enough. That said, don’t fly too close to the sun like the guy who brought it down to 2 Tbsp, and definitely don’t EVER put him on dessert duty.  

Finally, pay attention to the timing and make it far enough ahead so the broccoli has a chance to soften and take on the flavors.

Weekday Smoothie

I was going to post this on the weekend, but I’m your friend and friends don’t do that. Weekends are about pancakes and muffins and doughnuts and bacon and omelets and cinnamon rolls and maple syrup. Always maple syrup. So, posting a smoothie with vegetables and beans on a weekend just feels wrong. But on a Monday? The gloves are off baby—this is what you get.

I have a friend who is gorgeous (I have quite a few of those) and she once explained to me her diet philosophy of being “all about oatmeal” during the week, and then loosening up on the weekends. Clearly it works for her, and it leaves ample room for both discipline and fun.

On to this smoothie, which firmly belongs in the weekday repertoire. I’ll never lie to you. I’ll never tell you “this tastes just like a milkshake” or “you’d never know this was healthy” or that your loved ones will beg you to make this or that you will not be mocked when you open a can of beans for breakfast. But I will tell you I am mildly addicted to this because sometimes the cold goodness of a very healthy smoothie that is packed with nutrition from real ingredients is really comforting. And sometimes, well, I just need to get beyond the oatmeal.

If this intrigues you, I hope you try it and enjoy it. If the concept of this grosses you out, I hope you have a nice week and I will see you with something more fun very soon. Happy Monday!

A Breakfast Double Date…. get it?

Weekday Smoothie

Makes 1 huge or 2 small smoothies (as pictured above)

From Hey Nutrition Lady

Ingredients

  • 1 frozen banana
  • 1 cup frozen cauliflower (the riced stuff in the freezer section is best)
  • ½ cup black beans
  • 1-2 medjool dates pitted (2! or more if they are deglet)
  • 1 cup oat milk or milk of choice (use what you’ve got)
  • 1 tablespoon hemp seeds
  • 1 tablespoon cocoa powder
  • 1 teaspoon ground cinnamon

Method

  • Place all ingredients into a blender. Blend until smooth. (really smooth!)
  • Pour into a glass and sprinkle hemp seeds over the top if desired. Serve immediately.

NOTES: You need an aggressive blender — or a lot of blending in an ok one — to really get this smooth, which is key. Gooey Medjool dates are ideal here, and I say live a little and add another if you need to ease into this. If you only have deglet, or if your medjools are a little dry, cut them up and rehydrate them with some boiling water (or a bit of your morning coffee supply) for a few minutes. You can also use an unfrozen banana and add some ice cubes, which also helps with the crappy blender situation.