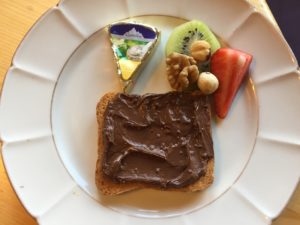
Tag Archives: healthy breakfast

All the heft and taste, none of the effort

Dirt Bread 2.0: Gluten-Free Cottage Cheese Bread

People who know me or have seen me cook know that I am the slacker queen. It’s not that I cut corners entirely out of laziness. I cut them to find an easier way to a just-as-good or better outcome. These it no victory quite like winning the short-cut.

Case in point: Slacker chile crisp, which takes a fraction of the time effort and ingredients of the original chile crisp (PS interesting article on how chili crisp took over America right here), and which I now prefer. And then there are funitella bruschetta and easiest tomato soup both of which I will always and unapologetically make with canned tomatoes. Don’t get me started on sourdough. Not a chance I am going through that when I can make easiest French bread ever with ~3 minutes of active time.

So that brings me to today’s recipe for a nut-free, gluten-free bread that is reminiscent of the famous lifechanging loaf of bread (AKA Dirt Bread); BUT it requires fewer (and more normal) ingredients, and half the effort. As with all things miraculous, it came from Instagram, from a fleeting place I have never re-found. Let’s say a little prayer for screen shots.

A word here about gluten. I am a fan. I am also a little over-glutened at the moment, having taken a class at Gesine Bullock Prado’s Sugar Glider Kitchen. Her classes sell out in minutes so there not a chance I would have gotten this opportunity had it not been for Suzi the Great, knower of all the best things in life and giver of same. I now know how to properly cream butter and sugar (it takes forever), why to use room temperature eggs, Baker’s math, the virtues of cheap disposable pie pans, how to make and use a proper Swiss buttercream and so much more. I can’t wait to deploy my knowledge bombs for deliciousness

But there are times when that heft and chew of a dense, seedy, substantial bread is needed. And there are times when your gluten-free, nut-free people need something homemade and yummy. You could make them rustic Everyone Crackers OR you could be hero with a fraction of the effort and make this. It gets its body from oats, cottage cheese and eggs and its texture/cha-cha from flax, sesame and sunflower seeds. We’re talking pretty basic ingredients, and no rising involved. You just mix everything up, shape it into a football as best you can and bake it for an hour.

If you like Dirt Bread you will love this. If you’ve never committed to Dirt Bread, ease into the concept by trying this first.

What this is:

  • Easy
  • Quick (for bread)
  • Delicious
  • Gluten- and nut-free
  • High-protein
  • Cheapish

What this is not

  • Vegan
  • Yeasted
  • Shelf-stable: Store it in the fridge or sliced in the freezer

I am so sorry Vegans. Between the cottage cheese and the eggs, I’m seeing a lot of high risk substitutions, but please do let me know if you crack the code! Also, the mystery poster of this was a Brit, so all measurements are in grams. I approximated volume measurements, but live a little! Putting a bowl on a scale (<$20 people), adding each ingredient and zeroing it out after each addition is way easier and more accurate.

Dirt Bread 2.0: Gluten-Free Cottage Cheese Bread

Preheat oven to 360

Ingredients

500 grams cottage cheese (about 2 cups)
3 eggs
300 grams oats (about 3 cups)
1 tsp baking powder
½ tsp salt
50 grams flaxseed, heaping ¼ cup
50 grams sunflower seeds,  1/3 cup
50 grams pumpkin seeds, scant ½  cup.

Method

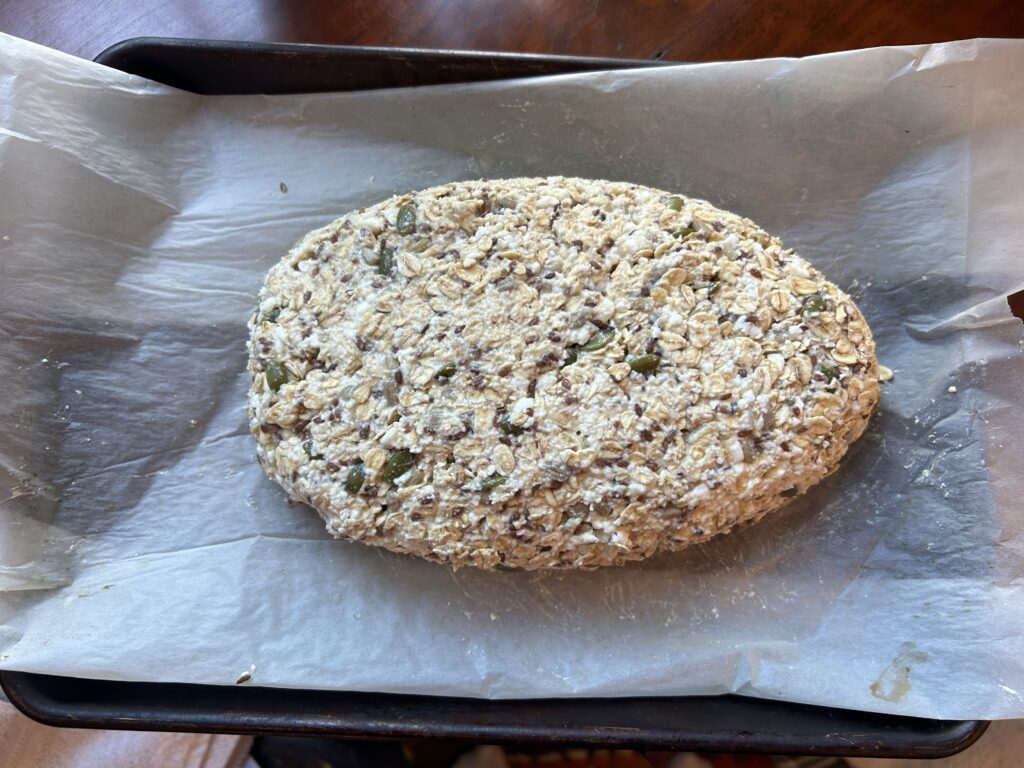
  • Combine all the ingredients in a bowl. Mix well, making sure everything is completely mushed together (no yellow yolk streaks).  Dump it onto a parchment-lined pan and use your hands to shape it the into your best, well-packed loaf like shape.
  • Bake 1 hour

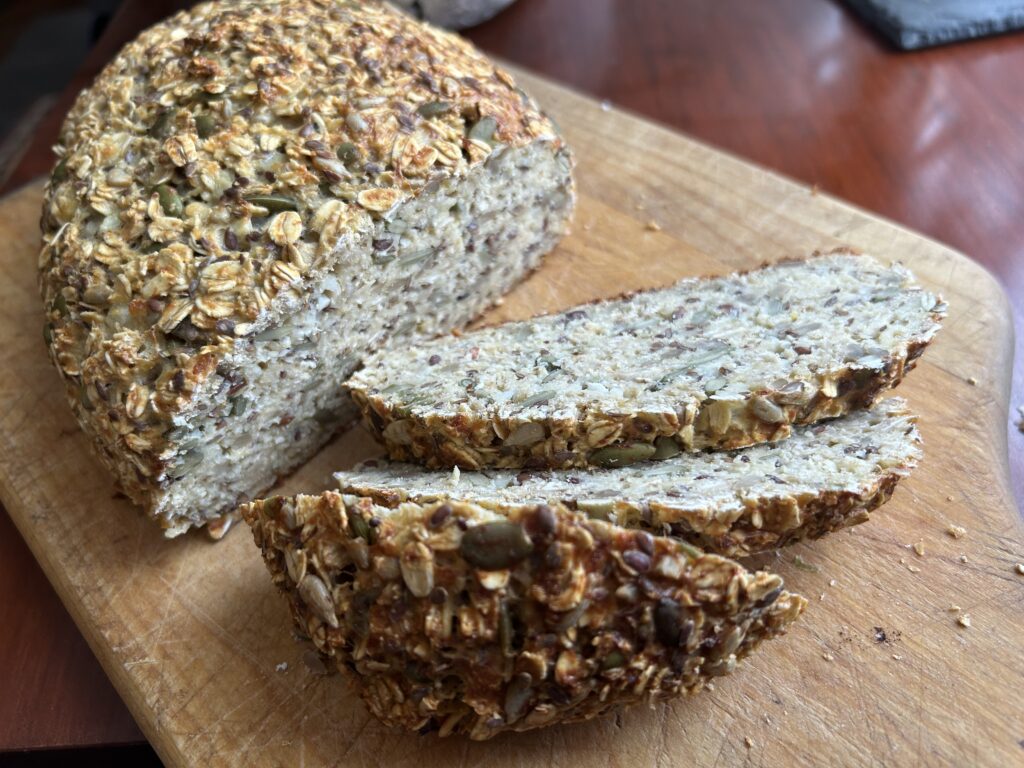
Cool completely before slicing. This is key to it holding it’s shape so…patience! Store in fridge or (my fave) slice and store, wrapped tightly, in freezer so you can grab a slice or two and toast it up as needed.

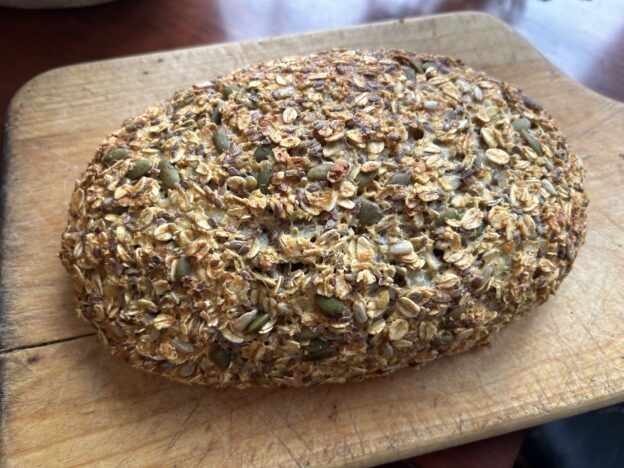
The pre-baked, nice, tight football-like loaf


Weekday Smoothie

I was going to post this on the weekend, but I’m your friend and friends don’t do that. Weekends are about pancakes and muffins and doughnuts and bacon and omelets and cinnamon rolls and maple syrup. Always maple syrup. So, posting a smoothie with vegetables and beans on a weekend just feels wrong. But on a Monday? The gloves are off baby—this is what you get.

I have a friend who is gorgeous (I have quite a few of those) and she once explained to me her diet philosophy of being “all about oatmeal” during the week, and then loosening up on the weekends. Clearly it works for her, and it leaves ample room for both discipline and fun.

On to this smoothie, which firmly belongs in the weekday repertoire. I’ll never lie to you. I’ll never tell you “this tastes just like a milkshake” or “you’d never know this was healthy” or that your loved ones will beg you to make this or that you will not be mocked when you open a can of beans for breakfast. But I will tell you I am mildly addicted to this because sometimes the cold goodness of a very healthy smoothie that is packed with nutrition from real ingredients is really comforting. And sometimes, well, I just need to get beyond the oatmeal.

If this intrigues you, I hope you try it and enjoy it. If the concept of this grosses you out, I hope you have a nice week and I will see you with something more fun very soon. Happy Monday!

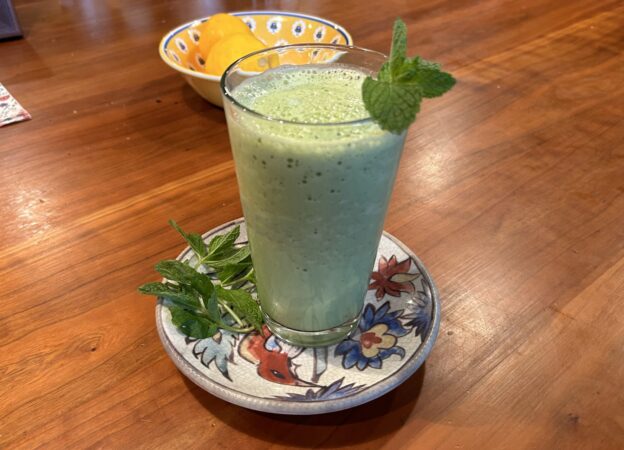
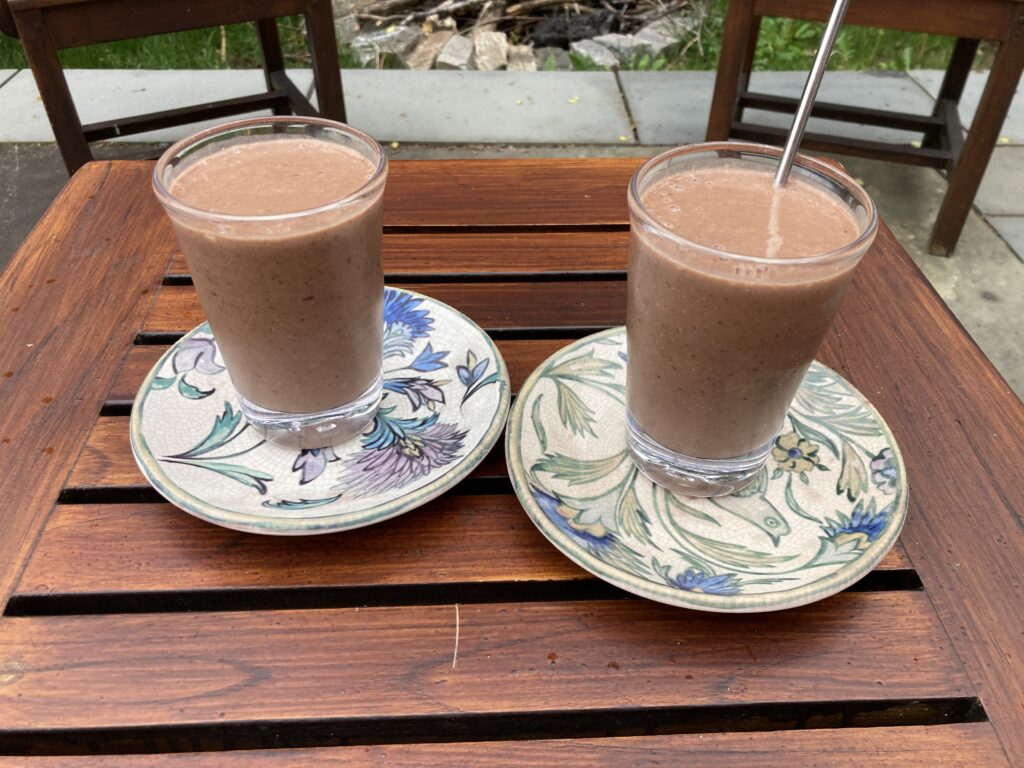
A Breakfast Double Date…. get it?

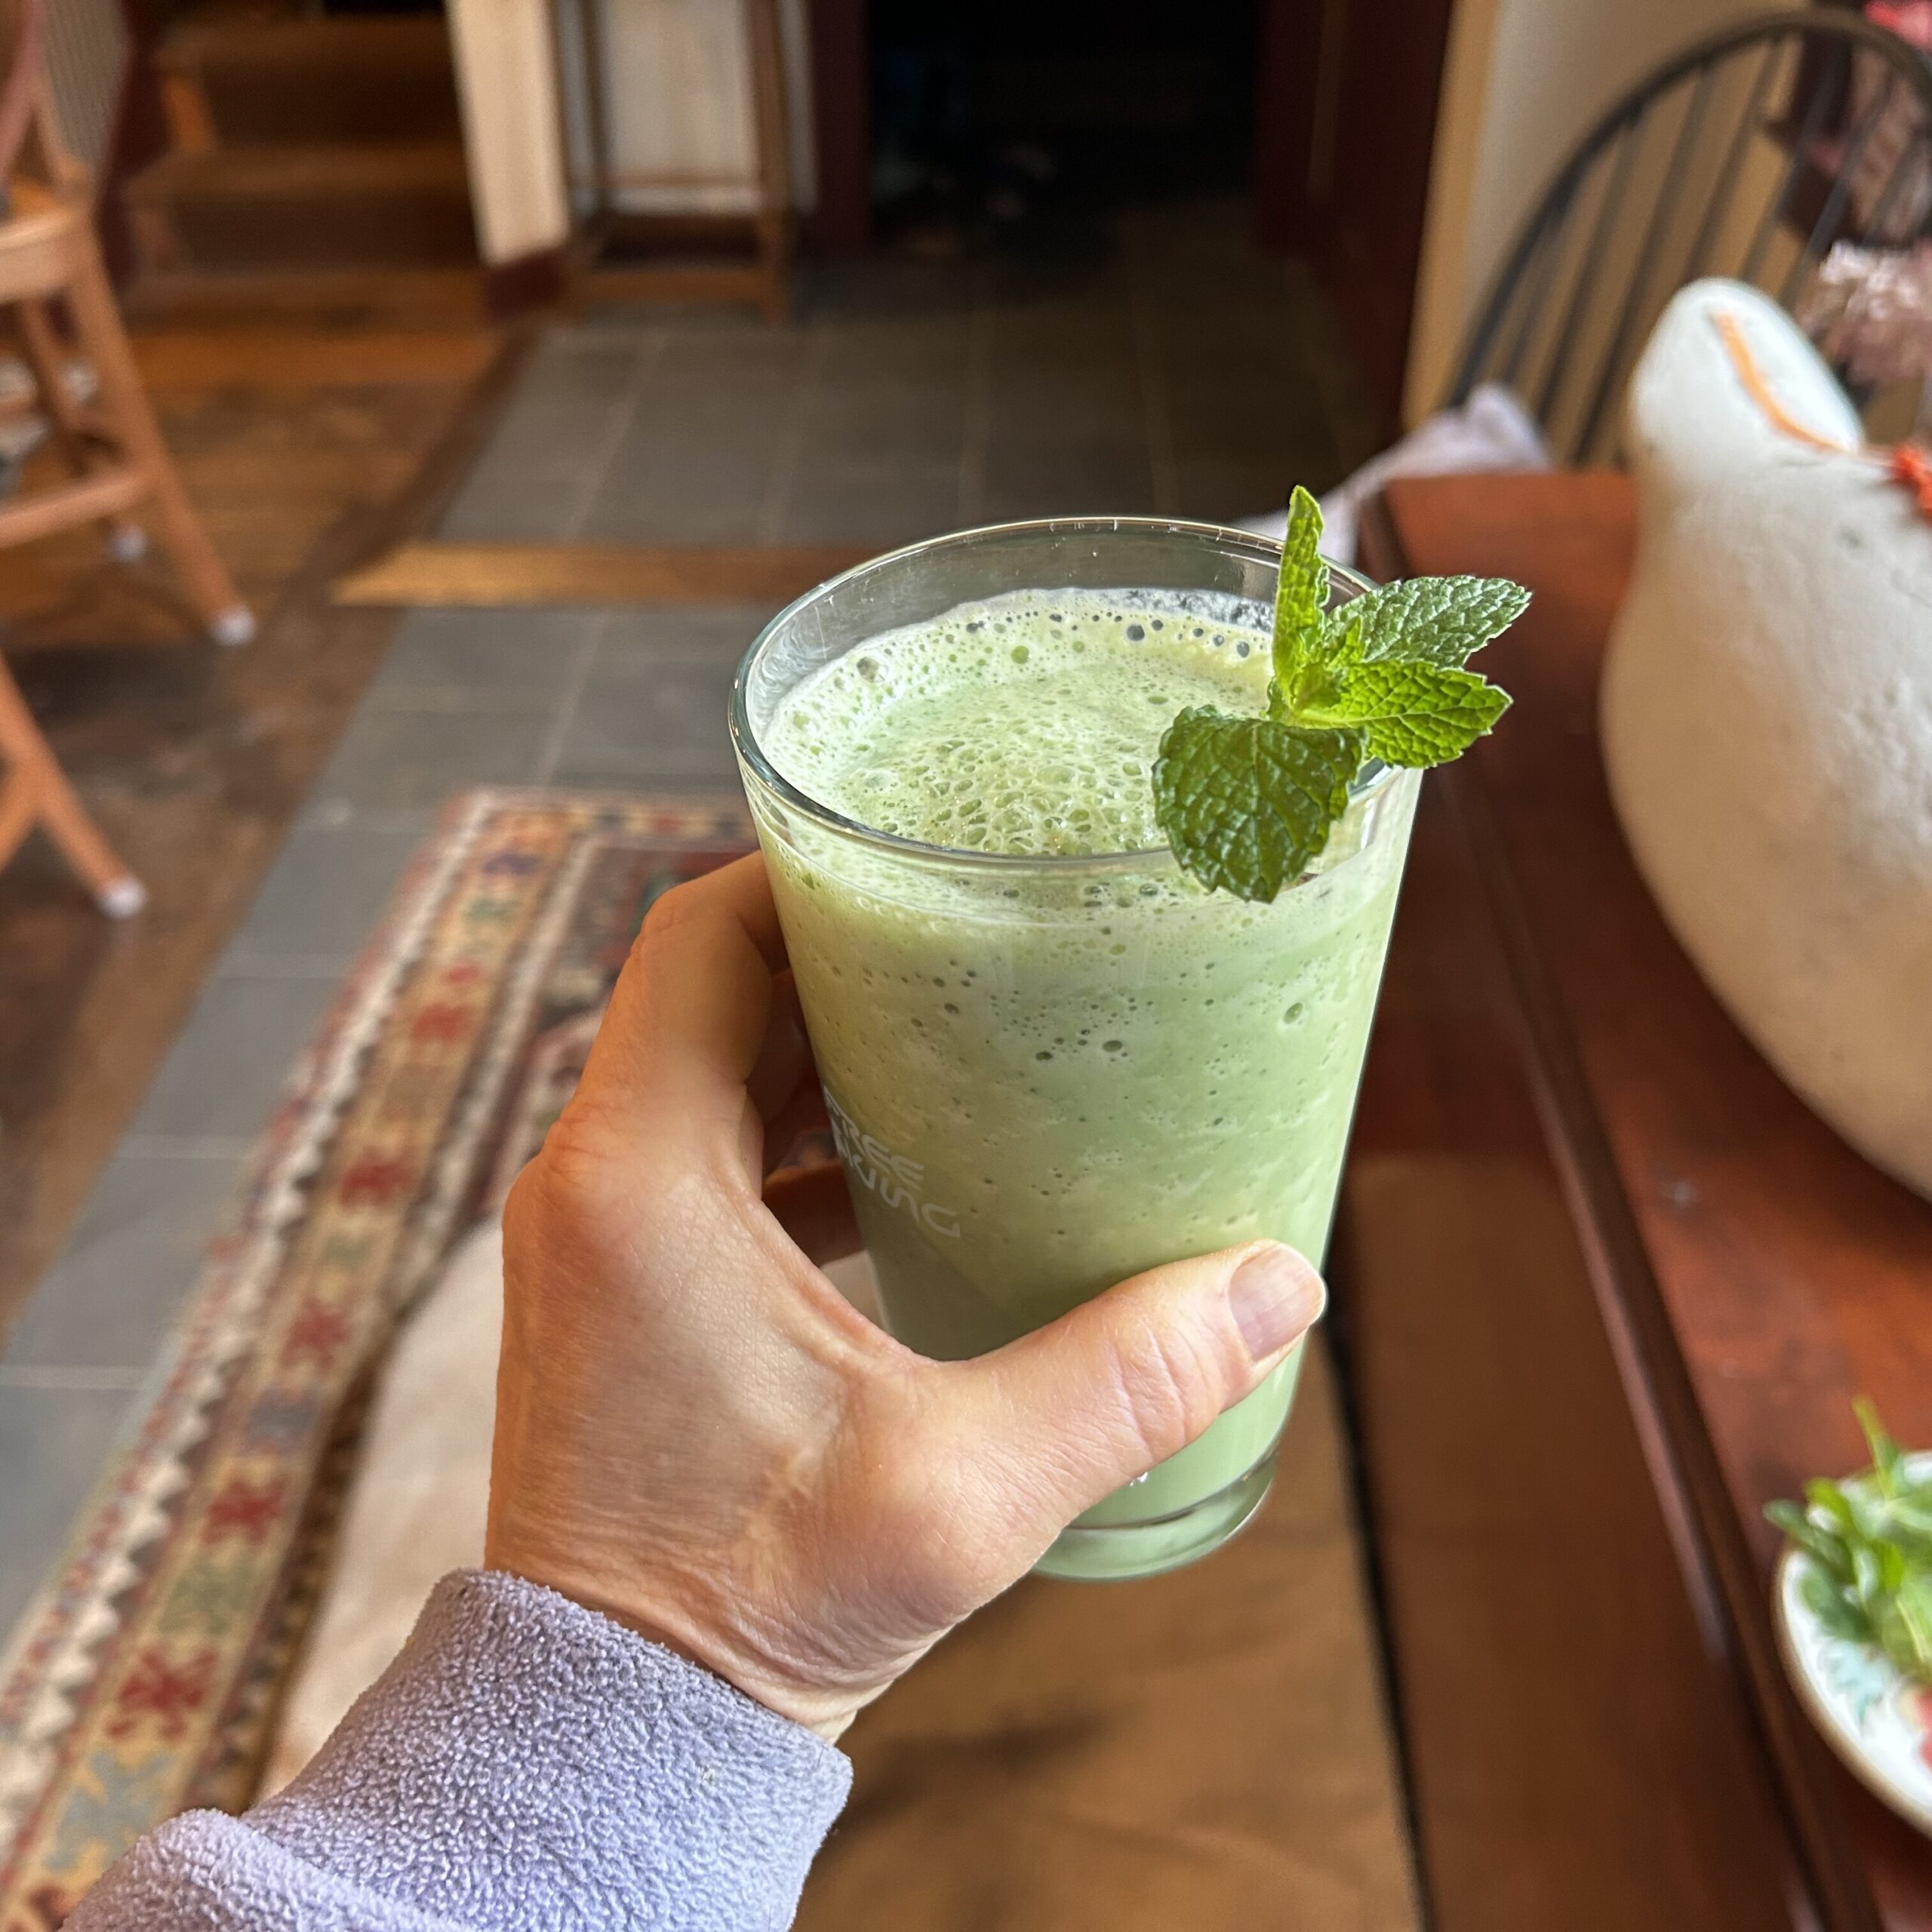
Weekday Smoothie

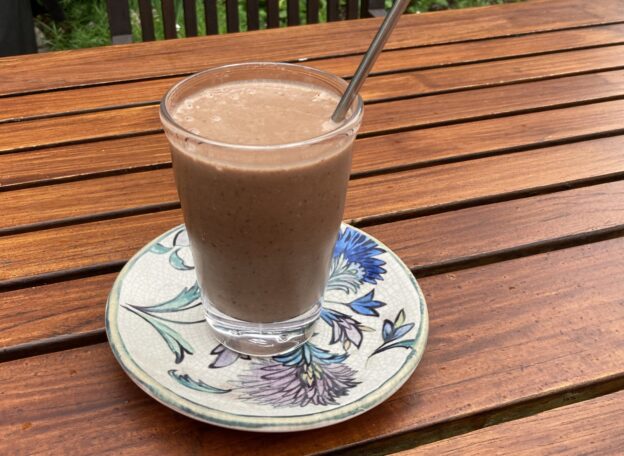
Makes 1 huge or 2 small smoothies (as pictured above)

From Hey Nutrition Lady

Ingredients

  • 1 frozen banana
  • 1 cup frozen cauliflower (the riced stuff in the freezer section is best)
  • ½ cup black beans
  • 1-2 medjool dates pitted (2! or more if they are deglet)
  • 1 cup oat milk or milk of choice (use what you’ve got)
  • 1 tablespoon hemp seeds
  • 1 tablespoon cocoa powder
  • 1 teaspoon ground cinnamon

Method

  • Place all ingredients into a blender. Blend until smooth. (really smooth!)
  • Pour into a glass and sprinkle hemp seeds over the top if desired. Serve immediately.

NOTES: You need an aggressive blender — or a lot of blending in an ok one — to really get this smooth, which is key. Gooey Medjool dates are ideal here, and I say live a little and add another if you need to ease into this. If you only have deglet, or if your medjools are a little dry, cut them up and rehydrate them with some boiling water (or a bit of your morning coffee supply) for a few minutes. You can also use an unfrozen banana and add some ice cubes, which also helps with the crappy blender situation.

Feel Good Zucchini Bread (and muffins)

It’s that time of year—time to figure out what to do with the zucchinis that have grown into something with the heft (and taste) of a Duraflame log. Enter zucchini bread, a brilliant use of the bounty. The only downside of zucchini bread and their muffin progeny, is that most of them also seem like a ploy to get rid of all the oil and white sugar in your house. Eat a piece of your standard zuke bread and your fingers look like you’ve just wrangled a basket of French fries. And the sugar that’s involved…oy!  

Quick breads and muffins exist on a taste/texture profile continuum from dirt to donuts.  Ever since hearing about the 800 calorie Costo muffin I’ve gravitated towards the dirt end of the spectrum. In fact I have a stalker-like attraction to the Earth Muffin at our local bakery, Lou’s. Upon studying the insanely lengthy and small fonted ingredient list I learned they are full of ground nuts, chopped nuts, seeds, dried fruit, maple syrup, grains, meals and every Vegan trick in the book. Even when Lou’s tries to pawn their day old Earth Muffins off as fresh (as if we dirt lovers can’t detect nuance), something about all that texture, heft and granular mystery still satisfies my need for weirdness. These muffins do feel like treats, but not irresponsibly so.

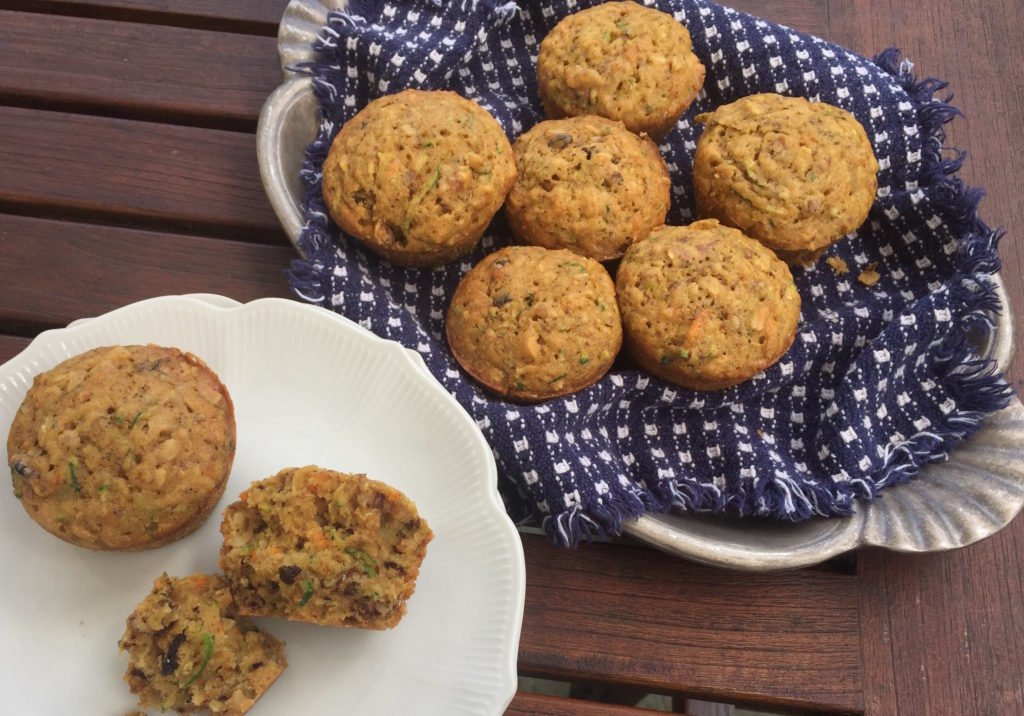
Feel Good Zucchini Muffins, with a whole lot of goodness

Perhaps you’re not up for the true grit experience in the morning, but you probably don’t fully enjoy walking away from breakfast knowing you’ve already used up your daily dessert quota. That’s where this recipe strikes the perfect balance, erring on the nutritious side of the muffin spectrum, but with enough sweetness and light to start your day with a smile. The recipe features white whole wheat flour, not a ton of sugar, a LOT of zucchini, and olive oil to make every heart beat a little faster. It’s a muffin/bread you can eat in the morning and feel good knowing that today, there’s still room for ice cream!

Feel Good Zucchini Bread

Poached with utmost respect from Food52, where there is also an excellent discussion on this topic.
Makes: 1 loaf or about 12 muffins

Ingredients

  • 2/3 cup olive oil (143 grams), plus more for the pan
  • 1 1/3 cups white whole-wheat flour (170 grams), plus more for the pa
  • 2 1/3 cups grated zucchini (from about 11 ounces zucchini)*
  • 1/3 cup sugar (67 grams)
  • 1/3 cup brown sugar (71 grams)
  • 2 large eggs (Vegans, grab your flax meal or aquafaba)
  • 1/2 teaspoon baking powder
  • 1/2 teaspoon baking soda
  • 3/4 teaspoon kosher salt
  • 2/3 cup walnuts (75 grams)
  • 1/3 cup golden raisins (53 grams)
  • 1/3 cup oats (33 grams), plus more for topping

*If you’re scant on the zukes, or just feel like a little more color, you can add in some grated carrot.

Method

  1. Preheat the oven to 350° F. Grease a 8 1/2- by 4 1/2-inch loaf pan (muffin pans if using) )with some oil. Add some flour and tap around to distribute evenly. Gather the zucchini in a kitchen linen or paper towel and squeeze over the sink to get rid of any excess moisture. This step is KEY!
  2. Combine the sugars, eggs, and oil in a large bowl. Whisk until smooth. Add the zucchini to the bowl and use a rubber spatula to combine. Add the baking powder, baking soda, and salt. Stir to combine. Add the flour, walnuts, raisins, and oats. Stir to combine.
  3. Pour the batter into prepared pan. Sprinkle oats on top. Bake for about 1 hour until a thin knife inserted in the center comes out clean. If making muffins, start checking them at 15 minutes and take them out when they are set and slightly browned.
  4. Let cool in the pan for 15 or so minutes before turning onto a wire rack. Cool completely before slicing and serving.

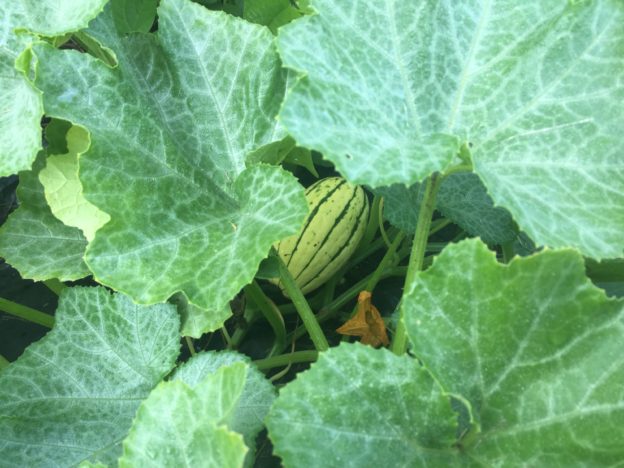
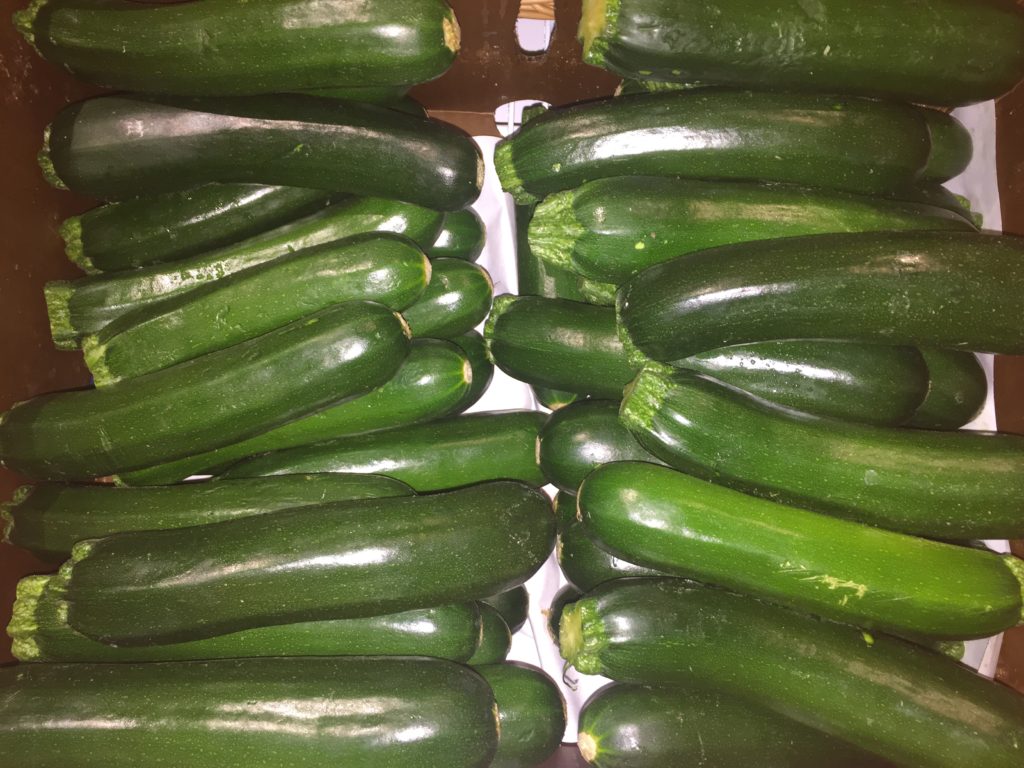
The zucchini army at rest

No Guilt Nutella: Chocolate for Breakfast Goes Legit

You say Nutella, I say…ain’t happening for breakfast in this house.

I grew up in a pre Nutella-For-Breakfast world. We had plenty of heinously unhealthy food, like pop tarts and cocoa puffs. But putting frosting on toast and calling it breakfast wasn’t a thing. Even if it happened (looking at you, chocolate Easter bunnies), it wasn’t sanctioned, let alone encouraged.

My kids grew up in a post NFB world, thanks to brilliant marketing from the Italians, who needed a real game-changer to dress up their melba toast and give their people a reason to get up for breakfast. Still, I did not serve Nutella to my kids. That may help explain why they so easily, dare I say eagerly, transitioned to sleepovers, camp and really any opportunity to leave home. There’s no need to get into my reasoning unless you really want a buzz-kill. I think we can all agree that commercial Nutella is not a solid foundation for the most important meal of the day.

But WHAT IF Nutella was made with no added sweeteners, fat or scary ingredients? What if it was made with the holy trinity of healthy treat ingredients—dates, nuts and cocoa—and nothing much else? Now that would be something I could get behind. And don’tcha know, I have. It’s not just for breakfast of course—it’s for any time you damn well please.

No Guilt Nutella soars past the teenage boy test, the teenage girl test, the man test and the “gimme that spoon I just need a chocolate fix ” test. If you are a Nutella connoisseur you will not be fooled by this, but the concept of a chocolate spread you can eat by the spoonful without a shred of guilt or secrecy may win you over nonetheless. Vegans, Paleos and Gluten-free peeps? Yeah, this is your jive too.

As with last week’s treats, your food processor earns its keep making these. It’s pretty foolproof though, as long as you make an honest attempt to skin the hazelnuts* and then process those babies until they really turn to butter. Be patient. It will happen.

No Guilt Nutella

Ingredients

  • 1 cup hazelnuts (or a mix of hazelnuts and almonds)
  • 1 packed cup medjool dates, pitted (or more, see notes)
  • 2 Tbsp water
  • 3 Tbsp unsweetened cocoa powder
  • ½ tsp vanilla extract
  • 1 Tbsp flavorless oil
  • ¼ tsp salt
  • ½ cup almond milk

Method:

  1. Roast hazelnuts at 350 degrees for 20 minutes. Transfer onto a kitchen towel and roll with your hands to remove skins. (no need to remove skins on almonds, if using)
  2. Puree hazelnuts in a food processor for 8 to 10 minutes until a butter forms. Take the time to do it right! You’ll know when you’ve crossed from ground nuts to butter.
  3. Remove hazelnut butter, and scrape out food processor as best you can. Add dates and water. Puree until smooth and creamy.
  4. Add hazelnuts to date paste and pulse a few times.
  5. Add cocoa, vanilla, oil, and salt and blend. 
  6. With food processor running, slowly pour in almond milk. Scrape down the sides and pulse a few times to blend into creamy goodness.
  7.  

Notes

*To completely remove hazelnut skins (for the smoothest possible spread), boil nuts in a pot of water with few tablespoons of baking soda for 4 minutes. Immediately strain and place nuts in ice water for a minute or so, until the skins peel off easily. You still need to roast the nuts to loosen up all the oils and bring out the flavor. Google will not corroborate this, but I find this process takes a little mojo out of the nuts. I prefer the less perfect/more flavorful roasting and rolling technique. You will stain the dishtowel, but such are the sacrifices we make. See here for a THOROUGH demo.

If your dates are hard, or you are using Deglet dates, soak them in warm water for an hour or two before pureeing.

…and furthermore, depending on the sweetness of your dates and the strength of your cocoa, you may need to add more dates at the end to find your sweet spot. 

I swear the notes are done.

Store leftovers in the fridge, and put your guilt in the rear view mirror!

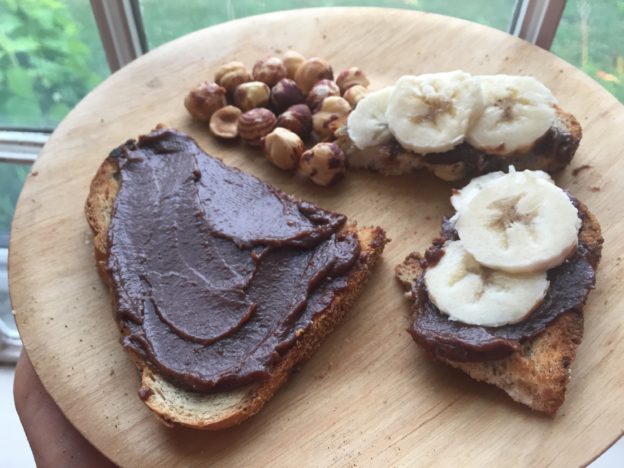
Breakfast in America, reimagined.

The real thing, at the breakfast table, on the dreaded melba toast, in its homeland.

Seed Bark Granola

Nutty, grainy, and way better tasting than bark. I promise!

January is not for sissies. In looking back on January posts just for this blog, there are some common themes: soups, breads…and a lot of complaining about the general bleakness all around. I’m not going to entirely break with tradition—I’ve had a perpetual pot of soup (any variation of Sugar and Spice Squash Soup is my fave) and have ditched all pretense of gluten-free living because, a girl’s gottta dunk something! But, I’ll skip the bellyaching this time.

This year’s January challenges come with an ongoing healthy eating quest, fueled by eating advice that ranges from confusing to Draconian. As discussed in November, when trying to eat for maximum brain and heart health there is a lot of conflicting info to navigate. As part of this mission, I’ve made things that look like dirt and some that taste like dirt. I’ve crammed way more vegetables into every meal but also “jumped the shark,” by putting kale in dishes where it has no business, thereby ruining my kale cred. I brought a peanut dip to a party that was pretty delicious but looked like baby poop, which turns out to be a significant enough deterrent.

At a certain point, you have to do the best you can, in a way that will be sustainable. As I forge though January I’ll post the best of what I find. Every recipe won’t meet everyone’s standards of “healthy” or “clean” eating. But my promise to you is that they will all be good enough to bring outside your home, and give with pride.

This granola/topping/snack comes straight from Engine 2 cookbook, which is a fantastic resource to have around. The Esselstyn tribe are Vegan, oil-free wizards. This granola reminds me of my beloved Bread of Life “Dirt” Bread, as well as the PITA lifechanging crackers. The good news here is that it’s a whole lot easier to make than either of them, and with no grains whatsoever it comes close to satisfying all versions of clean eating. The only debatable ingredient is maple syrup, but it doesn’t call for much and c’mon people—live a little!

Seed Bark Granola

From The Engine 2 Cookbook, with some pro tips

Ingredients

1 ½ c raw pumpkin seeds
½ cup raw sunflower seeds
¼ cup raw sesame seeds
¼ cup flaxseed meal
2 Tbsp chia seeds
2-3 Tbsp maple syrup (2 Tbsp was perfect for me)

Method:

Preheat 350. Line a baking sheet with parchment paper.

Combine all ingredients in a bowl, ending with the syrup. Mix it up well. Pour it all on the baking sheet and press it out to 1/4 -1/3 inch thick (no thicker than an almond). Pro tip: To make this easier and more uniform lay another sheet of parchment paper on top of the mixture and press down hard on it with another baking sheet.

Bake 18 minutes until fragrant and lightly browned on top. Rotate the pan halfway through if you are inspired and watch to be sure it does not burn.

Remove from oven and leave it to cool. As it cools, it will speak to you by crackling. It’s saying, “Leave me alone–I’m getting crispy, baby!” After at least 20 minutes, you can be dramatic and lift the cookie sheet a few inches then drop it. Or, break it up it yourself into whatever sized bits you want.

When completely cool, store it in an airtight container. It lasts 10 days or so they say. I would not know. I do know it is delicious, and is a healthy gift to anyone you love.

Bark, ready to bite