Halloween and Easter are my favorite holidays. The bar is low, family travel is typically not required and the popular traditions surrounding them involve candy. Candy makes people happy. Temporarily at least. So let’s live in the moment and make some creamy caramel sauce to celebrate Halloween and all the apples just begging to be dipped.
This particular golden elixir is a Bring It! all- star. It features only four ingredients, all of which—if not in your kitchen already—can be procured at a mini mart (ok, not the Maldon sea salt, but nobody will arrest you for using kosher salt). It is easy to make, you can memorize the recipe after one go round, it travels in its own storage jar and it will be a welcome contribution or hostess gift for any occasion. Oh, and it is fabuloso! Use it on ice cream and in 2-2/3-3 crepes (coming soon), drizzle it on pretty much anything or use it as a dip for pretzels, apples or just your spoon.
As for the name, it is a merging of our three sons’ names. We knew we wanted something to be called Cholliesauce, and after Sawyer took one taste he decided this was it. Ollie and Chauncey wholeheartedly agreed.
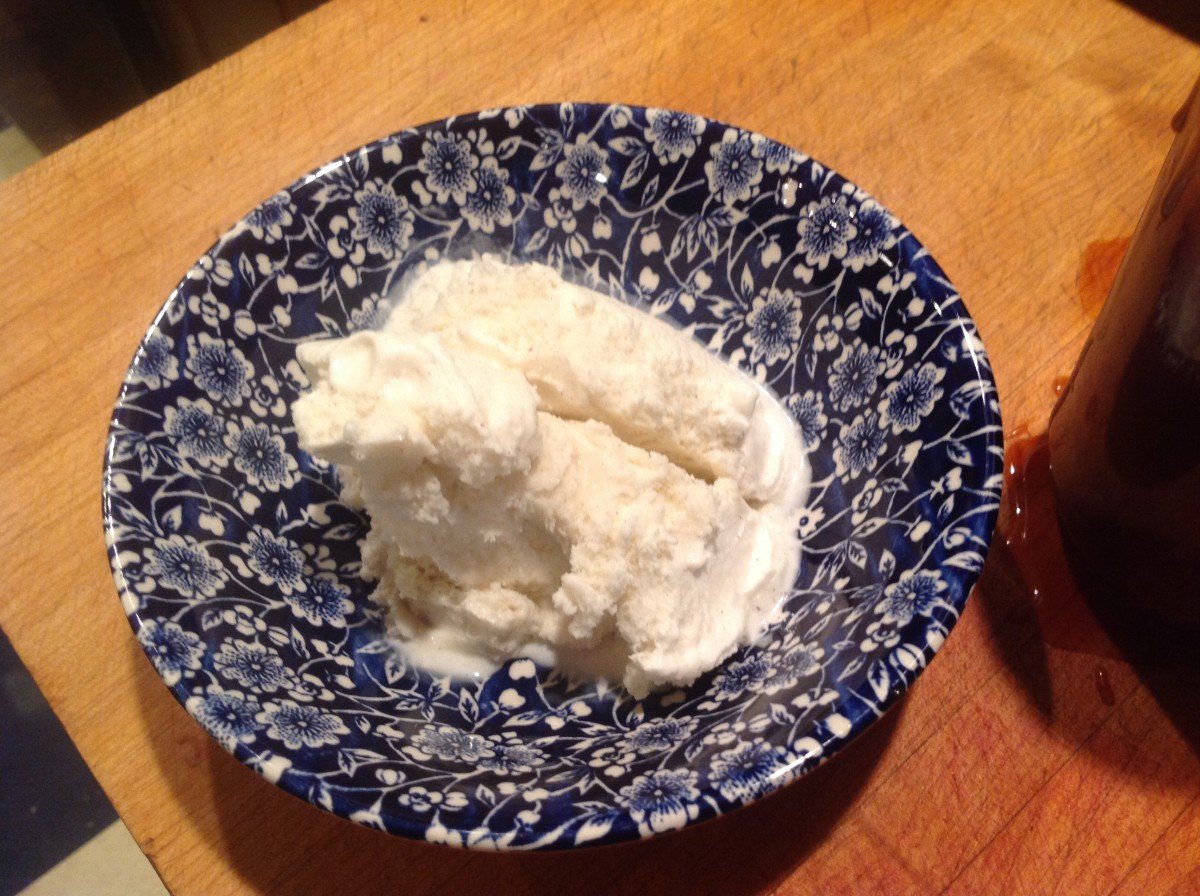
Ice cream: good
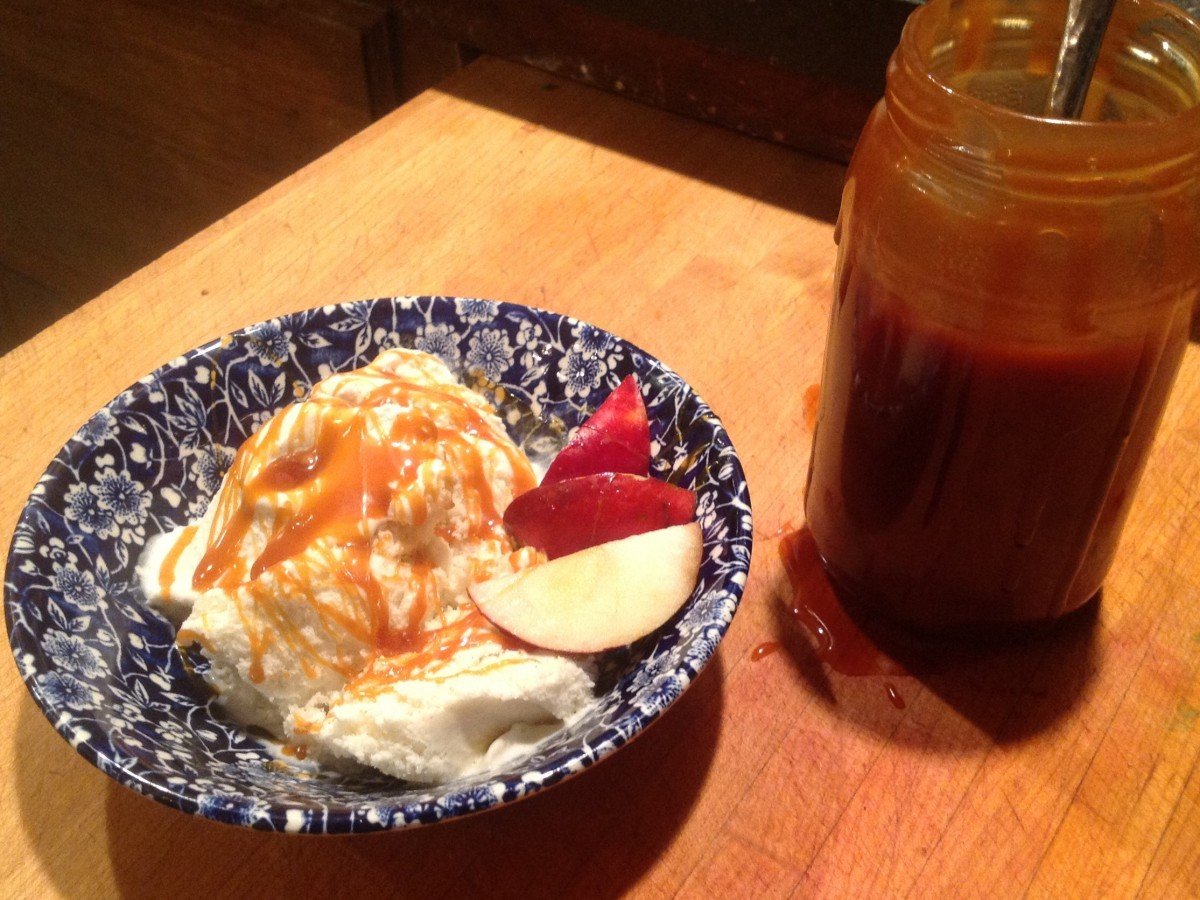
Ice cream with Cholliesauce: wayyyyyy better!
Ingredients
2 cups granulated sugar
12 Tbsp unsalted butter, at room temperature, cut into pieces
1 cup heavy cream, at room temperature
1 Tbsp fleur de sel or Maldon sea salt flakes
Method
1. First, make sure you have all of the ingredients ready. Once you start the caramel sauce you have to pay close attention so you don’t burn it. To begin, heat the sugar over medium high-heat in the bottom of a heavy 2-3 quart saucepan. When the sugar starts to melt, start whisking the sugar, making sure to reach into the sides of the pan. The sugar will clump up, but keep whisking. It will continue to melt. When the sugar is melted, stop whisking. You can swirl the pan to move the sugar around.
2. Continue cooking the sugar until it reaches a deep amber color. Make sure you watch the pan very closely. This is where it is easy to burn the caramel. If you are using a candy thermometer (I have tried but am better off eyeing it) you want the caramel to reach 350 degrees F.
3. As soon as the sugar reaches the dark amber color, carefully add the butter. Whisk until butter is melted. If the sugar gets stuck to the whisk, you can switch to a wooden spoon.
4. Remove the pan from the heat and slowly pour in the heavy cream. Whisk until cream is incorporated and caramel is smooth. Whisk in the fleur de sel or Maldon sea salt flakes.
5. Let the caramel sauce cool for about 10 minutes in the pan. Pour the caramel into a large jar or smaller jars and cool to room temperature. Put the salted caramel sauce in the refrigerator and store it there for about a month. Yeah, a month. Good luck with that.