Oh frozen dumplings and potstickers, where have you been all my life? I mean, I’ve seen you there in the freezer, but I never knew the slacker potential I was missing. And I never knew you could branch out beyond your comfort food role to star in a summer salad.
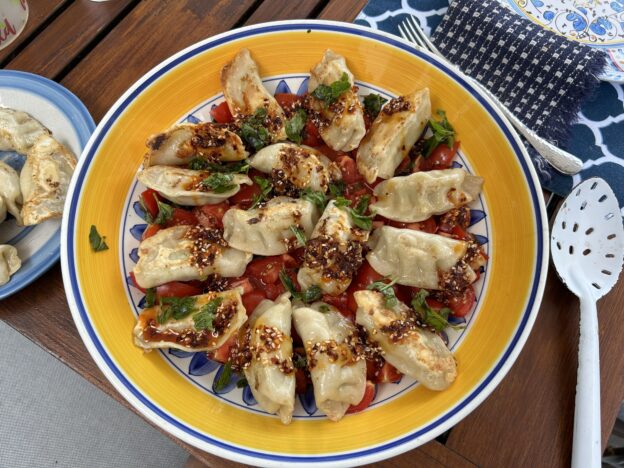
And yet…behold this new summer staple, which apparently “went viral” moments after I made it for the first time.
I’m calling this the side of summer vs the salad of summer because the dumplings definitely take it out of pure salad territory. We’ll leave that for things like Hero Slaw, Summer Perfection Watermelon Tomato Salad, Massaged Kale Salad and the like. This is more along the lines of THE panzanella, which has the heft to carry the meal on its own, with a little sideshow of quelque chose.
If you are not among her 214K followers, Hetty Lui Mack is a boss with chile crisp. Exhibit A, and B. My only modification to her creation is this: look at the preparation instructions on your chosen bag of dumplings, and if it is easier than the method in the recipe, go for it. Mine were way easier, and involved less oil. Whatev. Cook those dumplings however you like.
Tomato dumpling salad, how do I love thee?
I love that you can be served room temp and assembled just before people arrive. I love that you are one more way to justify the bottomless jar of chile crisp that always resides in my fridge. I love that you are easy to scale up and down and I love that you are even good with just ok tomatoes vs peak of summer amazing tomatoes. (Don’t be offended, but when nobody is looking in winter I may even try you with diced canned tomatoes.)
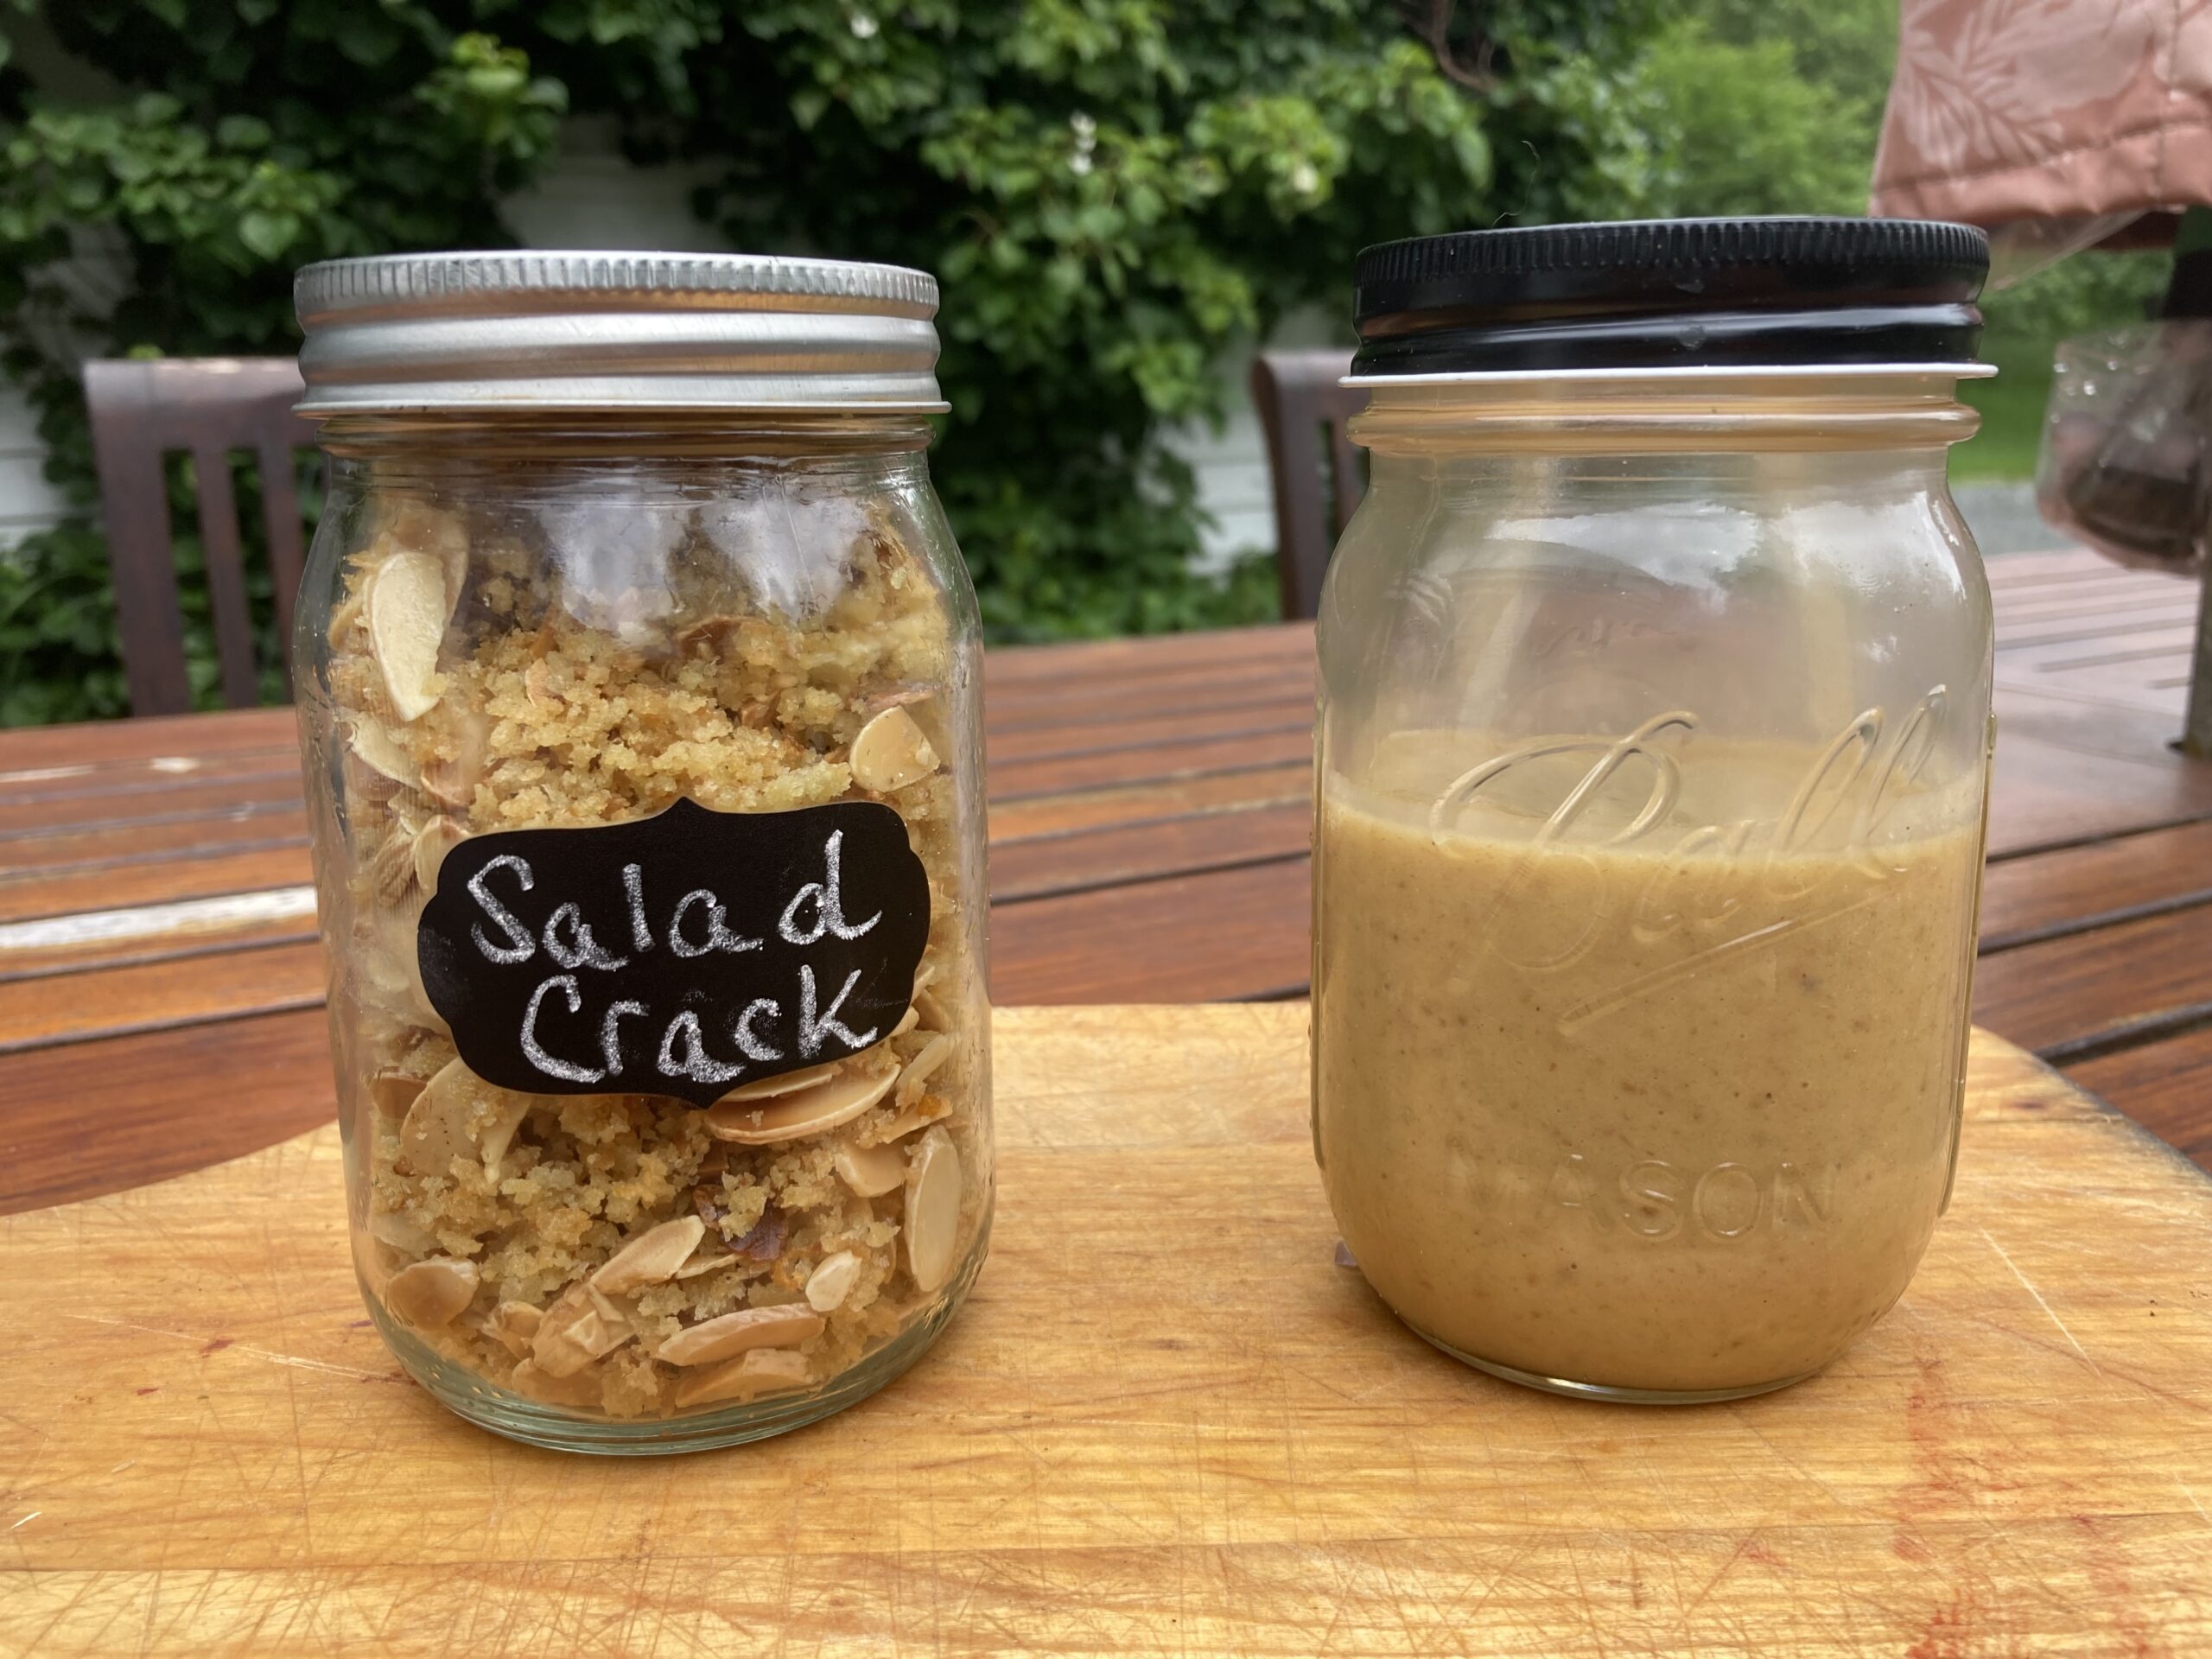
One more recommendation before you go: Chile crisp comes in many forms. Make this with any variety, as long as you know you love it. I recommend this homemade slacker version but have also made it with some excellent versions in my fridge. You do you.
Tomato Dumpling Salad with Chile Crisp Vinaigrette
Cred to the NYT and Hetty Lui McKinnon.
FOR THE SALAD
Ingredients:
- · 2½ pounds ripe tomatoes (any variety), cut into roughly 1- to 2-inch pieces (at room temperature)
- · 1 garlic clove, grated
- · ½ cup basil leaves, torn
- · Kosher salt (such as Diamond Crystal brand) and black pepper
- · 1 pound frozen potsticker dumplings (not thawed)
- · Neutral oil, such as canola or vegetable
- · 1 to 2 tablespoons store-bought crispy fried shallots (optional)
FOR THE CHILE CRISP VINAIGRETTE:
- · 3 tablespoons chile crisp (or chile oil)
- · 2 tablespoons rice vinegar
- · 1 tablespoon soy sauce, or more to taste Steps
Method:
Place the tomatoes on a large serving plate or in a bowl. Add the garlic, half the basil leaves, 1 teaspoon of salt and a big pinch of black pepper. Toss to combine and set aside.
To make the vinaigrette, combine the chile crisp, rice vinegar and soy sauce and whisk to combine. Taste and if it needs more saltiness, add ½ teaspoon more soy sauce.
Heat a large (12-inch) nonstick or well-seasoned cast-iron skillet over medium high for 1 to 2 minutes until very hot. Add 1 to 2 tablespoons of oil and, working in batches, add the dumplings, flat-side down, and cook until the bottoms of the dumplings are lightly browned, 1 to 2 minutes. Immediately add about 1/4 cup of water to the pan, just enough to cover the base of the dumplings, then cover and cook until the water has evaporated, 3 to 4 minutes. (If your dumplings contain meat, cook for an extra 1 to 2 minutes, or according to packet instructions). Transfer the cooked dumplings to a plate and continue cooking the remaining dumplings.
To serve, place the warm dumplings over the tomato salad and drizzle with the chile crisp vinaigrette. Toss very gently. Top with the crispy fried shallots (if using) and the remaining basil leaves. Serve either while the dumplings are still warm or at room temperature.