AKA, how to make every night date night.
Bark if you like dessert. Bark if you like healthy dessert. Bark if you like healthy, easy, ready-whenever-you-get-the-urge-because-it-hides-in-your-freezer dessert. We’re talking bark here, and not just any bark, but viral Instagram bark.
But first, a small apology. The entire reason I started this blog way back in 2013, was to have a place to keep my favorite go-to recipes in one place so I could a: share them and b: keep them all in one place to easily find them. When I find out that a recipe I have been making on repeat for nearly a year isn’t actually on the blog, that is a FOUL!
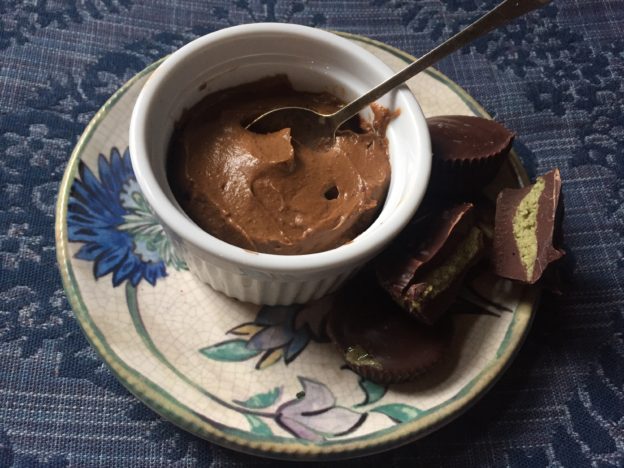
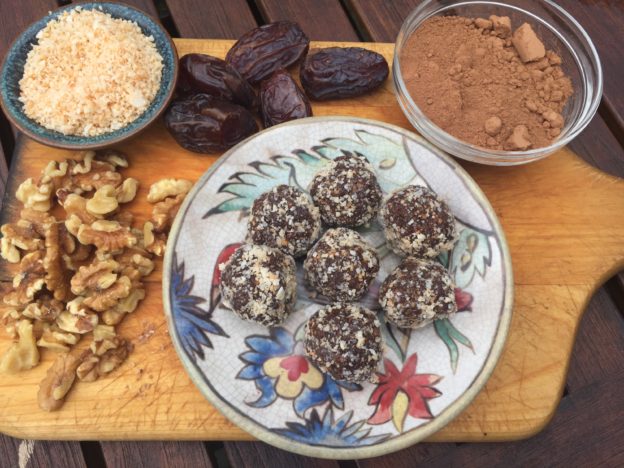
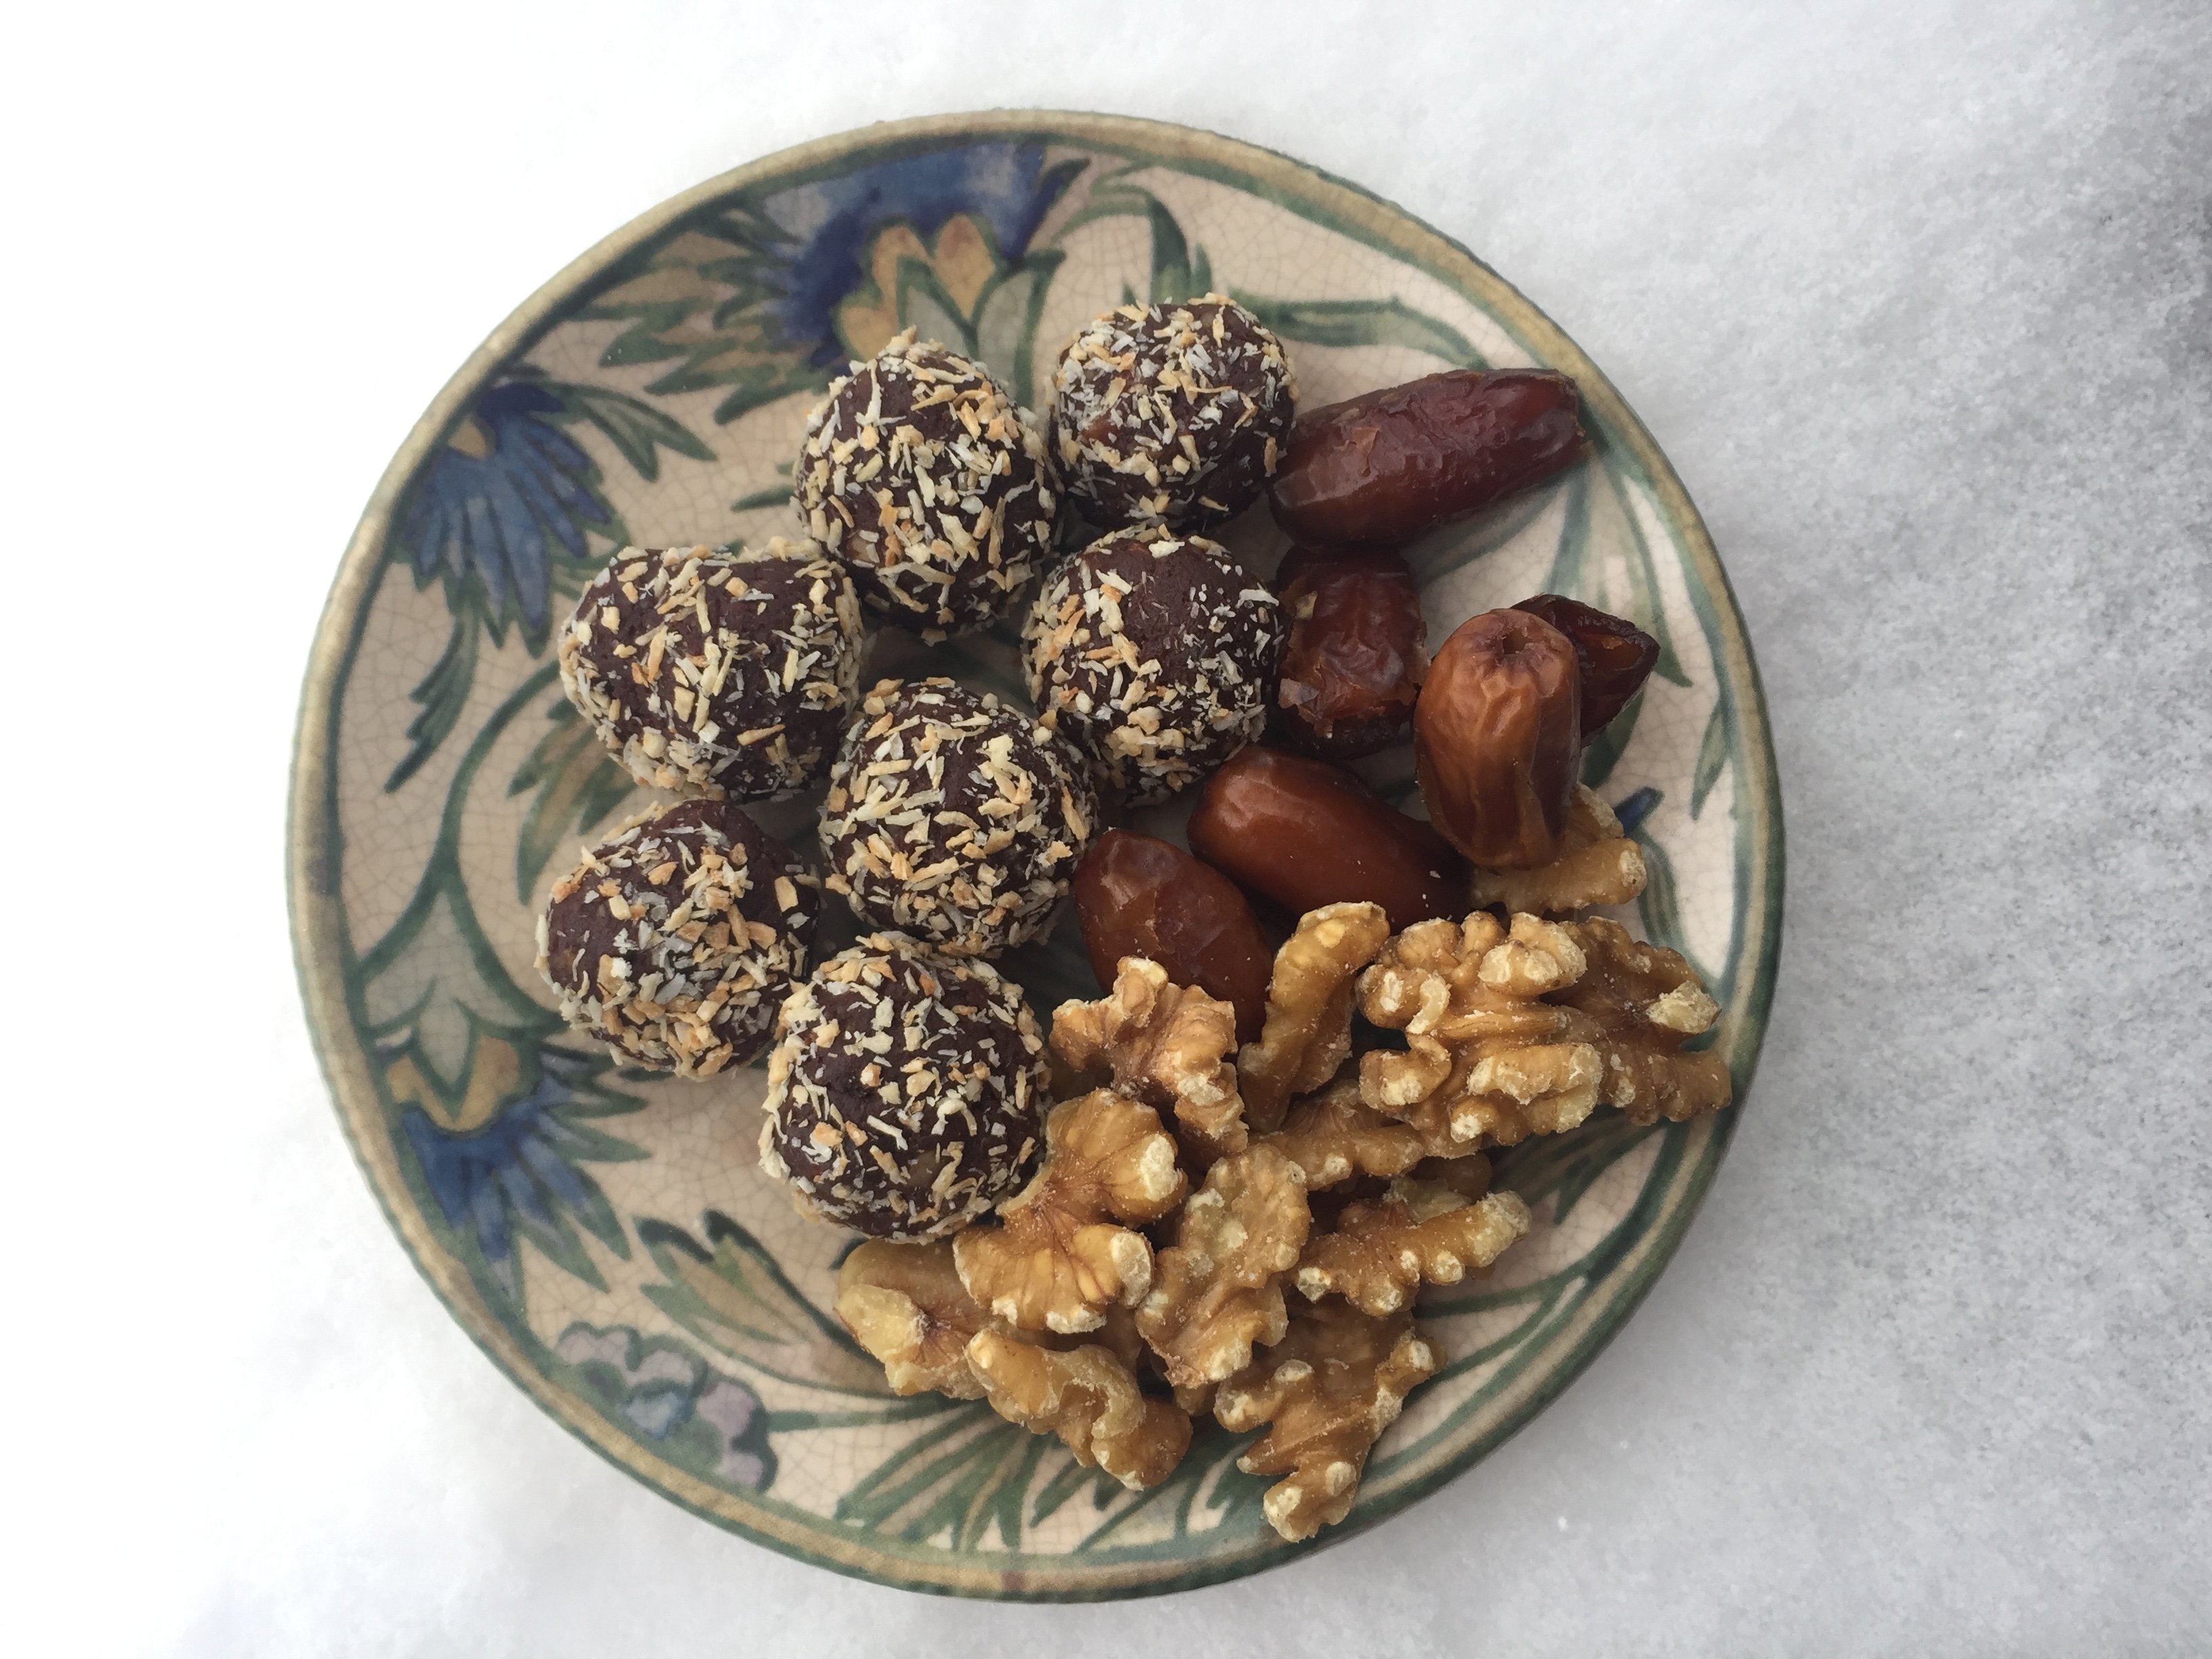
Case in point this easy, delicious not entirely unhealthy treat that has permanent real estate in my freezer. It is the ultimate aprés dinner sweet fix to put a hard stop to your day of eating. The recipe is similar to cocoa nutty balls in that it features the holy trinity of dates, nuts and chocolate. It is, however, way easier to pull off, because it involves no food processor and no rolling sticky stuff into balls.
This recipe came from Instagram, as do a few great things, many good things and shockingly many just ok things. It flashed into my feed often enough that I had to try it and can now say that this particular rabbit hole proved to be worthy.
This recipe is all about method, with basic proportions of three key ingredients that can be adjusted up or down, and an optional mid or top layer that lets you choose your own flavor/texture adventure.
Finally, it is the ultimate exercise in love-the-one-you’re-with. As in, use whatever nut butter and chocolate you have or like, and whatever optional add-ins inspire you. That said, don’t mess around with the dates. You need to go medjool (or a similar soft gooey date–not deglet) all the way for texture and malleability.
Ingredients
- 24 ish medjool dates (room temperature for ease of smushing)
- 1/2 cup drippy peanut butter or combo nut butter of choice
- 3/4 cup dark chocolate—chips or chopped
- 1 tsp coconut oil (optional but it makes it smoother)
- flaky salt
- Optional: 1/3 cup or so crunchy stuff like chopped nuts or crushed potato chips or popcorn for the Hero layer
Method:
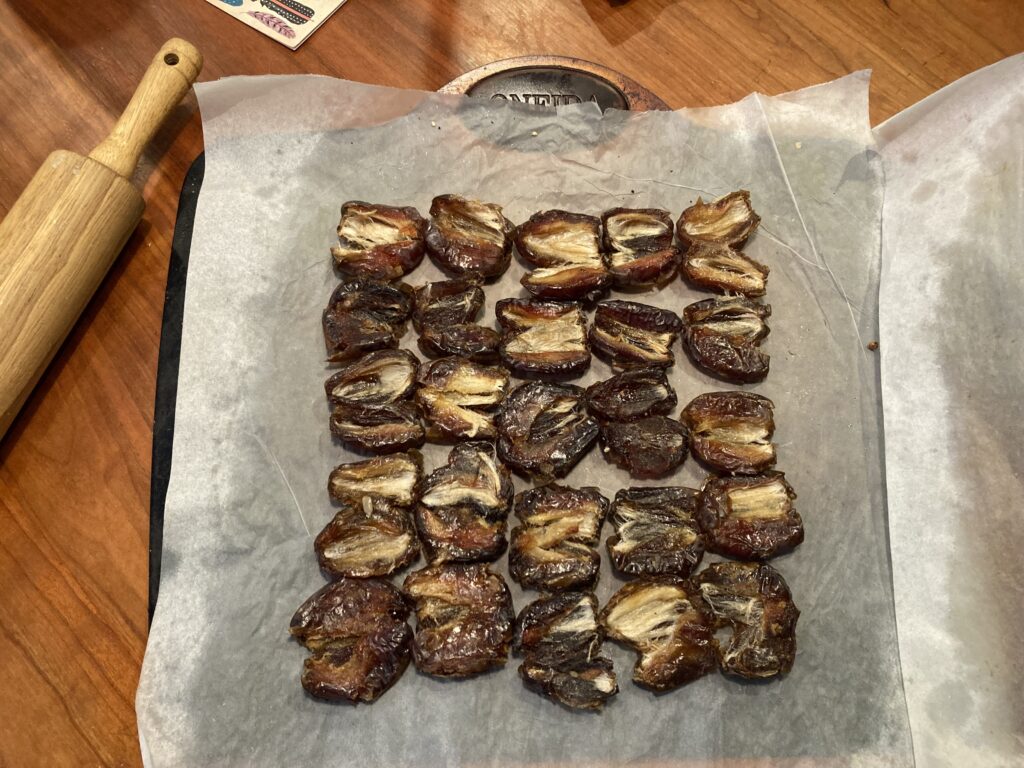
- Make the date mat: Pit the dates and line them up like soldiers with their smooth sides down.
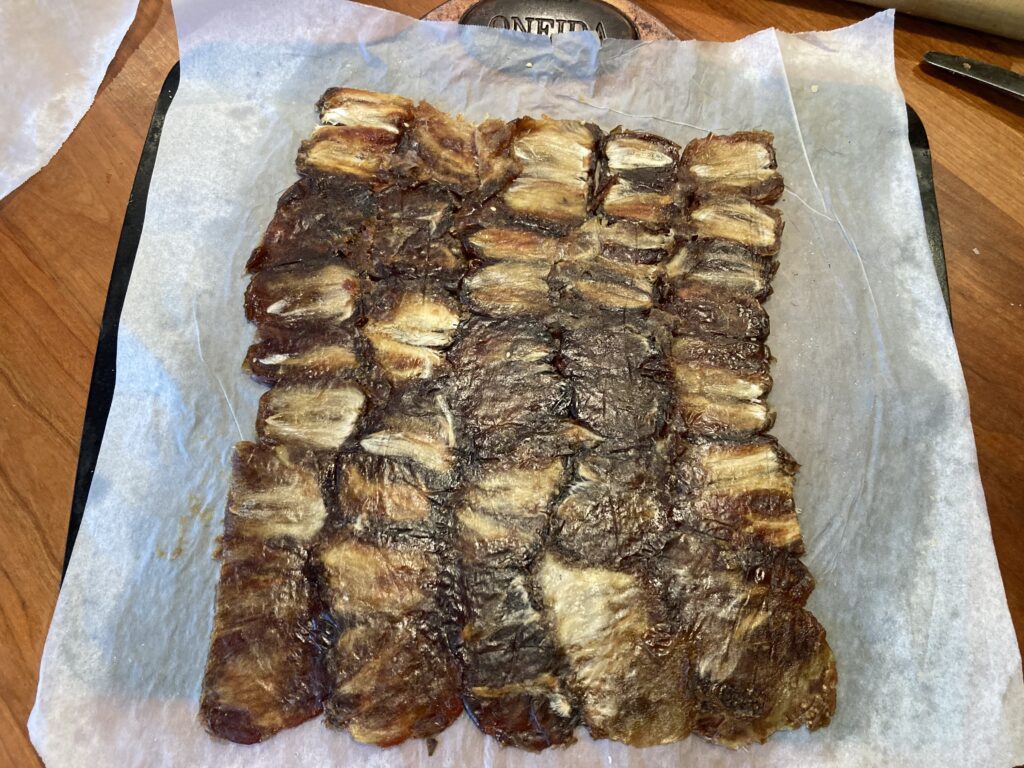
- Pack them down as best you can, ideally by rolling them between two sheets of parchment but you can also do this by greasing the bottom of a greased glass to smush them. You’re going for a date mat or carpet type of thing, so put a little effort into this.
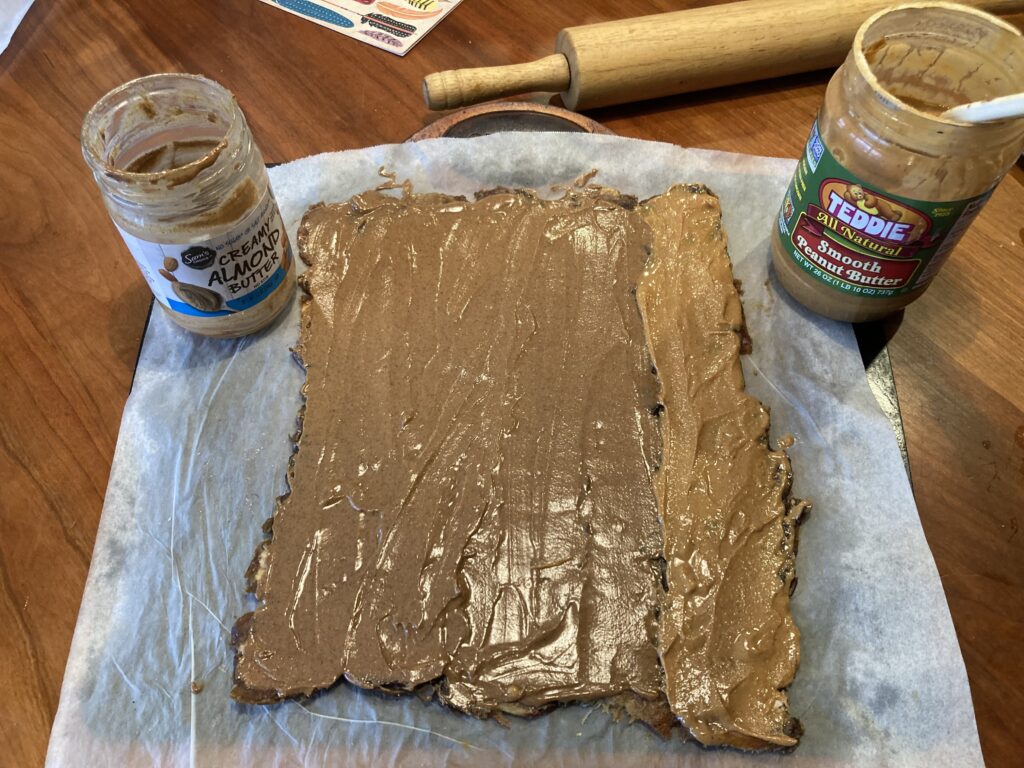
- Pour the nut butter over the dates and spread it around. If your nut butter is thick, warm it up a bit in the microwave so you can spread it easily.
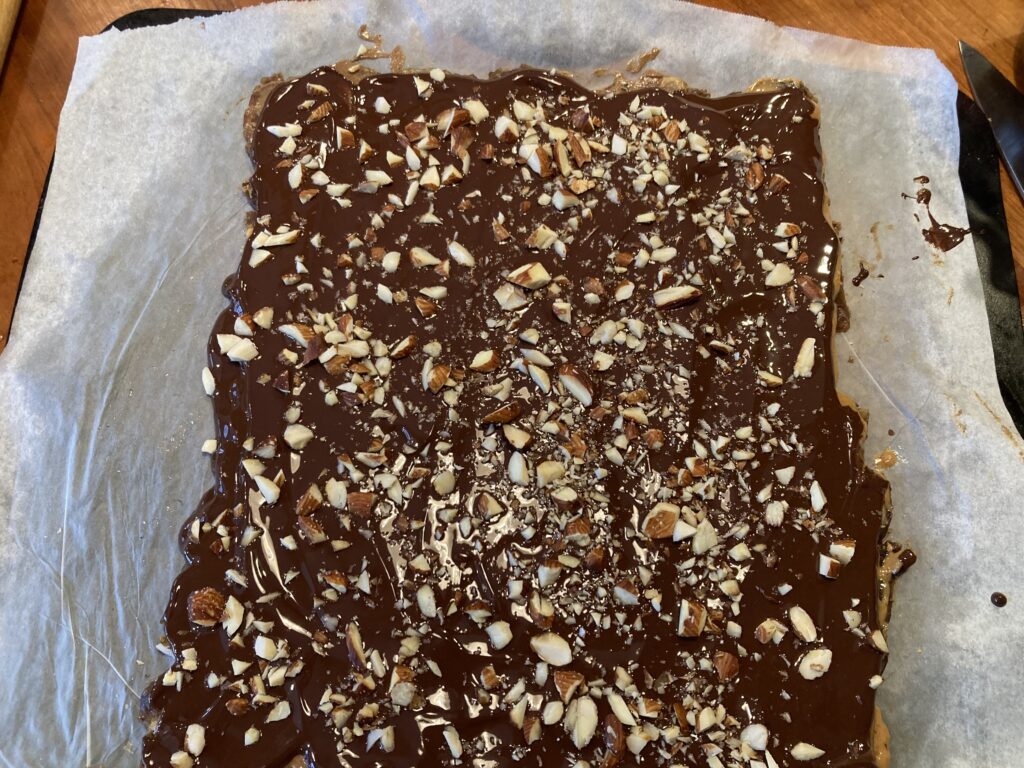
- Sprinkle on the optional hero layer. I have never done this step and have no complaints on the finished product, but I am sure the hero layer would elevate it. In many iterations of this recipe the hero layer is a sprinkling of chopped peanuts or almonds. I’ve also seen crushed popcorn or potato chips for the win. Toasted coconut, dried fruit or pretzels would be right up there too.
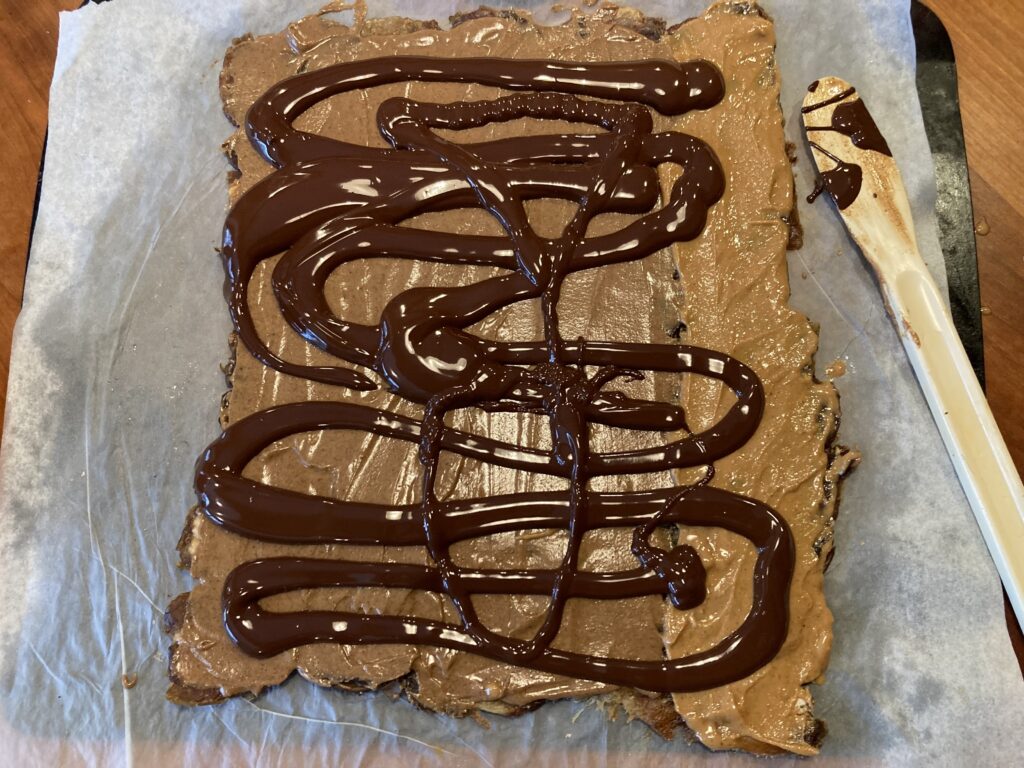
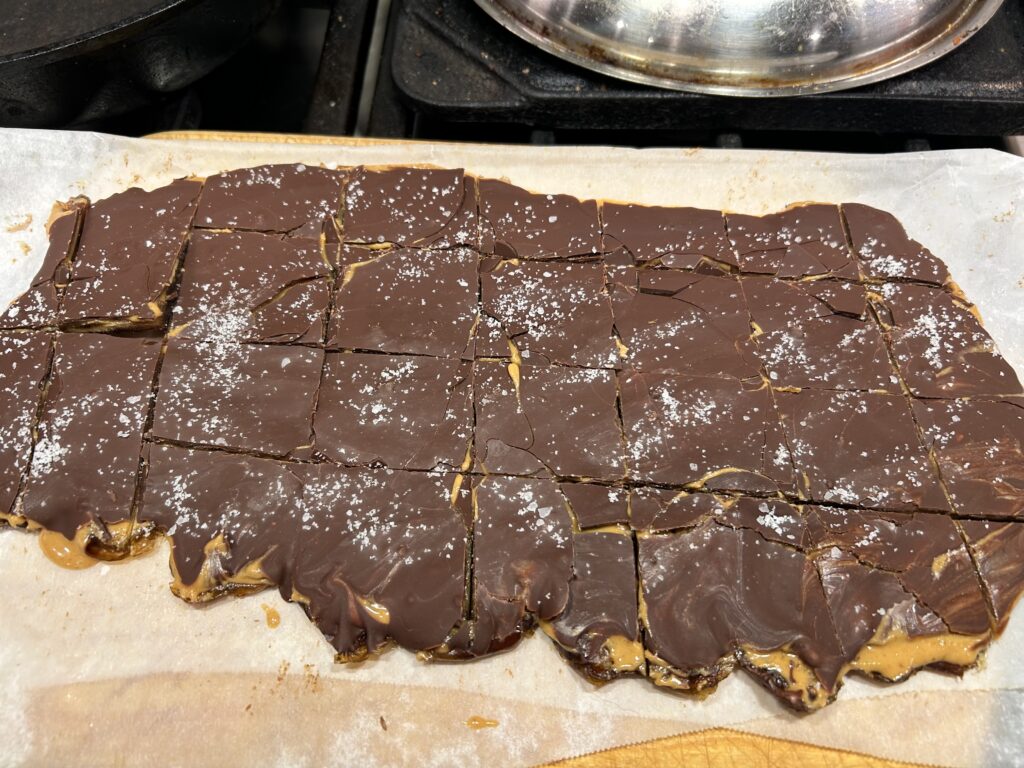
- Pour on the chocolate: Melt chocolate and coconut oil in the microwave for 45-60 sec, stirring after 30 seconds if you remember to. Stir until smooth and pour chocolate over your now impressive looking nut butter covered date mat. Smooth it all out. Sprinkle some flaky salt on top and put it into the freezer.
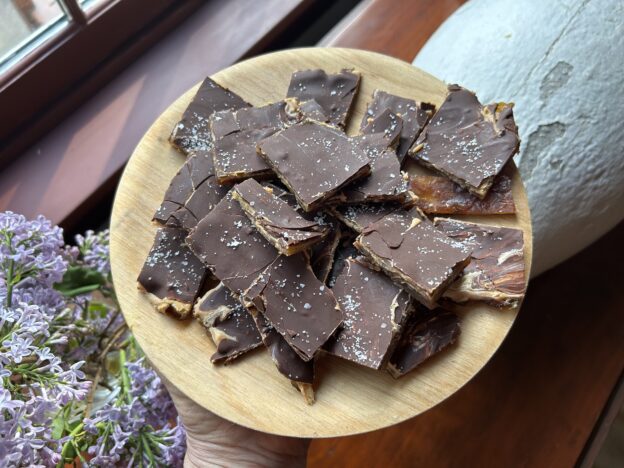
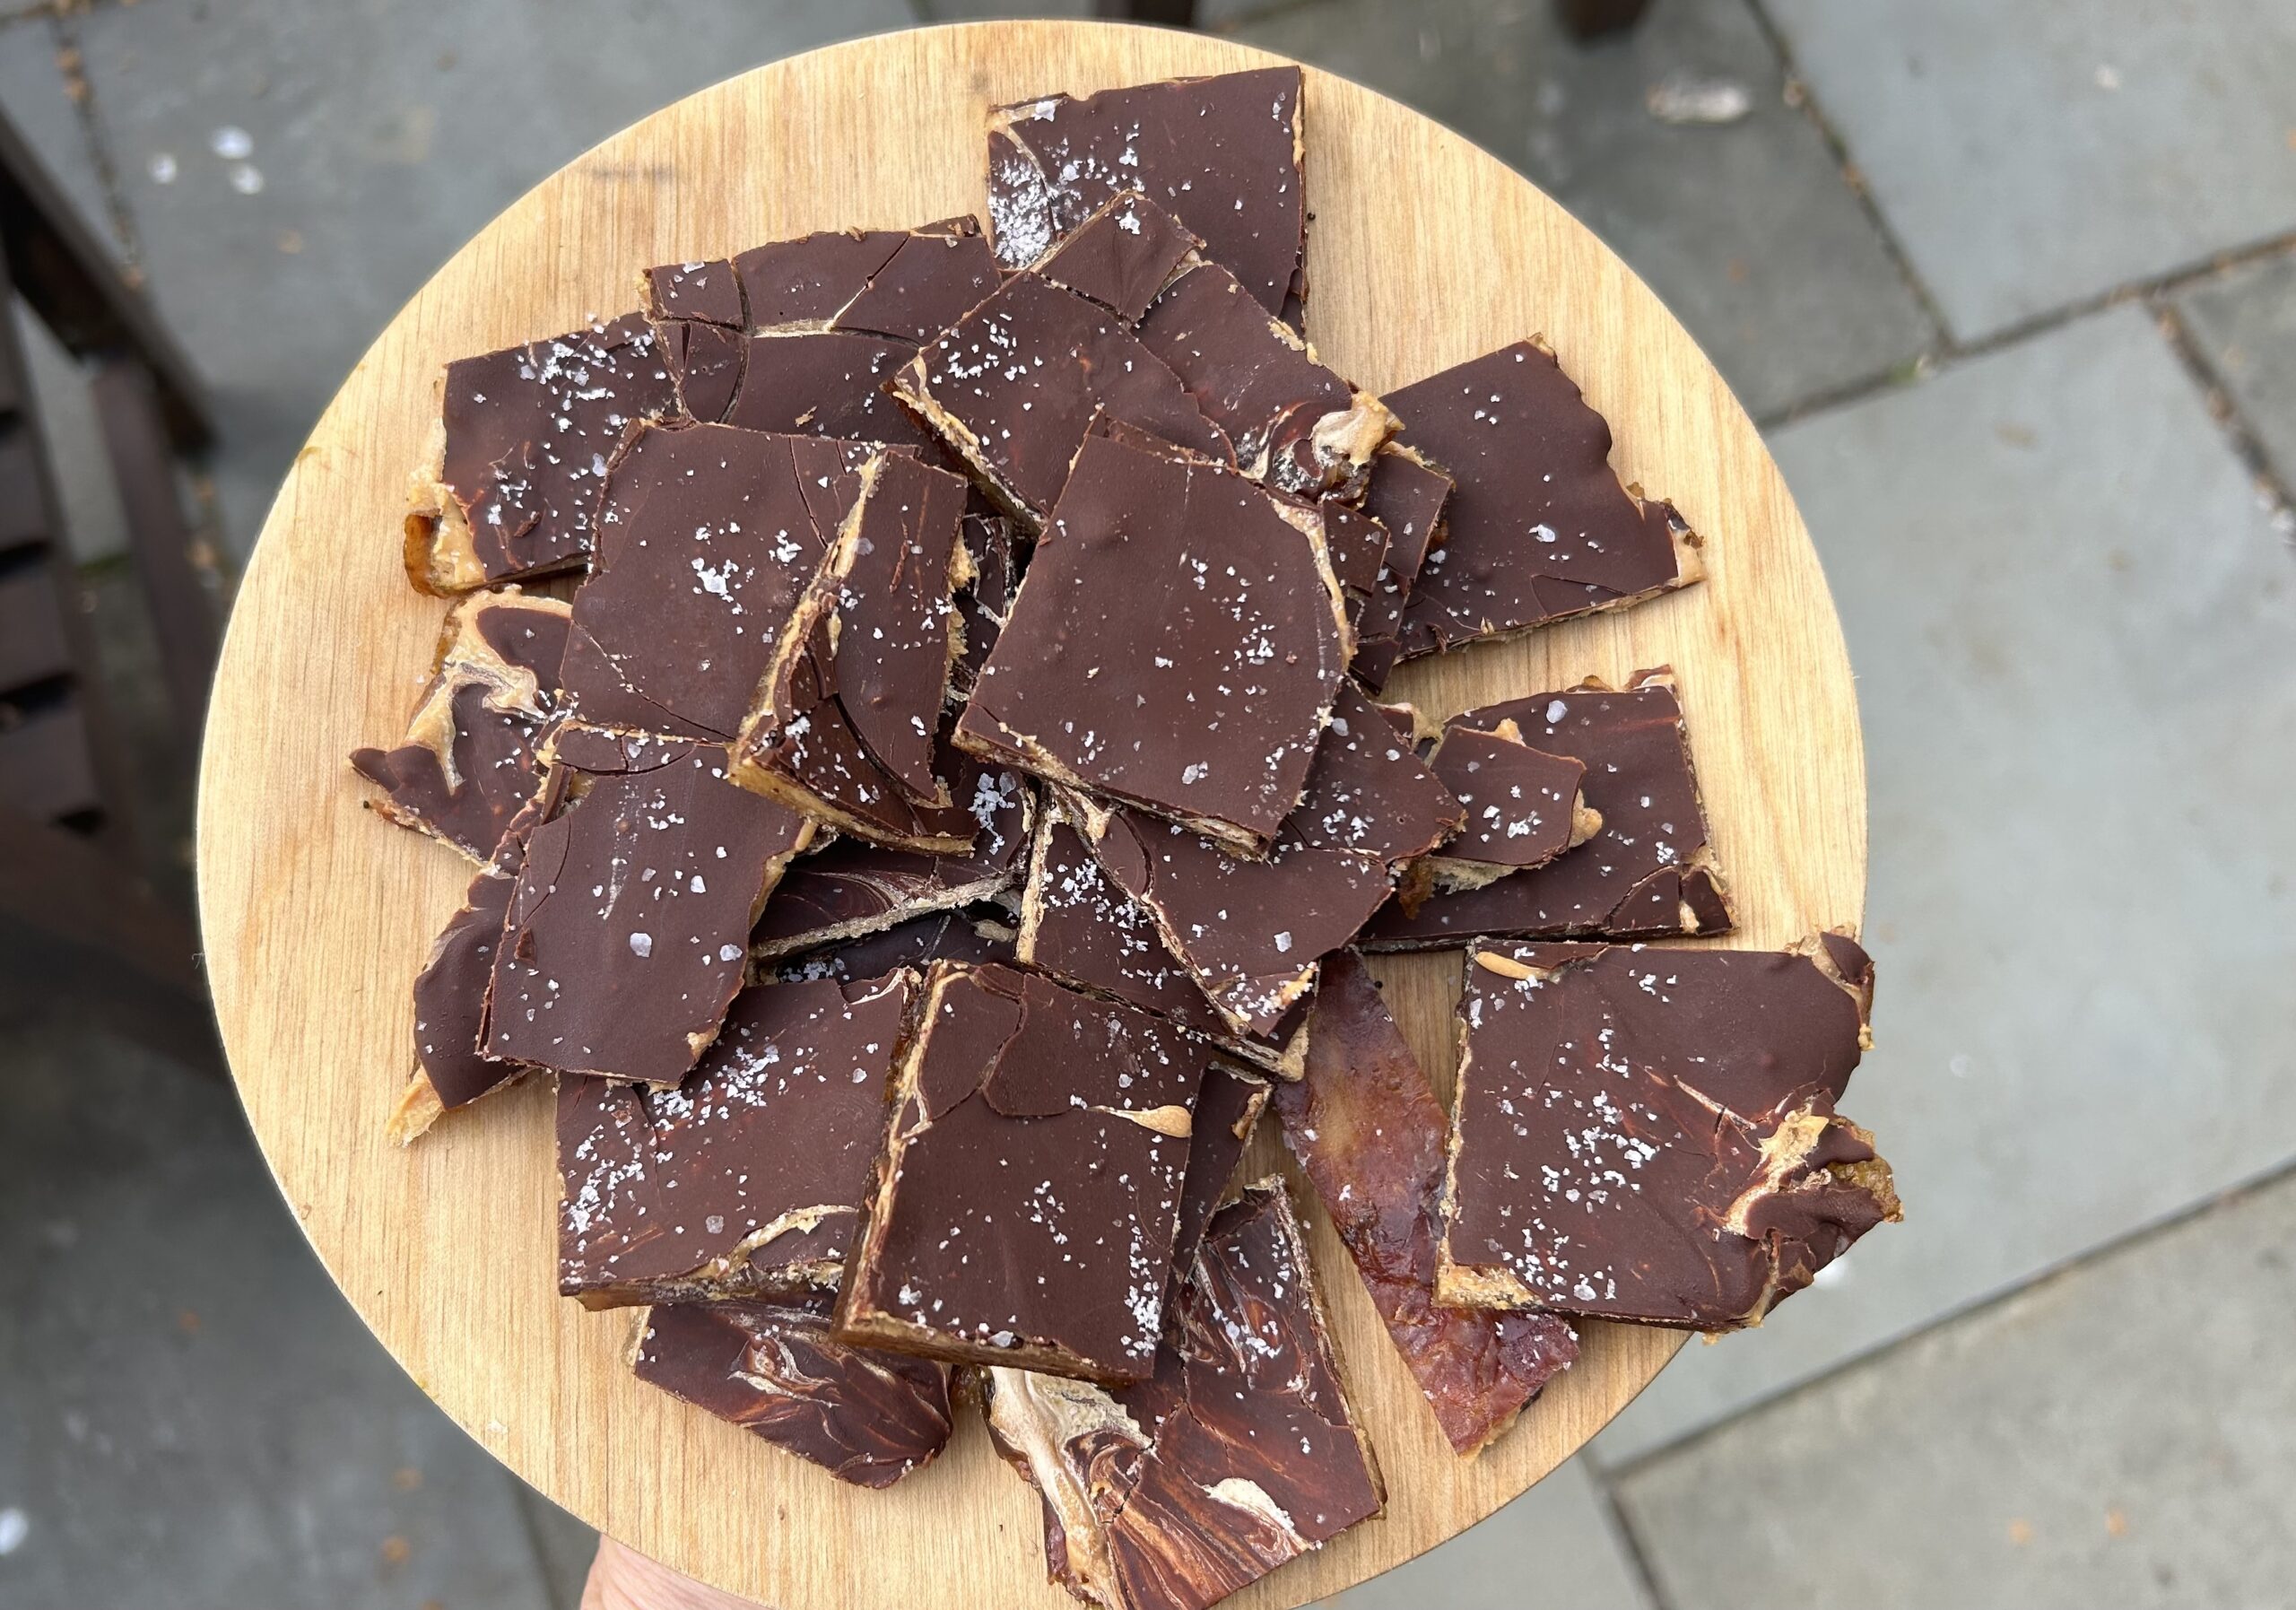
- Try to forget about it for at least 30 minutes and then cut it into whatever size squares make you happy. The pre-cut pieces can be stored in the fridge but I prefer the texture and the out-of-sightness of the freezer.
Note: chocolate should ideally be dark and high quality, but honestly that half bag of semisweet Nestle chips in your cupboard is just fine. When you open your freezer after dinner and see these at the ready you are going to be happy you were not so picky, and used what you had.
If you are looking for a date bark rabbit hole to go down, I recommend starting here with thathealthjunkie, one of the OG date bark masters. Her sesame snap date bark creation here looks epic.