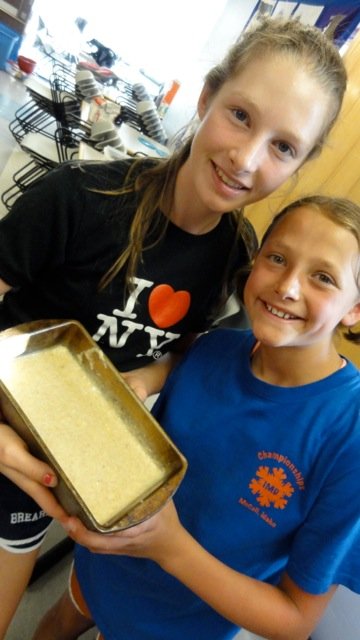
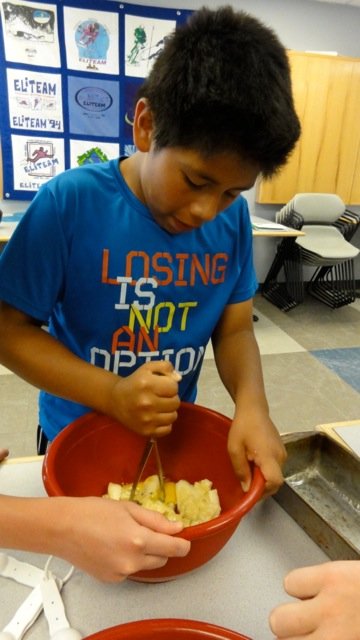
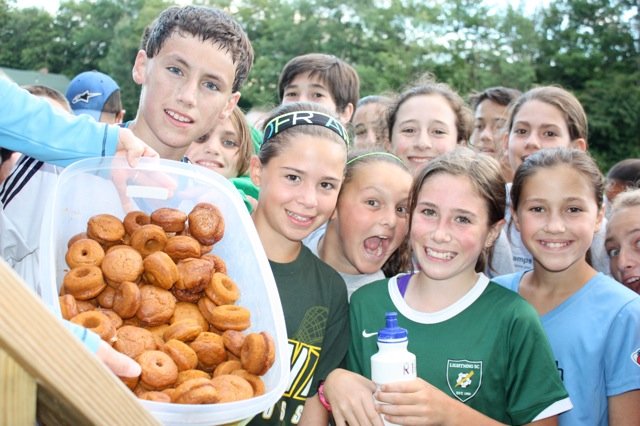
 And now for another episode of Positive Snacks, courtesy of Doug Lewis and the Eliteam campers. Doug is in the midst of his fourth eliteam session of the summer, and he’s kept the kids on the go, made them sweat a whole lot and taught them a ton about sports psychology, sports physiology and sports nutrition. Read more about Doug, Eliteam and Positive Snacks here, or just keep reading for another great recipe that will get kids psyched to be in the kitchen. And, ahem kiddos, the eliteam cooking experience includes clean-up as well.
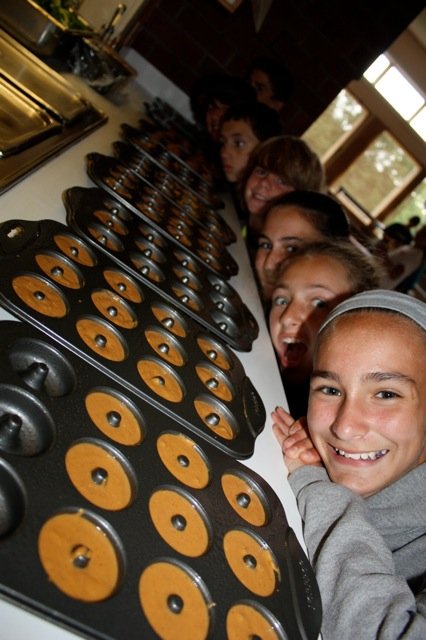
Here’s what Doug says about his recent donut making experience:
“This is a great recipe that is healthy with the squash and pumpkin puree—PLUS they are donuts! They’re packed full of good nutrients and baked, not fried, which makes them healthier. Also, it requires an egg white and separating an egg is always a fun activity to try with the kids.
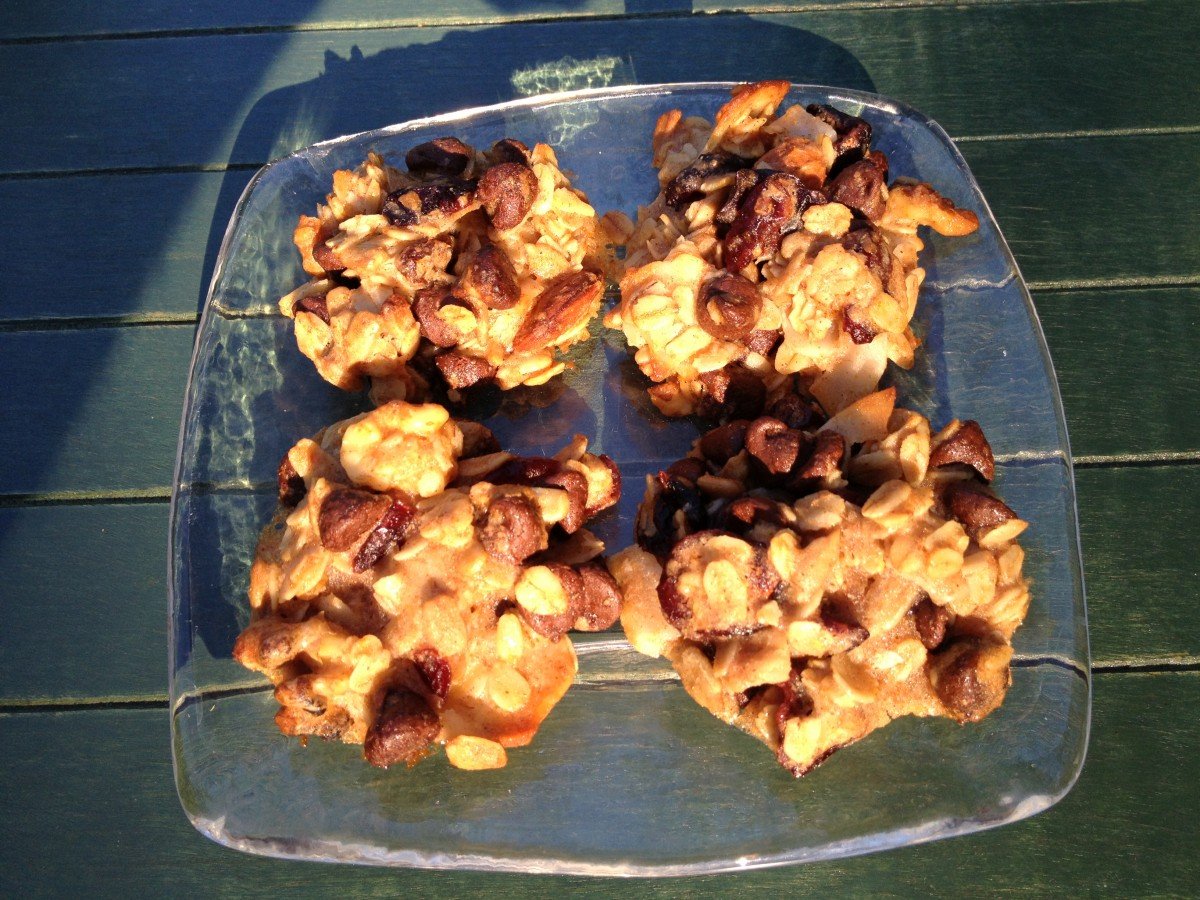
Go-Go Donuts (Full disclosure: I added the Go-Go, because these kids never, ever stop.)
Ingredients
Nonstick cooking spray
½ cup firmly packed light or dark brown sugar
½ cup canned pumpkin puree
½ cup sweet potato puree
½ cup nonfat (skim) milk, or lowfat (1%) buttermilk
1 large egg white
1 tablespoon trans-fat-free soft tub margarine spread, melted
1 teaspoon pure vanilla extract
1 cup all-purpose flour, or whole-wheat pastry flour
1 teaspoon baking soda
½ teaspoon baking powder
½ teaspoon cinnamon or pumpkin pie spice
Method
Preheat the oven to 350 degrees F. Coat a doughnut mold or 12 cup mini-muffin tin with cooking spray.
In a large bowl, beat together the sugar, pumpkin and sweet potato purees, milk, egg white, margarine, and vanilla. Add the flour, baking soda, baking powder, and spice, and mix until completely incorporated.
Pour the batter into a gallon-sized plastic bag ( or pastry bag if you have one) and cut the bottom tip off of one side of the bag. Squeeze the batter through, into the donut mold. Bake until the tops are lightly browned and a toothpick comes out clean when inserted, 20-25 minutes. Turn the doughnuts out onto a rack to cool. When cool, dust with confectioners’ sugar.
Store in an airtight container at room temperature for up to 2 days, or freeze for up to 1 month.