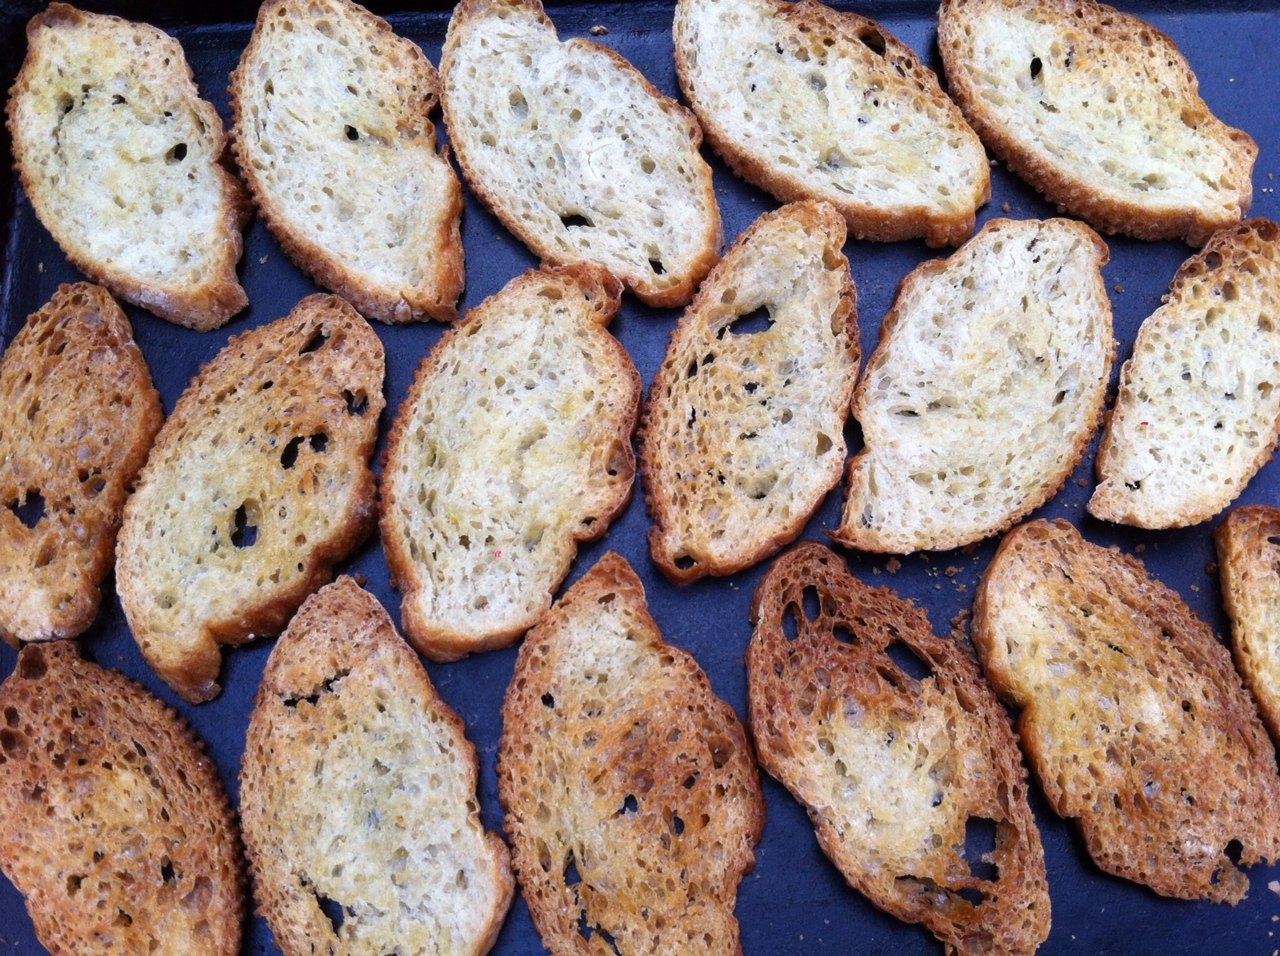
 We’re taking liberties and calling every iteration of tasty stuff delivered on small pieces of toast “bruschetta.” This is of course not a purist approach. Some of my all-time favorites in that family of apps are called “crostini” which is technically grilled bread. And many of the best bruschetta or crostini fixins are just as good on flatbread, pizza crust, tortillas, pita chips, baked mochi or really any other carb vehicle. They’re also good on planks of taro or sweet potatoes or even rolled up in a leaf of romaine for our paleo friends.
But because we don’t want to leave anyone hanging on how to make bruschetta, crostini or whatever you want to call it we are simply offering up a good basic method for making appetizer-worthy toasts, and an illuminating crostini blurb in Bon Appetit to help you avoid common mistakes that threaten to RUIN EVERYTHING, if you are so inclined to have toasts ruin anything in your life.
Ingredients
Take a loaf of Easiest French Bread Ever, or a store bought baguette-like loaf that is not too airy inside. You want to have a solid surface for toppings. Slice thin (1/2″ thick or less), but again remember this bread has a job to do, so it has to have some heft. Arrange as many slices as you can on a baking sheet by fitting them together with Tetrus-like space management. Brush lightly with olive oil and sprinkle some kosher salt over all.
Bake in a 350-400 degree oven until just beginning to brown. Oven temp is not critical, which allows you to bake these up while you are baking other things. Cooking time will vary according to temperature, but at 350 degrees start looking at the toasts after 15 minutes. Cool and use immediately or pack away for later.
Method
Its nice to have pre-made hors d’oeuvres, but sometimes its also nice to allow guest to create their own combinations…especially when you are short on time. If you go the DIY route just present a few pre-made masterpieces as a guide and offer each component with the proper implement.
First Layer: Here you are creating a base of flavor and also a barrier between the toast and toppings that are often steeped in juice or vinegar or something that could turn toast to mush on contact. A spreadable consistency for your base material makes your job easier and allows for build-your-own-options. Fancy, creamy, goat, blue and brie-like cheeses are great, as is plain old cream cheese mixed with herbs, spices, dried fruit or whatever sounds good to you. Whipped lemony feta à la Ina Garten is a good place to start as well.
Second Layer: This is the really good stuff. Pickled figs, tomatoes and fresh herbs, caponata, marinated fruit, citrusy/herb-infused anything. Insert purr sound here. There are so many possibilities, including the ever-popular and oh-so-easy Funitella Bruschetta.
Third Layer: This is all about crunch. Toasted nuts or seeds, a pinch of something salty, fried, candied or otherwise decadent (turn away Sue…pssst–crumbled bacon!) Pull out whatever favorite topper is in your pantry arsenal. Steal an idea from the “pickled fig crostini” and keep a small stash of your favorite toasted nuts, chopped fine then lubed up with olive oil and a sprinkle of salt. That’s a worthy topper for pretty much anything, unless you hate nuts, in which case you might want to avoid anything I bring.
Bring it!
Pack the toasts in a good ziploc bag, and bring all other mixtures in their own separate sealed travel containers, or covered serving bowls. Make sure the crispy/crunchy stuff is isolated to maintain its mojo. And don’t forget the serving tray, spreaders, spoons and knives if needed.
Pingback: Pickled Fig, Creamy Cheese and Crunchy Nut Crostini | Bring It!
Pingback: Sicilian Caponata | Bring It!
Pingback: Tomato Jam, co-starring sugar and spice | Bring It!
Pingback: It's Labor Day. So g'wan, Beet It! - Bring It!