This started out yesterday as a sad pathetic post about life and lemons and fresh starts, a post that was killing my will to live as I wrote it. And then today…it snowed! The instant mood shift makes me realize how closely snow is connected to my psyche. I suspect everyone has a natural Prozac. Snow is mine.
I grew up loving March because it meant sun and snow and spring skiing and friends. It was the cap-off to a good winter or a bad winter but a winter in any case. This year, by the time March rolled around in these parts, it felt like winter never really started and then decided to throw in the towel early. I did the same, giving up on winter entirely in the beginning of March. Just looking at my weather app made everything feel so wrong, so sad, so hopeless. So I stopped.
But then, this snow storm comes out of nowhere, entirely burying cars (unheard of in this hood), and delivering a proper snow day—one that stops everything and everyone from doing whatever they were doing and going wherever they were going.
It took me back to the “Storm of 82” which featured a whopper late March snowstorm that coincided with my 16th birthday amidst a houseful of older ski racers. By then we’d been snowbound for nearly a week, so supplies were running low while boredom was peaking. When someone put peppermint schnapps in his hot chocolate at breakfast, it just made sense.
This recipe pays homage to great snow days, that are all about hunkering in with whoever you’re with, and eating whatever you’ve got. It requires ingredients that are likely to persist in even the leanest, picked-over kitchen.
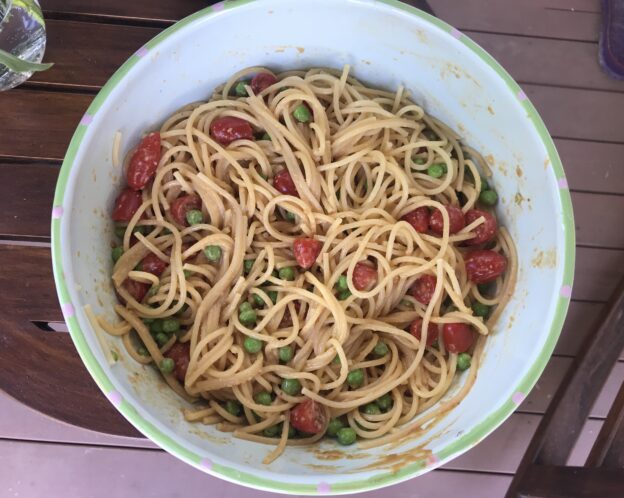
Officially, they are known as Eric Kim’s peanut butter noodles, and also midnight noodles, for reasons that will be obvious to anyone stumbling home late and hungry.
There are so many things I like about this recipe:
- First, it hits the trifecta of being easy, cheap and tasty.
- It uses ingredients most people would have in their kitchen at any given time.
- You can dress it up or dress it down. Did I stir in some chile crisp? Hell yes! Would it welcome a protein or veggies? Hell yes again! It is also just right nekkid, as is.
- It’s versatile. It works with ramen and spaghetti and I’ll wager with any pasta type thing you can scare up in your pantry. Vegan or gluten-free adaptations? Child’s play!
- Finally, I love that it is deemed a single serving, so if you do manage to plow through the whole bowl, which would be impressive, you can take some comfort in knowing it was pre-ordained.
I’m here to tell you that you need not wait until a late night or a snow day to make this. Make this whenever the heck you need something quick and tasty and satisfying. Here’s hoping you enjoy your Sunday, or Snow Day or whatever day you’ve got.
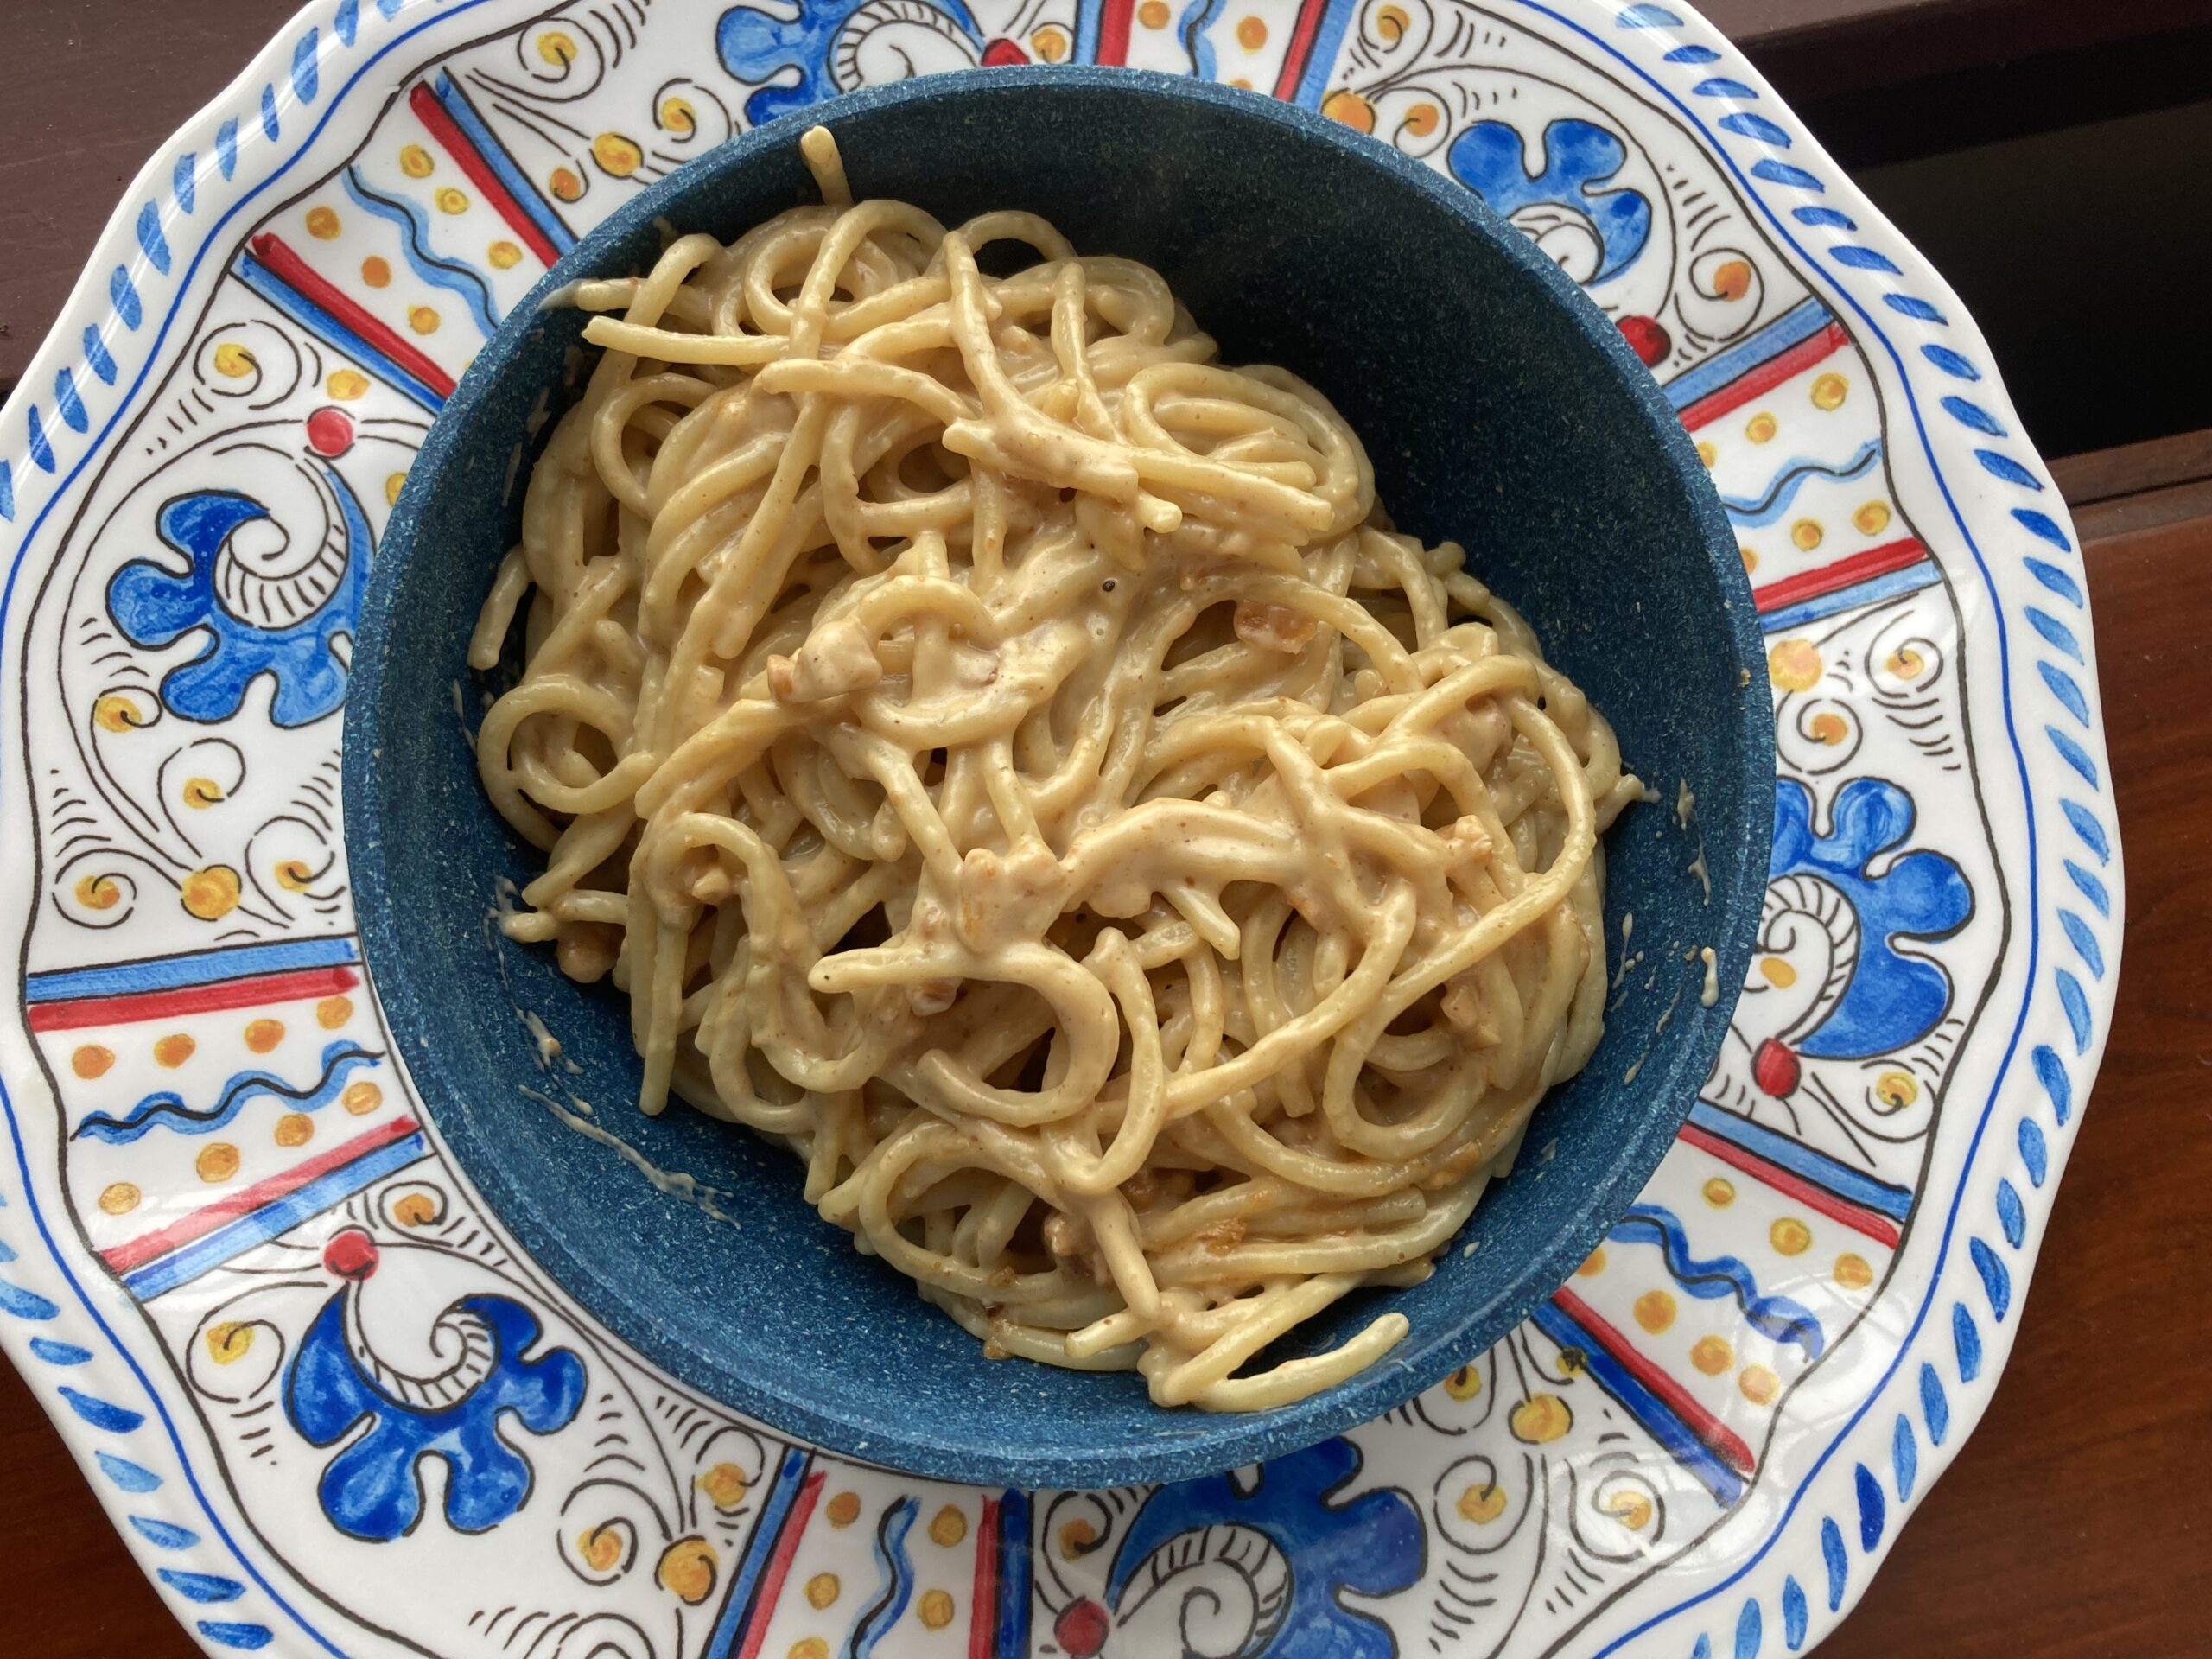
Happy Day Noodles
AKA Eric Kim’s Peanut Butter Noodles
Makes 1 very generous serving
Ingredients:
- Salt
- 4 ounces spaghetti or 1 individual package instant ramen (seasoning packet saved for another use)
- 2 tablespoons creamy peanut butter (low-budget recommended, but I used the chunky good stuff and it was just fine)
- 1 tablespoon unsalted butter
- 1 tablespoon finely grated Parmesan, plus more for serving
- 1 teaspoon soy sauce
Method:
- Bring a pot of water to a boil (and salt it, if using spaghetti). Cook the noodles according to package instructions. Reserve 1/2 cup of the cooking water, then drain the noodles and return to the pot. Turn off the heat.
- Add the peanut butter, butter, Parmesan and soy sauce. Vigorously stir the noodles for a minute, adding some reserved cooking water, a tablespoon or two at a time, until the sauce is glossy and clings to the noodles. Season to taste with salt.
- Top with more cheese, if you’d like, and serve immediately
Note: I made this for the first time and it got six thumbs up (from three people). Two more unexpected visitors arrived later that day and I made another batch, earning it four more thumbs up. So, that’s two batches and seven thumbs up, with no extra ingredients. It does the job!