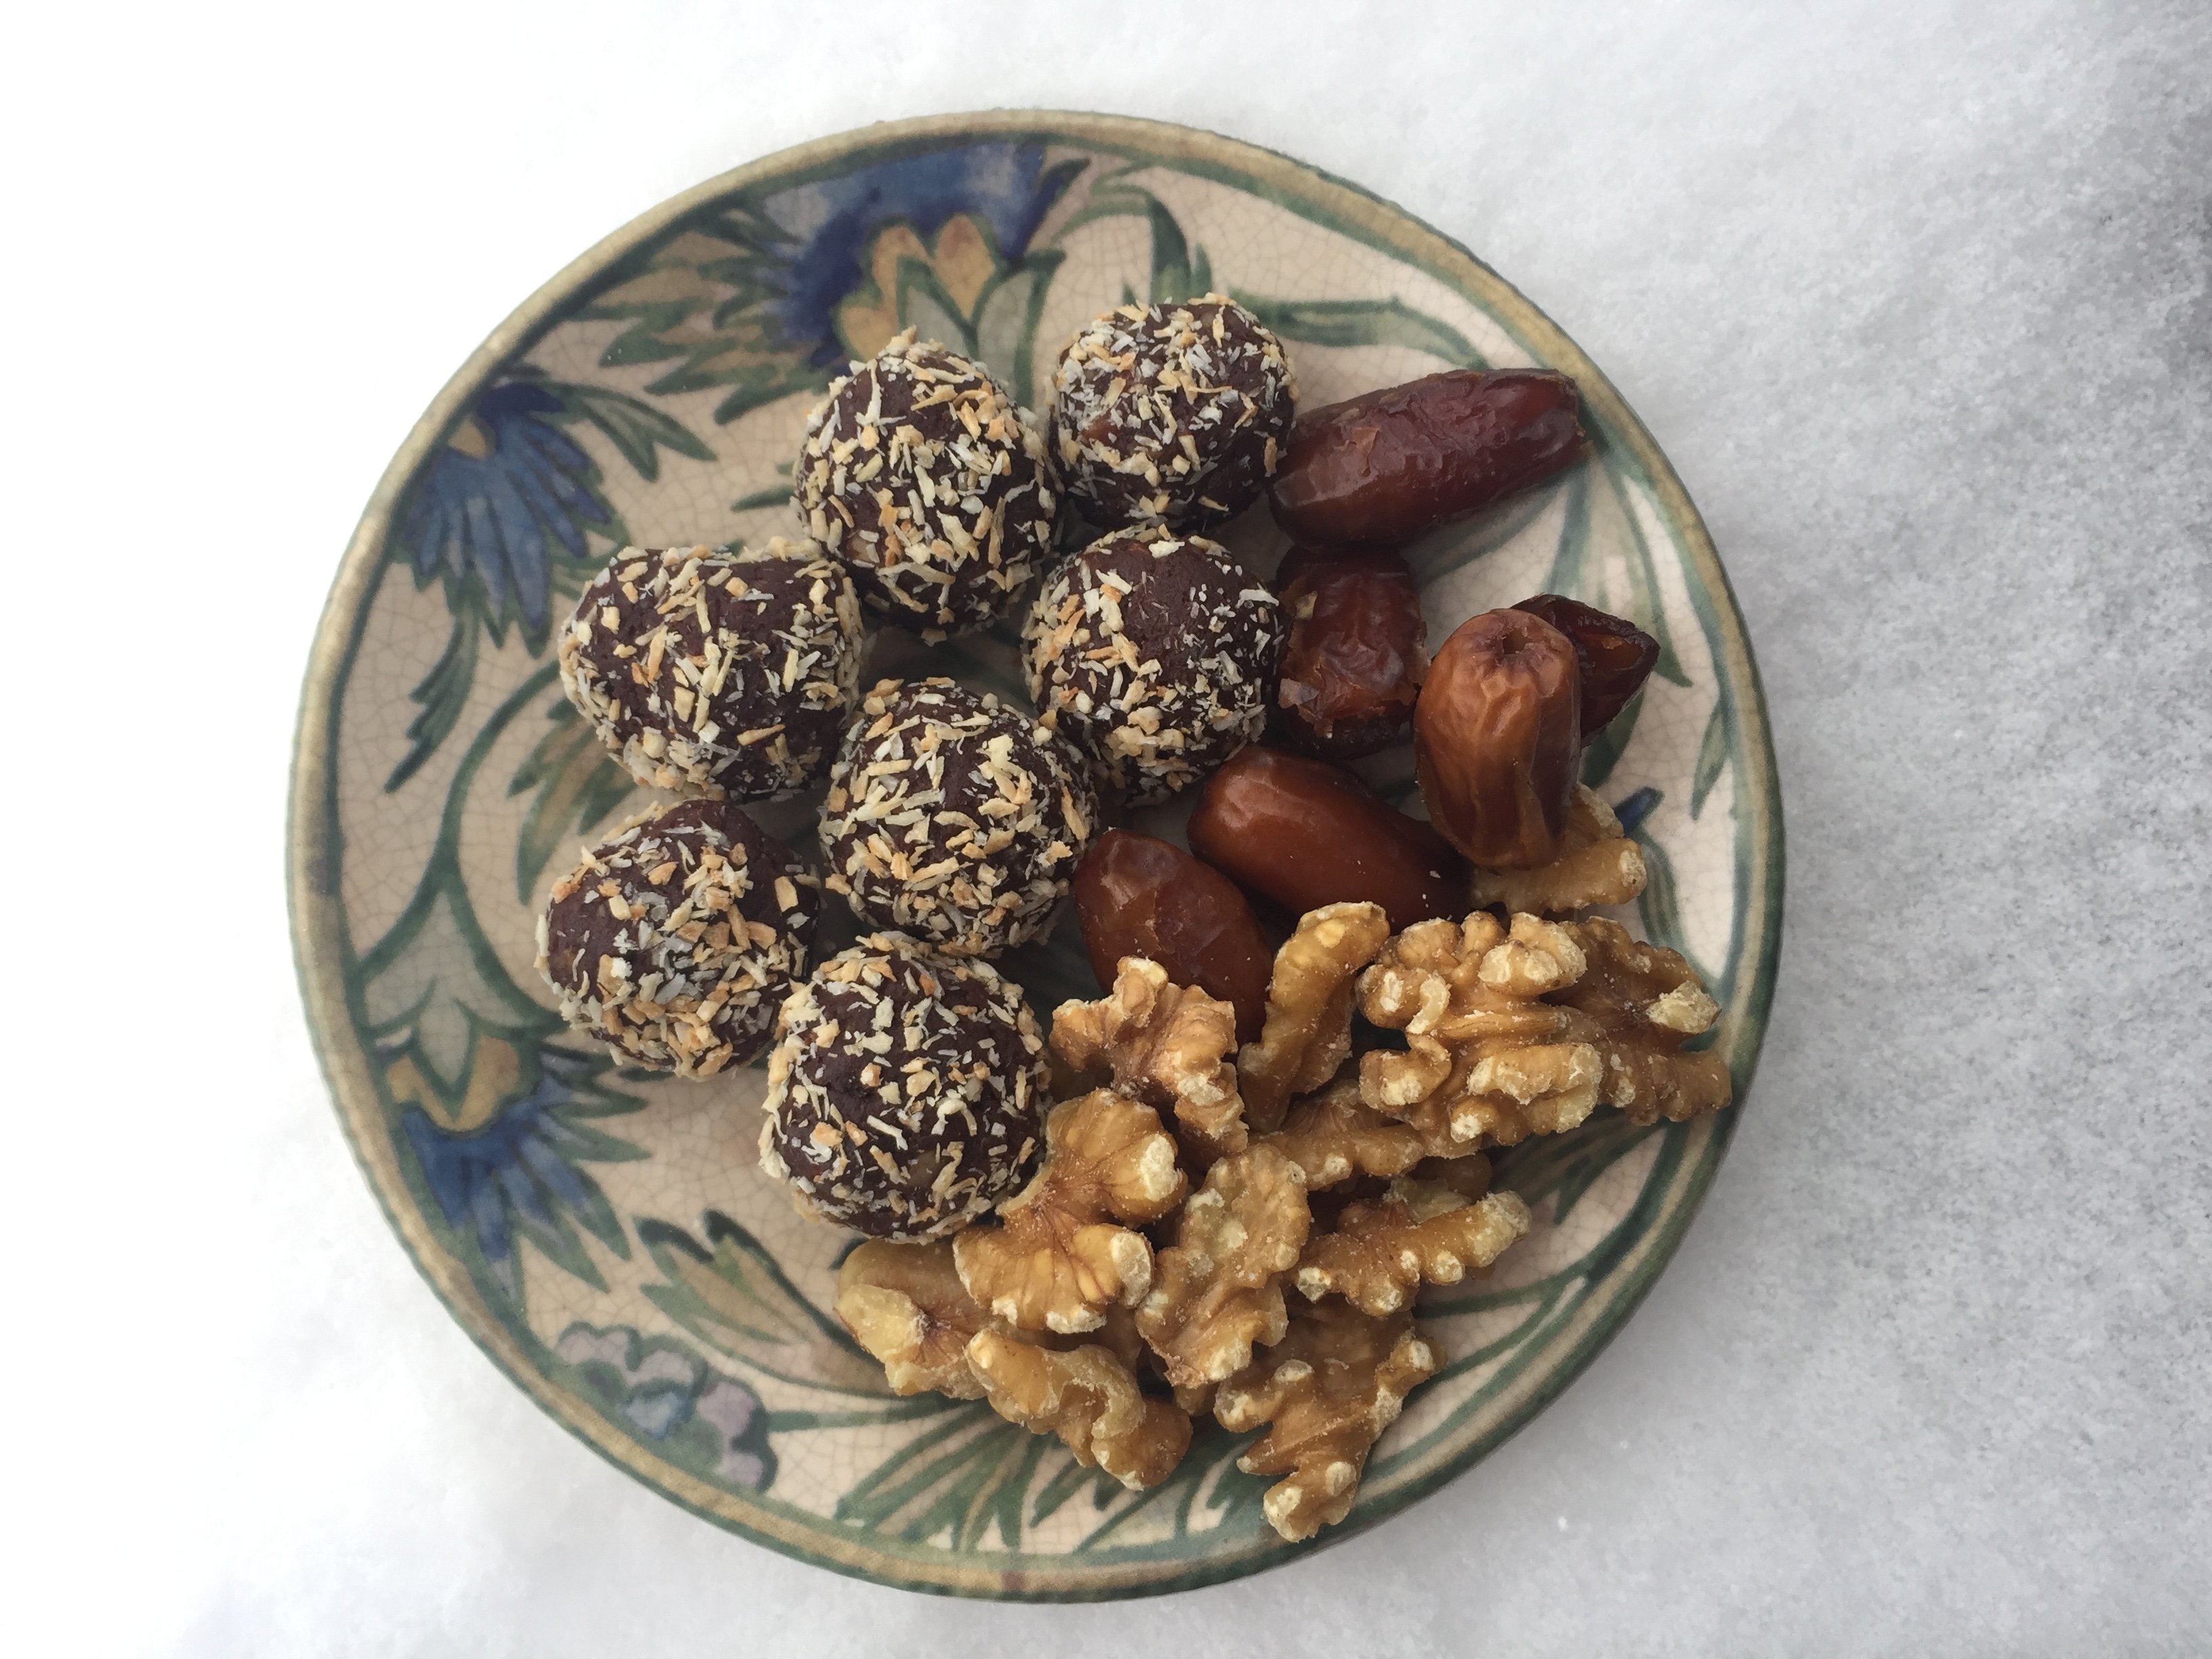
People who know me or have seen me cook know that I am the slacker queen. It’s not that I cut corners entirely out of laziness. I cut them to find an easier way to a just-as-good or better outcome. These it no victory quite like winning the short-cut.
Case in point: Slacker chile crisp, which takes a fraction of the time effort and ingredients of the original chile crisp (PS interesting article on how chili crisp took over America right here), and which I now prefer. And then there are funitella bruschetta and easiest tomato soup both of which I will always and unapologetically make with canned tomatoes. Don’t get me started on sourdough. Not a chance I am going through that when I can make easiest French bread ever with ~3 minutes of active time.
So that brings me to today’s recipe for a nut-free, gluten-free bread that is reminiscent of the famous lifechanging loaf of bread (AKA Dirt Bread); BUT it requires fewer (and more normal) ingredients, and half the effort. As with all things miraculous, it came from Instagram, from a fleeting place I have never re-found. Let’s say a little prayer for screen shots.
A word here about gluten. I am a fan. I am also a little over-glutened at the moment, having taken a class at Gesine Bullock Prado’s Sugar Glider Kitchen. Her classes sell out in minutes so there not a chance I would have gotten this opportunity had it not been for Suzi the Great, knower of all the best things in life and giver of same. I now know how to properly cream butter and sugar (it takes forever), why to use room temperature eggs, Baker’s math, the virtues of cheap disposable pie pans, how to make and use a proper Swiss buttercream and so much more. I can’t wait to deploy my knowledge bombs for deliciousness
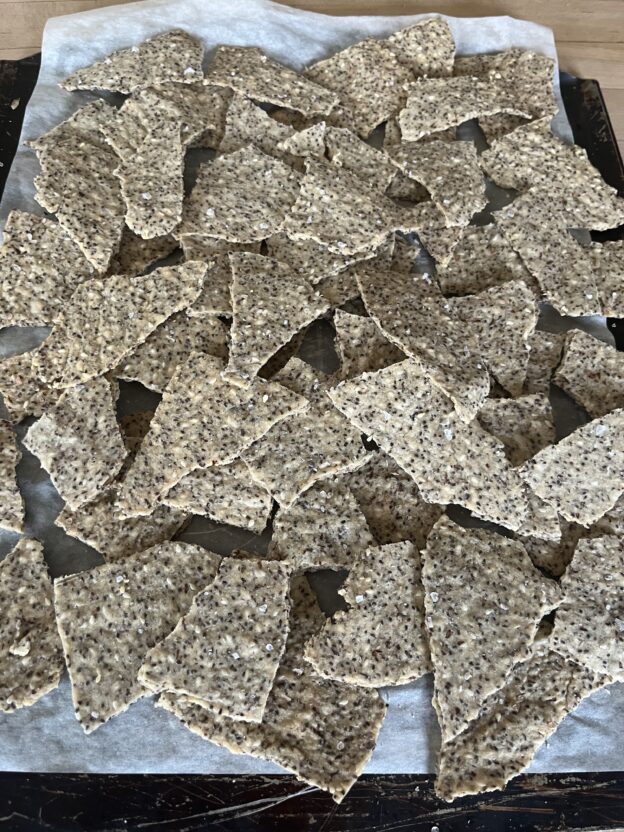
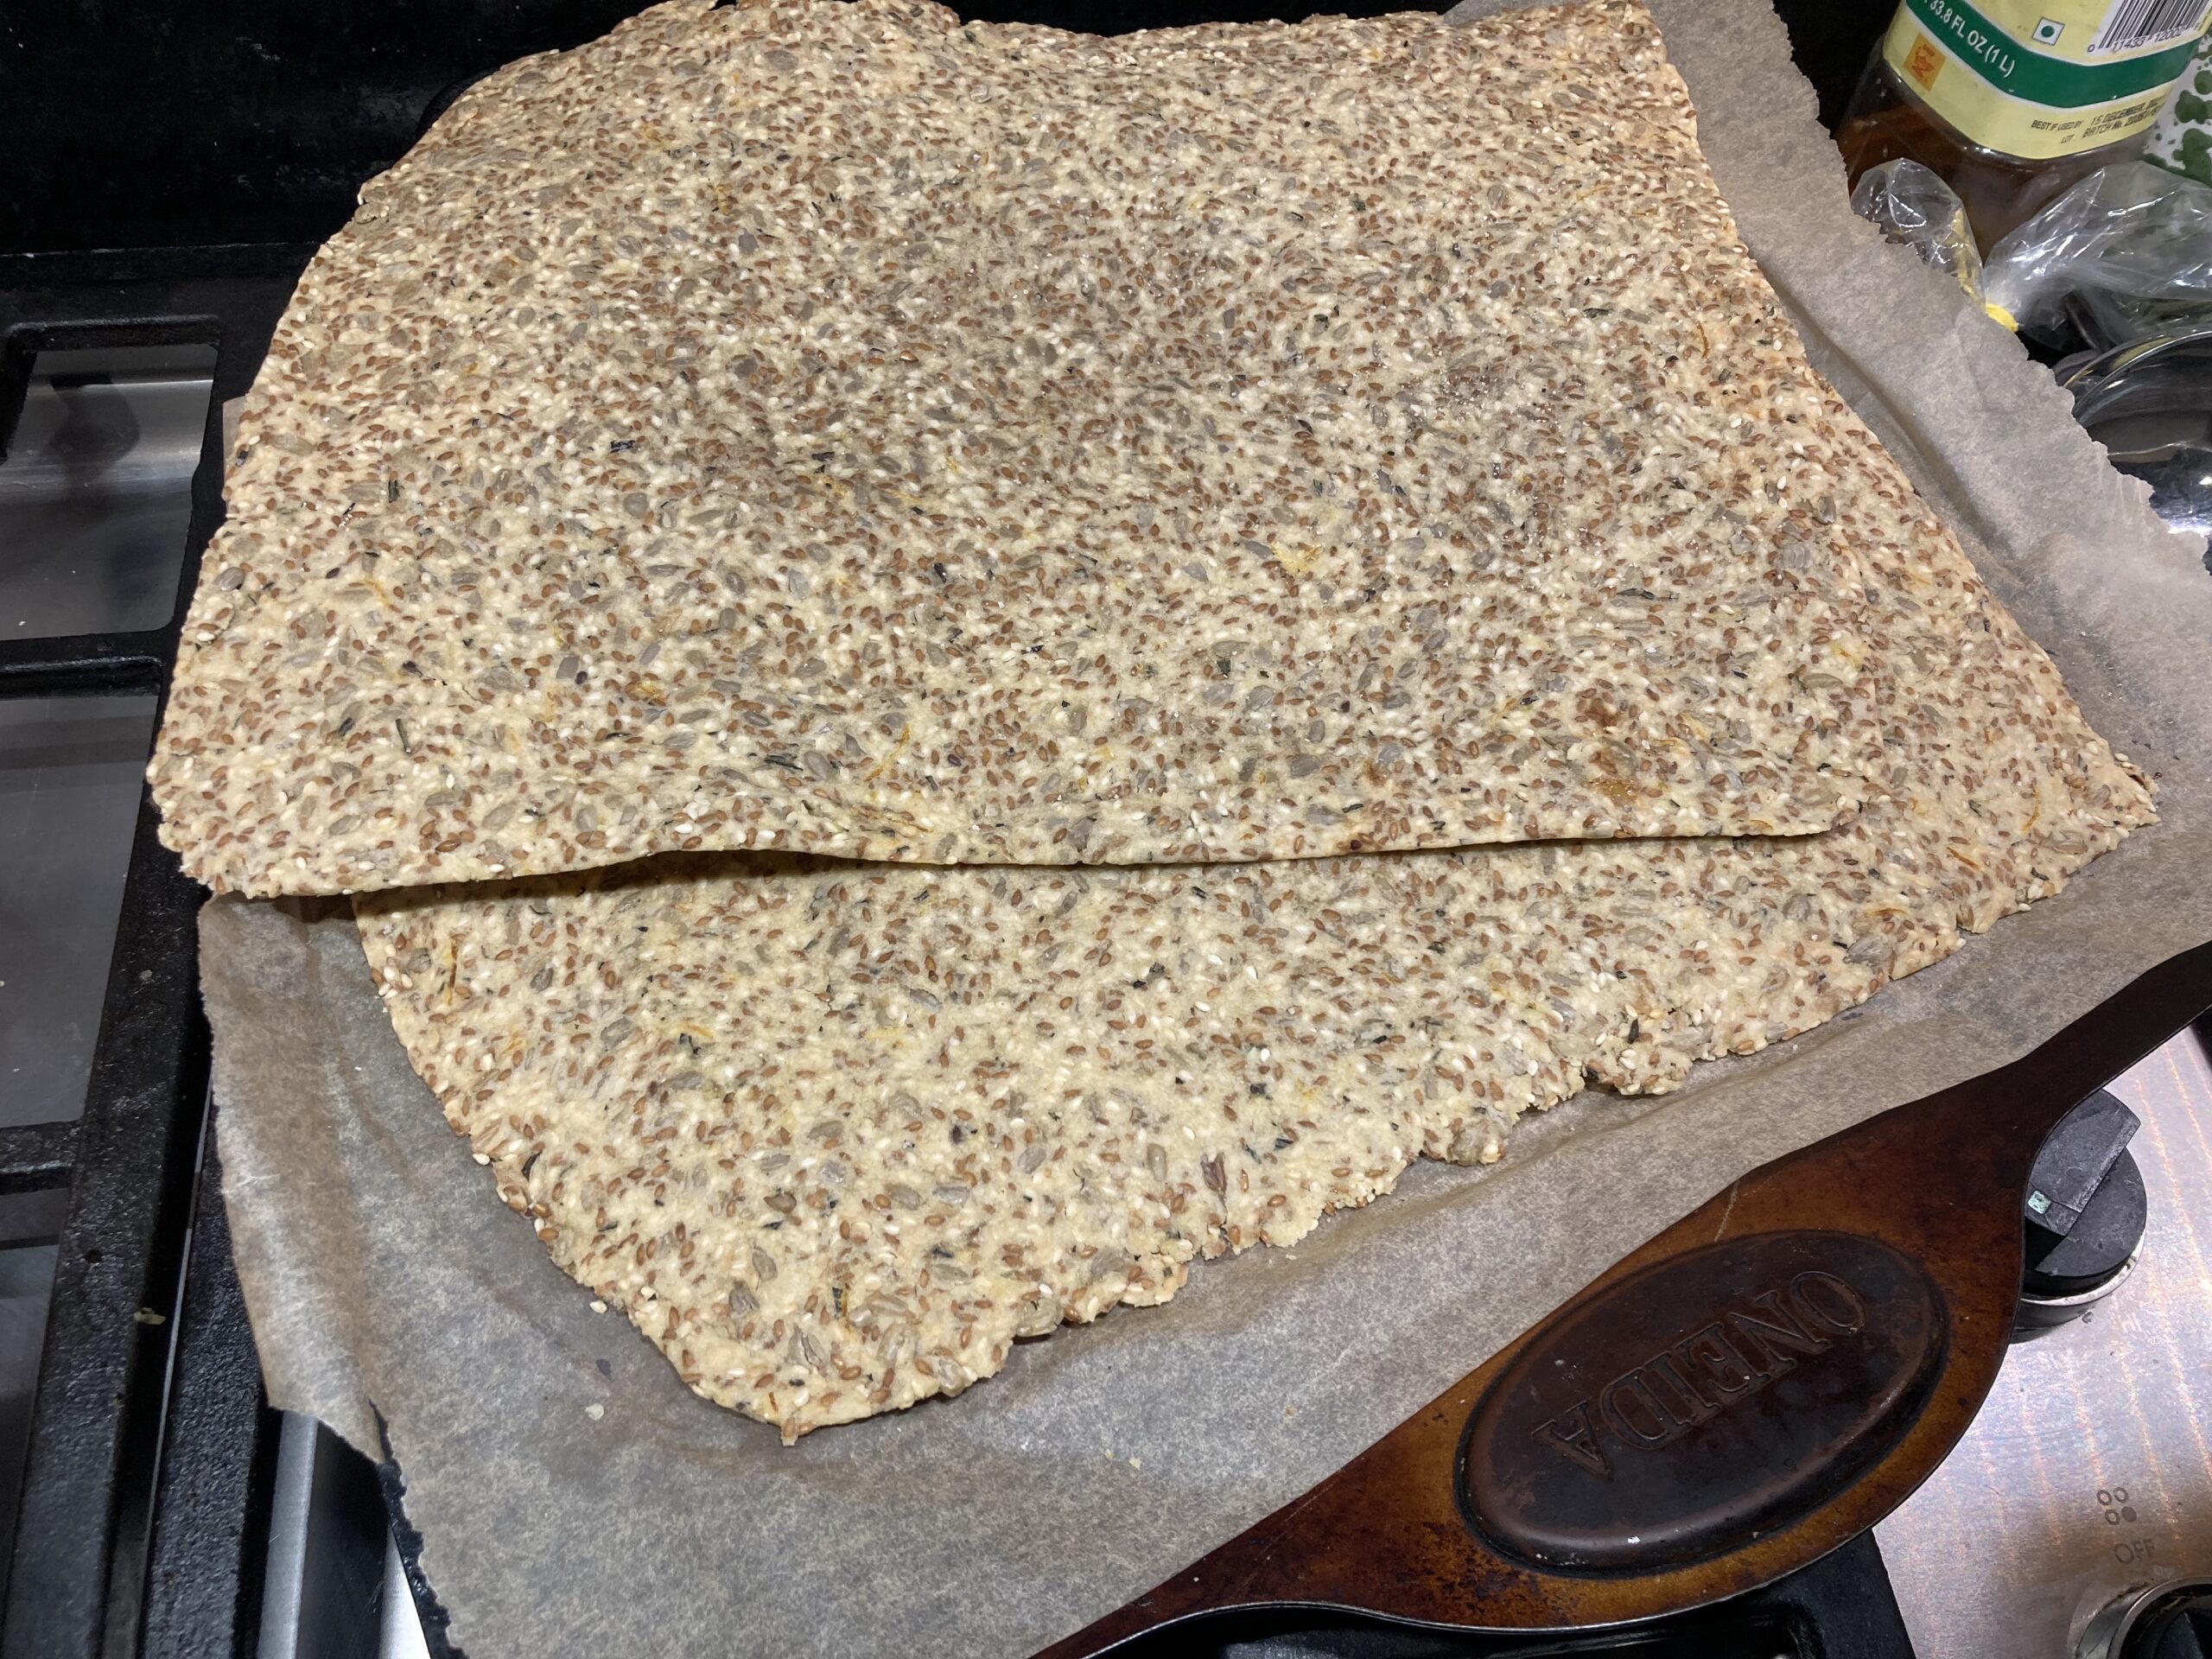
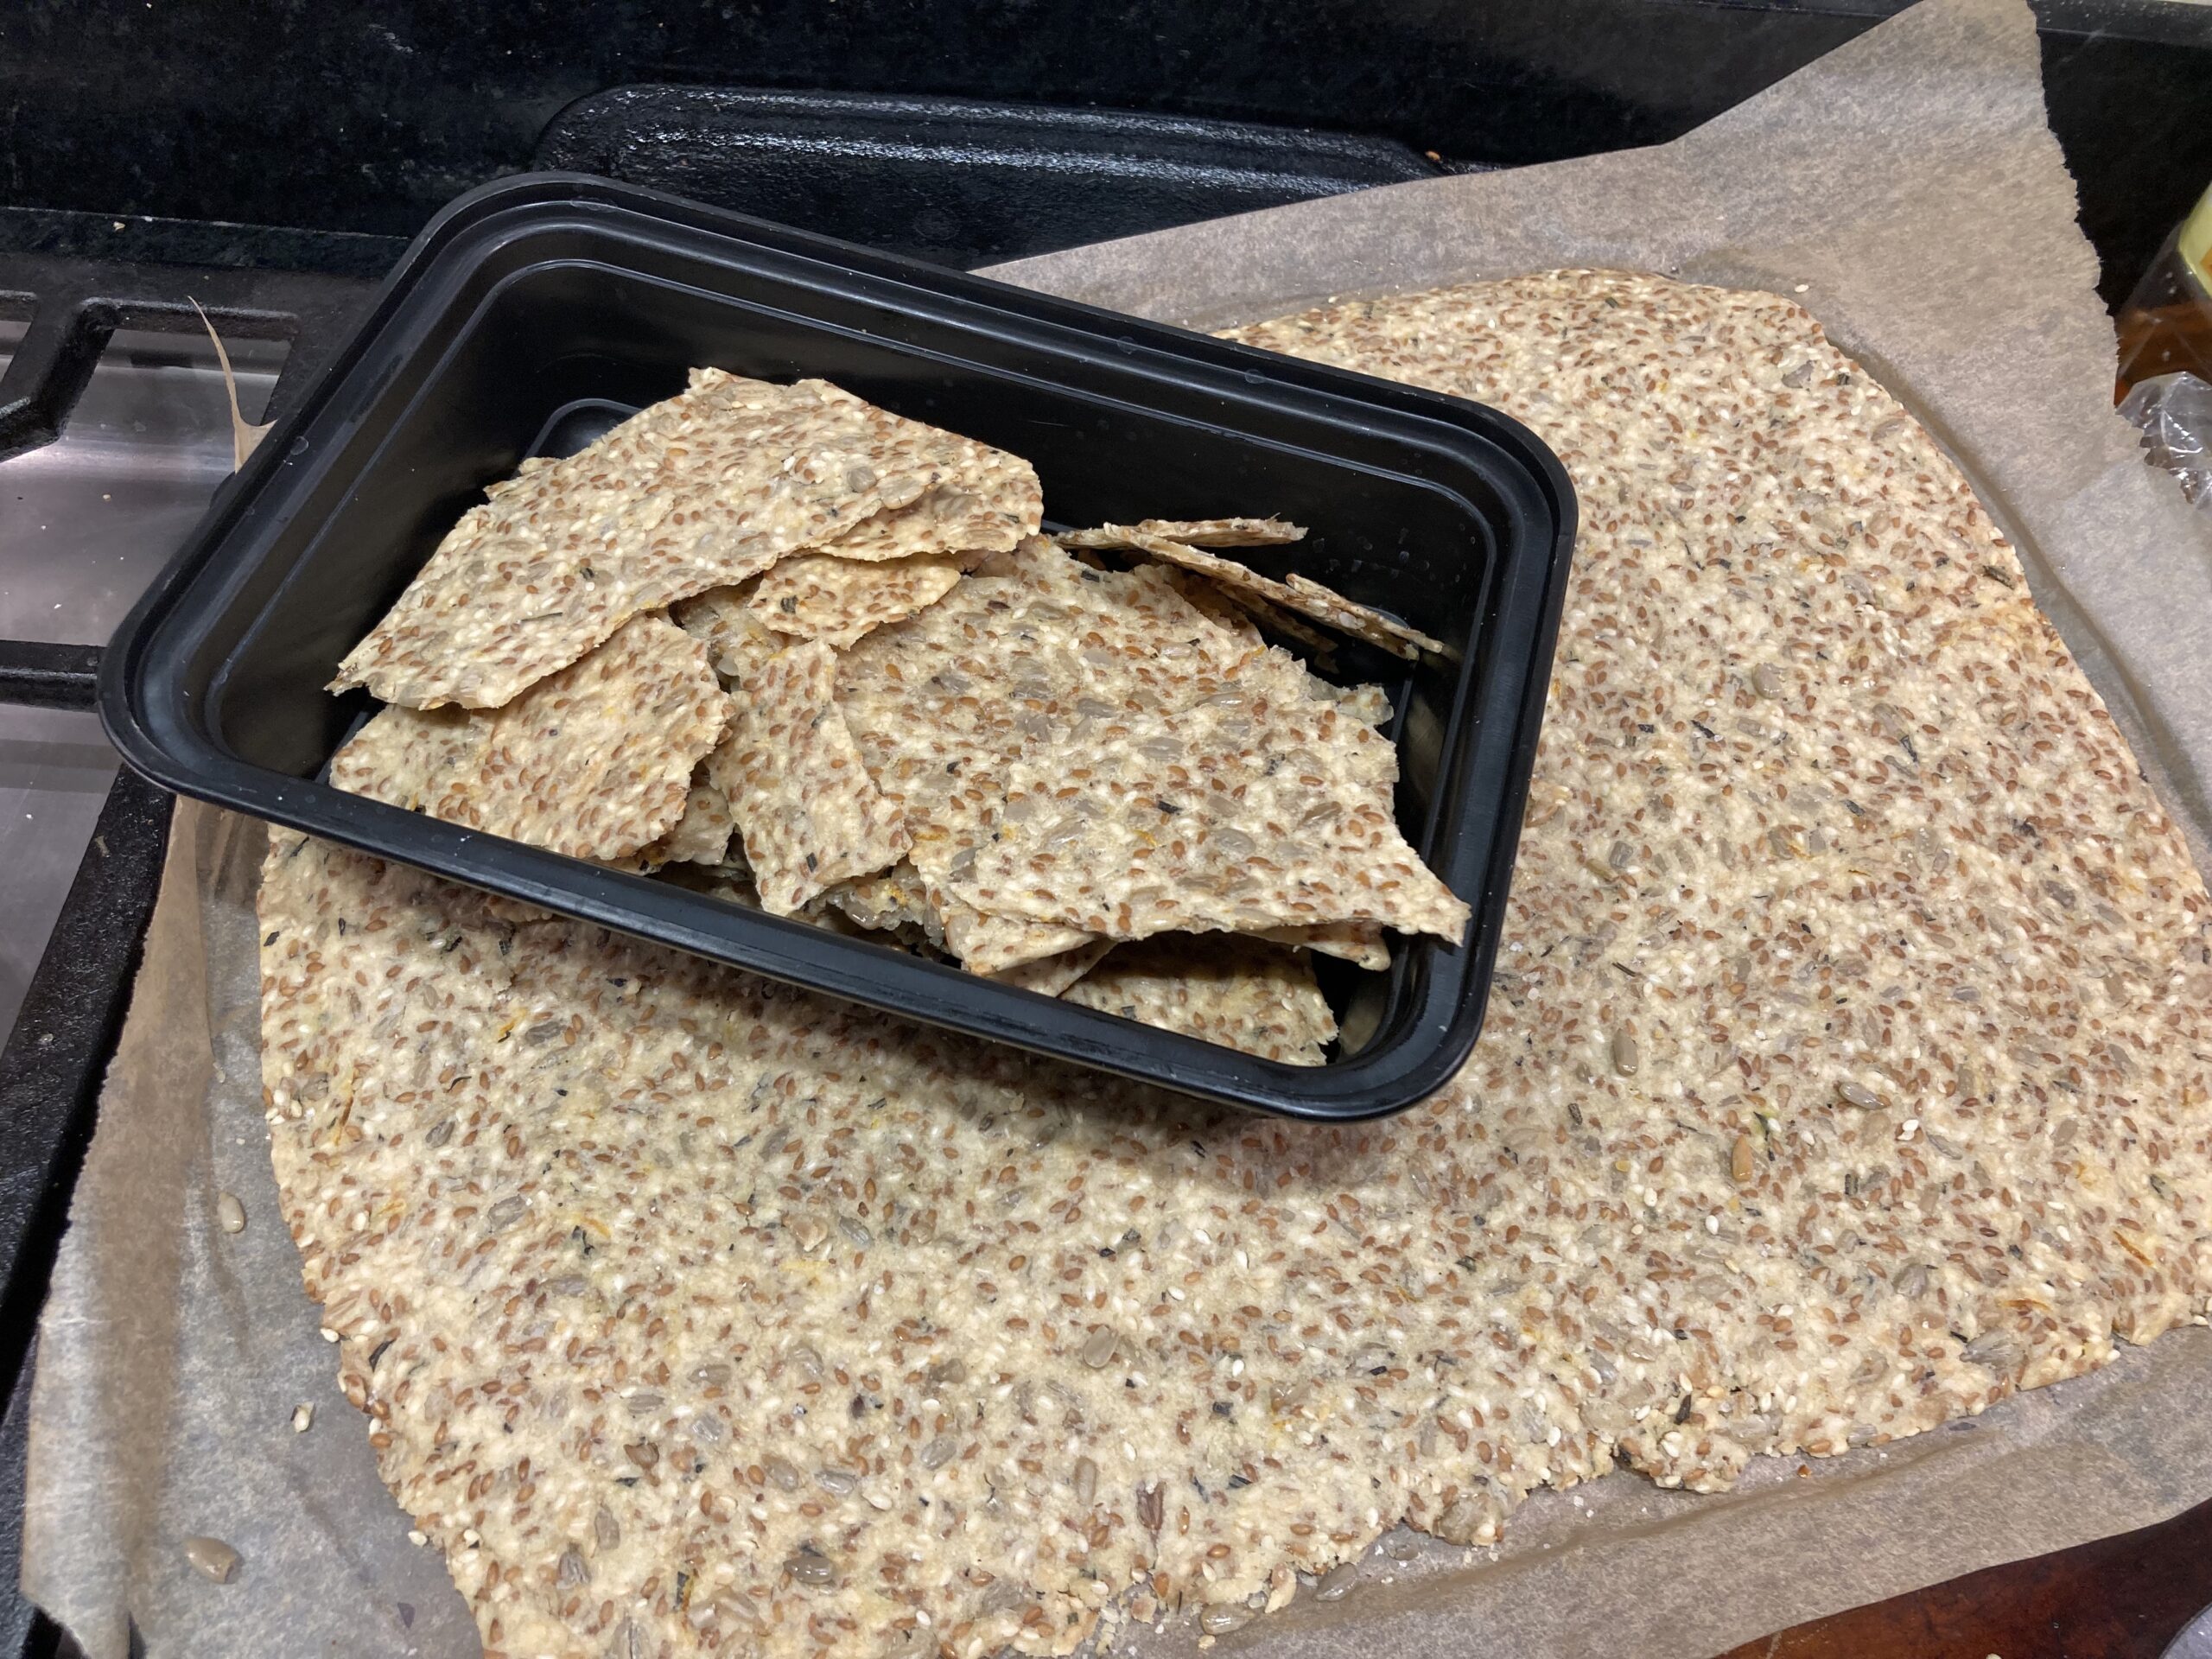
But there are times when that heft and chew of a dense, seedy, substantial bread is needed. And there are times when your gluten-free, nut-free people need something homemade and yummy. You could make them rustic Everyone Crackers OR you could be hero with a fraction of the effort and make this. It gets its body from oats, cottage cheese and eggs and its texture/cha-cha from flax, sesame and sunflower seeds. We’re talking pretty basic ingredients, and no rising involved. You just mix everything up, shape it into a football as best you can and bake it for an hour.
If you like Dirt Bread you will love this. If you’ve never committed to Dirt Bread, ease into the concept by trying this first.
What this is:
- Easy
- Quick (for bread)
- Delicious
- Gluten- and nut-free
- High-protein
- Cheapish
What this is not
- Vegan
- Yeasted
- Shelf-stable: Store it in the fridge or sliced in the freezer
I am so sorry Vegans. Between the cottage cheese and the eggs, I’m seeing a lot of high risk substitutions, but please do let me know if you crack the code! Also, the mystery poster of this was a Brit, so all measurements are in grams. I approximated volume measurements, but live a little! Putting a bowl on a scale (<$20 people), adding each ingredient and zeroing it out after each addition is way easier and more accurate.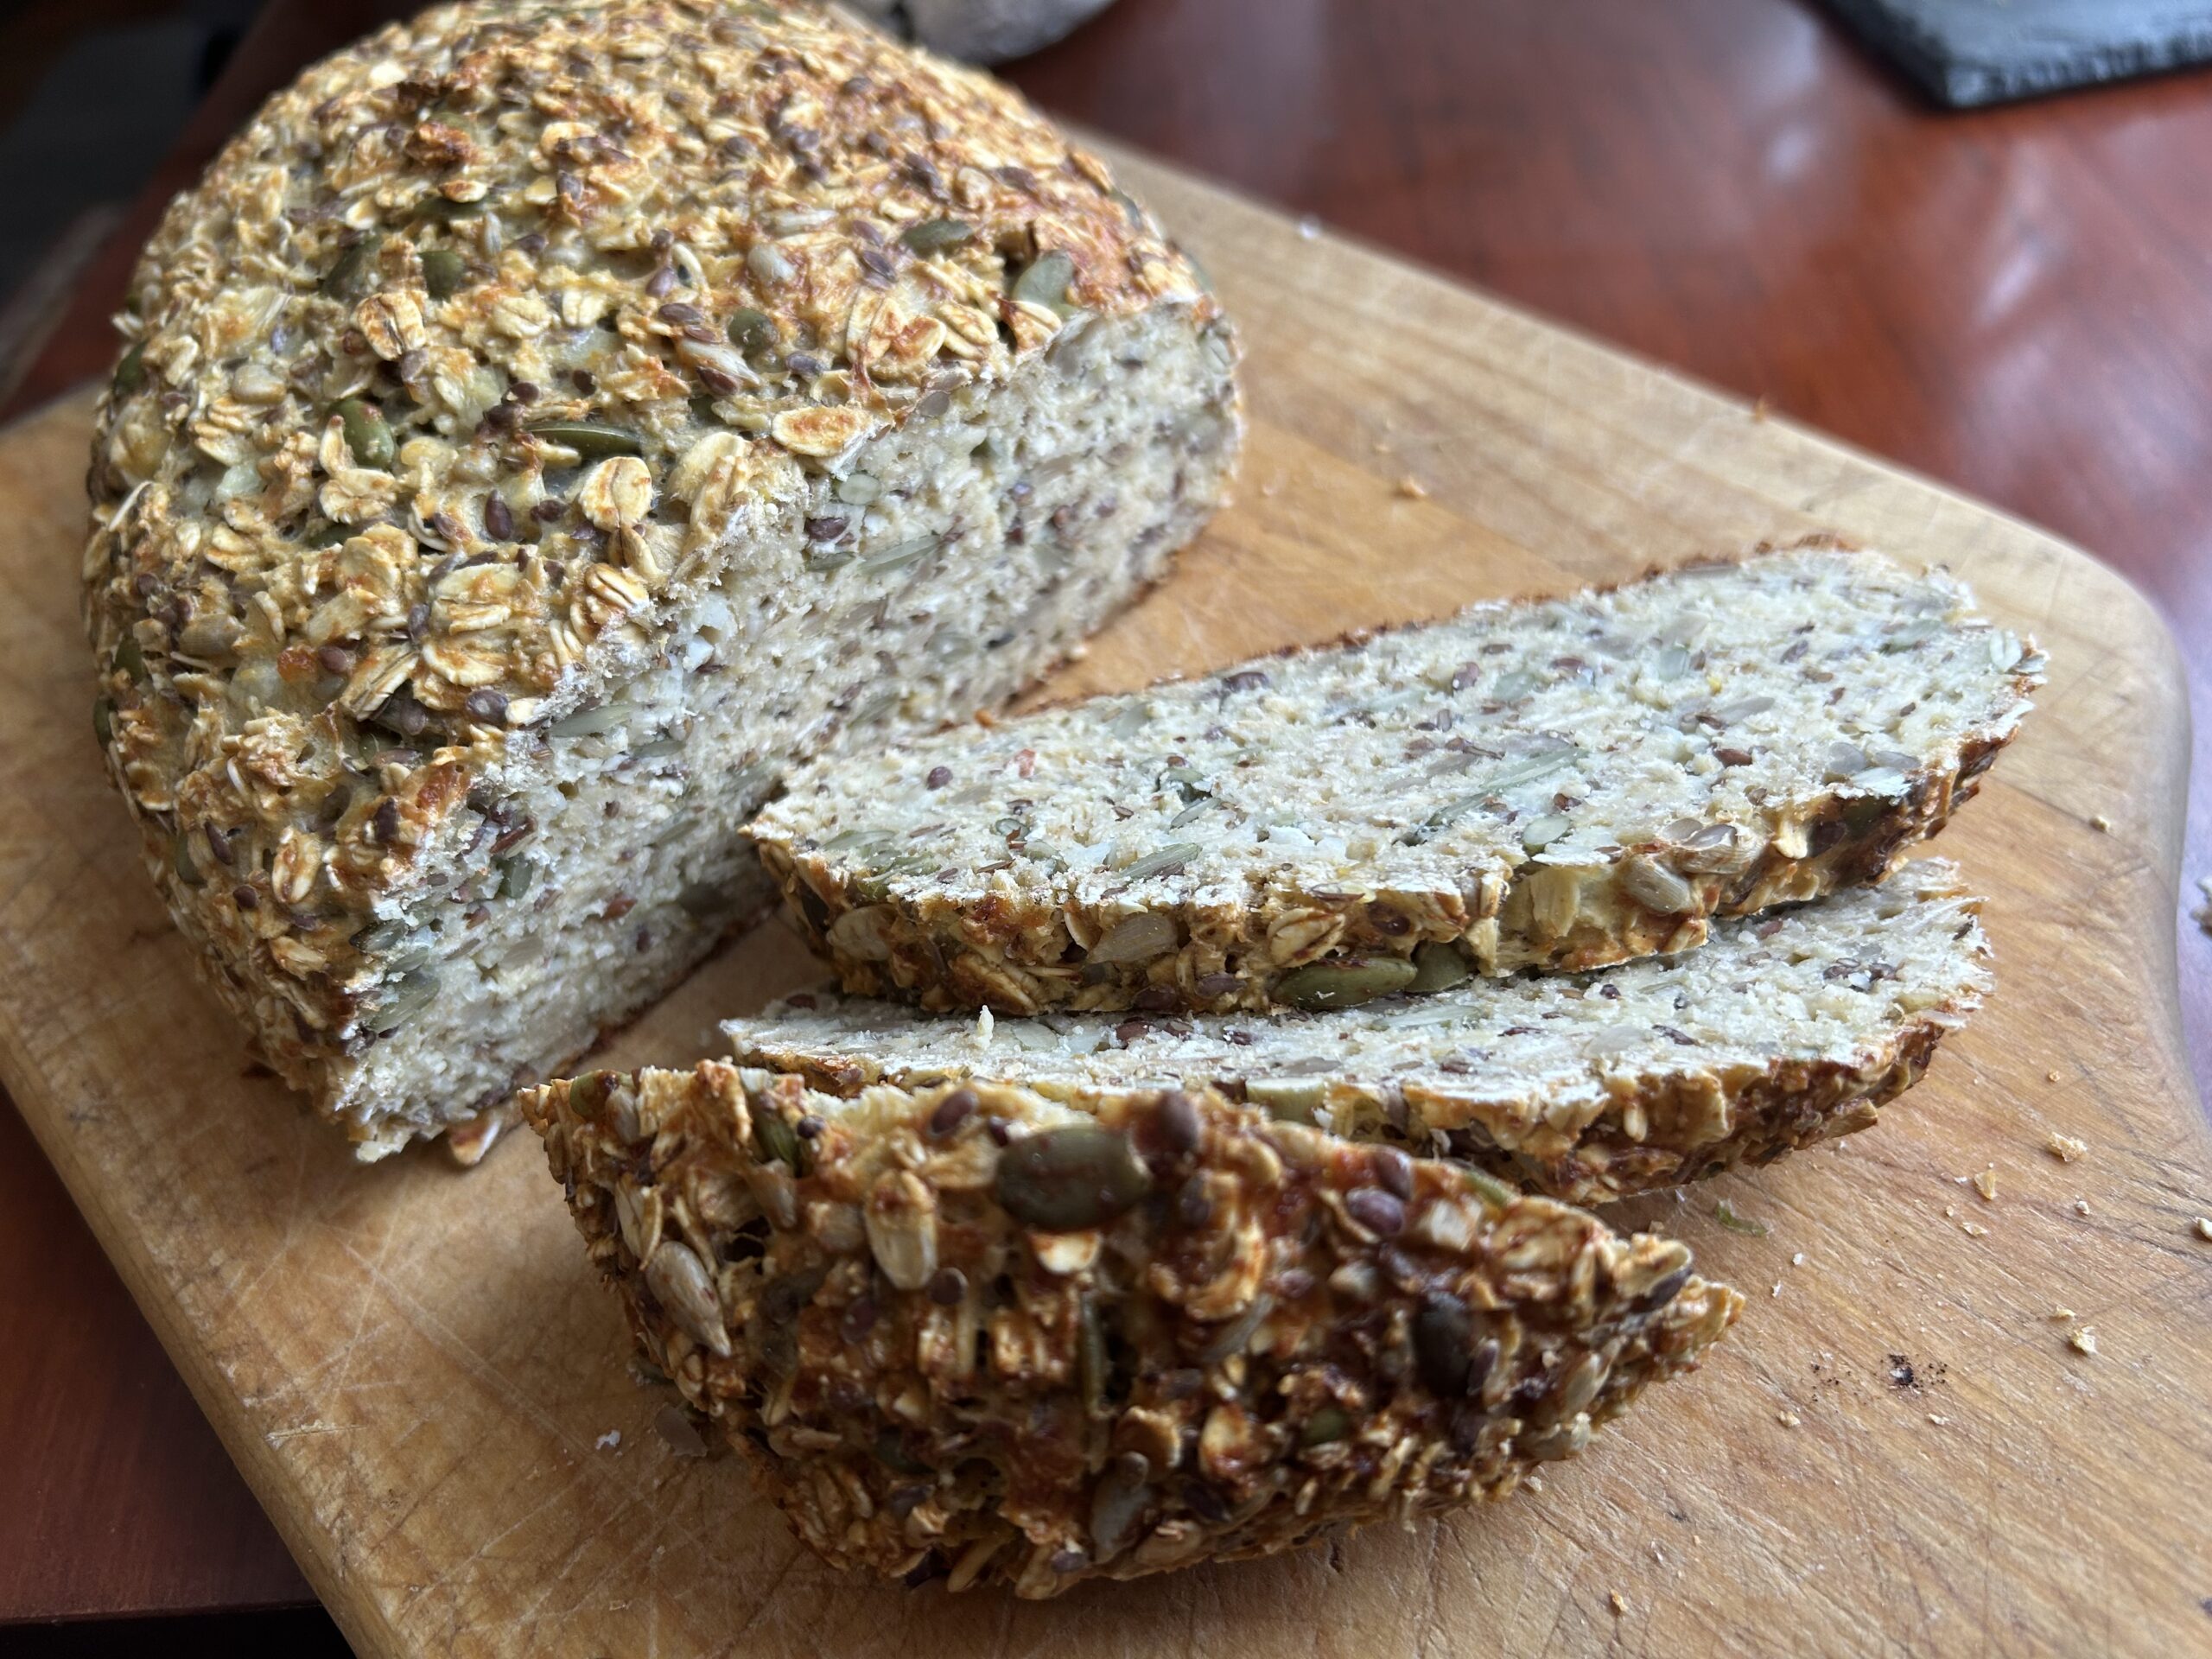
Dirt Bread 2.0: Gluten-Free Cottage Cheese Bread
Preheat oven to 360
Ingredients
500 grams cottage cheese (about 2 cups)
3 eggs
300 grams oats (about 3 cups)
1 tsp baking powder
½ tsp salt
50 grams flaxseed, heaping ¼ cup
50 grams sunflower seeds, 1/3 cup
50 grams pumpkin seeds, scant ½ cup
Optional but advised, 50 grams dried fruit of choice (cranberries are my jam, and I usually but not always chop them a bit)
Method
- Combine all the ingredients in a bowl. Mix well, making sure everything is completely mushed together (no yellow yolk streaks and break down the big chunks of cottage cheese). Dump it onto a parchment-lined pan and use your hands to shape it the into your best, well-packed loaf like shape.
- Bake 1 hour
Cool completely before slicing. This is key to it holding it’s shape so…patience! Store in fridge or (my fave) slice and store, wrapped tightly, in freezer so you can grab a slice or two and toast it up as needed.
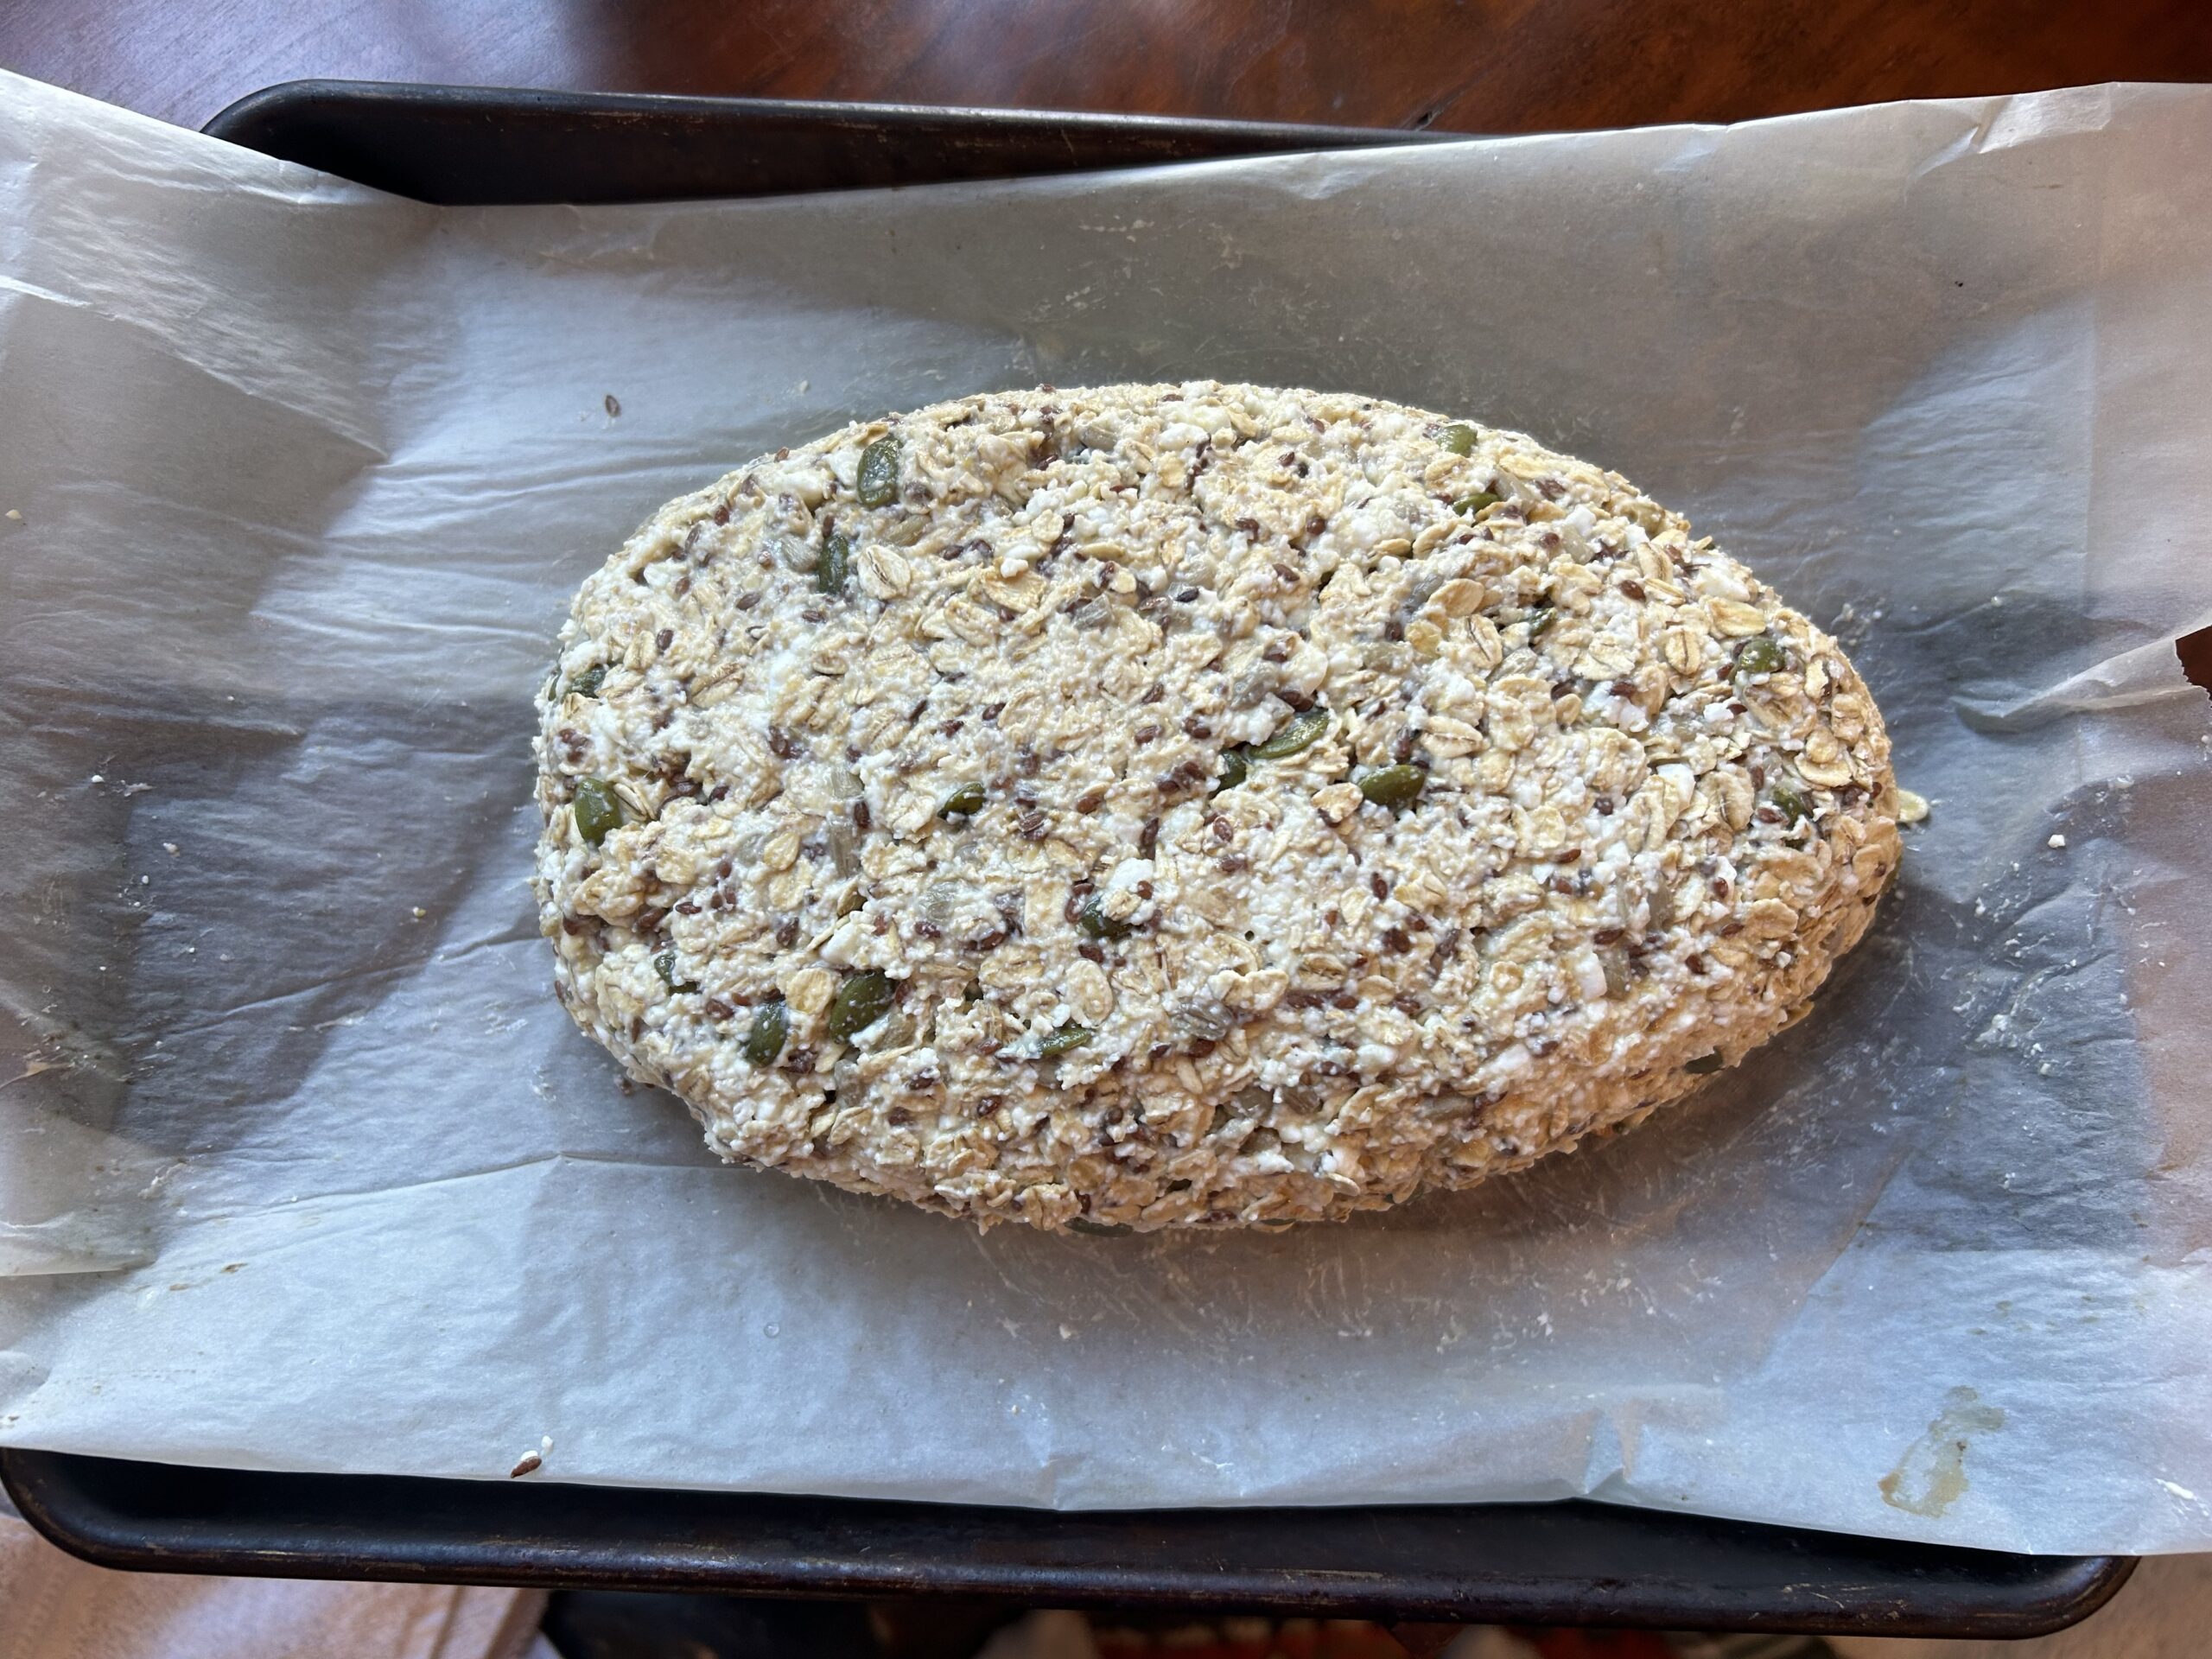
The pre-baked, nice, tight football-like loaf