Monthly Archives: August 2019

Chile Crisp, Condiment of the Year

And now, in time for your Labor Day entertaining, I present the third of three condiments, and by far the best. I discovered this recipe way back in early summer, nestled in the margin of “The Simple Issue”  of Bon Appetit. Within a week the page was permanently folded back, stained and a little greasy, and since then my fridge has never NOT had a jar of chile crisp in residence.

The catch on this spicy, sassy, savory creation is that it takes some effort to make. You can cut yourself some slack by buying pre-peeled garlic cloves. Even with those, you’re still going to have to do a lot of thin slicing. Soooo, dig deep! It’s the last weekend of summer, people. Get yourself a sharp knife and a good playlist and get going. There’s still time to make yourself the MVP by bringing this to the party, or spicing up your own patio fare.

But first, a couple of things: I’ve now made this several times , and each time I’ve overdone it on the volume of shallots. Only once did they really crisp up—which was tremendous and worth cranking up the heat a bit and then babysitting the pot until they were evenly brown. That said, it was pretty tremendous all the other times too. Just make sure you brown the shallots and garlic without burning them. I now use a bigger pot than seems necessary, which allows the shallots to really relax in their hot oil bath.

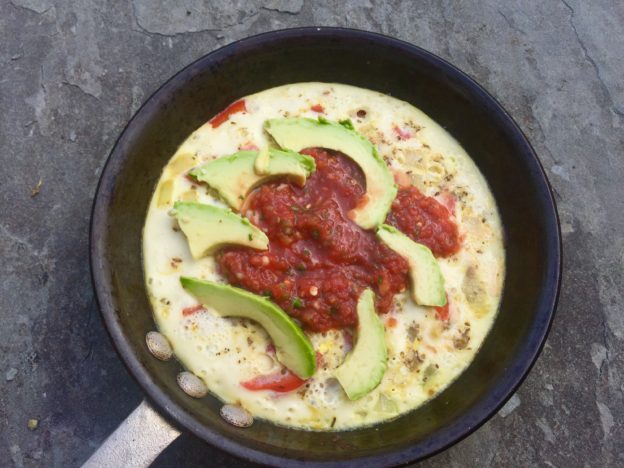
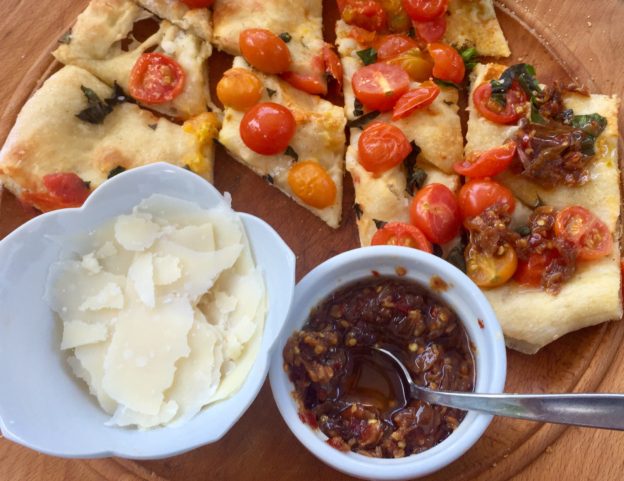
It’s worth going to the original Bon Appetit recipe and reading the comments. I think “off the hook” is the best reader description. We’ve put it on burgers, quesadillas, sandwiches, pizza, baked sweet potatoes and eggs; into salads and on bruschetta and burratta and toast. It’s so going to get stirred into soups this fall. I may draw the line at using it as an ice cream topper, but…no promises.

Finally, there is apparently an excellent version of this at Trader Joe’s called chile onion crunch. Add that to the pain of not having a TJ’s near me. For now, I chop.

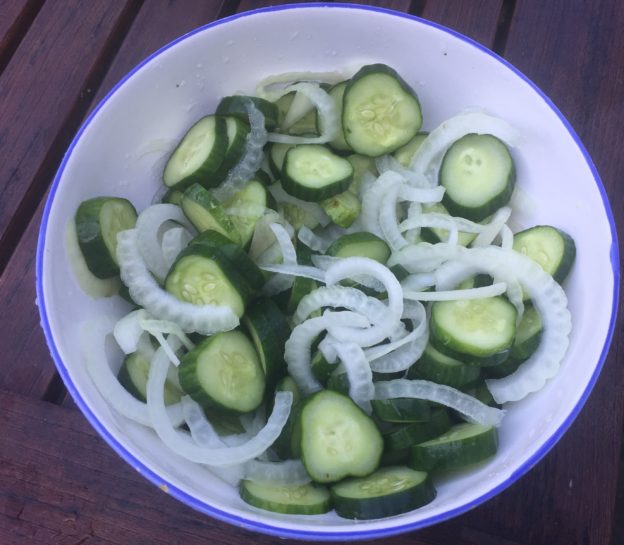
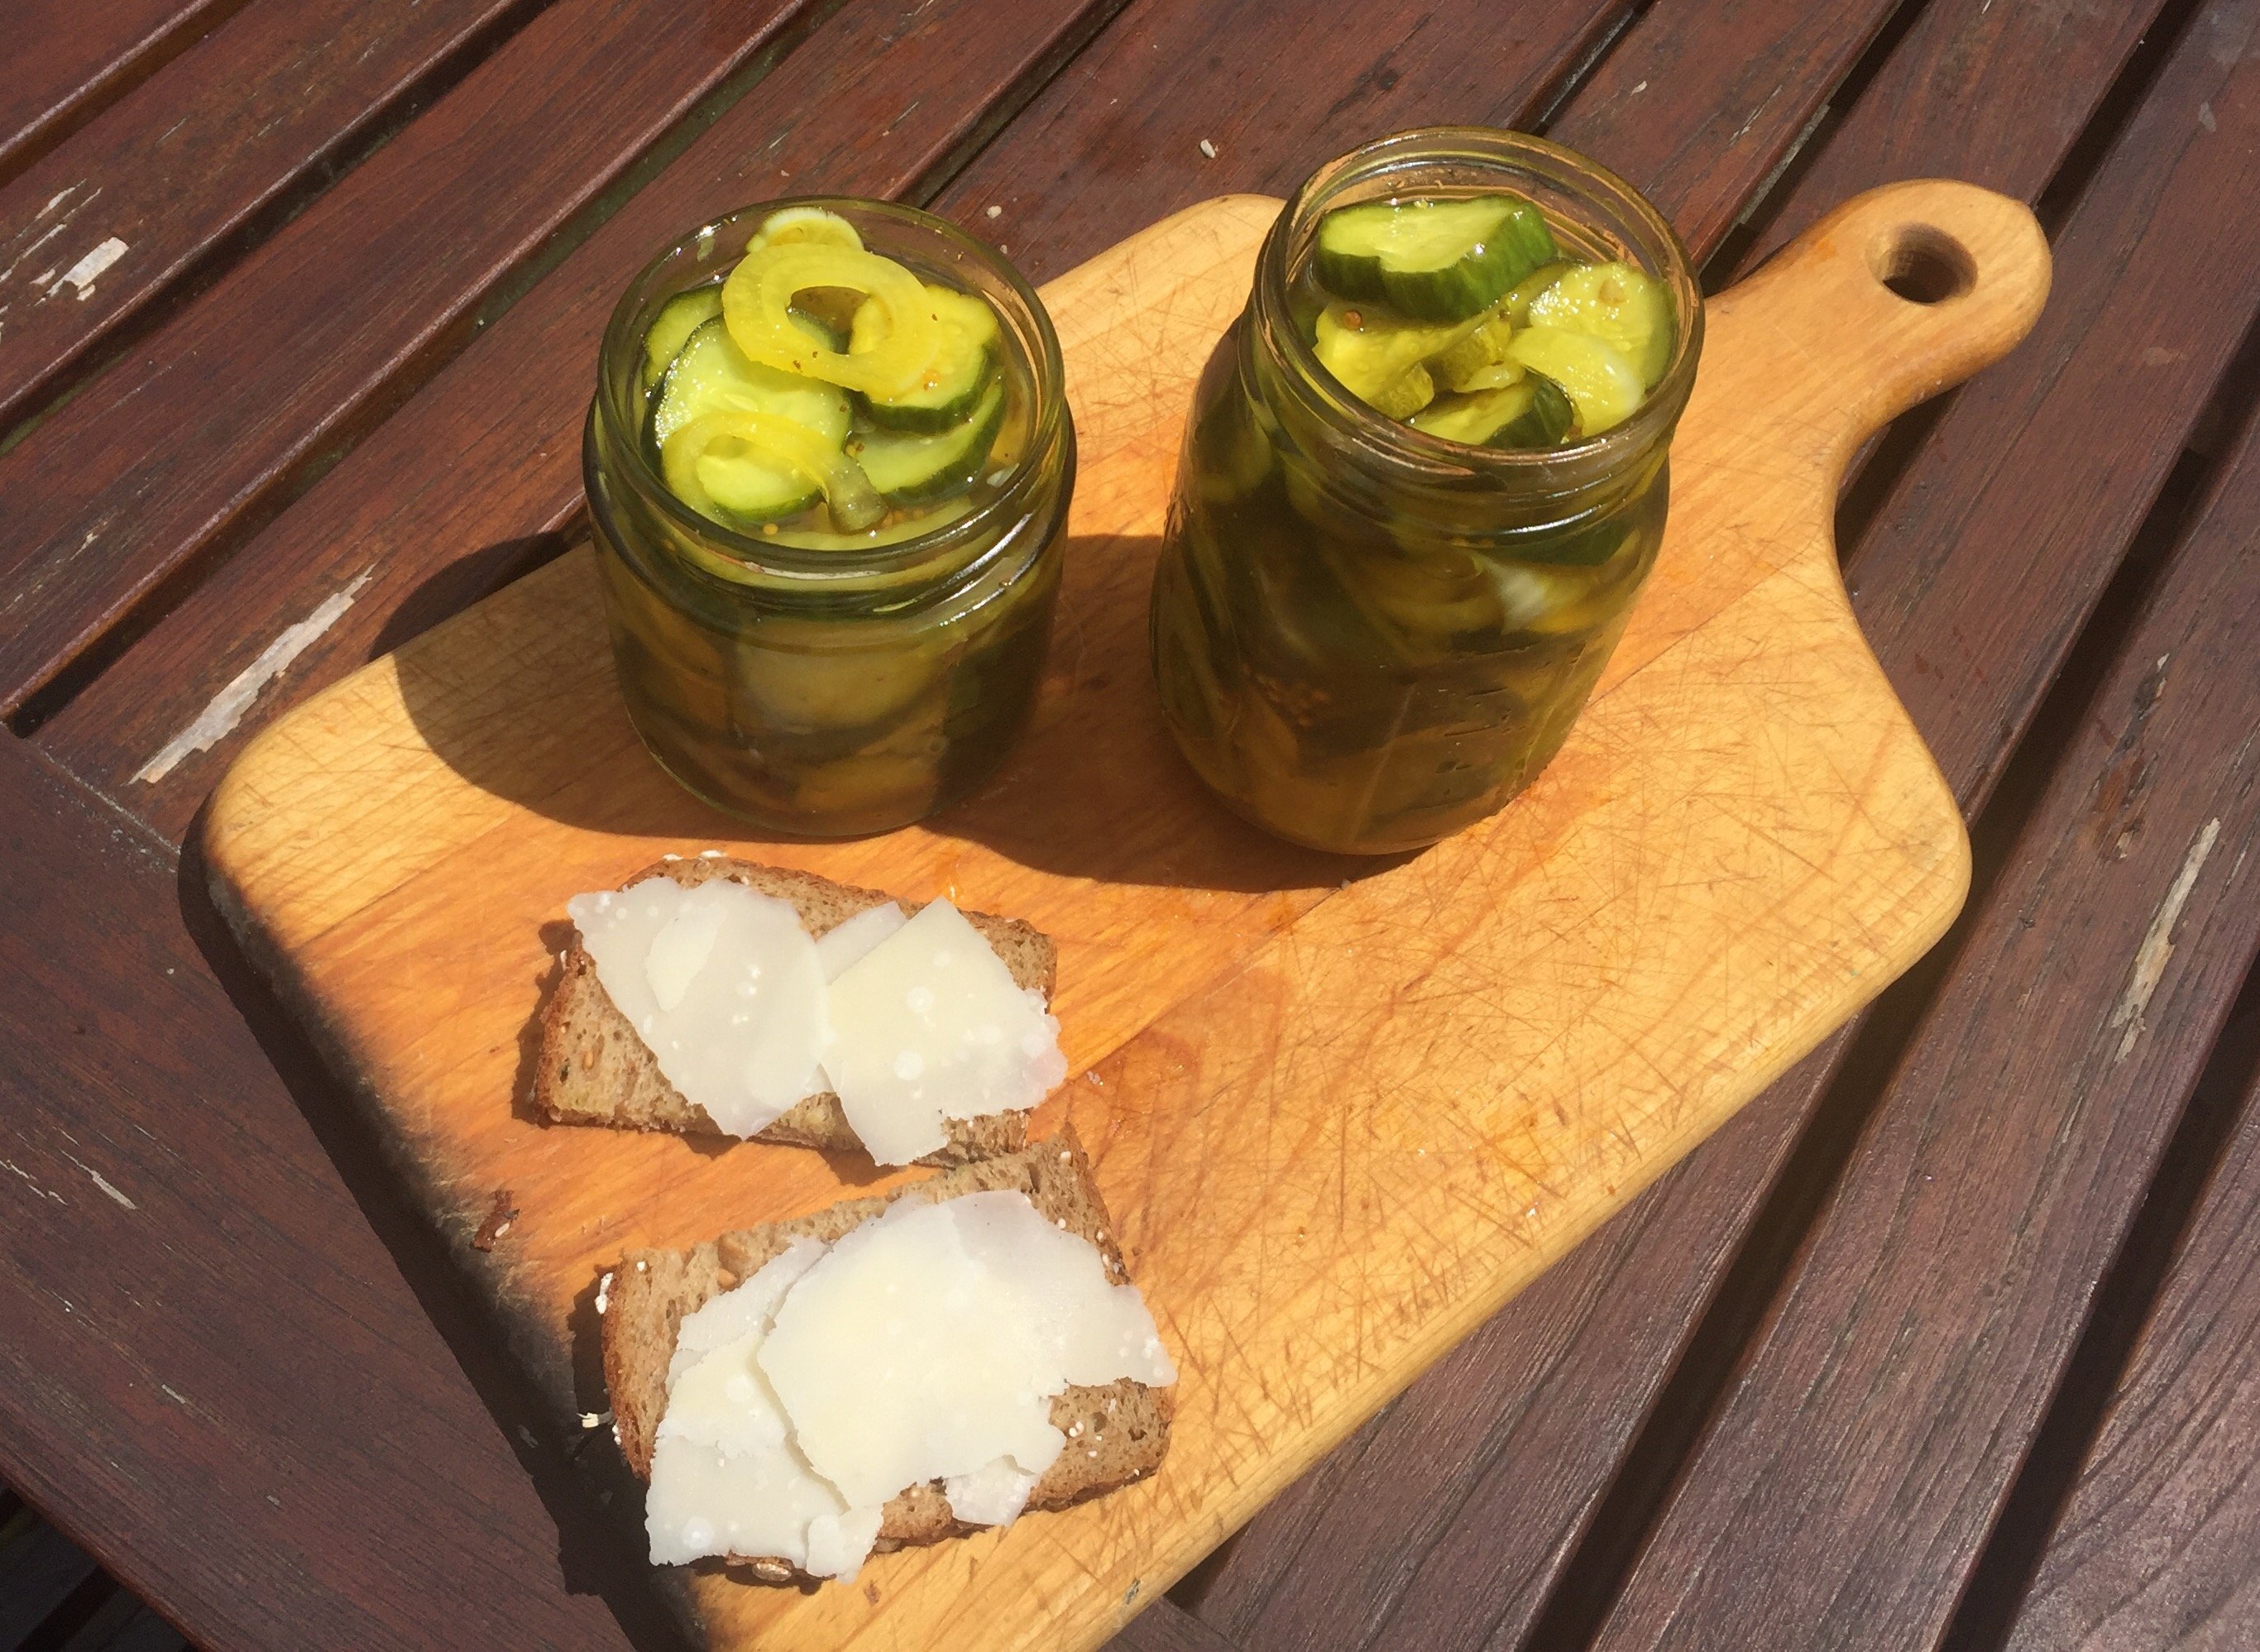
PS This one goes out to Sister B, who hates bread and butter pickles and cilantro (see quick, easy, cheap salsa), but hung in there for this. Three’s the charm, baby.

Chile Crisp

Ingredients

  • 4 small shallots, thinly sliced (I end up with 1 1/2 cups or so, which is probably wayyyy too much, but I’m greedy and my shallots are apparently jumbo)
  • 2 heads of garlic (HEADS, not cloves), separated into cloves, sliced. (Google says that’s about 24 cloves)
  • 1½ cups vegetable oil
  • 2 3″ cinnamon sticks
  • 6 star anise pods
  • 1 2″ piece ginger, peeled, very finely chopped
  • ¼ cup crushed red pepper flakes
  • 2 Tbsp. soy sauce
  • 2 tsp. sugar

Method:

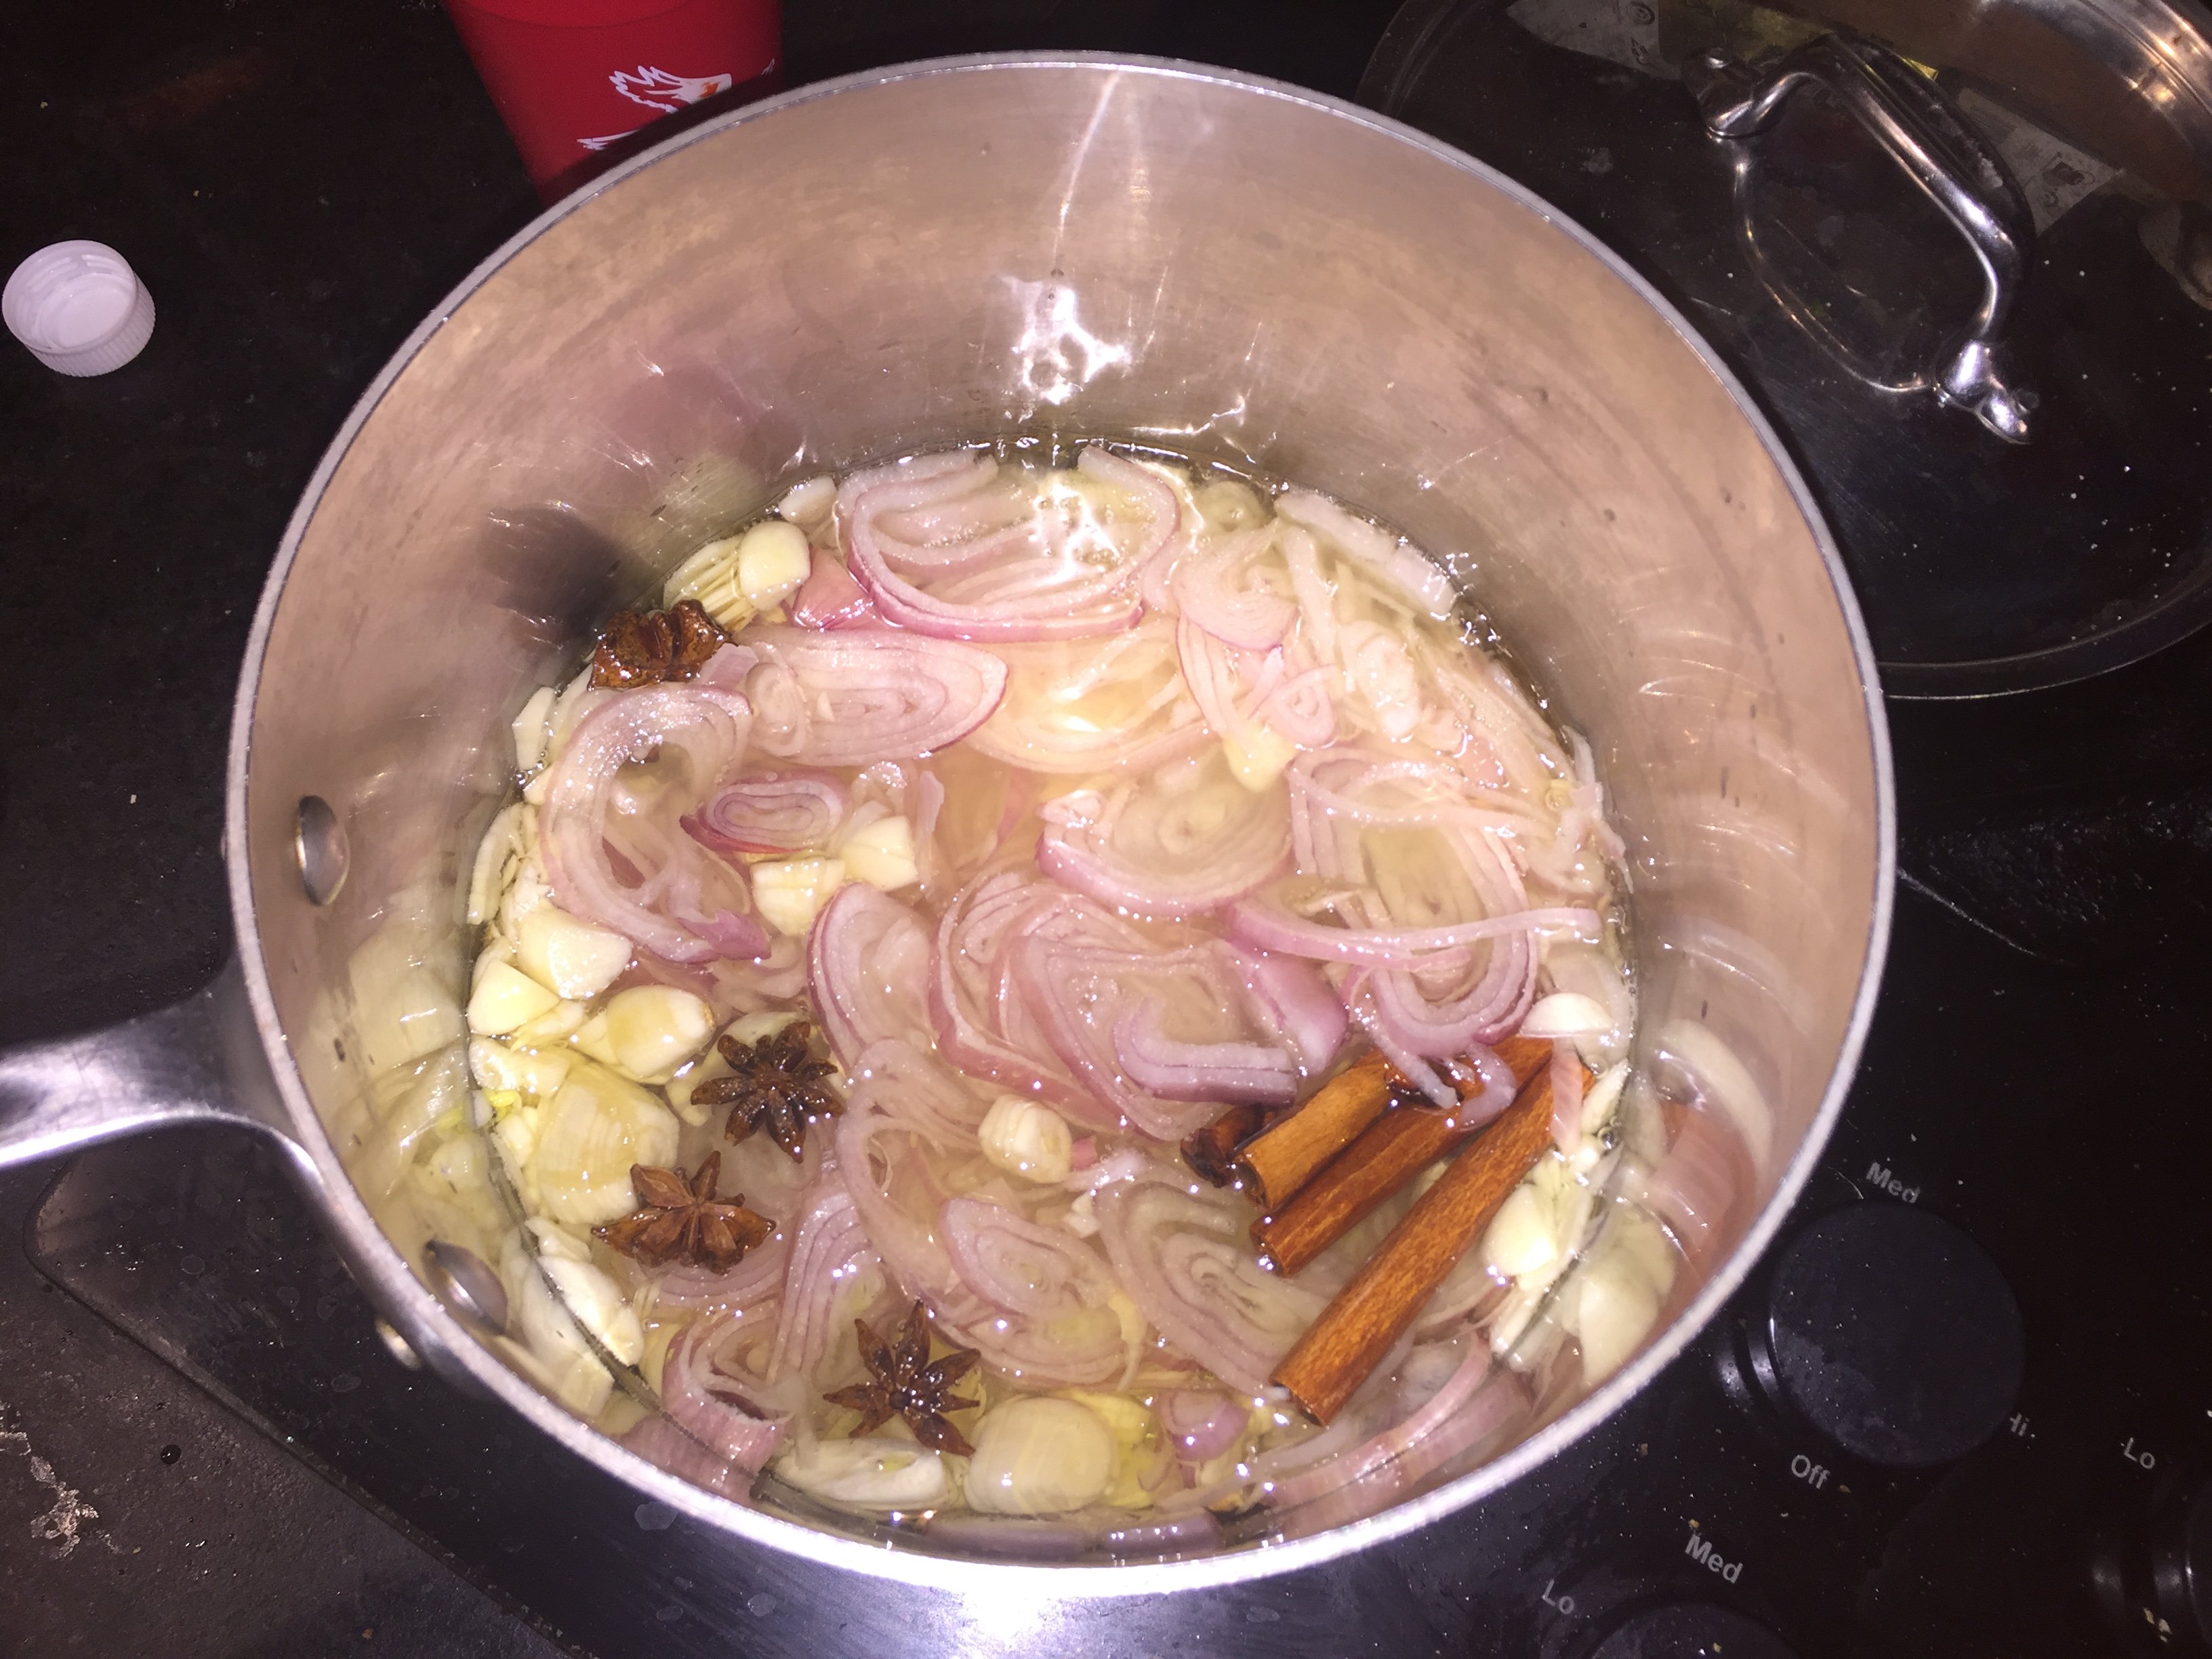
  • Bring shallots, garlic, oil, cinnamon, and star anise to a simmer in a medium saucepan over medium heat. Cook, reducing heat as needed to maintain a gentle simmer and swirling pot occasionally, until garlic and shallots are browned and crisp, 20–25 minutes.

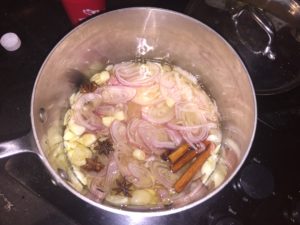
    Shallots prepping for the spa

    (Take your time—you want to drive all the moisture out before they brown.)

  • Mix ginger, red pepper, soy sauce, and sugar in a medium bowl. Strain shallot mixture through a fine-mesh sieve set over ginger mixture. Let garlic and shallot cool in sieve (this will allow them to crisp further) before stirring back into chile oil. This is the time to take out the cinnamon and star anise too.
  • Do Ahead: Crisp can be made 1 month ahead. Cover and chill.

Bringing It:

Divide the goods into one big jar or smaller jars that you can fit a spoon into. Put the lids on tight and prepare to make a lot of friends. If you pour off a bunch of the oil you can then use it to make a sassy version of aquafaba mayo.

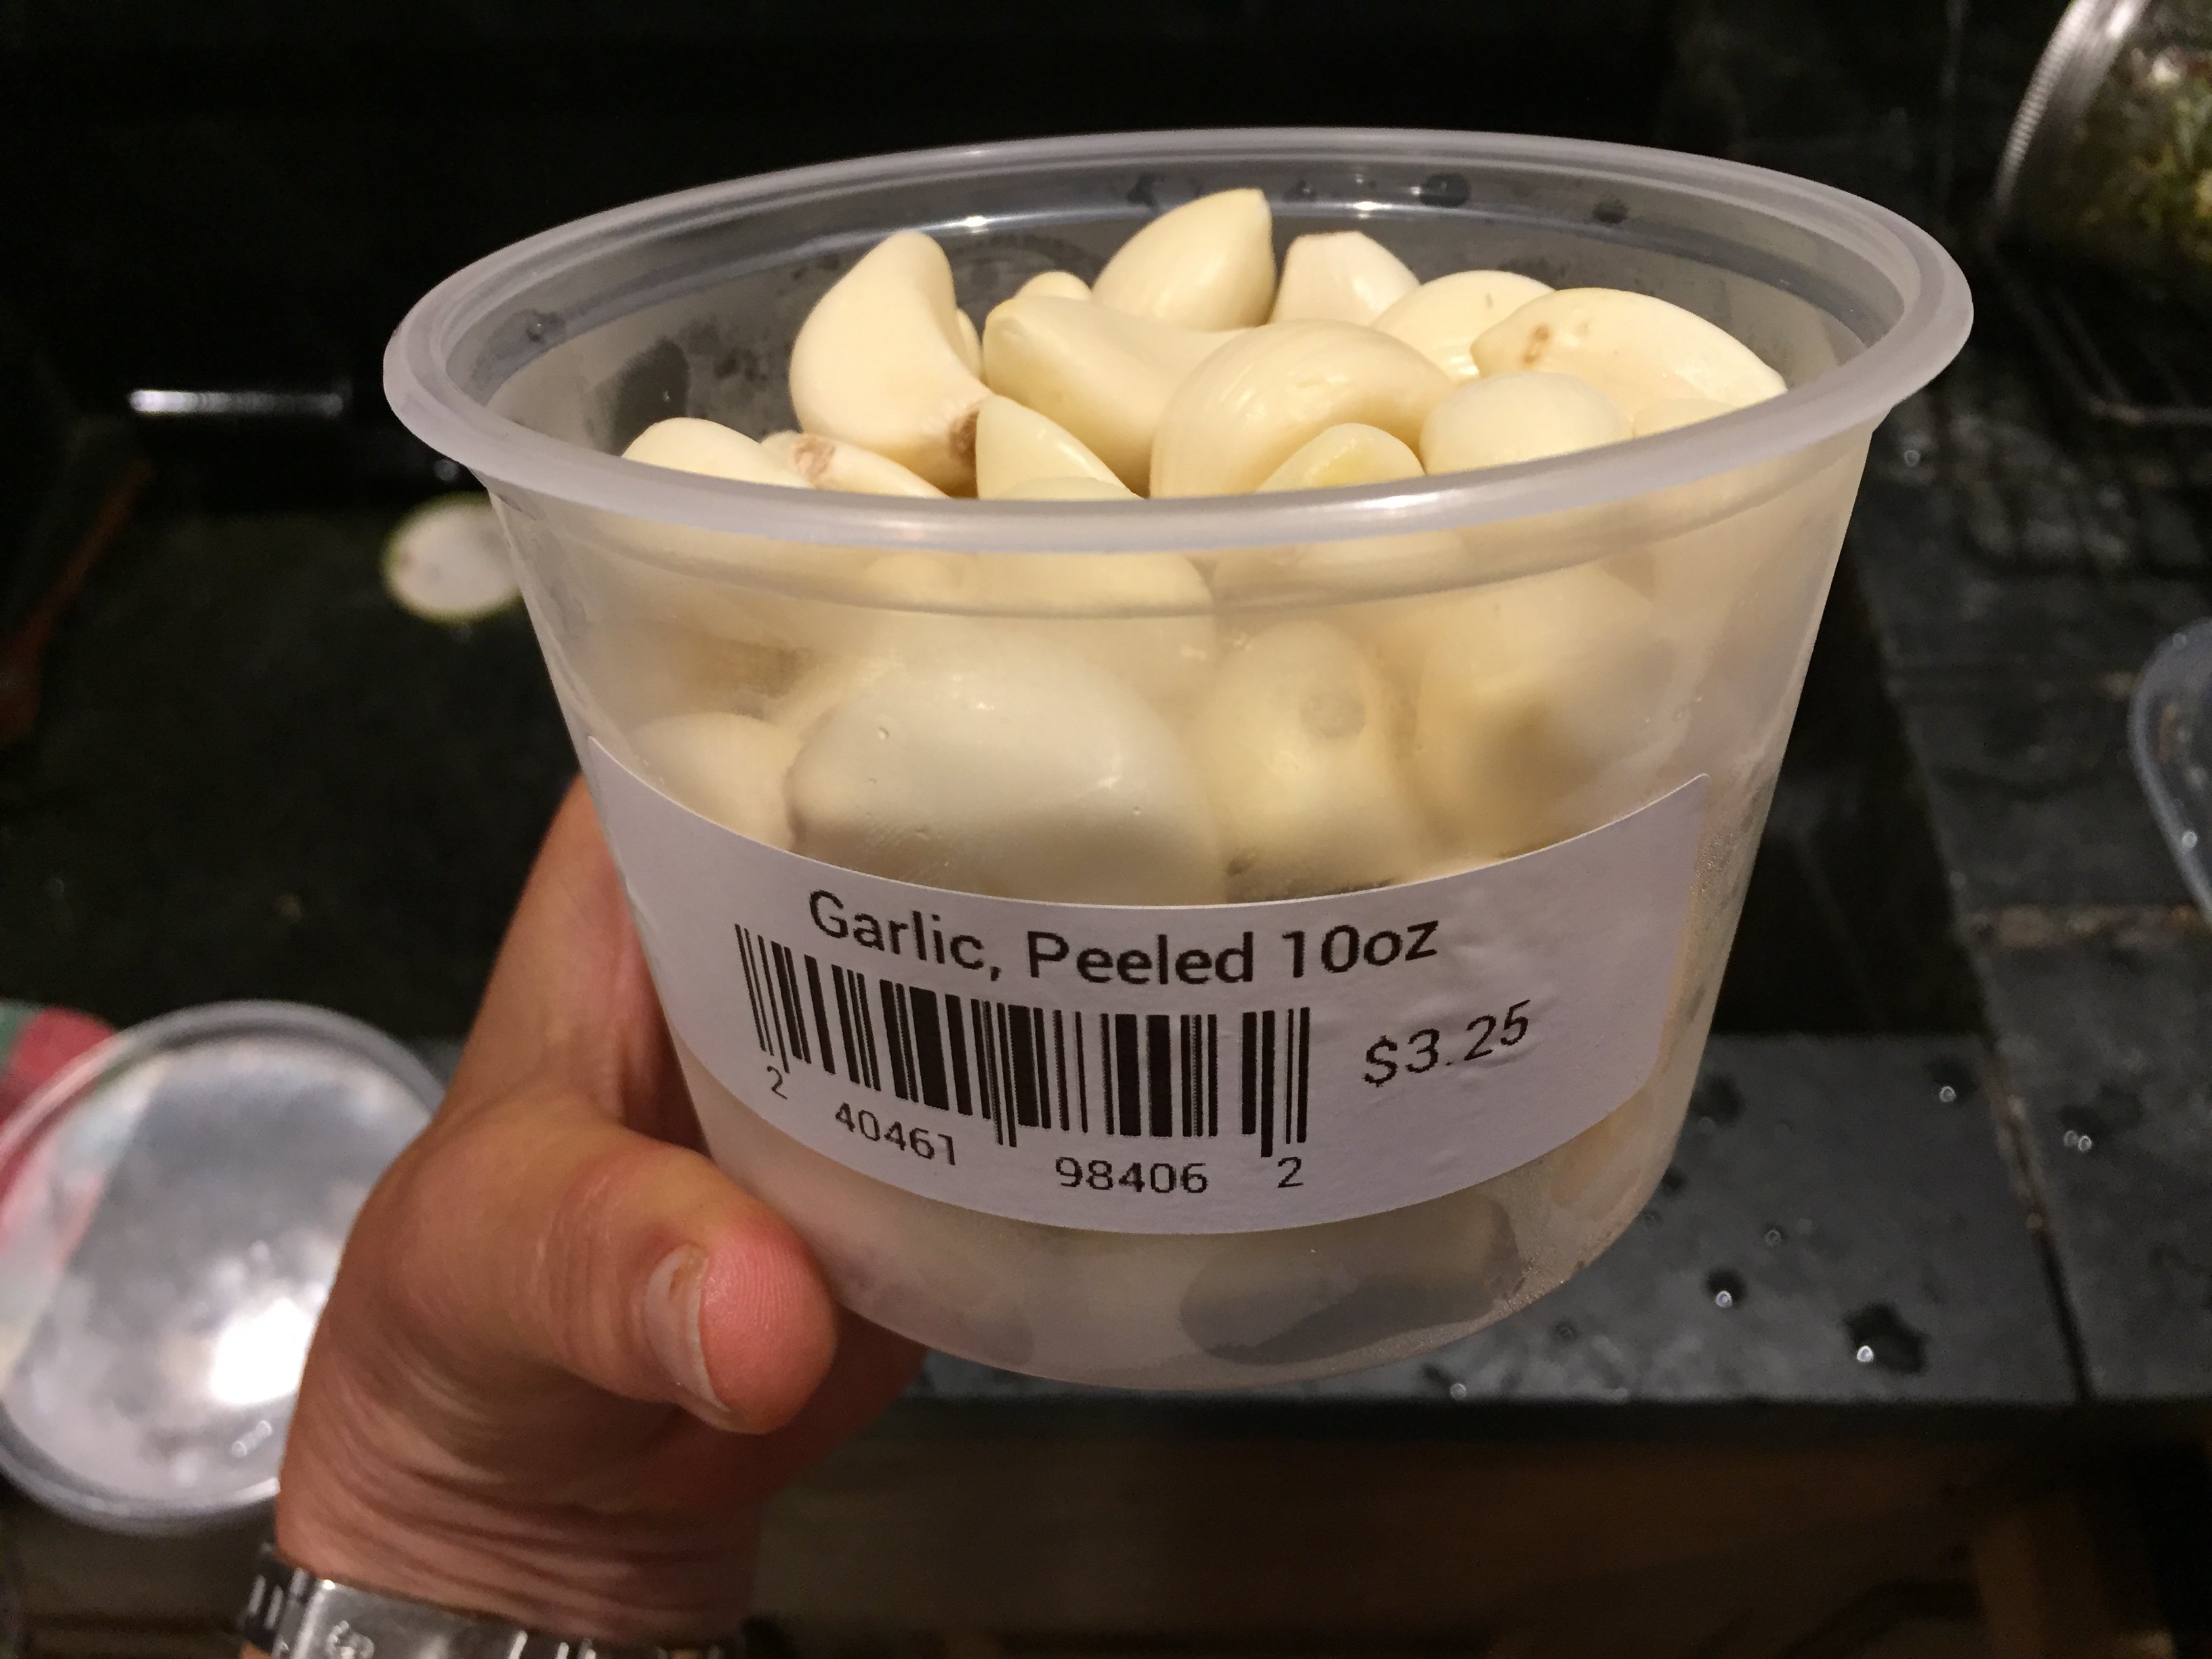
A shortcut worth every penny

Quick, Easy, Cheap Salsa

I know, it’s summer and we should be all about fresh tomatoes (and corn of course). That said, when it comes to salsa, you can really never have enough. So, when there is a quick, easy and cheap way to make a boatload of salsa yourself, bring on the can opener. (For further proof of canned tomato greatness, see Funitella Bruschetta.)

No need to belabor the intro here. I love a chunky fresh salsa with all kinds or weirdness in it: beans, corn, mango, etc. I also love a straight up tomato salsa with fresh jalapeno, lime and cilantro. This is that salsa, AKA Pioneer Woman’s Restaurant Salsa (she even gives you a video in case pushing buttons is a challenge). It makes a TON, so get a few jars ready, fire up your food processor and be ready for the weekend.

Coming up next: The third of three must-have condiments. Get a playlist and a sharp knife and prepare for some chopping. I promise it’s worth it!

Quick, Easy, Cheap Salsa

Ingredients

Two 10-ounce cans diced tomatoes and green chiles, such as Rotel
One 28-ounce can whole tomatoes with juice 
1/2 cup fresh cilantro leaves (or more to taste)
1/4 cup chopped onion
1 clove garlic, minced
1 whole jalapeno, quartered and sliced thin, with seeds and membrane (2 is perfectly reasonable)
1/4 teaspoon ground cumin
1/4 teaspoon salt
1/4 teaspoon sugar
1/2 whole lime, juiced

Method

This is a very large batch. you’re totally safe with a 12-cup food processor, or you can process the ingredients in batches and then mix everything together in a large mixing bowl.

  • Combine the cilantro, onions, garlic and jalapeno in a blender or food processor and pulse a few times to get them in the same zone size wise, not too pulverized. (If you do this step you can be a little lazier with your chopping). Add the diced tomatoes, whole tomatoes, cumin, salt, sugar and lime juice.
  • Pulse until you get the salsa to the consistency you’d like. I do about 10 to 15 pulses. Test seasonings with a tortilla chip and adjust as needed. 
  • Refrigerate the salsa for at least an hour before serving.

Bringing it:

Divide the batch into as many jars as you like and you are ready to take your show on the road. This is NOT shelf stable, so keep it in the fridge.


Bread and Butter Pickles, the easy way

Got an update for you: It’s blueberry season. So why are you looking at pickles? Let me ‘splain. To be sure, every day that passes without me getting out to the amazingly awesome Super Acres to pick blueberries, reminds me summer is ticking by too fast. But, sadly, that ticking isn’t enough to get me out there…yet. Those of you who are more industrious can get busy with your blueberries by making Blueberry Dutch Bunnyovernight blueberry muffins or blueberry mint lemonade .

For the rest of you, here is a tasty consolation prize. I’m about to hit you with three straight posts on condiments. Sure, summer is all about grilling, and picnics, but both beg for condiments. Great condiments can elevate anything on a bun or a bed of greens. This summer (while not at the blueberry patch), I’ve been making three excellent condiments that now have permanent residence in my fridge.

First off, bread and butter pickles, for a lot of good reasons:

  1. They’re just so darned unsophisticatedly delicious.
  2. They add that little streak of brilliance to egg salad, tuna salad, sandwiches, burgers, the end of your fork, etc.
  3. For guilty pleasures, they are pretty low-consequence. Yes they’ve got sugar, but unless you are drinking the brine it can’t be THAT much, right?
  4. Pickles, even when not made by the super responsible canning process, keep fresh in the fridge for a long while.
  5. And finally, pickles because in fact you CAN have too many cucumbers.

I discovered this after a chance evening encounter with a neighbor who kindly gave me an armful of cukes. I’m always grateful for fresh produce, but cucumbers straight up can be a tough sell in my house. They are not easily disguised, either by grating into a burger or a stir fry, and they don’t freeze well, unless your end game is to weaponize them.

If you end up with a stash of cucumbers, or if you are a pickle lover with no patience for the canning process, these babies are for you. Just a few ingredients and zero talent required. All you need is a little time for them to hang out in the fridge. Basically you can go from evening neighbor garden encounter to proud pickle producer by the time you settle in to Netflix, or bed, or whatever makes you happy.

Just add…anything really. Get your pic-nic on!

Bread and Butter Pickles, the Easy Way

From Brown Eyed Baker

Prep 15 minutes; Cook 5 minutes
Resting 2 hours 40 minutes; Total 3 hours

Makes 4 cups of pickles

Ingredients

  • 5½ cups about 1½ pounds thinly sliced (about ¼-inch) pickling cucumbers
  • 1½ tablespoons kosher salt
  • 1 cup thinly sliced sweet onion
  • 1 cup granulated sugar
  • 1 cup white vinegar
  • ½ cup apple cider vinegar
  • ¼ cup light brown sugar
  • 1½ teaspoons mustard seeds
  • ½ teaspoon celery seeds
  • 1/8 teaspoon ground turmeric

Directions

  1. Combine cucumbers and salt in a large, shallow bowl; cover and chill 1½ hours. Move cucumbers into a colander and rinse thoroughly under cold water. Drain well, and return cucumbers to bowl. Add onion to the bowl and toss with the cucumbers.
  2. Combine the granulated sugar, white vinegar, apple cider vinegar, brown sugar, mustard seeds, celery seeds and ground turmeric in a medium saucepan; bring to a simmer over medium heat, stirring until the sugar dissolves.
  3. Pour the hot vinegar mixture over cucumber mixture; let stand at room temperature 1 hour. Cover and refrigerate 24 hours. Store in an airtight container in refrigerator up to 1 month.

Recipe Notes

As made here these are not shelf stable. Store them in the fridge. If you’re looking for proper canning instruction, get back on your google and good luck—I’ll be cheering you on!