Monthly Archives: July 2013

Bruschetta Deconstructed

toasted-toastsWe’re taking liberties and calling every iteration of tasty stuff delivered on small pieces of toast “bruschetta.” This is of course not a purist approach. Some of my all-time favorites in that family of apps are called “crostini” which is technically grilled bread. And many of the best bruschetta or crostini fixins are just as good on flatbread, pizza crust, tortillas, pita chips, baked mochi or really any other carb vehicle. They’re also good on planks of taro or sweet potatoes or even rolled up in a leaf of romaine for our paleo friends.

But because we don’t want to leave anyone hanging on how to make bruschetta, crostini or whatever you want to call it we are simply offering up a good basic method for making appetizer-worthy toasts, and an illuminating crostini blurb in Bon Appetit to help you avoid common mistakes that threaten to RUIN EVERYTHING, if you are so inclined to have toasts ruin anything in your life.

Ingredients

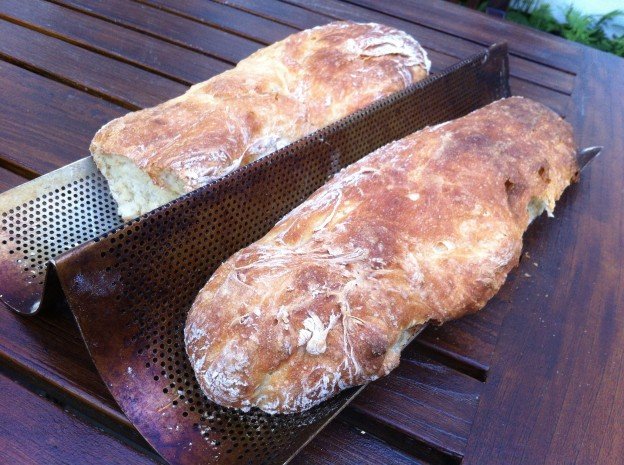
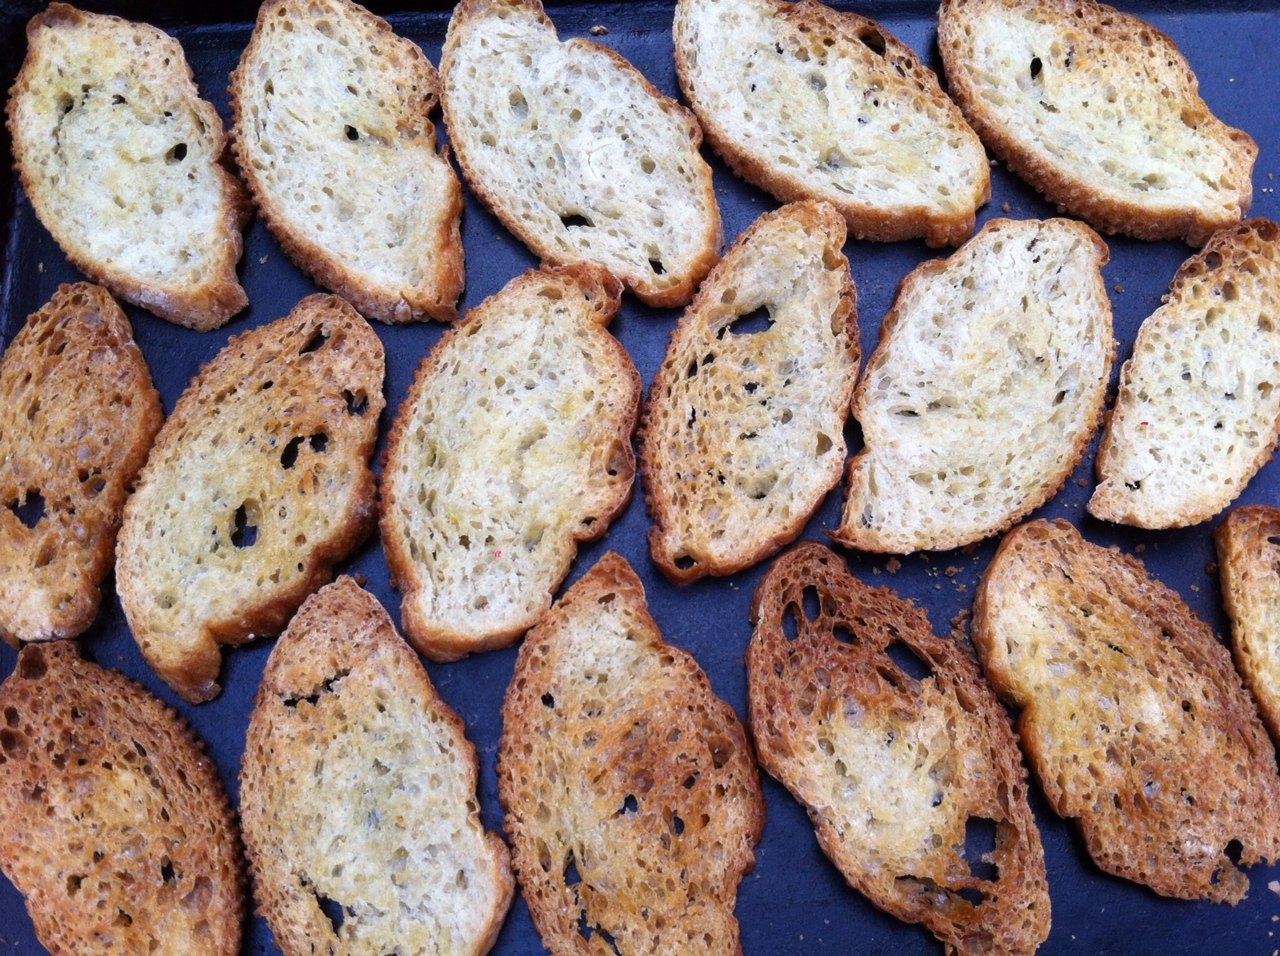
Take a loaf of Easiest French Bread Ever, or a store bought baguette-like loaf that is not too airy inside. You want to have a solid surface for toppings. Slice thin (1/2″ thick or less), but again remember this bread has a job to do, so it has to have some heft. Arrange as many slices as you can on a baking sheet by fitting them together with Tetrus-like space management. Brush lightly with olive oil and sprinkle some kosher salt over all.

Bake in a 350-400 degree oven until just beginning to brown. Oven temp is not critical, which allows you to bake these up while you are baking other things. Cooking time will vary according to temperature, but at 350 degrees start looking at the toasts after 15 minutes. Cool and use immediately or pack away for later.

Method

Its nice to have pre-made hors d’oeuvres, but sometimes its also nice to allow guest to create their own combinations…especially when you are short on time. If you go the DIY route just present a few pre-made masterpieces as a guide and offer each component with the proper implement.

First Layer: Here you are creating a base of flavor and also a barrier between the toast and toppings that are often steeped in juice or vinegar or something that could turn toast to mush on contact. A spreadable consistency for your base material makes your job easier and allows for build-your-own-options. Fancy, creamy, goat, blue and brie-like cheeses are great, as is plain old cream cheese mixed with herbs, spices, dried fruit or whatever sounds good to you. Whipped lemony feta à la Ina Garten is a good place to start as well.

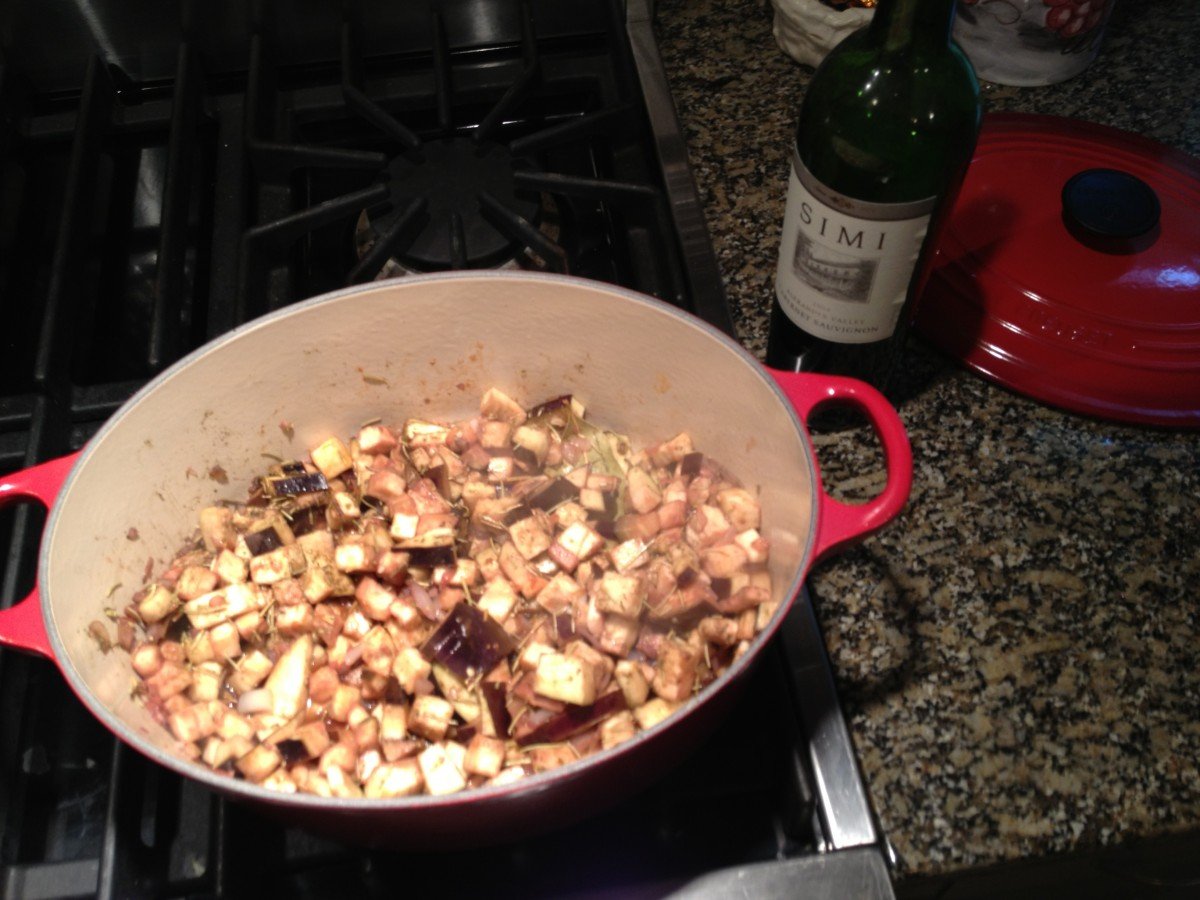
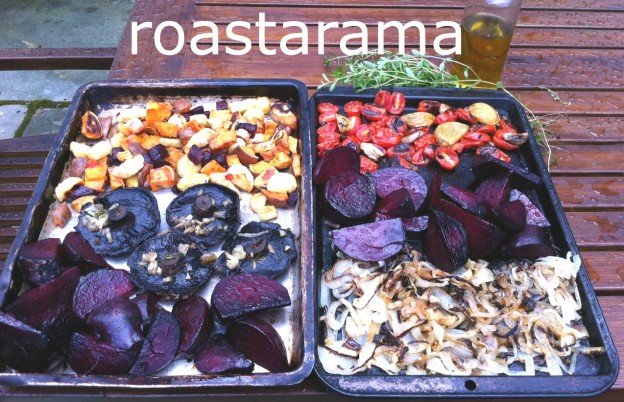
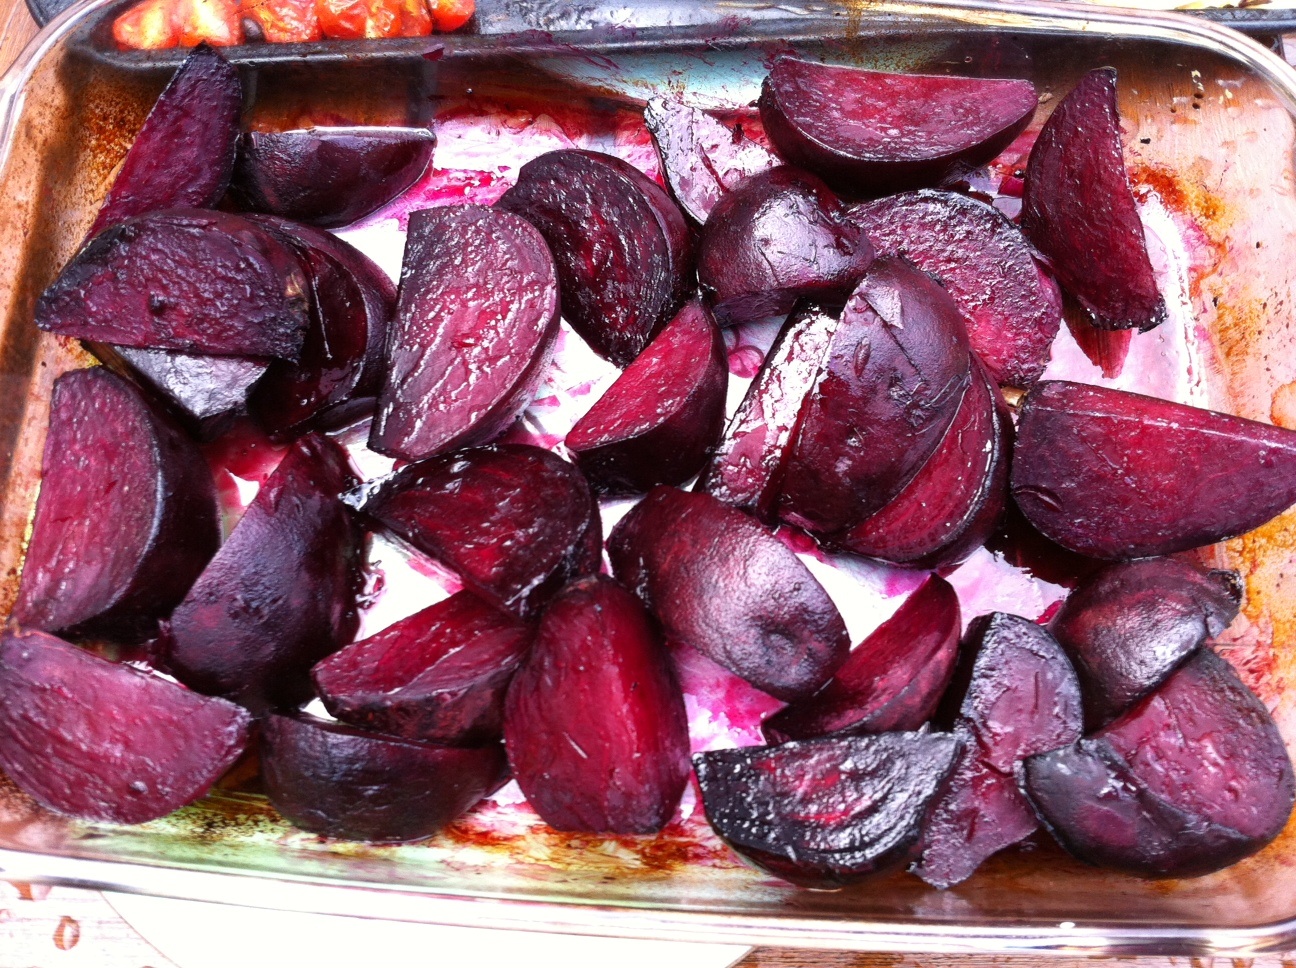
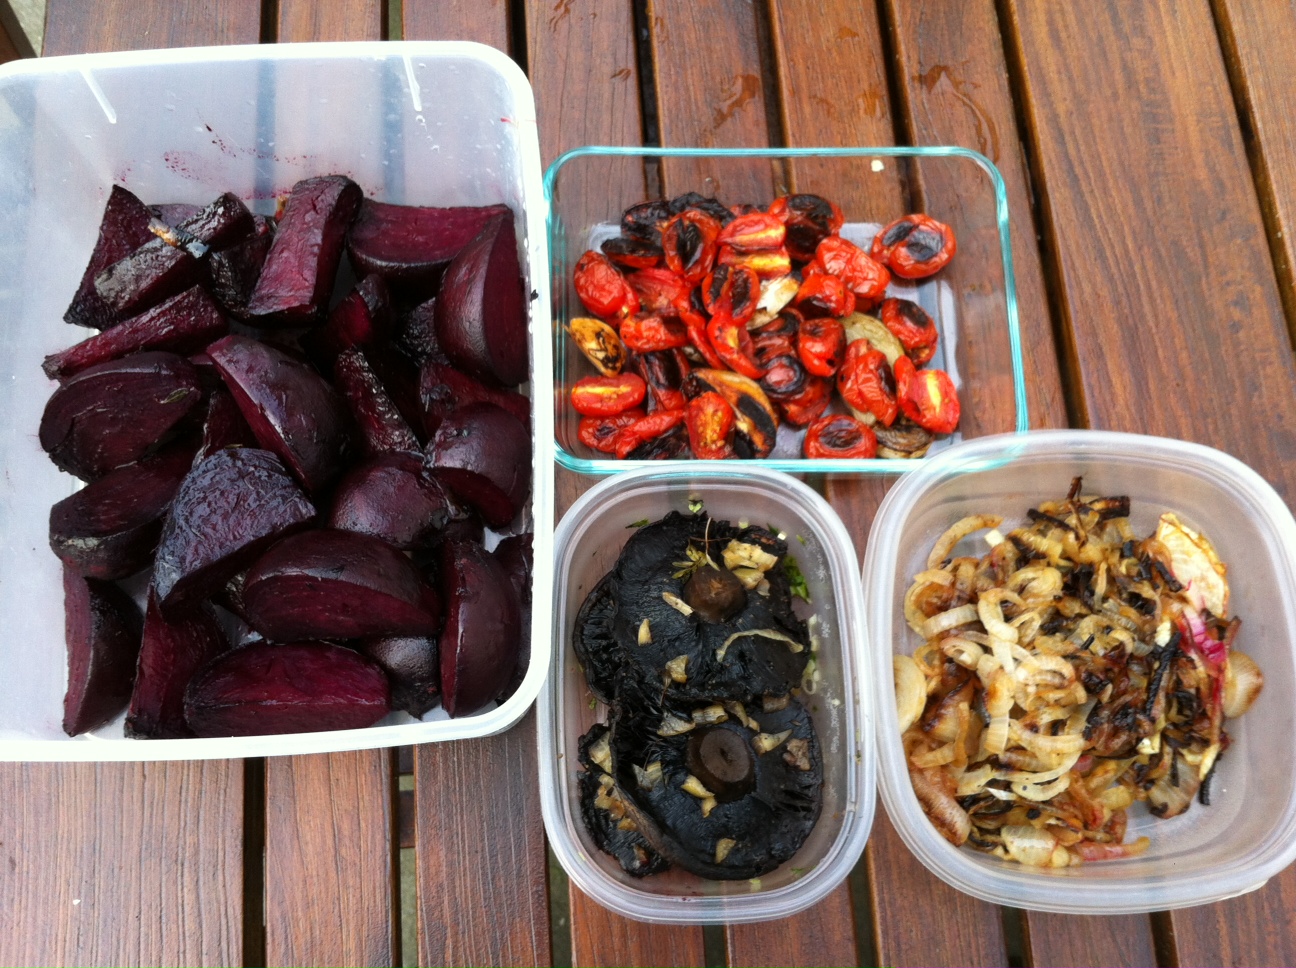
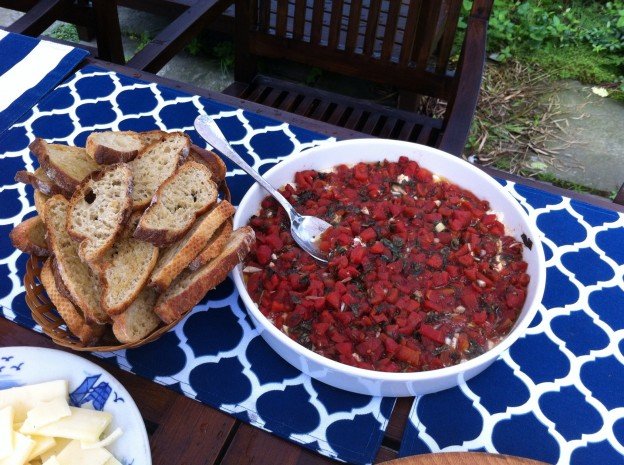
Second Layer: This is the really good stuff. Pickled figs, tomatoes and fresh herbs, caponata, marinated fruit, citrusy/herb-infused anything. Insert purr sound here. There are so many possibilities, including the ever-popular and oh-so-easy Funitella Bruschetta.

Third Layer: This is all about crunch. Toasted nuts or seeds, a pinch of something salty, fried, candied or otherwise decadent (turn away Sue…pssst–crumbled bacon!) Pull out whatever favorite topper is in your pantry arsenal. Steal an idea from the “pickled fig crostini” and keep a small stash of your favorite toasted nuts, chopped fine then lubed up with olive oil and a sprinkle of salt. That’s a worthy topper for pretty much anything, unless you hate nuts, in which case you might want to avoid anything I bring.

Bring it!

Pack the toasts in a good ziploc bag, and bring all other mixtures in their own separate sealed travel containers, or covered serving bowls. Make sure the crispy/crunchy stuff is isolated to maintain its mojo. And don’t forget the serving tray, spreaders, spoons and knives if needed.

Moosewood Ratatouille

Eggplant simmering in pot

Eggplant simmering in pot

I went to school in Ithaca, NY, home of the Moosewood Restaurant. This was in the early 80s when Molly Katzen was relatively unknown and vegetarianism was not so widespread. My roommates and I decided to try the restaurant one night and sheepishly walked into the small dining room wondering if we had accidentally walked into someone’s living room. There was a chalk board in the corner with 3 dinner items, 2 soups, and a salad listed. I didn’t know what any of the dinner items were, but the description of the ratatouille sounded okay so I decided to go with it.  I was blown away. It was unbelievably good. I later bought the cookbook so I could make this dish for myself and my friends. That was over 30 years ago and I’m still making the Moosewood Ratatouille on a regular basis. As far as tailoring the recipe, I always add cubed tofu or beans (any kind of bean will do). Also feel free to throw in any veggies on hand – mushrooms, carrots, cauliflower, etc… it all works. It is great served with brown rice or crusty bread and a green salad.

Ingredients

1 medium onion, chopped
2 medium  bell peppers, cubed
2 small zucchini, cubed
1 small eggplant , cubed
4 cloves crushed garlic
2 medium tomatoes, in chunks
1 bay leaf
1 tsp each basil, marjoram, and oregano
Dash of ground rosemary
3 Tbsp dry red wine
½ cup tomato juice
2 Tbsp tomato paste
Salt and pepper to taste
¼ cup olive oil
Fresh chopped parsley

Method

Heat olive oil in a large, heavy pot.  Crush the garlic into the oil. Add bay leaf and onion, salt lightly.  Saute over medium heat until onion turns transparent.  Add eggplant, wine, and tomato juice.  Add herbs.  Stir to mix well, then cover and simmer 10-15 minutes over low heat.  When eggplant is tender enough to be easily pricked by a fork, add zucchini and peppers. Cover and simmer 10 minutes. Add salt and pepper, tomatoes and tomato paste.  Mix well.  Continue to stew until all vegetables are tender (How tender is tender?  Molly Katzen says do a taste test and decide what seems right to you).

Just before serving, mix in fresh parsley. Top with grated cheese and chopped black olives.

Ratatouille on plate v2

Bring It!

This is ideal to bring in a crockpot so all you need when you get to the dinner party is a small bit of counter space and an outlet.  If you don’t own a crockpot, you should strongly consider buying one.  These are critical to the Bring It mentality.  Short of that, if you can bring it in a pot so you can heat it when you get there, that is great.  Or put it in a serving dish and pop it in the microwave to heat before serving.  NOTE: ask the host if you can heat on the stove or microwave when you get there so they are prepared.  Some people don’t have microwaves (yes it’s true – my friend Edie is one of them!), so definitely check before you go.


roasted-veggies

Roastarama

I never mean to go overboard in the kitchen, but when my compulsions kick in one thing leads to another and events like “roastarama” ensue. I have a thing about making use of a good hot oven. It may stem from not having a working microwave or it may go way back to some primal cavewoman worship of the discretionary use of fire and heat.

Whatever the cause, I find myself uncomfortable firing up an oven without using much of its interior real estate. This happened most recently when I set about simply roasting a pile of beets, after being inspired by some luscious looking recipes including balsamic roasted beets on Stone Soup.

Ingredients and Method

roasted beets
Balsamic roasted beets

The beets only filled up one baking dish so I figured I might as well roast the remaining beet with the parsnips and sweet potatoes that were kicking around too. Then I looked at the grape tomatoes languishing on the counter and made a pan of them with garlic and onions. And then I remembered the portabella mushrooms that were drifting around in the veggie drawer, having never made an appearance with the all male guest list at my last bbq. All of a sudden my oven was full, the kitchen smelled great and I veggies-containedwas set up with days worth of salad and sandwich fixings, pizza and bruschetta toppings, omelet fillings etc.

The beauty of it is that the whole mess of extra veggies (except the mushrooms, see below) followed the same basic protocol: Cut them into largish pieces, spread them on a rimmed baking sheet, drizzle with olive oil, scootch them around to distribute then give them a sprinkle of kosher salt. They all went in at 400 degrees for about 45 minutes. When they look and smell amazing, they’re done.

Continue reading

Hero Slaw

napa

Behold the humble cabbage that became a neighborhood icon. It all started when I found this recipe in Sunset magazine. (When you are a west coast girl living in the east, Sunset is like crack, with all its pictures of patio parties, seaside picnics and year round outdoor showers.) I started making it one summer and people loved it. They asked for the recipe, cautiously, which was the first time I realized some people guard their recipes like state secrets. As if one person’s resolve is any match for google. Anyway, I made it more and people kept asking.

But as many times as I emailed the recipe, nobody ever made the slaw. It was as if I was the only one with neighborhood rights to it. One friend claimed she had tried to make it but it “just wasn’t the same.” Nobody took ownership for making it, but they darned well knew about it. One time I brought the slaw to an end of school party and realized I had forgotten the dressing at home. As I headed to my car to retrieve it back at my house, one of the other guests quickly looked in the fridge and pulled out some ranch dressing. “Here!” she said helpfully. “This will work fine.” The assembled mothers looked at her like she had just proposed year round school. “No,” said another woman shaking her head with resignation. “She needs to go home.”

I always sent the recipe along with its original name, but it became “Edie’s Slaw” by reputation. Then one time I paused before hitting send, and changed the title to “Edie’s Slaw.” I have never been great at self-promotion, but I figured with all the dicing and slicing I deserved some credit, right?

Still, I never felt comfortable with putting my name on something just because I saw it first. It was our neighbor and plumber who solved both the distribution and naming issues. He had tasted the slaw at a mutual friend’s house and one time when he came to fix our frozen pipes he mentioned how much he liked the slaw. I passed along the recipe. A few years passed, and as far as I could tell I remained sole bearer of the slaw. Finally, one summer I ran into the plumber on a non-professional basis, and he said he needed to make a confession.

“I bring that slaw to every barbecue I go to in the summer,” he admitted sheepishly. “And I feel so guilty, because every time I’m the hero, even though I tell people it’s not really mine.”

“It’s yours,” I assured him. “Run with it!”

That’s when I decided to name it “Hero Slaw” and leave it at that. Not two days later a woman I barely knew waved me down as I made my way home: “I made your slaw again yesterday. It’s great!” So here it is, your key to getting an invite to every pot luck you desire.
Continue reading

Funitella Bruschetta

Red alert, in June 2020!!!

This was one of my very first posts on Bring It, and just today, nearly seven years later, I discovered from a friend that it has a giant hole in it. It’s fixed now below, to put in the step where you pour the tomato mixture over the feta before baking. Wow! I am so sorry for all those raw tomatoes the devoted have consumed over the years, though, as Uschi will attest, it’s kind of awesome that way too. And now for the real Funitella Bruschetta…

This was my first course in neighborhood recipe dynamics. I got it from Pierces Inn, and they later scoffed at taking any credit since they got it from another neighbor in Etna. As I let myself become locally famous for my bruschetta another neighbor went to visit my parents in Squaw Valley where he rode the funky tram-like gondola called the Funitel. In a flash of inspiration the next time I saw him, on our patio enjoying said dish, he dubbed it “Funitella,” which sort of tied it to my Squaw Valley roots. It later became funitella bruschetta, which gave a better clue about the recipe type, while also sounding like a stripper or a hot Austin Powers agent.

Ingredients

  • 35 oz canned tomatoes, well drained over a sieve. (Petite dice is ideal but not necessary. I use a combi of regular, and burgundy+olive oil, or Italian herb tomatoes)
  • ½ cup olive oil (I use a bit less)
  • 1/4 cup balsamic vinegar (I use more…enough that Pierce’s Inn disowns the recipe as made by me. Your call to taste.)
  • 4 garlic cloves minced or pressed
  • A good handful fresh basil, chopped fine
  • Coarse salt and pepper to taste
  • Chunk of feta cheese (enough to crumble over the bottom surface of your dish)

Method

The tomato mixture

The tomato mixture

feta-in-dish

The feta. These two really ought to meet…


Mix all ingredients except feta. Let it sit awhile if you can to combine flavors. Crumble feta in the bottom of a shallow baking dish. Pour tomato mixture over the feta, in an even(ish) layer. Bake uncovered at 350 for 20 minutes. Top with shaved Parmesan if desired. Serve on top of bruschetta toasts (ideally made from easiest french bread ever).

Bring It!

I always serve it in the Simon Pearce round white dish the fabulous Suzi gave me. It just seems better in a friend’s dish. You can also bring it deconstructed, in separate containers and quickly assemble it at your destination. Any leftover tomatoes are awesome in omelets, quesadillas, salads, etc.

Easiest French Bread Ever

RED ALERT NOTE! This was originally published with the wrong flour measurement. It is corrected here, and please accept my sincere apologies for the gluteny messes that ensued from mistake.  I owe y’all some bread flour!

The title says it all. If you are intimidated by the thought of making bread, but you really like the idea of busting out homemade bread, start here! It is a no knead bread that takes way less time than other bread recipes, and, like the very best friends, is totally low maintenance. You can cut the second rise time,  leave it in the loaf pans way too long, manhandle it into the unruliest looking loaves imaginable and it still turns out tasty. And whose going to complain about looks when you bring fresh bread? That’s right–nobody!

Ingredients:

  • 6 cups bread flour
  • 1 Tbsp EACH sugar, salt (a little less) and instant yeast
  • 3 cups warm water

Method:

Mix in large bowl—it will be wet enough that you only have to use a wooden spoon.  Mix until [wet] ball forms. Don’t waste time over mixing and do not knead.  Cover with towel and let rise about 1 1/2 hours.

rising-dough-french-breadDough is risen and ready to be punched/shaped.


French-loaves-rising 

Very imperfect loaves rising in their pan

Sprinkle dough liberally with more flour. Punch down and divide the mass in ball-like halves. It’ll still be wet and will get your hands goopy. Grab one ball at a time and pull/shape/plop it onto a French bread loaf pan coated with non-stick spray (or give the ozone layer a break and just wipe it with some vegetable oil. Let loaves rise about another hour. If it overflows just fold the overflow back over the loaf. * Trust the process. It’ll be fine, though you may have funky shaped loaves the first few times.

French-bread-baked

Golden and delicious. Turn your back and there’s already a piece missing.

Preheat oven to 450 degrees.  Bake about 20 minutes or until it’s deep golden brown. Let cool in pan and then gently pry it out with a small spatula or metal frosting spreader.

As mentioned above some of us have fudged the timing mightily— roughly wrestled over-risen loaves back in their place; cooked it too long or brought it partially baked and finished it by warming it at the place we are visiting. It’s always a hit. The only must is that you get the French or Italian bread pan. It’s a $20 investment that will change your life…or somebody else’s life if you give them a pan along with a freshly baked loaf. Mmmmmm–Good idea!

*At this point if you realize your math was off and what were you thinking–pick-up is in an hour!– just pop the pan in the fridge and come back to it.

Bring it!

Make it a double gift by bringing it in its own loaf pan (see above), or wrap it in a nice dishtowel and wedge it into the bag of whatever else is making the trip.