Not to be bossy but, MAKE THIS DESSERT!
This recipe popped into my life just as I was looking for something purple to post in honor of the Walk to End Alzheimer’s (shameless plug and donation link here). Purple is the color of the cause. Both the cause and the color are dear to me because of my awesome mama Nina who happened to LOVE the color purple.
My first purple food efforts included braised red cabbage and some spiced beets. Both were pretty and delicious but felt a little more like weeknight homework than weekend fun. And who needs more homework in September?
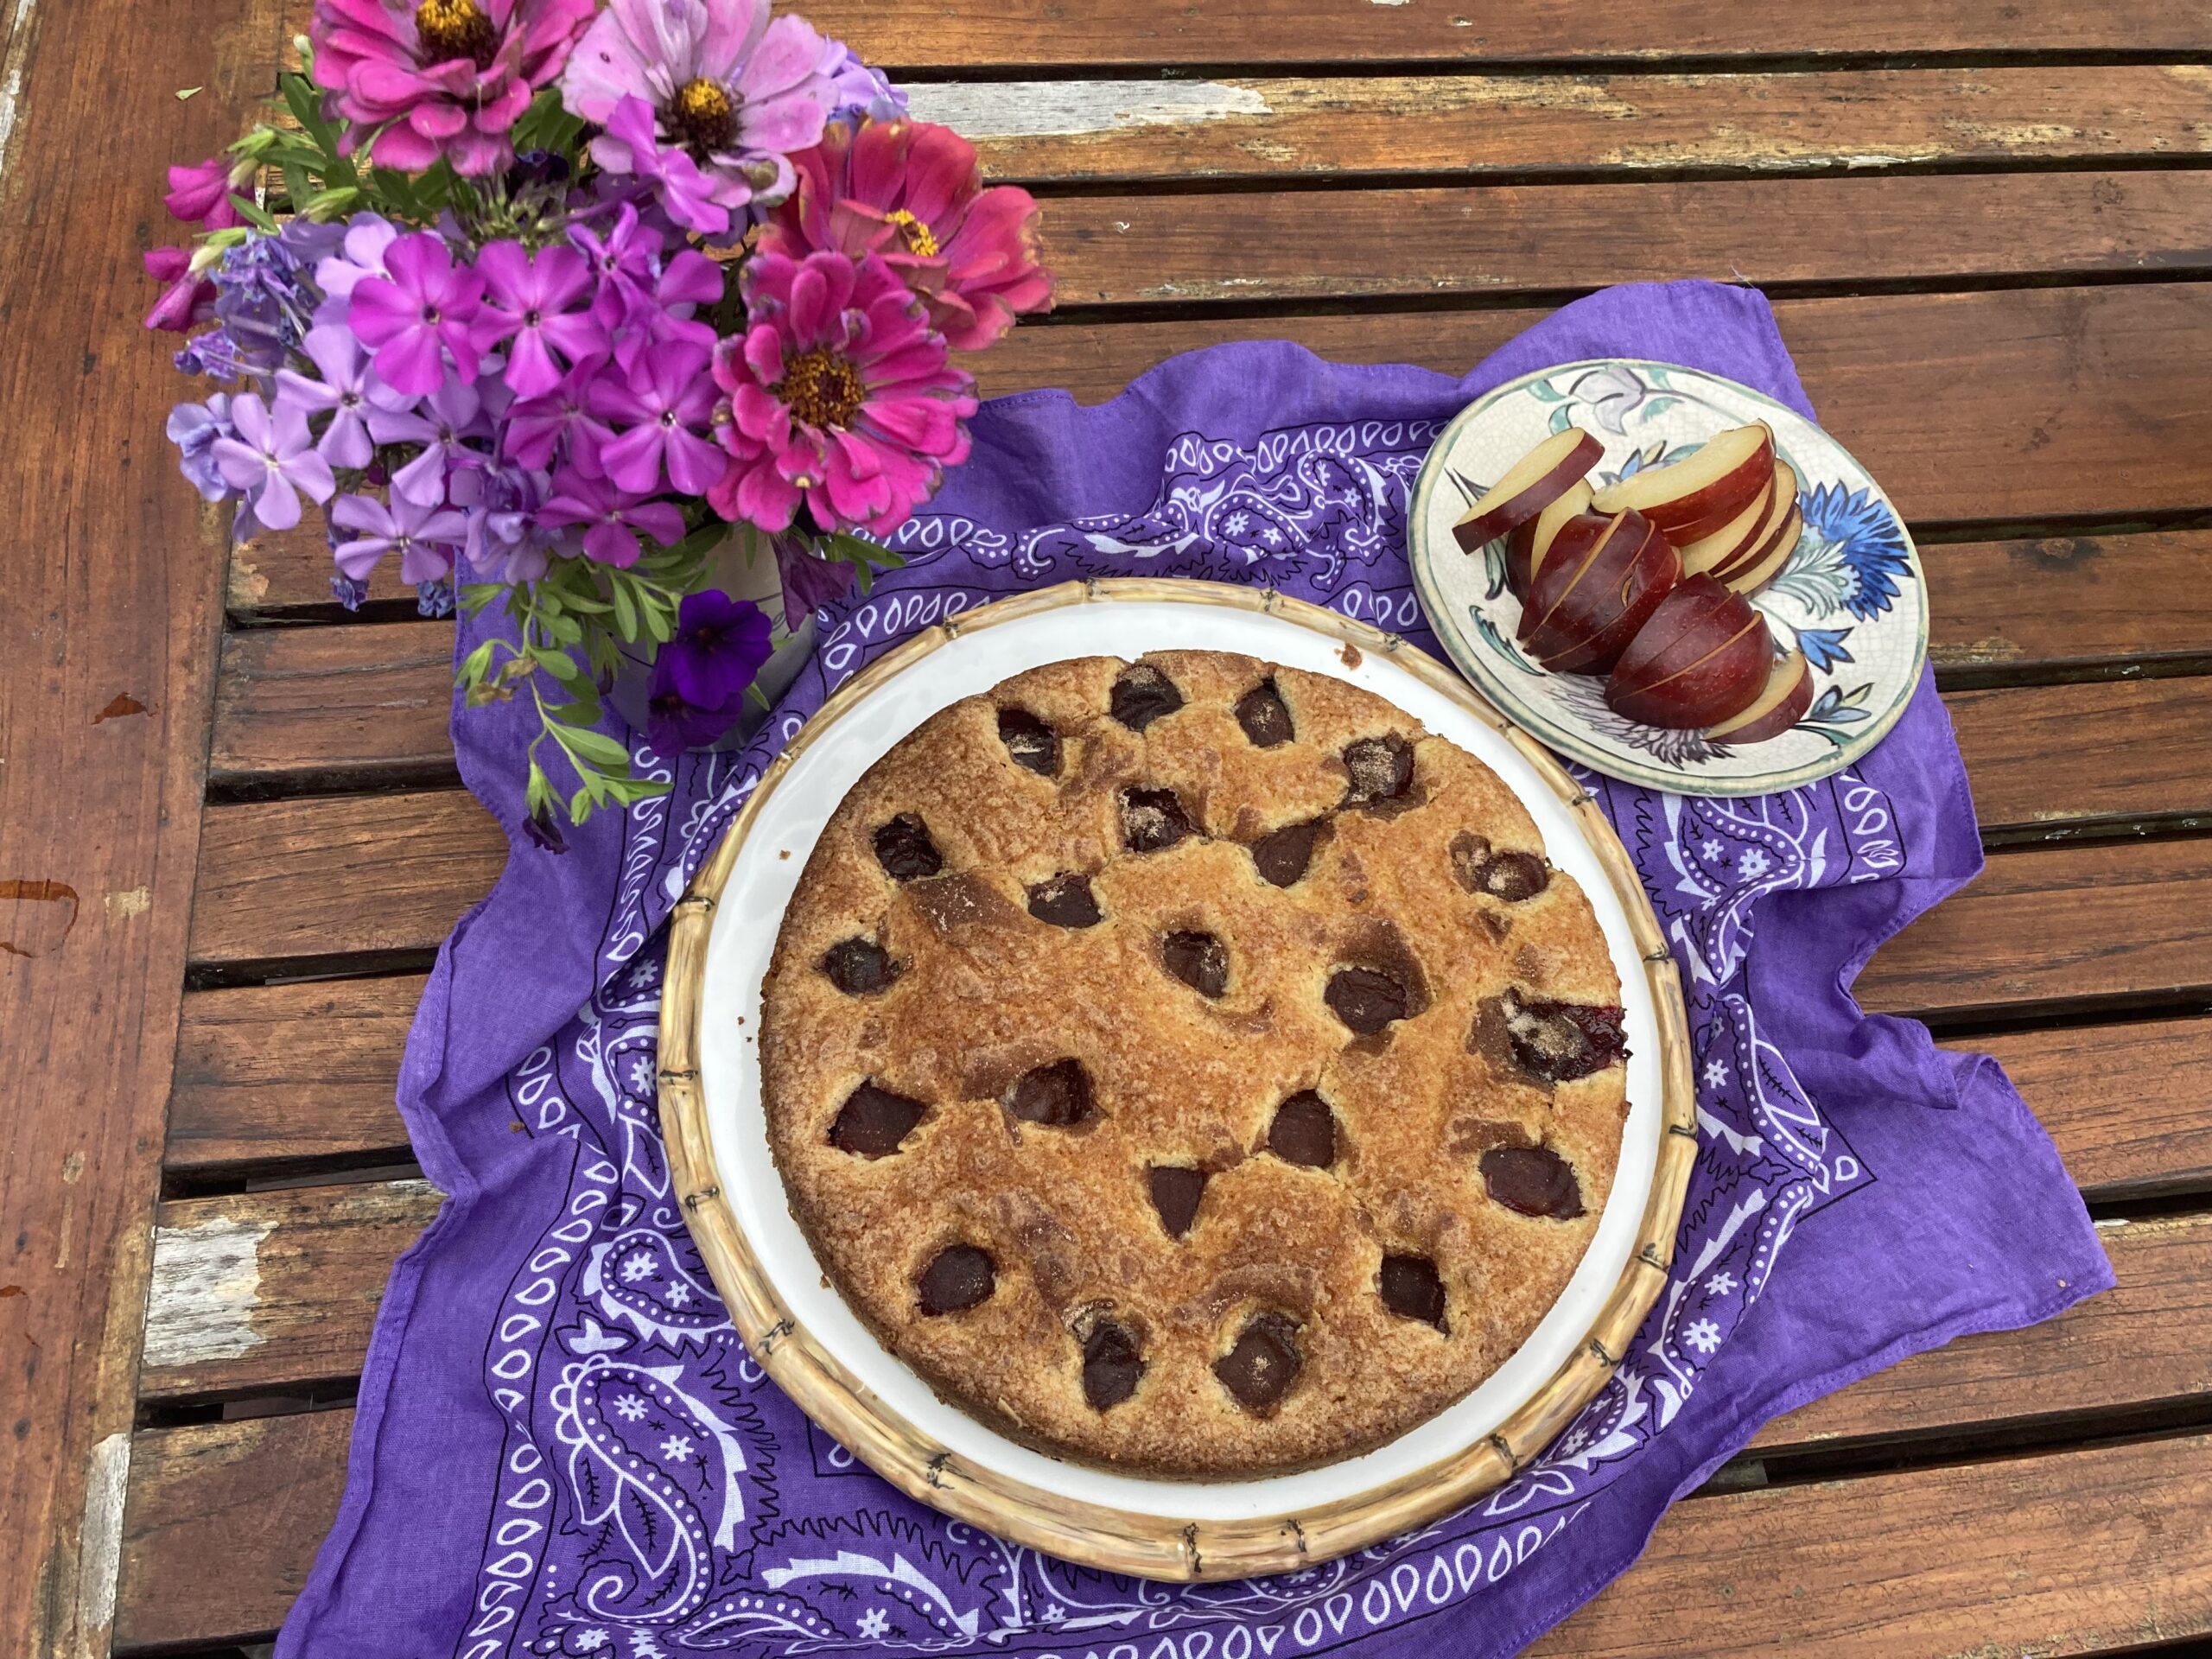
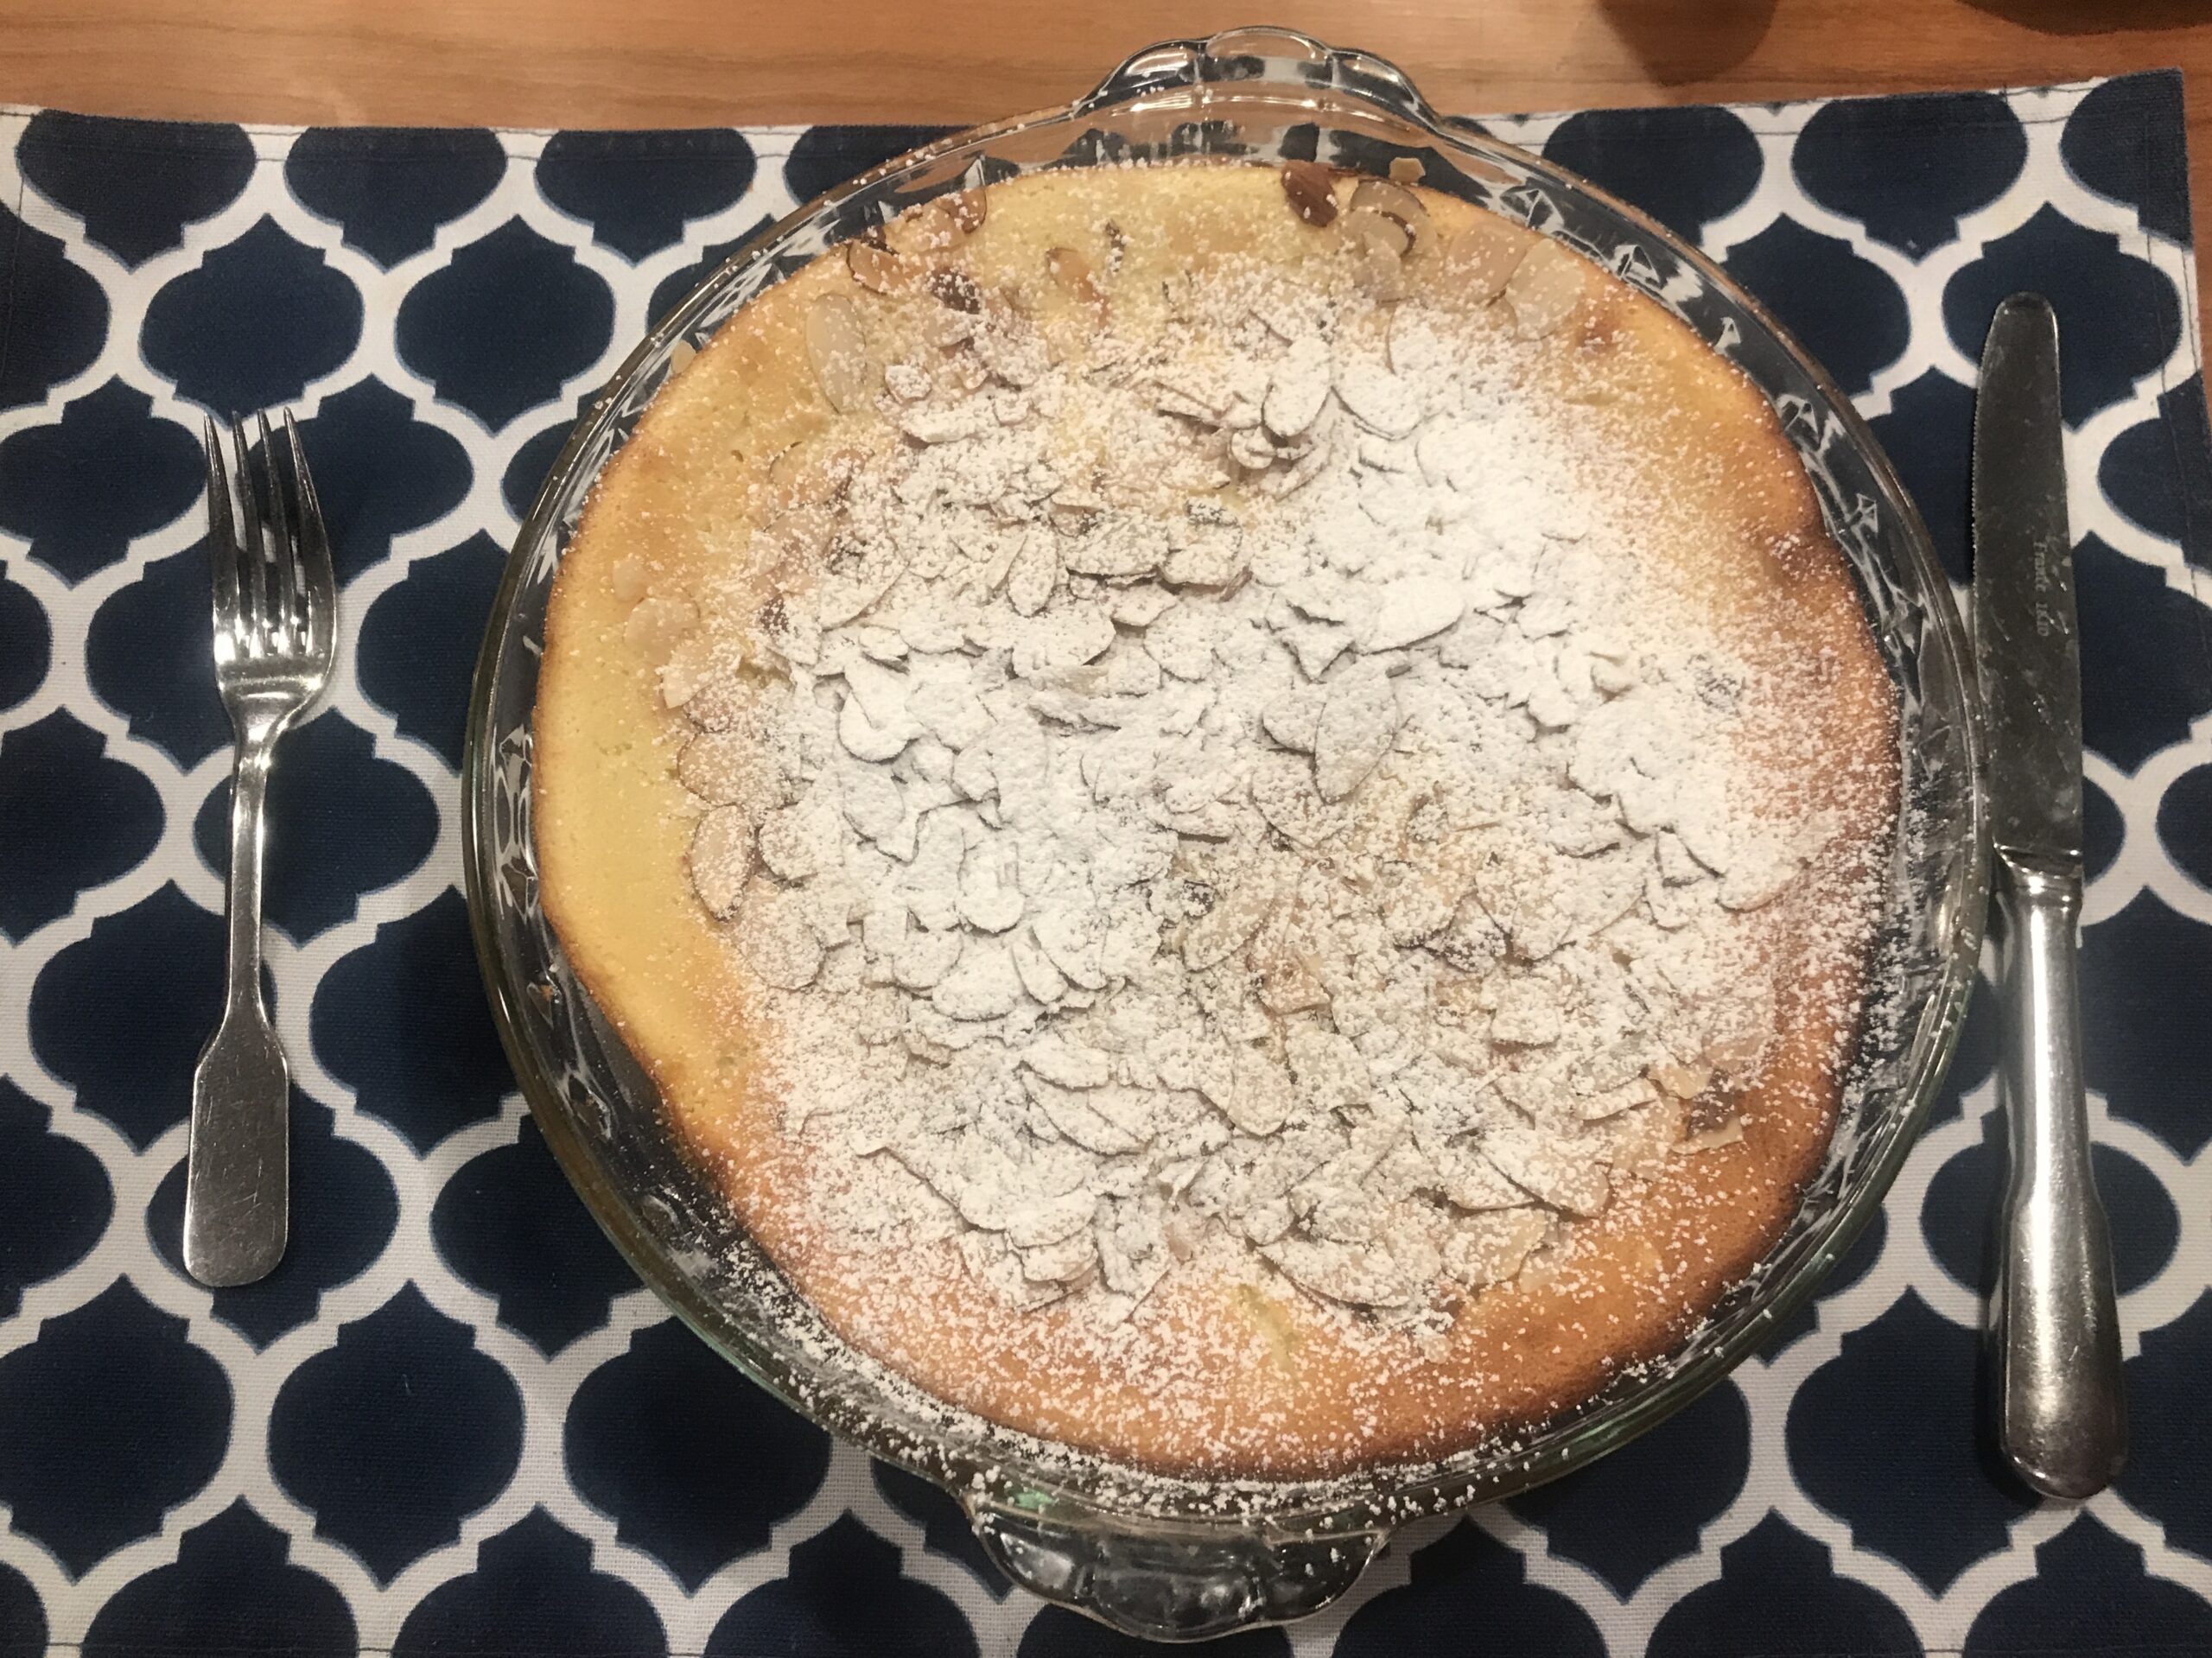
Browned up, cinnamon sprinkled Purple Fantasia
Then, like magic, the New York Times offered up its most requested recipe of all time—Marian Burros’s Plum Torte, resplendent with purple plums.
There are many reasons why this recipe is brilliant. First off, it is easy, and infinitely flexible; hence, the name. In keeping with the Stillsian “love the one you’re with” sensibilities it can be made with really any kind of fruit you’d find in pie. It is made with regular ingredients (not many, and in totally memorizable quantities) you probably have on hand right now, and in whatever pan you’ve got, with a mixer or a fork. It travels like a champ, freezes easily, and is essentially un-messupable.
It’s even easier than Nina’s specialty margarita pie, and considering that the Times has printed it annually since 1983, Nina may have even made it in her day.
It took me a while to try it out because at first I couldn’t find the smaller Italian purple plums, and needed my larger black plums to ripen. They never really did, and still, it was delicious. Don’t let a lack of any specific fruit keep you from making it, because, as the recipe promises, it can be used with any seasonal fruit, from berries and stone fruit in summer to apples and pears in the fall, to cranberries and frozen berries in winter.
-

- Black vs Purple Plum
-

- pre-baked look
-
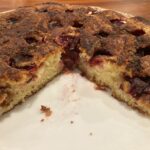
- inner beauty
I literally road tested my first effort—sliced it in the pan, wrapped it whole then enjoyed it with friends from a tailgate after mountain biking. I made it again with frozen blueberries, and again with the proper, and much smaller, Italian plums. And then again with fresh raspberries. All good! Next up (obviously in this neck of the woods) apples.
An international crew of testers, albeit young and hungry, gave a unanimous thumbs up. They voiced a slight preference for leaving the plums halved, as in the original vs sliced, as suggested in some of the 2,125 comments.
So, make it with anything you’ve got, and share it with anyone you love. Or just share it with whoever you’re with because, you never know.
-
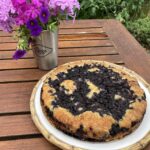
- frozen blueberry edition
-
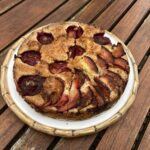
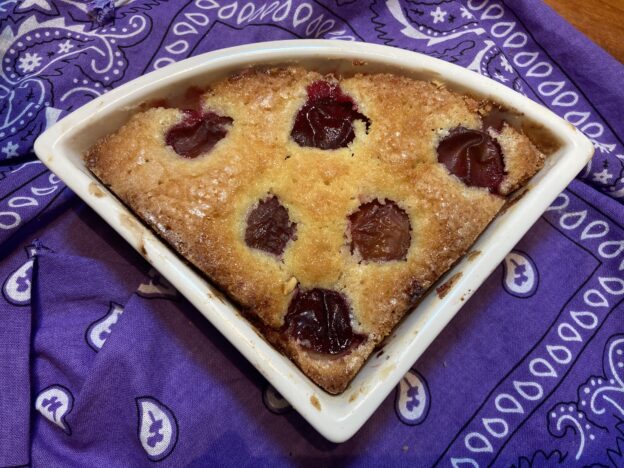
- halved vs sliced plums
Love the One You’re With Plum Torte
originally by Marian Burros for the New York Times
Ingredients:
Yield: 8 servings
- ¾ cup (150 grams) sugar
- ½ cup unsalted butter, softened
- 1 cup (120 grams) unbleached flour, sifted
- 1 teaspoon baking powder
- Pinch of salt
- 2 eggs
- 24 halves pitted purple plums
- Sugar, lemon juice and cinnamon, for topping
Method:
Heat oven to 350 degrees.
Cream the sugar and butter in a bowl. Add the flour, baking powder, salt and eggs and beat well.
Spoon the batter into a lightly greased and floured spring-form pan of 8, 9 or 10 inches. Place the plum halves skin side up on top of the batter. Sprinkle lightly with sugar and lemon juice, depending on the sweetness of the fruit. Sprinkle with about 1 teaspoon of cinnamon, depending on how much you like cinnamon. (I like 1 Tbsp sugar mixed with ½ tsp cinnamon, then sprinkled together on top)
Bake 1 hour, approximately, checking at 45 minutes. Remove and cool; refrigerate or freeze if desired. Or cool to lukewarm and serve plain or with whipped cream or, duh, ice cream. (To serve a torte that was frozen, defrost and reheat it briefly at 300 degrees.)
Tips
Here is where I’ll guide you to the highpoints of the rabbit hole that is the comment section at the end of this and every NYT recipe. As proof of this recipe’s brilliance, the notes are far less snarky/judgemental and more contributory/helpful than the usual NYT comment fare.
- To freeze securely for the apocalypse wrap the torte in plastic, then double wrap in foil.
- For some of the most popular variations, including flour combos, its best to go to this easy guide.
- Use whatever pan you’ve got, but DO grease and flour it—the original recipe does not mention that step, but that is a subtle plot from the baking elite to undermine the rest of us baking hacks.
 AND NOW, MY PURPLE SPIEL
Today just happens to be GO PURPLE DAY. If you’re still with me, here is my purple pitch, for how to support the Alzheimer’s Association and/or the Walk. Everyone is welcome to join the walks that happen in 600 plus towns across the country. In our hood it’s on Saturday Sept 30 starting at 9:30 at Hanover High School. Sign up right here! Catch the incomparable Cindy Pierce turn her comic genius to Alzheimer’s at Sawtooth on Sept 28, or Go Purple—today or anytime leading up to the walks—to support the cause. Finally a HUGE THANK YOU to all you purple angels who have donated to this cause that means so much to me. Come by for some torte!