Tag Archives: summer dessert

Mini Maple Creemee Pies

Dedicated readers will know that I already posted a recipe for maple creemeee pie, back in November. Then, it was a way to fill a seasonal void. At the height of summer in New England maple creemee options abound, but…what about our friends in the rest of the country? And around the globe? What are they to do?

And, what about those times when you want “just a taste” of maple creemee goodness and you don’t want to get in your car? Enter mini maple creemee pies, the best idea since, well, maple creemee pie.

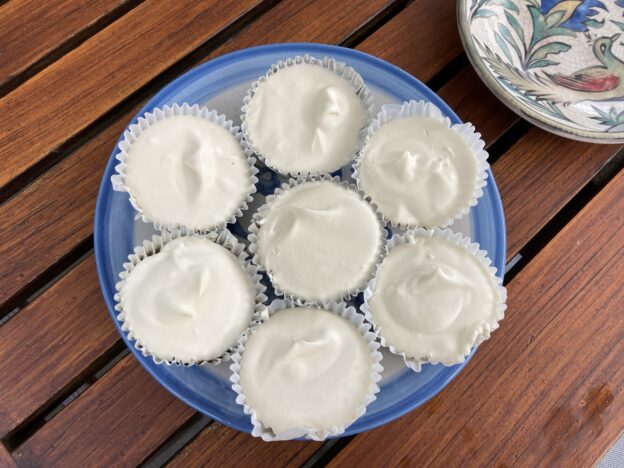
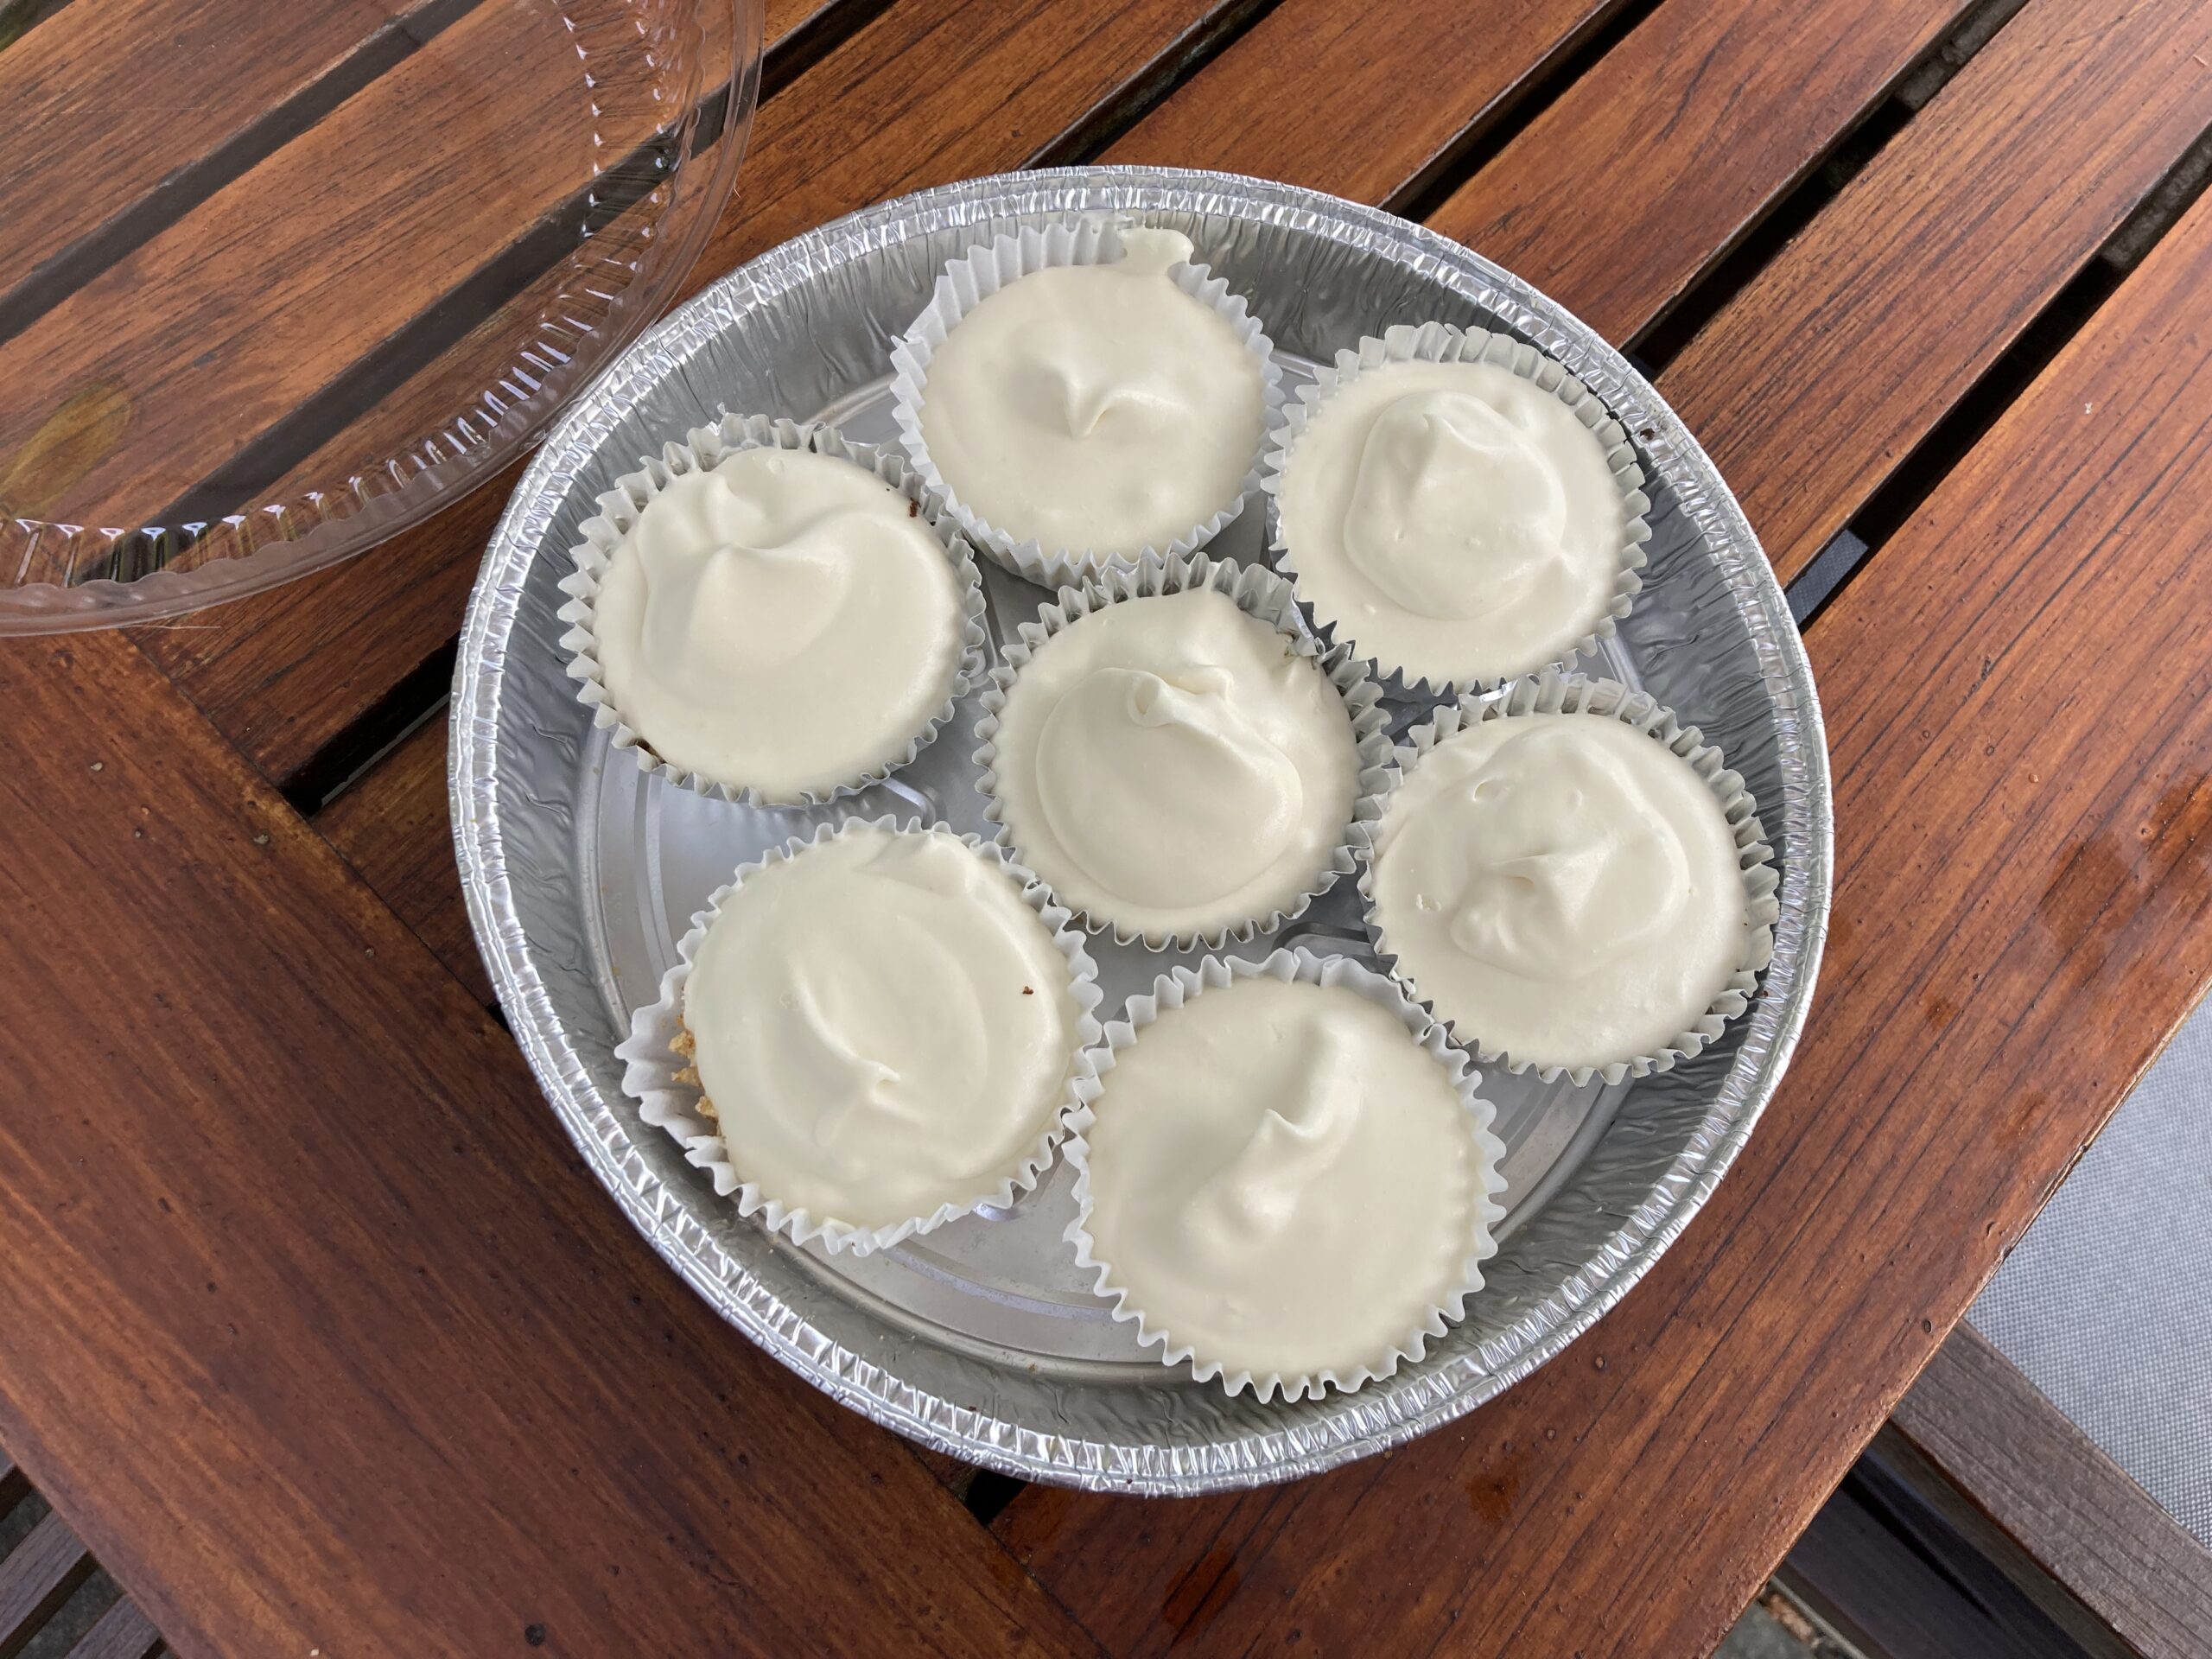
Here’s the basic concept. Whip up the same amazing pretzel crust, but press it into lined muffin tins. Ladle in the same creamy filling, then pop the tray in the freezer. A couple hours later you’ll have individual servings you can eat by hand, using the liner as a napkin; alternatively you can be civilized, put it on a plate (even top it with some berries) and eat it with a fork.

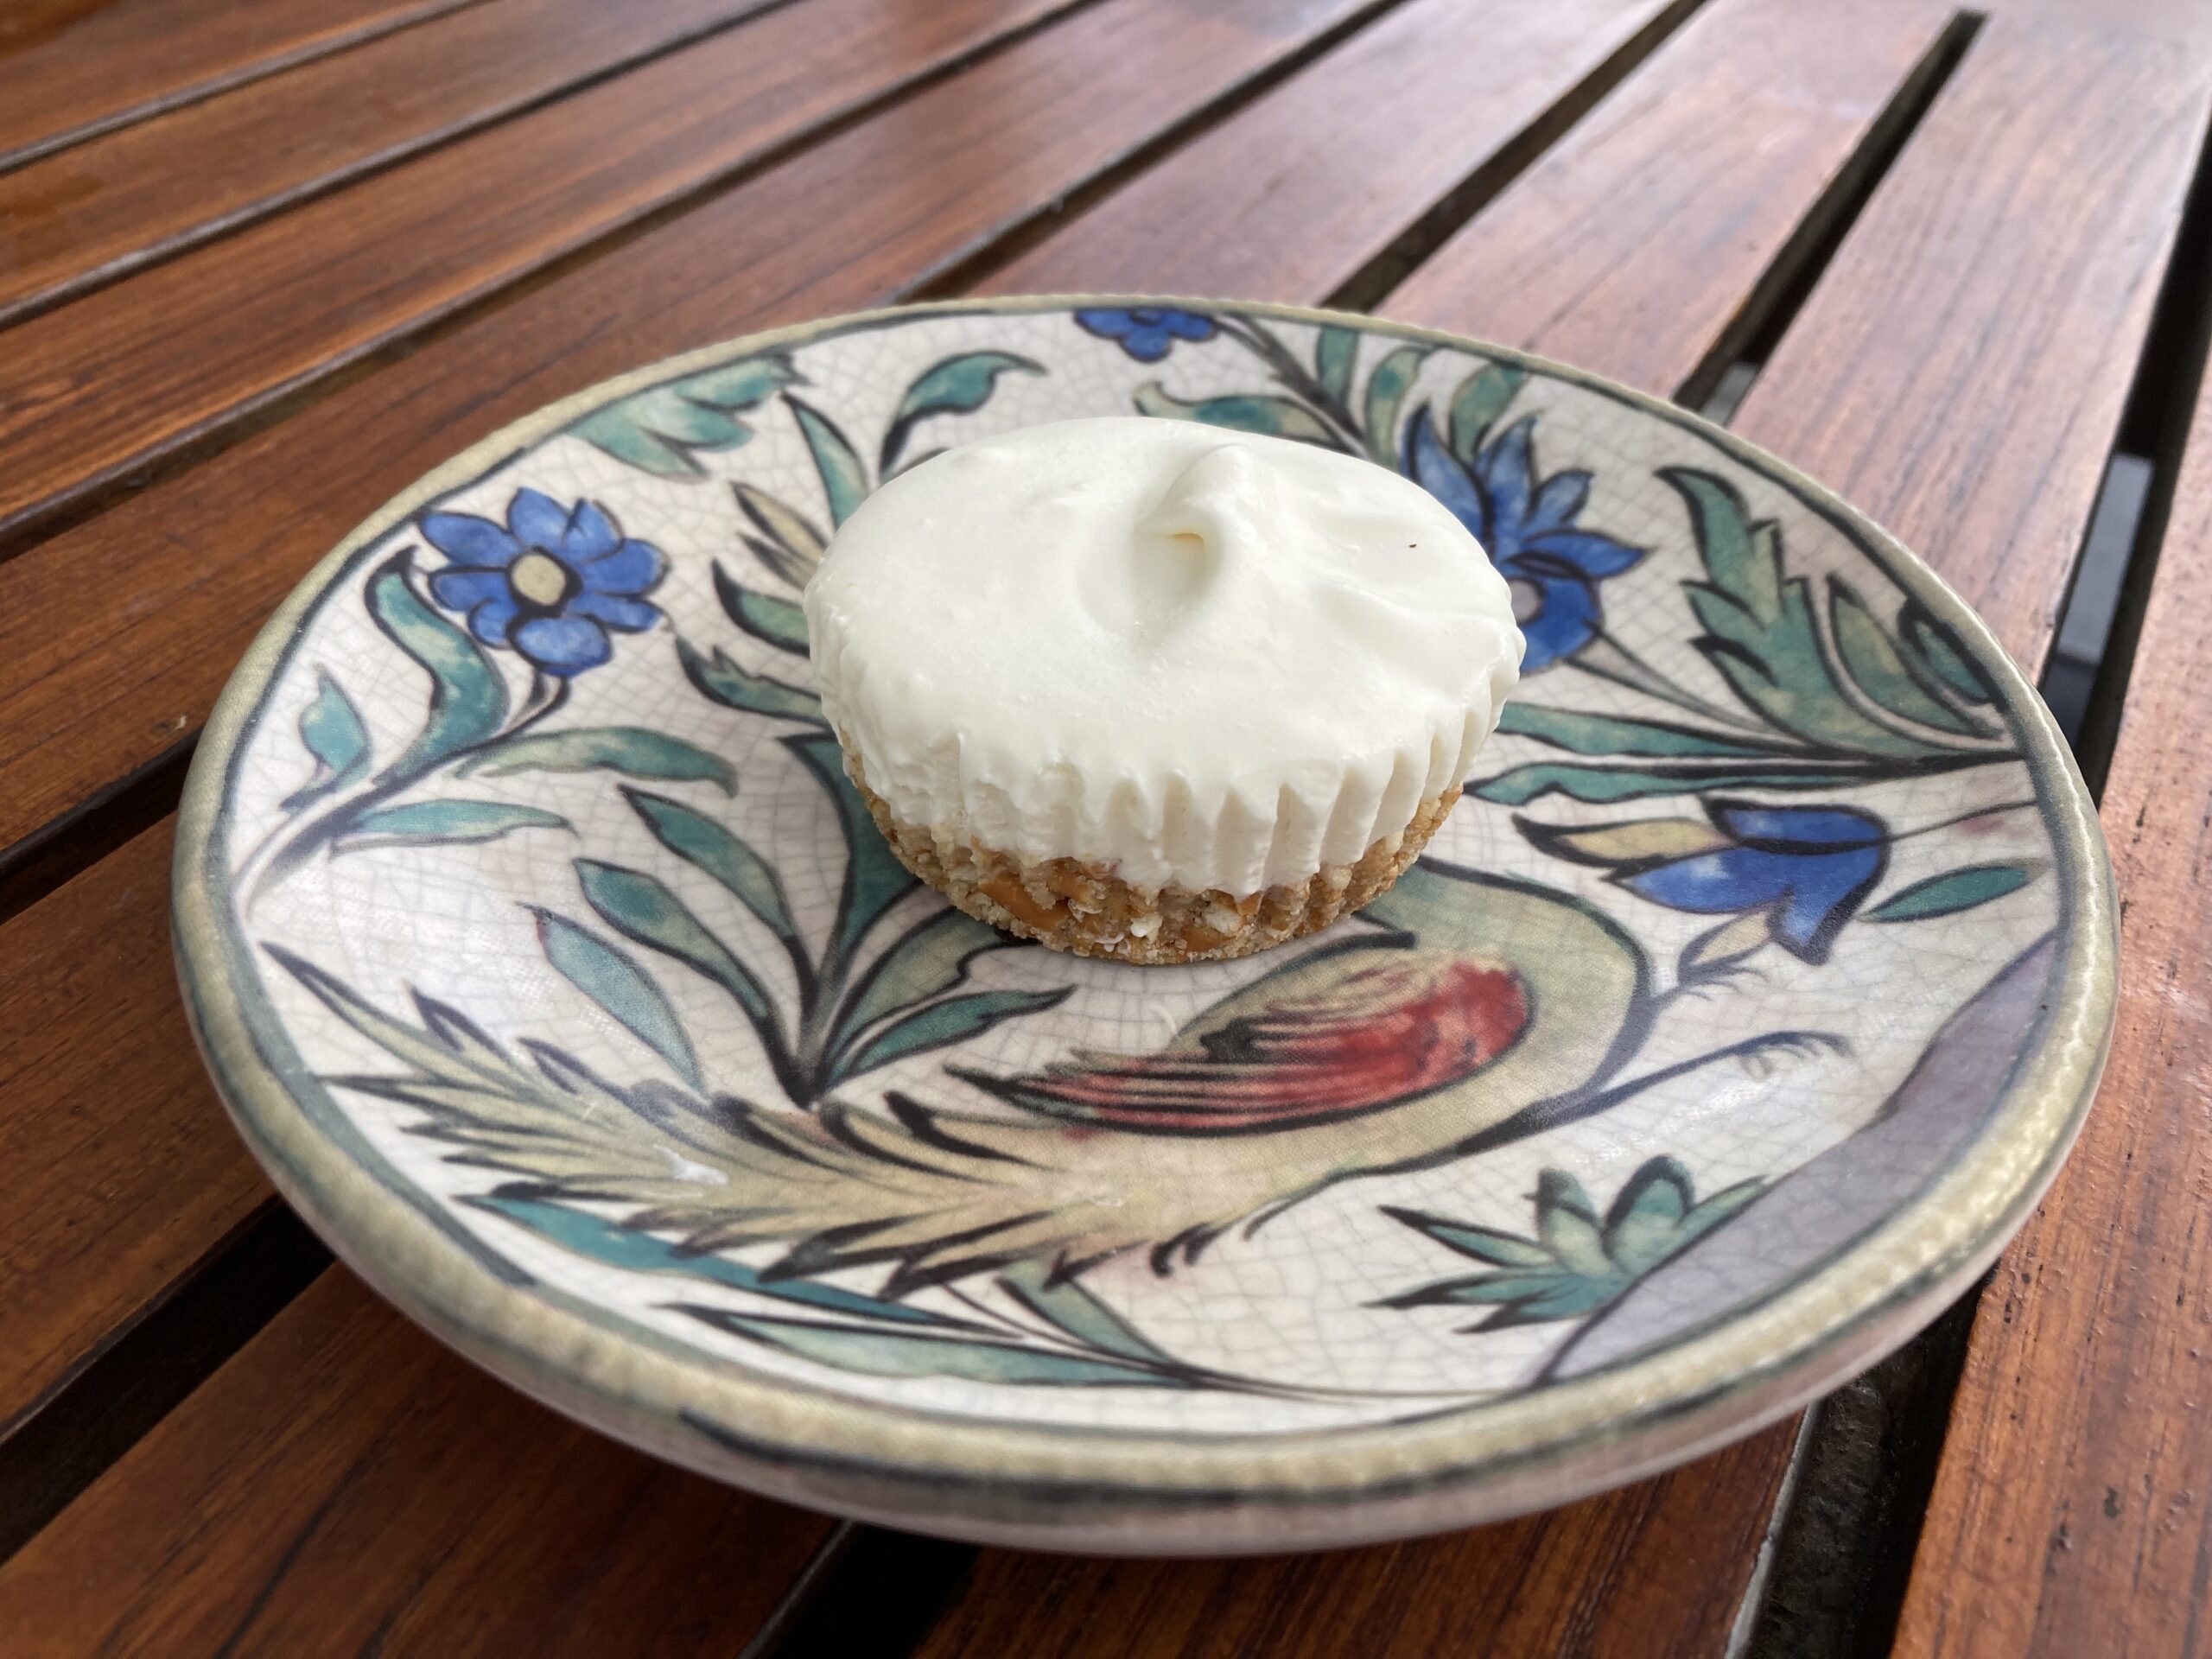
The civilized version, ready for berries or just your fork

As discussed at length in the original post, my preferred version relies on the alcohol in maple liqueur for both extra flavor and to keep the filling from freezing up like a brick. To make up for both, the non alcoholic version called for more maple syrup. I got some feedback that the sober version was too sweet. I have since adjusted down the syrup in that version, and upped the cream in both versions. All that said, this is wayyyyy more art than science, so give a taste along the way and follow your heart. 

For non maple fans, or for a citrus option, this technique can easily be used to make mini versions of Nina’s Margarita Pie. Finally, to my Vegan friends. I still have not had a victory here, but this is the latest recipe I am going to try, once I find unsweetened oat milk creamer. If you beat me to it, let me know how it goes.

Now, my friends, as a late summer treat, I give you mini maple creemee pies. I hope you love them!

Maple Creemee Pies of All Sizes

Prep time: 15 mins, plus at least 4 hours freezing time for a big pie, and 2 for the minis.

Makes 1 yummy pie, or up to 20 mini pies

Ingredients

  • 12 cup margarine or butter
  • 14 cup sugar
  • 3 cups pretzels (to equal about 1 14 cups crushed)
  • 1 (14 ounce) can sweetened condensed milk
  • 3 Tbsp maple syrup*
  • ¼ cup maple liqueur* (mine was 30% alc/60 proof)
  • 1 ½-2 cups heavy cream**
  • Optional: Maple sugar candies crumbled on as topping***

*For non alcoholic version, omit liqueur, and adjust to use 1/4 cup maple syrup, or to taste,  plus 1/2 tsp vanilla (optional).

** I like the full 2 cups of cream. If you don’t use the liqueur, and boost the maple flavor with more than 1/4 cup syrup, extra cream is the right call. And make sure to whip it like you mean it!

*** These are way optional. Veteran testers say leave it alone as is, but one rogue tester notes that the pro pies at Mac’s Maple (with a far inferior crust BTW) featured these. He was enamored by the flourish.

The production line

Method:

Make Pie Crust:
Melt margarine or butter and combine with sugar and pretzel pieces. Press into buttered 9” pie pan. For the mini versions, line 20 (ish) regular sized muffin tins with cupcake liners. Spoon the crust mixture into the cups until it is all used up, then use an empty liner to press the crust in place firmly. Refrigerate or freeze to cool while you make the filling.

Filling: Combine condensed milk, maple syrup and maple liqueur and whisk until it is well incorporated.

Whip the cream until it is very thick and stiff. I mean it—this is your structure. Fold in the whipped cream as gently as you can until it is fully incorporated. Pour into pie crust or ladle into the mini crusts and freeze for at least four hours, more to be safe. Two hours for the minis should do it.

Bringing it:

If you are celebrating away from home, where you have the time and space for it to freeze, it is easily assembled on site. Just prep the pretzels first and put them in a Ziploc bag. Portion out the booze and syrup, grab a pie plate and fill a bag with the rest of the ingredients— cream, a stick of butter and that can of sweetened condensed milk that expires sometime this decade. Make the pie right away so it has max time to freeze, and you have max time to put your feet up and prepare to be worshipped.

On a side note, I had previously said it was not advisable to travel with this in warm weather. I stand corrected. I sent a pie, in the back seat in a reusable freezer bag, to a friend’s house, with instructions for the courier to immediately put it in the freezer. You can guess what didn’t happen. Flash forward to the following morning…the pie is secretly returned from the back seat to our own freezer, hidden under a big bag of blueberries.  Flash forward two weeks…I unearth the buried pie, have a piece and it’s still delish! That, my friends is a true story of survival.

A 9-inch cake pan, with plastic lid, is the perfect getaway vehicle.

John Boy’s Rustic Peach Crostata

crostata1

Just peachy. And rusticy. And easy. Oooh la la!

I am chomping at the bit for apple season. And yet, there are still watermelons and peaches and fresh corn to be had, not to mention the low maintenance fish tacos (coming soon) that can be the dinner anchor for all that fresh fruit. So back off, fall. Today we’re all about peaches.

So good, so luscious, so hard to bake them in to anything before eating them all fresh. BUT here is your best chance of that. I started summer by making a rustic blueberry crostata with a homemade crust. The crust had some whole wheat goodness and toasted pecans mixed in. It was indeed really good. But it involved crust making, which takes time and actual care. Let’s be honest. Homemade crust can be a dealbreaker. This recipe is built on a premade roll out crust, which I believe is one of the most life-enhancing low-tech inventions of the late 20th century. It brings pie and crostata making within reach of everyone who can cut a piece of fruit.

I was introduced to this by my sister who was introduced to it by our brother-in-law. As far as I am concerned, a man who makes crostata (and he made his own crust by the way) gets all the credit for its invention. Hence the name. The “Boy” is added in a nod to those pie-making Waltons of yore. I added the slacker reliance on premade dough, the optional rustic tweak of pecans and cornmeal to the crust, and the suggestion of yogurt whipped cream.

With that I give you a taste of late summer, and a solid stand against the inevitable onslaught of apples and pumpkins.

John Boy Rustic Peach Crostata

Makes 6 servings

Ingredients:

  • Prepared pastry dough (uncooked), enough for a 9-inch pie pan
  • 1 Tbsp or so cornmeal (optional)
  • 1/3 cup chopped toasted pecans (optional)
  • 4 large peaches, thinly sliced
  • 1/2 cup sugar
  • 2 tablespoons all-purpose flour
  • 1/2 teaspoon or more cinnamon if that’s your thing (totally optional and awesome)
  • 1 tablespoon butter
  • 1 whole egg, beaten
  • Ice cream, whipped cream or whipped yogurt cream (recipe below) for serving

Method:

Preheat oven to 375 degrees F.

Prepare a baking sheet by lining it with parchment paper. (A large rimmed baking sheet is best, as long as you can fit the dough into it. If using an un-rimmed baking sheet put another pan underneath to catch the drippings.) Sprinkle cornmeal (is using) on parchment paper and set the uncooked pie dough onto the baking sheet.

Sprinkle the dough with pecans, if using. Roll dough lightly with a rolling pin to smoosh them in.

In a bowl, gently mix peaches, sugar, flour (and cinnamon if using) together. Pour fruit mixture into the center of the pastry round, leaving about 2 1/2 inches around the edge. Fold up the edge of the pastry dough over the filling to make a rim. Fan the edge as you go around folding the dough.

Brush pastry with the beaten egg (milk and a sprinkle of sugar works too) and place the pat of butter on top of the fruit mixture. Bake for 30 to 45 minutes or until the pastry is golden brown and the fruit is bubbling. Cool the crostata on a rack and serve warm or at room temperature  with your favorite ice cream or whipped cream.

Yogurt Whipped Cream

Courtesy of Food52 and Saveur and dairy farmers everywhere

Makes about 3 cups of whipped cream

Ingredients:

  • 1 cup heavy cream, chilled
  • 1/2 cup plain yogurt, Greek or otherwise, full-fat or otherwise, chilled (I used nonfat Greek)

Method:

In the bowl of a stand mixer fitted with a whisk, or with a hand mixer or whisking by hand like Grandma Walton, beat heavy cream and yogurt on medium-high speed until soft peaks form. Taste and add more yogurt or cream to taste and whisk again to soft peaks.

Bringing it:

Don’t try to transfer this off the parchment paper…even if you really want to get a nice picture for a blog. High chance of failure, and possibly tears. Transport it on the baking sheet and rewarm it in the over, or put the crostata, parchment and all, onto a platter and serve it up at room temperature.

Summer Lovin’ Raspberry Buttermilk Cake

Oh yeah, it's berry season—get 'em while you can!

Oh yeah, it’s berry season—get ’em while you can!

Rocky Mountain Correspondent Tania Coffey strikes again with this really good and really easy cake which you should make really soon. Why? Because we have berries! And we probably have cream hanging out in the fridge, dying to be whipped. And we have hungry kids. And because cake is good!

I happen to have one cooling on the counter right now and will figure out where to hide it so it’s there after dinner. If the hiding place is discovered, all is not lost. Apart from the fresh berries you’ve probably got plenty of everything else you need (including time—it’s pretty quick!) to make another.

Now go and enjoy every bite of summer while it’s here!

Raspberry Buttermilk Cake

Adapted by Tania Coffey from Gourmet, June 2009

This cake is so much fancier than a crisp or a crumble or cookies.  Super easy but looks like you REALLY care a lot.

raspberry-cake-rawraspberry -cake

Ingredients:

  • 1 cup all-purpose flour—I have been substituting 1/4-1/3 cup course cornmeal for a little more texture lately.  As long as you have 1 cup total flour the cake has proven to be very flexible.
  • 1/2 teaspoon  baking powder
  • 1/2 teaspoon baking soda
  • 1/4 teaspoon salt
  • 1/2 stick  unsalted butter, softened
  • 2/3 cup sugar plus 1 1/2 T raw sugar for top of cake
  • 1/2 teaspoon pure vanilla extract
  • 1/2 teaspoon finely grated lemon zest
  • 1 large egg room temp.
  • 1/2 cup well-shaken buttermilk.  Just add a squeeze of lemon to your milk and stir it up to make buttermilk.
  • 1 cup fresh raspberries (I have substituted blueberries before with success, but don’t try strawberries because that was a disaster unless you like pink pudding cake)

Method:

Preheat oven to 400°F with rack in middle. Butter and flour a 9-inch round cake pan. Put the half stick of butter on top of oven to soften while oven warms. Get the egg out of the fridge.

Grate lemon zest then make buttermilk with a slice of lemon if you need to.  It needs to sit for a bit.

Whisk together flour, baking powder, baking soda, and salt and set aside. In a larger bowl, beat butter and 2/3 cup  sugar with an electric mixer at medium-high speed until pale and fluffy, then beat in vanilla and zest. Add egg and beat well.

At low speed, mix in flour mixture in three batches, alternating with buttermilk, beginning and ending with flour, and mixing until just combined.

Spoon batter into cake pan, smoothing top. Place raspberries evenly over top and sprinkle with remaining 1 1/2 tablespoons raw sugar.  For some reason the raspberries drown a little less if you place them so the hole is up.  They sink like stones the other way.

Bake until cake is golden and a wooden pick inserted into center comes out clean, 20 to 25 minutes. Watch it at 20 min, it cooks quickly. Cool in pan 10 minutes, then turn out onto a rack and cool to warm, 10 to 15 minutes more.

Invert onto a plate.  This is Gourmet’s idea.  I have never tried to invert the thing. This cake is actually better the next day for breakfast, but it rarely survives that long.