A Healthyish addition to your holiday dessert list
I give you here a very well-vetted and pretty darned healthy apple dessert for your holiday baking repertoire. Elsewhere in the googlesphere it is known as thousand apple cake, or if you are feeling fancy, “gâteau invisible aux pommes.” It resides squarely in the Bring It! wheelhouse because it is easy to make, easy to bring and easy to serve. Plus, it’s made of 70% fruit, so it’s definitely on the healthier side of the dessert meter.
Basically, we’re mixing thinly sliced apples, barely binding them with a custard, and baking them into a loaf. You can top it with a cinnamon oat crumble before baking, or simply dust the loaf with powdered sugar after it’s baked.
The version here comes mostly from El Mundo Eats, along with my slackerized ingredient options in quotes. As long as you have apples you likely have the rest of the the fixin’s. Using oat flour makes a tasty gluten-free version, and Vegans—I know you’ve got the substitution magic for this!
I’ve seen variations with a slightly higher ratio of custard, and white vs brown sugar. The only hard and fast rules here are the apples: they should be a sweet variety and as thinly sliced as you can manage. I had to make this a bazillion times to get a decent picture of it because it kept getting eaten up too quickly (another reason for calling it invisible?)
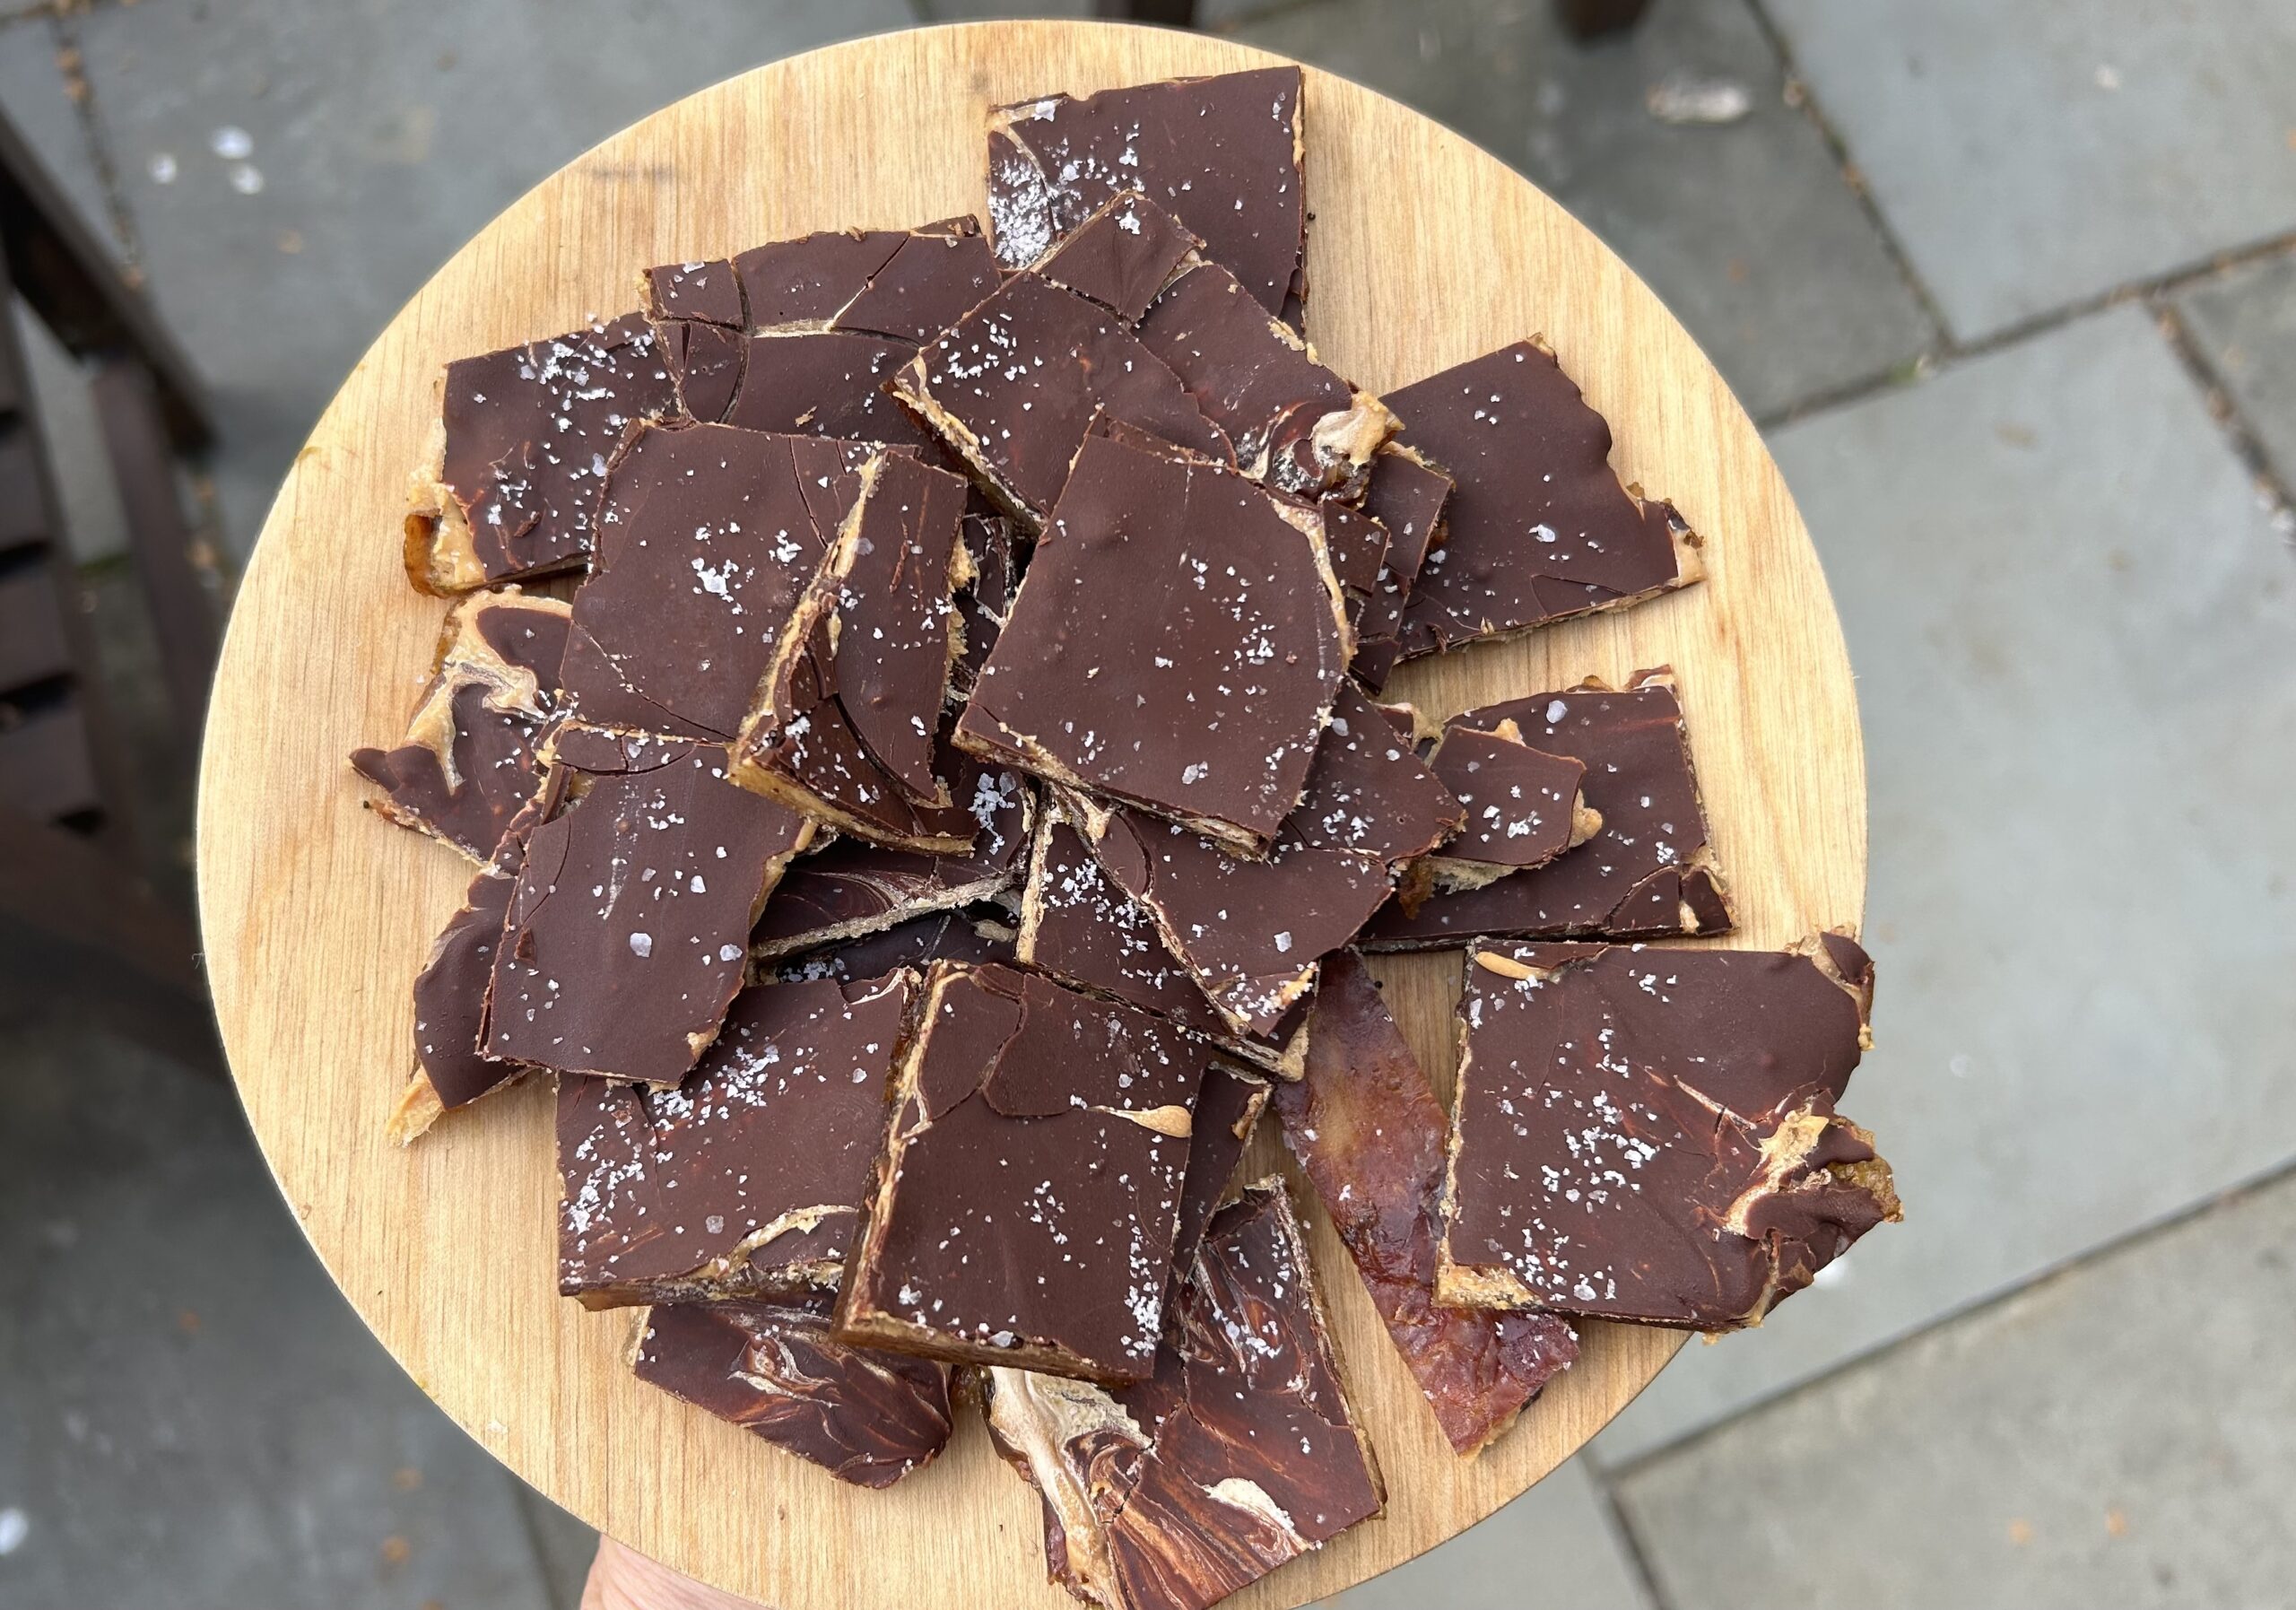
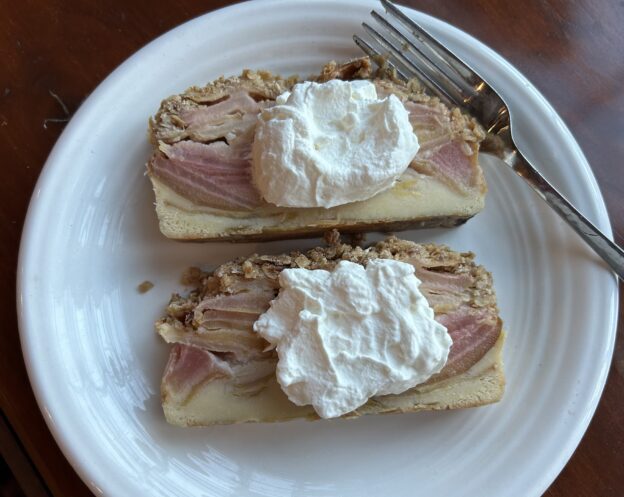
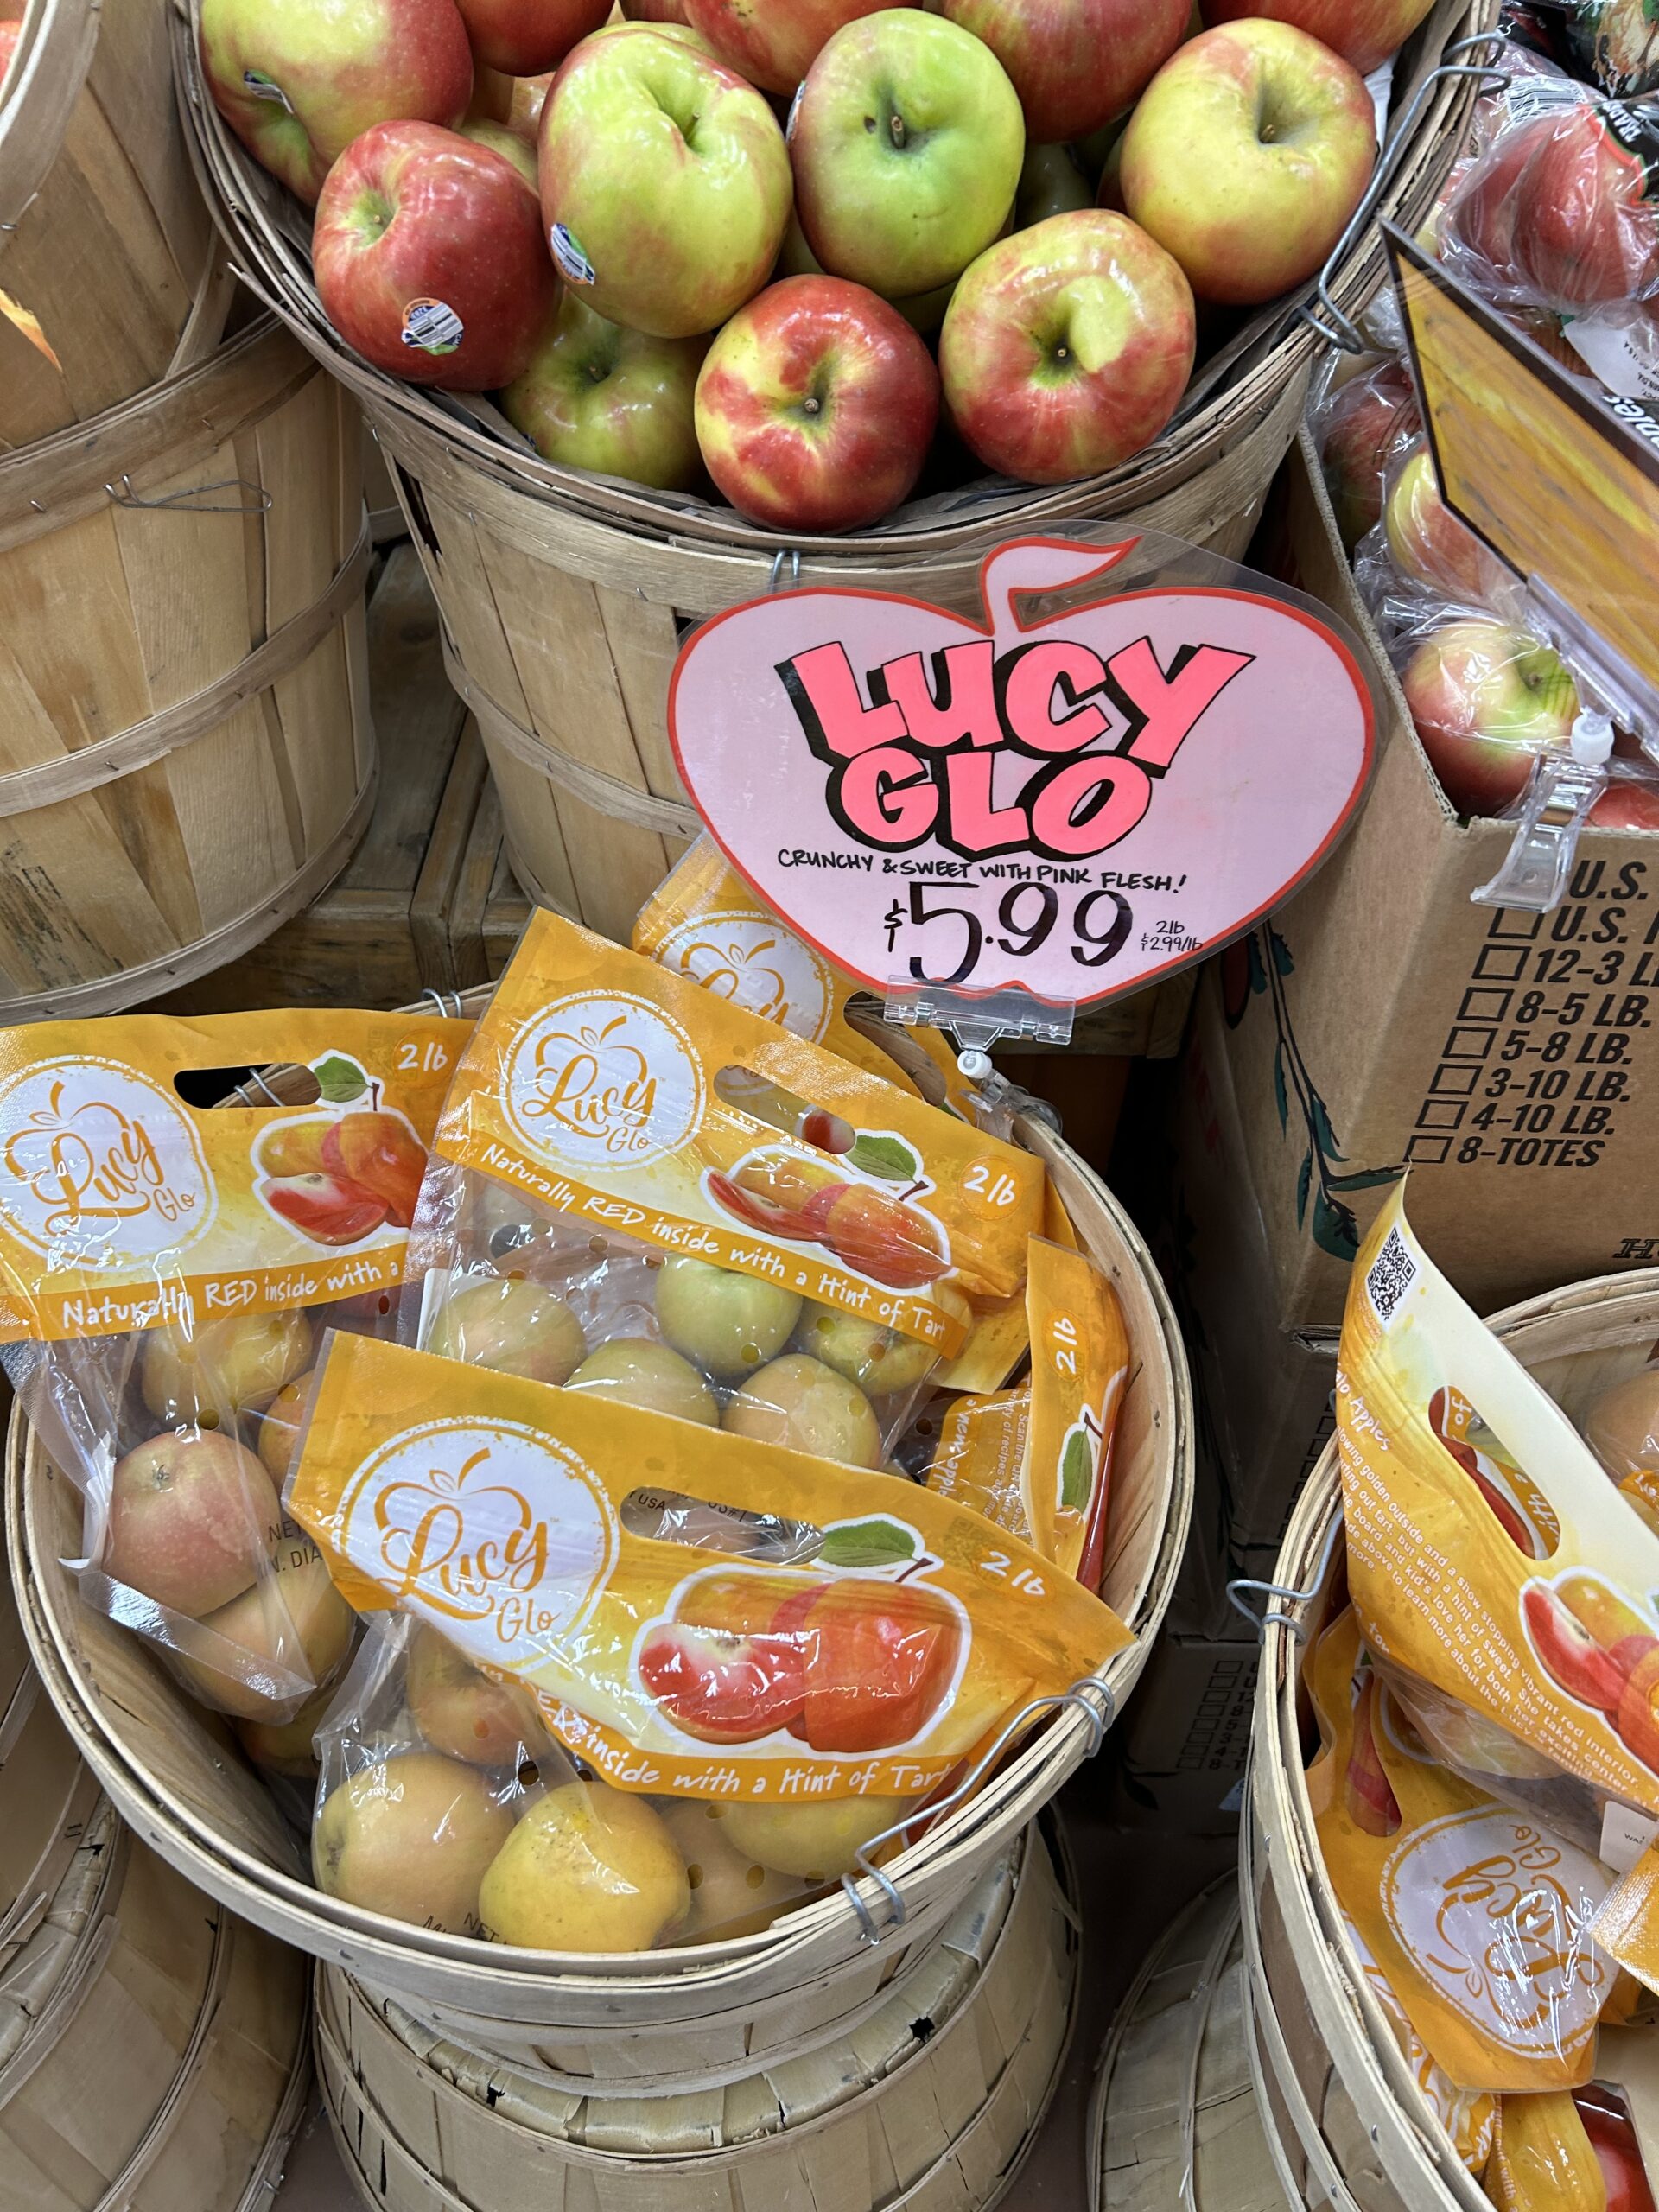
In the version pictured I used Lucy Glow apples, which are pink on the inside. That explains why the cake looks a little like layers of bacon vs apples. I assure you, however, this baby is all about apples. Enjoy it and happy holidaying!

Ingredients
- 2 lb (900 g) Gala apples or another sweet apple.
- 2 large eggs, room temperature
- ½ cup (70 g) coconut sugar (or brown sugar)
- ⅓ cup milk, room temperature
- 3 tablespoon (30 g) coconut oil or butter, melted if in solid state
- ¾ cup (82 g) oat flour (or all purpose flour)
- ¾ teaspoon baking powder
Cinnamon Oat Crumble (Optional)
- ½ cup instant oats (45 g)
- 3 tablespoon (30 gm) coconut oil or butter
- 2 tablespoon coconut sugar or brown sugar
- ½ teaspoon cinnamon powder
- 1 pinch of salt
Method:
Preheat oven to 350
Line a9” x 5” ish loaf panwith parchment paper.(I also grease the parchment for insurance. Not everyone does)
Peel the apples. Or not. I have done both ways and either is fine. The key here is thinly sliced apples. Use a mandoline (carefully) or slice each apple as close as you can to the core on all 4 sides, then slice each piece to 2 mm thin. Place slices into a large bowl.
Combine the wet ingredients. Add eggs and sugar into another bowl and whisk like you mean it for a few minutes, until pale. Add in the rest of the wet ingredients—sugar, milk and coconut oil or butter— and mix well.
Add dry ingredients. Combine flour and baking powder and whisk together. Then add it to wet ingredients and combine well.
Pour the thin batter into the bowl with apples. Gently fold everything well with a spatula, trying to make sure each apple slice is coated with the batter. Now spoon the mixture a bit at a time into the loaf pan, arranging the apple slices as you go. Make sure to also spoon in the batter in between and lightly press to accommodate everything. Pour any remaining batter on top.
Cinnamon Oat Crumble (optional)
Add all ingredients into a bowl and mix well using a spoon. Sprinkle evenly on top of the apple mixture.
Bake in a preheated oven at 350ºF (175ºC) on lower ⅔ rack for 70 minutes or until a skewer inserted in the center comes out clean. Check it at 50 minutes if you are not using the crumble topping.
Remove from the oven and leave for 10 minutes before removing the cake out of the pan. Cool completely before slicing. This, my friends, is key. Even better, refrigerate it for several hours or overnight before slicing. Serve with ice cream or a dollop of whipped cream.
P.S. If you’re already in pie mode, may I suggest Joni Mitchell Apple Pit, Knock Out Vegan Pumpkin Pie or the ever-stunning Pilgrim Pie.
Nutrition (with topping)
Calories: 226.2kcal | Carbohydrates: 31.9g | Protein: 3.6g | Fat: 10.9g | Saturated Fat: 7.7g | Cholesterol: 33.8mg | Sodium: 72.4mg | Potassium: 173mg | Fiber: 3.2g | Sugar: 17.2g | Calcium: 47.1mg | Iron: 0.9mg