If you’ve been on my train for any length of time, you know I have a thing about Shamrock Shakes. They are part of our family lore, from when I was a kid through when my now-grown kids were kids, to right now when we all are just looking for excuses to be kids. The truly devoted can read an excellent brief history of the Shamrock Shake right here. For obvious reasons—like seasonality and general health—Shamrock Shakes are more therapeutic tool than dietary staple.
That is, until now!
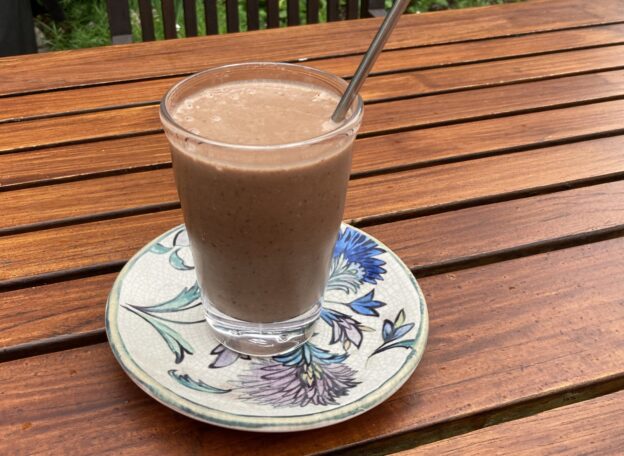
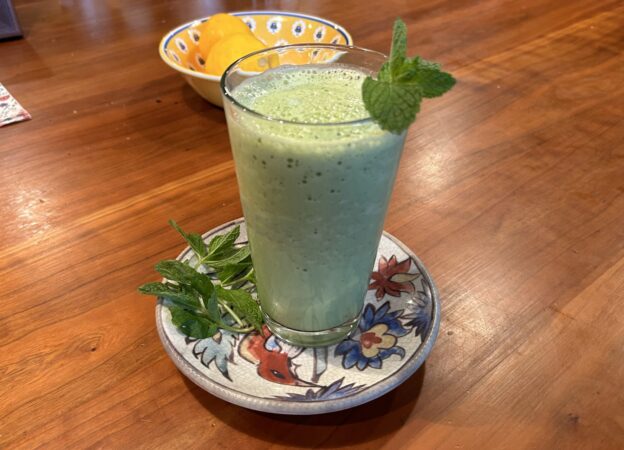
Yes folks, I have discovered how to drink Shamrock Shakes whenever the heck I want and feel good about it. It’s the perfect thing for spring when a lot of us are trying to clean up our acts after a winter of aprés ski. This DIY version is cool, creamy, refreshing and just sweet enough to feel fun, yet responsible. It’s also substantial enough to fill the cracks without being a calorie bomb that makes you feel sad in 20 minutes.
This version passed the husband test, the kid test, the friend test, the easy test and the healthy test. You can take it in whatever direction you choose: make it healthier by adding hempy, flaxy, seedy things; make it treatier by subbing frozen yogurt for the yogurt.
Huge shout out and thanks to Andy’s East Coast Kitchen for this one. The only things I tweaked were trying with almond milk (yes!), and backing off on the mint extract because the pure stuff is high test (batch 1, of many, was a little harsh). But as ever, you do you.
I am now semi addicted to this version of Shamrock Shakes, and looking forward to the mint that takes over my garden every year.
Cheers to you, and to a happy, tasty spring!
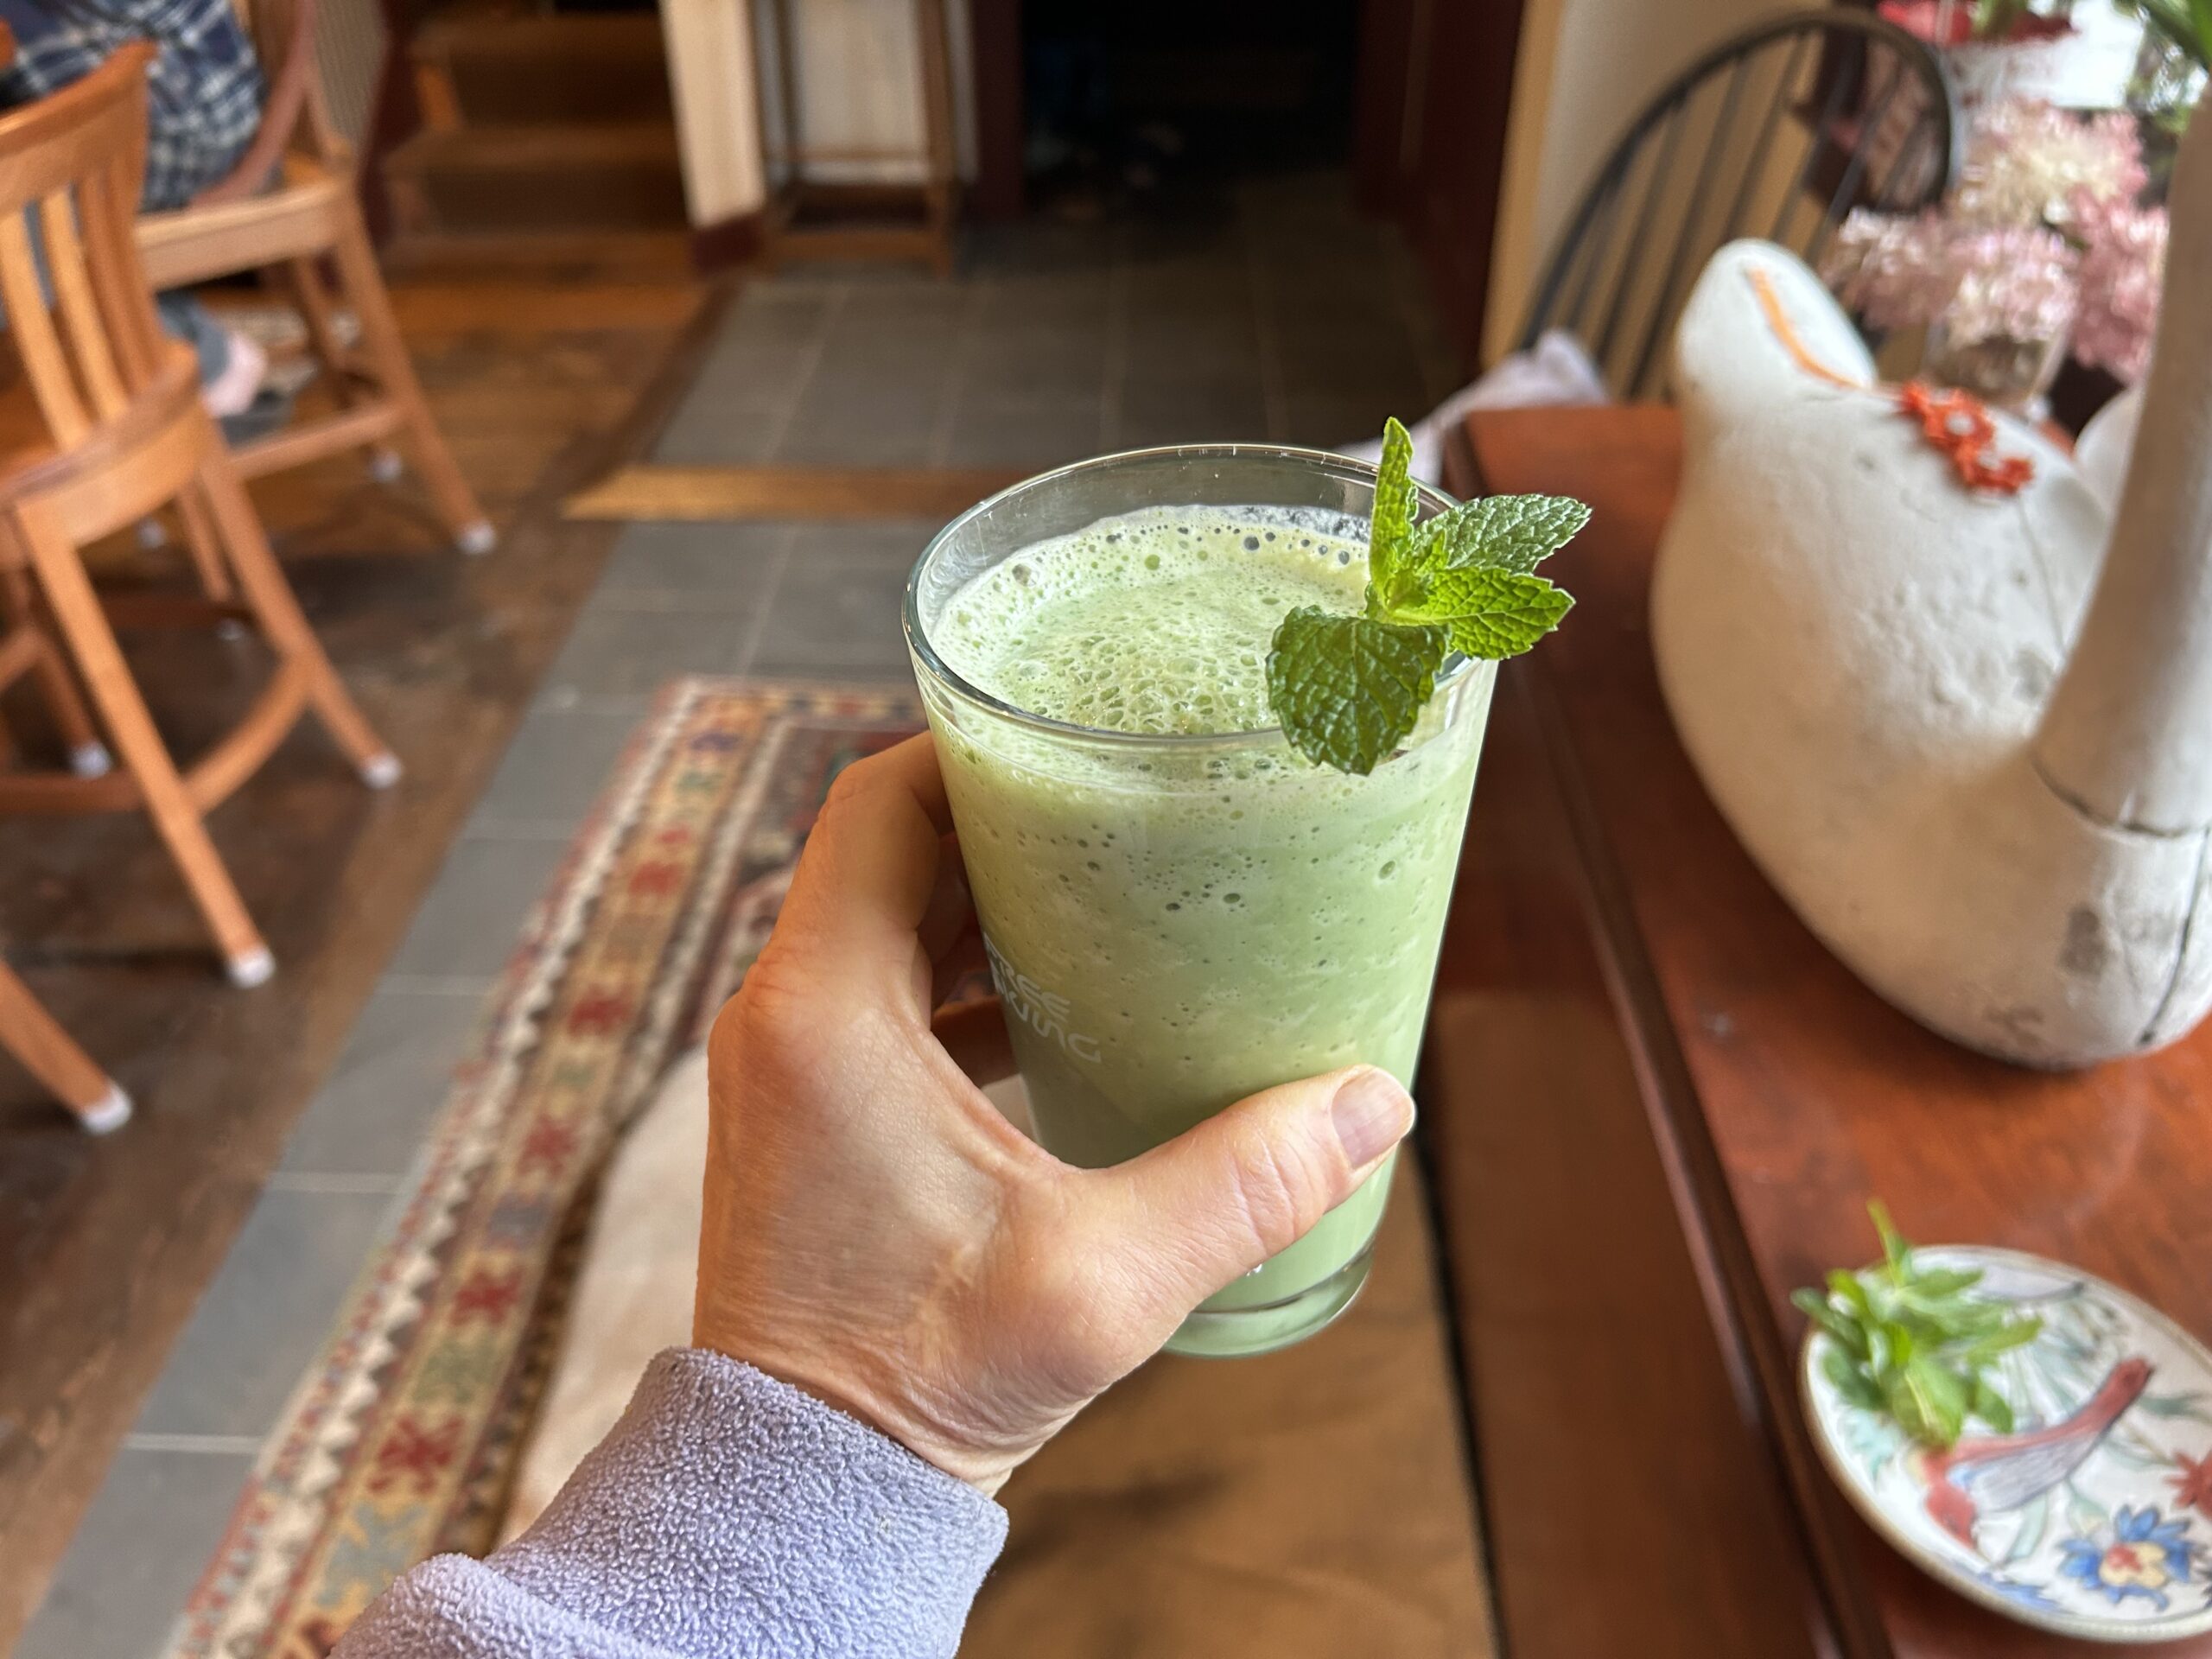
Spring Cleaning Shamrock Shake
Lightly adapted from Andy’s East Coast Kitchen
Makes 1 very generous serving, or two for skeptics
Ingredients
- 3/4 cup milk
- 1/2 cup plain greek lowfat yogurt (or thick yogurt of choice)
- 1 cup spinach
- 1/2 cup lowfat milk (or milk of choice)
- 1 Tbsp honey
- 1/2 cup frozen banana (½ large banana)
- ~15 mint leaves
- ¼ tsp mint extract
- 1/2 cup ice
- shaved/grated chocolate for garnish (optional—never gone there but why not?)
Method:
Whir it all up in a blender until creamy and uniformly green. Pour into a glass/glasses and grate a little chocolate on top for the pro version.
Notes:
For max creaminess make sure the banana pieces are fully frozen. I keep a stash of cut up bananas in the freezer so they break up easily in the blender (and to remove the baking pressure of over-ripe bananas on the counter)
Don’t leave it blending forever or it’ll heat up and be more like shamrock milk. Not so lucky.
Thanks to sister B, who pointed me to a super cool and easy-to-use recipe analyzer, this shake comes with nutritional stats. Sadly, I have not cracked the code (literally) to getting it to display on the site, but I’m working on it. In the meantime, some deets:
Spring Cleaning Shamrock Shake: 233 calories (211 with almond milk); 2.7 grams fat; 27 grams sugar.
VS
Mickey D’s small Shamrock Shake: 460 calories; 13 grams fat; 63 g sugar