You knew it was coming: the crowning glory of all the build-up, the driving force of this obsession—the Iron Scone. Until last week, I thought this culminating creation might need to be something with dragon fruit. But after Dani Girl’s Ring of Fire joyride, methinks there will be no dragons or dragon queens ruling the Seven Kingdoms.
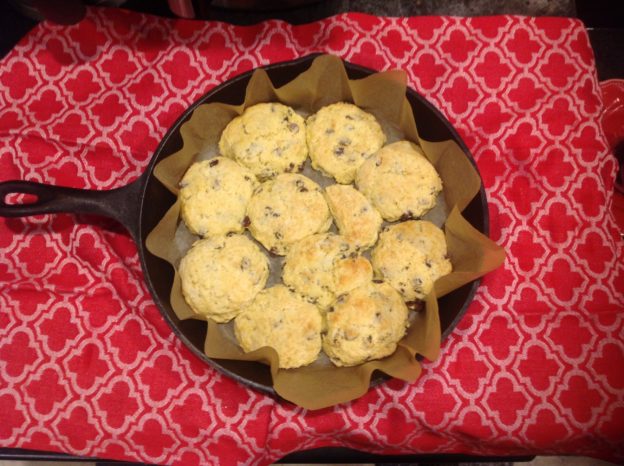
I’m betting on tradition and some sense of justice to win out, so I went with a classic currant scone. Currants happen to be an excellent source of iron, and to bring the theme home I made these scones in a cast iron pan. Instead of making familiar wedges, I made these as a more British version of scones, by cutting them in circles and nestling them together in the pan.
To find the perfect starter recipe for this grand finale, I deferred to royalty, and consulted with King Arthur Flour’s legendary baker and blogger PJ Hamel. She pointed me to her go-to basic scone recipe that lives on the KAF website. The recipe itself is excellent, and is essential scone reading. In addition to the many tips at the end of the recipe, PJ added this bit of scone wisdom:
“Don’t overbake. You want them just barely light brown. Otherwise they’ll be dry. And they’re like biscuits: the more you handle the dough, the more you risk making the scones tough. So, once you bring the dough together (after adding the liquid), don’t keep stirring; turn it out of the bowl, shaggy mess that it may be, divide it in half (a scale helps), and gently pat the two pieces into 3/4″ to 1″-thick rounds. And do refrigerate (or place in the freezer) for 30 minutes before baking; this helps their texture.”
So there you have it. The beauty of this scone is that it can be adapted to any flavors and ingredients, to accommodate whomever lands in that throne: White Hot Jon Snow; Sassy Sansa; Bittersweet Tyrion; and even the ghosts of the Loving Lannisters. Indeed, we could have started this whole Game of Scones journey with this master recipe and tweaked it accordingly, but what would be the fun in that?

The Iron Throne, which, quite honestly, does not look very comfy.
The Iron Scone
From King Arthur Flour’s Basic Scone Recipe
I pared down the recipe to the necessities, and included my own adaptation for the cast iron pan version (in bold), but I highly recommend going to the KAF site for their Baker’s tips at the end of the recipe. Another very cool feature of the recipes on the KAF site it being able to toggle between measuring by volume, ounces or grams. I like to weigh my flour and but not necessarily the rest of the ingredients. So, go King Arthur…way to support the new ruler!
Ingredients:
Dough
- 2 3/4 cups King Arthur Unbleached All-Purpose Flour or Gluten-Free Measure for Measure Flour
- 1/3 cup sugar
- 3/4 teaspoon salt
- 1 tablespoon baking powder
- 1/2 cup cold butter
- 1 cup to 2 cups dried currants (or add ins of choice)
- 2 large eggs
- 2 teaspoons vanilla extractor the flavoring of your choice
- 1/2 cup to 2/3 cup half-and-half or milk. (see tips in KAF recipe, but basically you’ll need more liquid in cold dry weather and less in hot humid weather.
Topping
- 2 teaspoons milk
- 2 tablespoon sugar, turbinado sugar or cinnamon sugar, optional
Instructions
- In a large mixing bowl, whisk together the flour, sugar, salt, and baking powder.
- Work in the butter just until the mixture is unevenly crumbly; it’s OK for some larger chunks of butter to remain unincorporated.
- Stir in the fruit, nuts and/or other mix-ins if using.
- In a separate mixing bowl, whisk together the eggs, vanilla or other flavor, and half and half or milk.
- Add the liquid ingredients to the dry ingredients and stir until all is moistened and holds together.
- Line a baking sheet with parchment; if you don’t have parchment, just use it without greasing it. Sprinkle a bit of flour atop the parchment or pan. If using a cast iron pan or skillet, line it with parchment paper. Wing it or check out this slick trick.
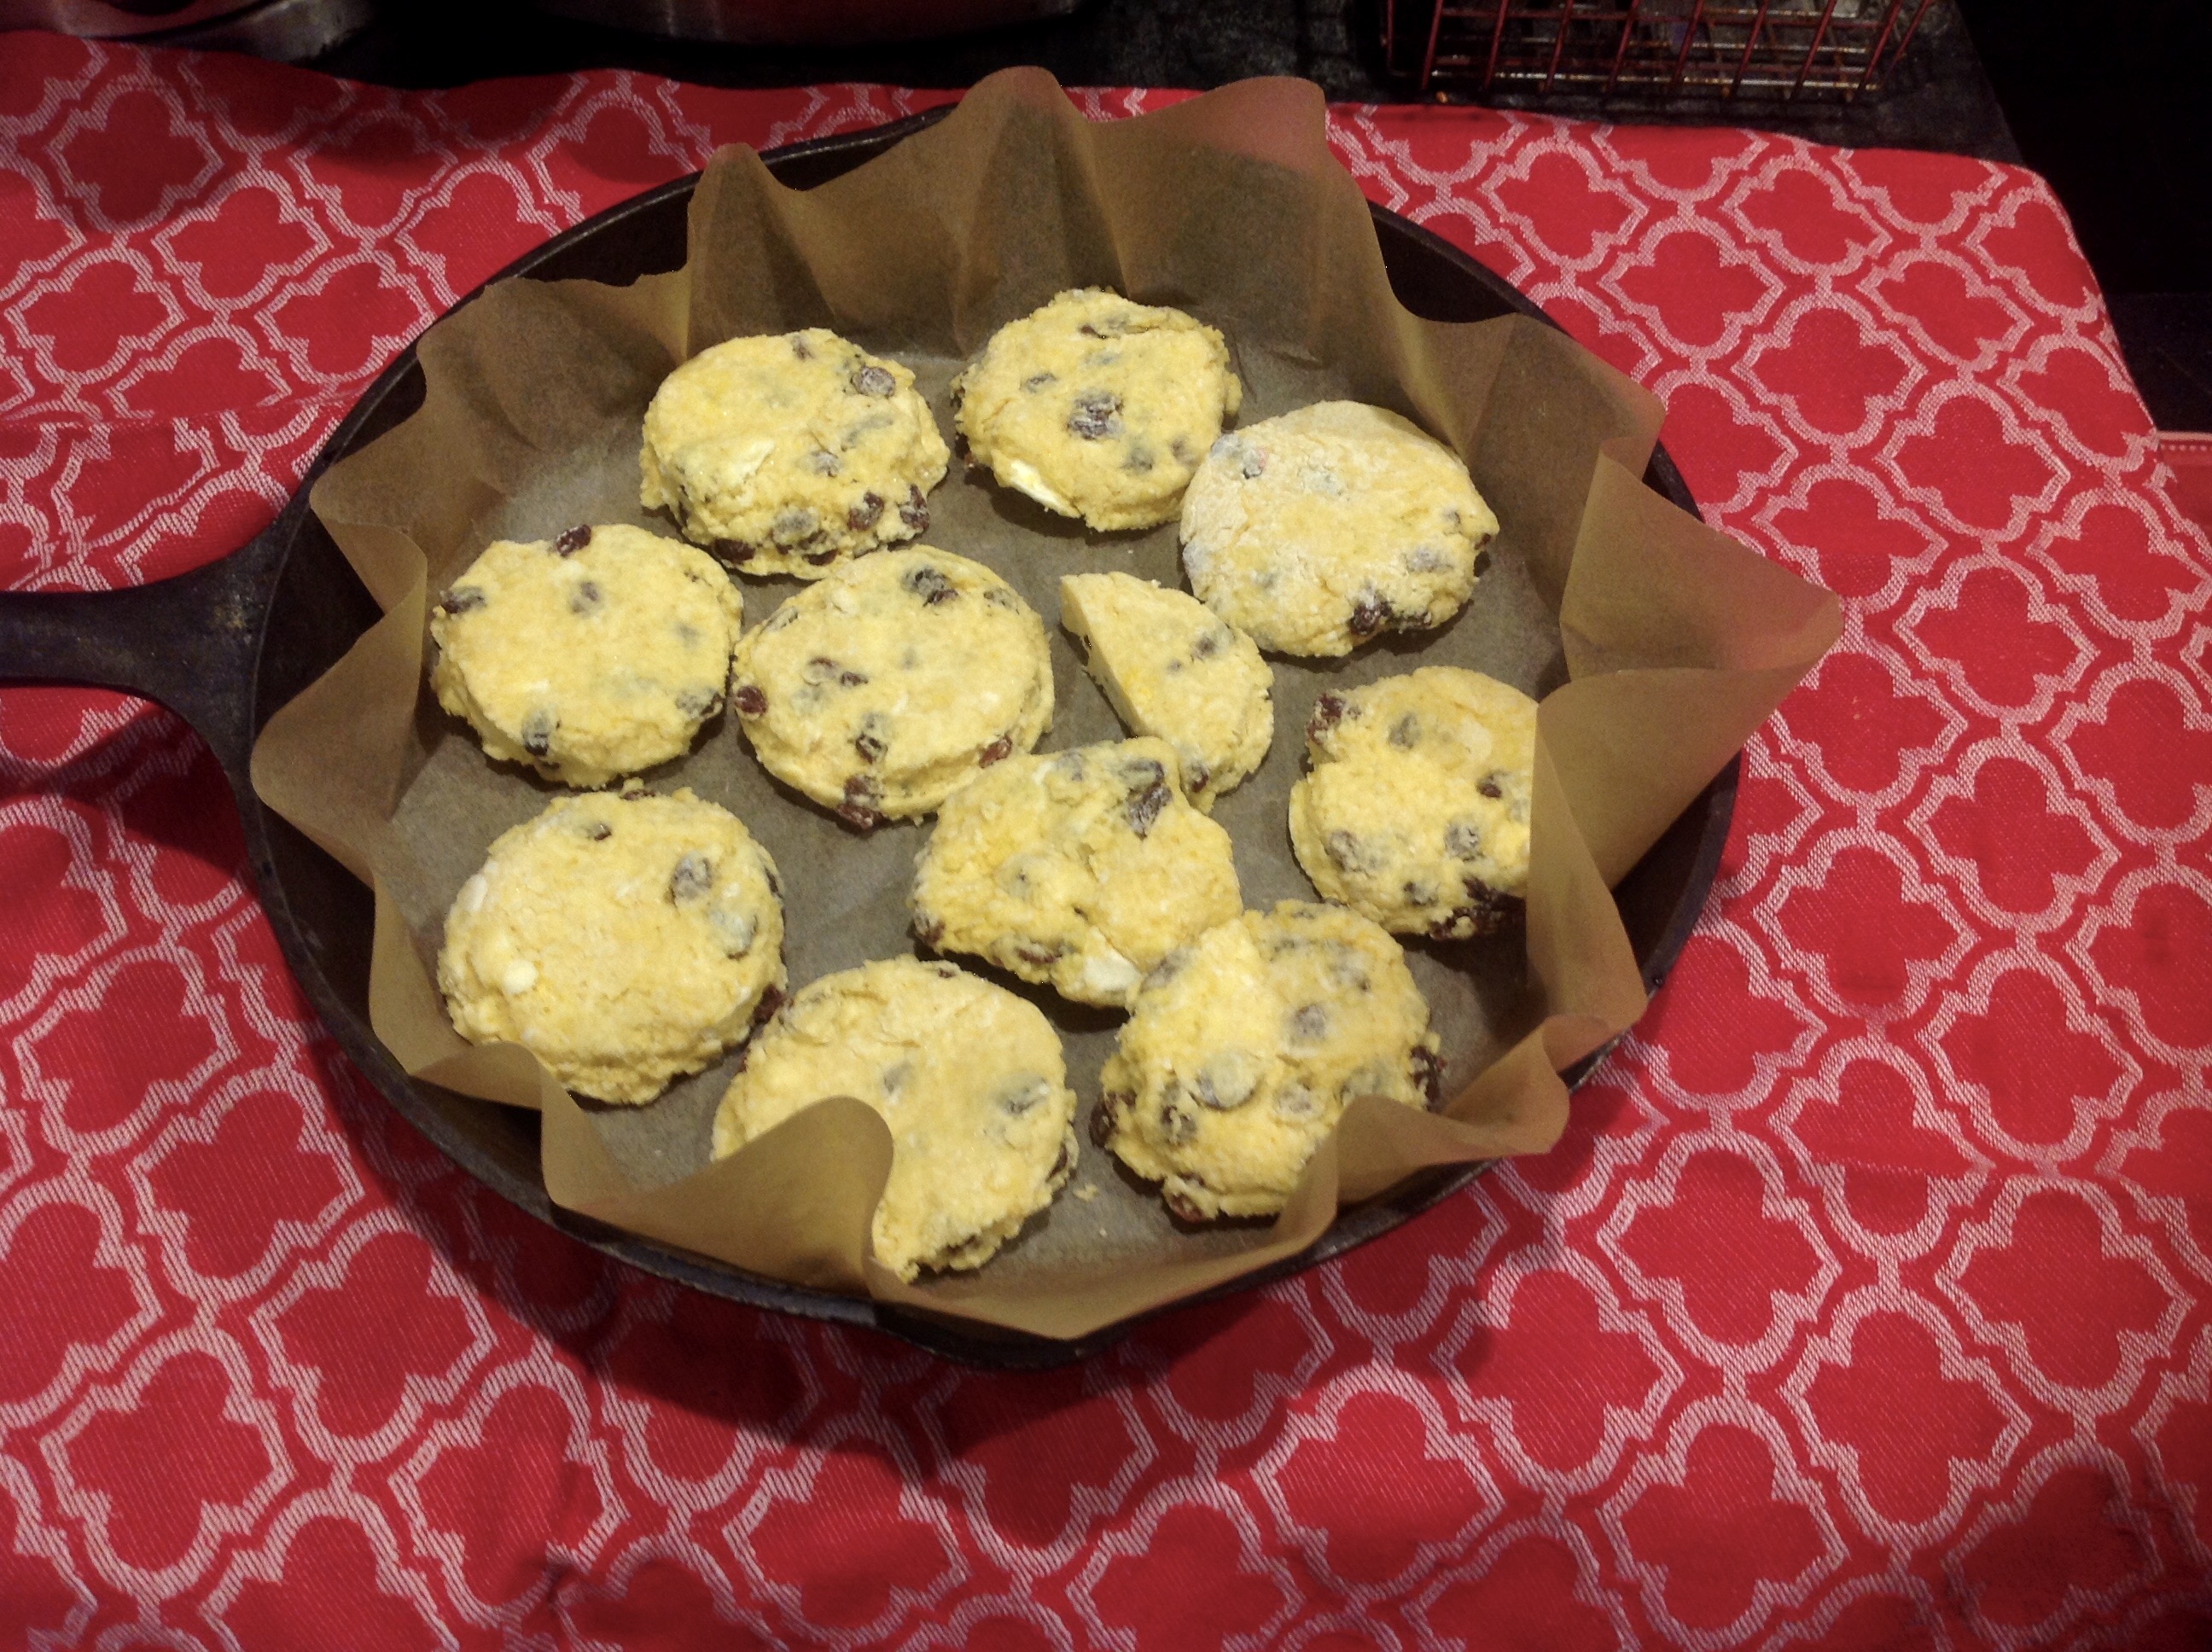
- Scrape the dough onto the floured parchment or pan, and divide it in half. Round each half into a 5″ circle (if you haven’t incorporated any add-ins); or a 6″ circle (if you’ve added fruit, nuts, etc.). The circles should be about 3/4″ thick. (If using a cast iron pan or other skillet, use a biscuit cutter or the top of a can or drinking glass to cut each circle into rounds of whatever size makes you happy. Arrange them in the lined pan so there is about ½” of space in between them. Mush scraps into scone-like shapes. They too will be delicious.

Unbaked, lightly frozen scone pucks in their iron home
- Brush each circle with milk, and sprinkle with coarse white sparkling sugar or cinnamon sugar, if desired.
- If making wedge shaped scones: slice each circle into 6 wedges, using a knife or bench knife that you’ve run under cold water. Carefully pull the wedges away from the center to separate them just a bit; there should be about 1/2″ space between them, at their outer edges.
- For best texture and highest rise, place the pan of scones (on just the parchment if that is easier to fit) in the freezer for 30 minutes, uncovered. Chilling the scones relaxes the gluten in the flour, which makes the scones more tender and allows them to rise higher. It also chills the fat, which will make the scones a bit flakier. While the scones are chilling, preheat the oven to 425°F.
- Bake the scones for 20 to 25 minutes, or until they’re golden brown (mine were smaller, and done in 20). When you pull one away from the others, it should look baked all the way through; the edge shouldn’t look wet or unbaked.
- Remove the scones from the oven, and cool briefly on the pan. Serve warm. They’re delicious as is, but add butter and/or jam, if you like.
- When the scones are completely cool, wrap them in plastic and store at room temperature for up to several days. To reheat room-temperature scones, place on a baking sheet, tent lightly with foil, and warm in a preheated 350°F oven for about 10 minutes.
Make ahead: This is straight from the KAF Bakers Tips, but I had to include it here too because it was a revelation: “Want to make scones well ahead of time? Simple. After the unbaked scones’ 30 minutes in the freezer (or whenever they’re frozen solid), place them in a zip-top plastic bag. Return to the freezer, and store for up to a month. Bake as directed (without thawing), adding a couple of extra minutes if needed.”
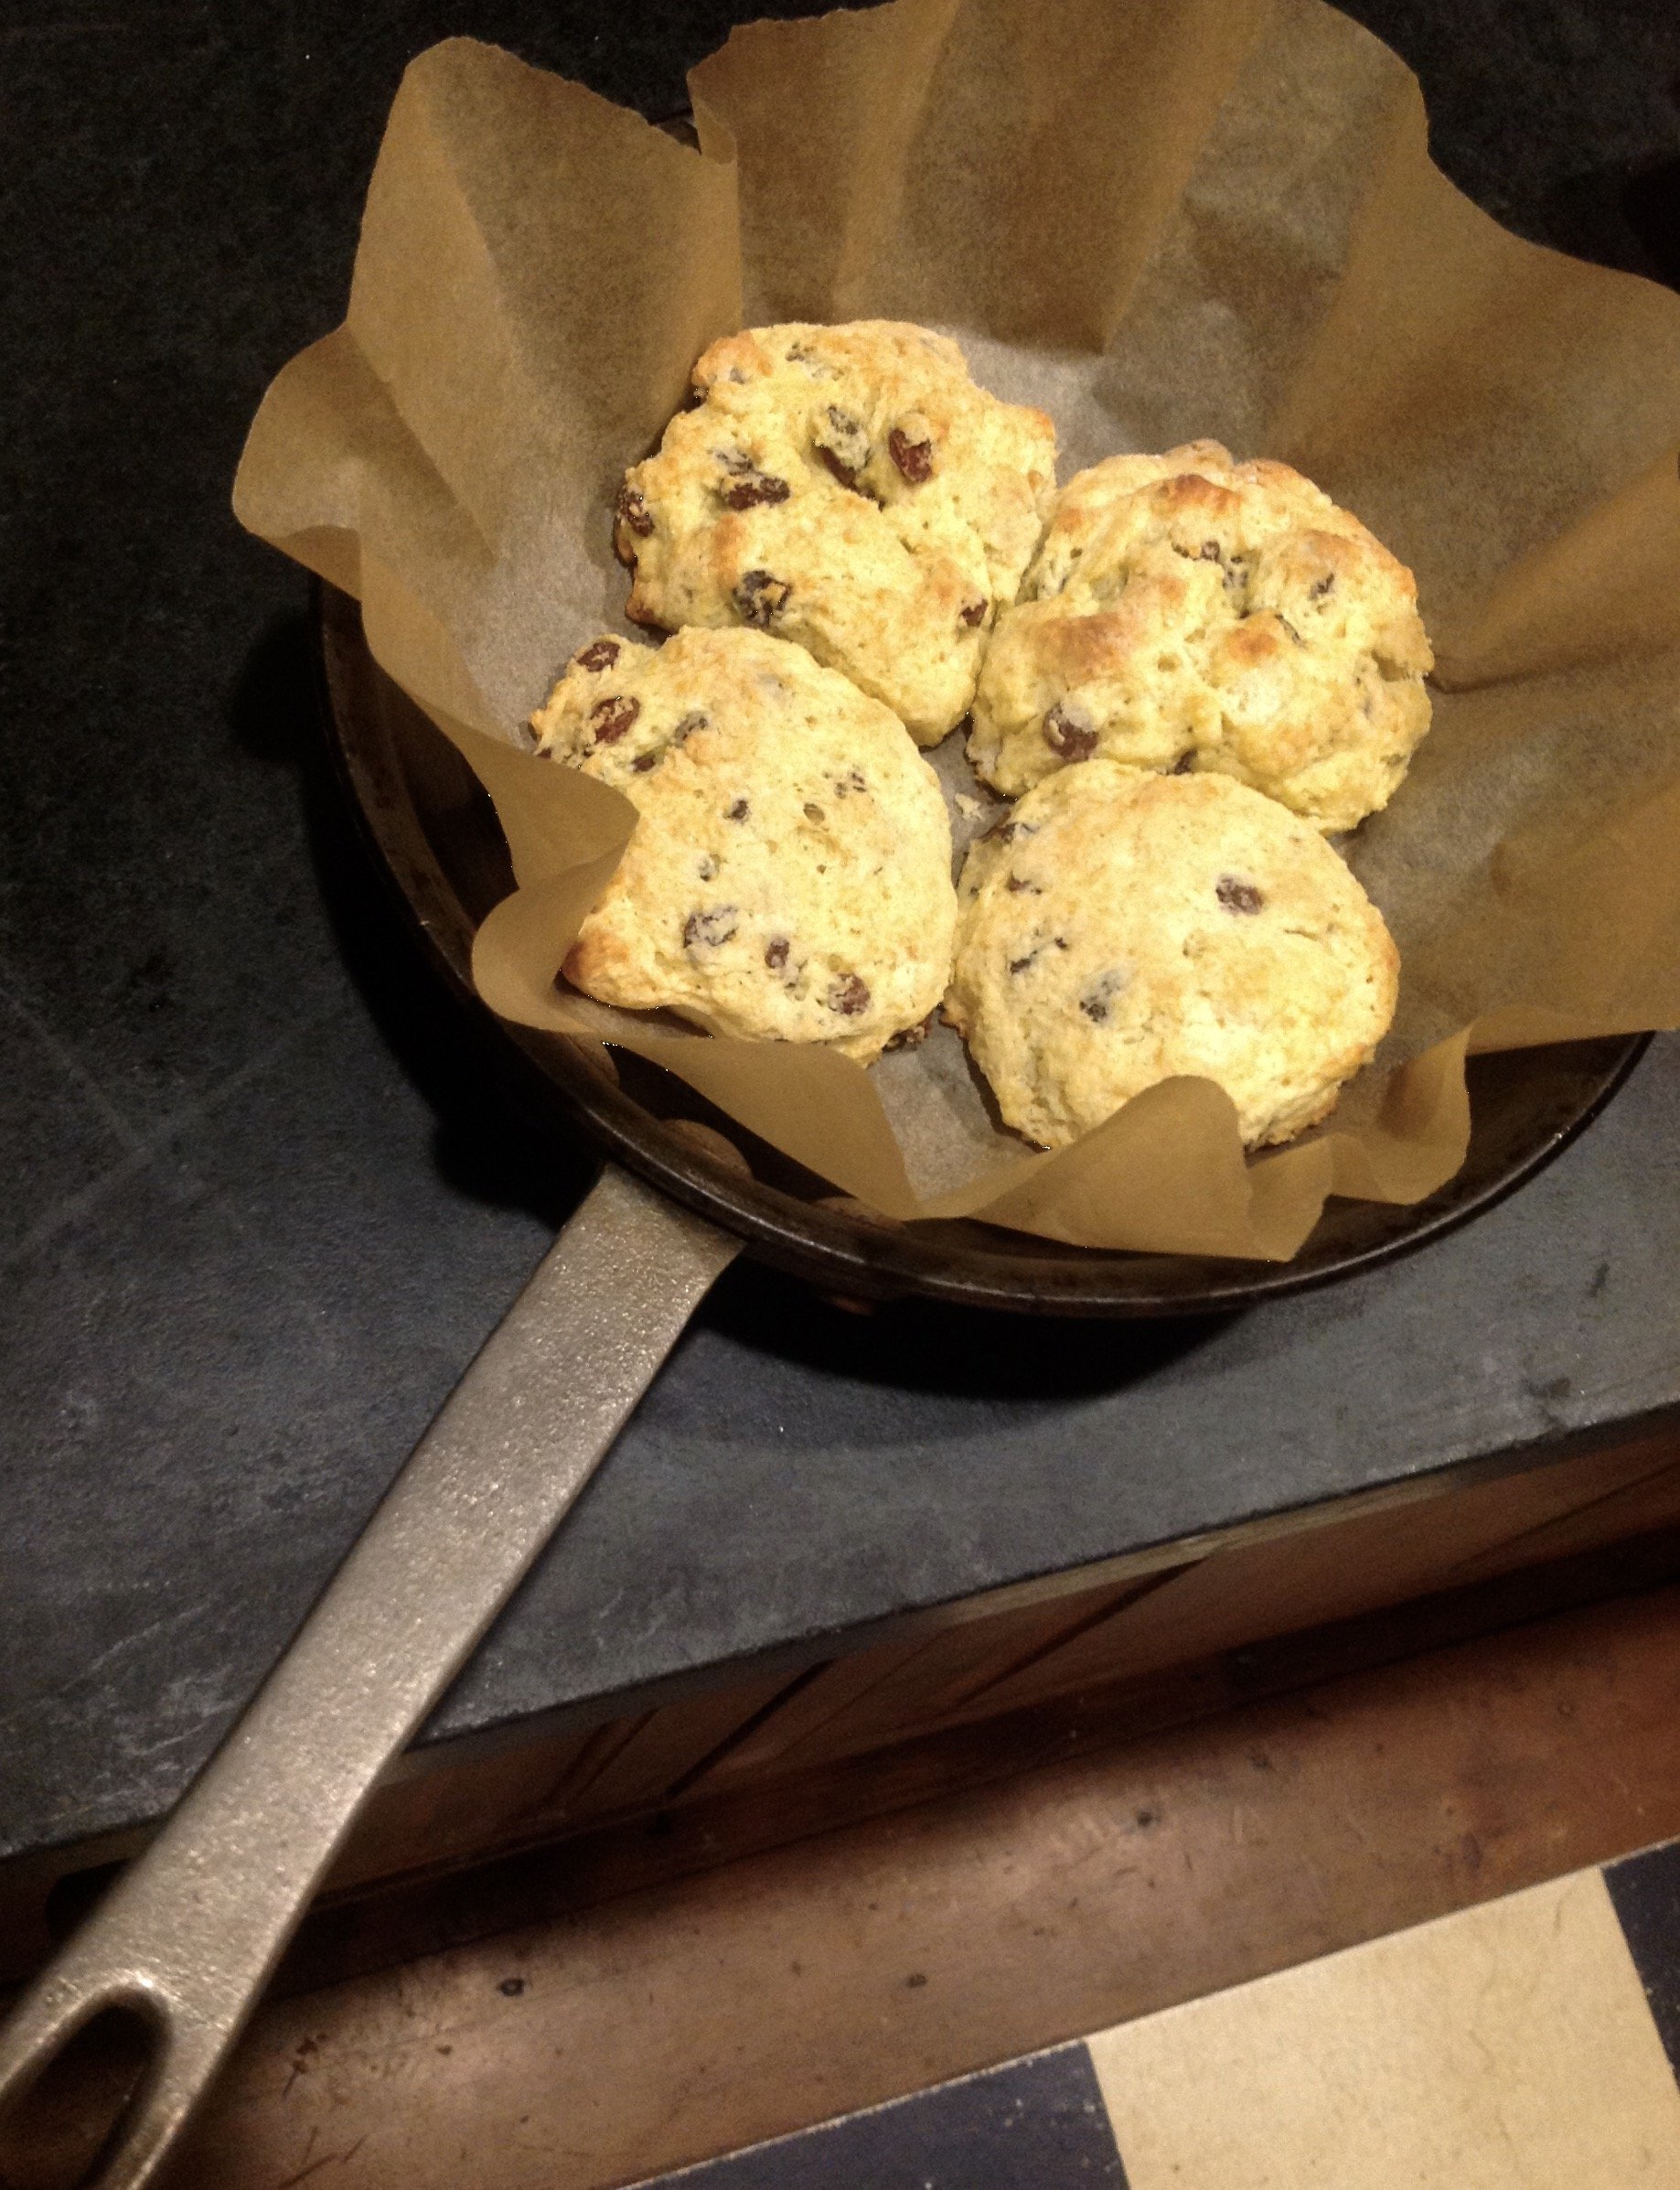
To bake up just a few scones at a time, any size oven-proof skillet will do.
Hey There!
Just wanted to say- you rock! Look at you- one moment writing compelling and thoughtful stories about ski racing, and now you actually have motivated me to bake!!
Your Friend and admirer,
Kathy O!
Hope all is well with you!
Sorry it took me months to see this. Thanks and I hope you had a good summer baking. Now…on to winter!