Hands down, Sansa is our favorite ginger in the Seven Kingdoms. Like the scone that is named for her, Sansa looks soft and sweet but is full of substance and spice. Three kinds of ginger—fresh, powdered and candied—give these scones a sassy edge. Fresh lemon—zest in the mix, and juice in the glaze—serves as a reminder that Sansa’s got some rightful, pure acid in her soul, because life is not all sweetness and light! (But it could be if she and White Hot Jon Snow had their way)
This recipe comes from Flour Bakery in Boston, via Martha Stewart, which is kind of perfect. Sansa has a bit of Martha’s exacting savvy in her, not to mention a ruthless streak (I’m looking at you, Ramsay…woof). Plus, à la Martha, Sansa is tough as nails AND knows how to get things done! While careful historians will note that Thrones era natives likely did not have food processors, Martha’s use of it here is, as she would say, “a good thing.” And let’s be real—if Martha were in the Seven Kingdoms she’d have had her minions figure out how to get anything done to perfection, no matter how much effort it took. In this case, the food processor spares us the toil of minions.
I have put the recipe here as it came from Martha, noting the changes I made, only out of desperation. I was working with the Sunday episode deadline, a near empty fridge and whatever hodgepodge was in the pantry after a long absence.
My scones were Sansational—which is to say, not Martha perfect, but pretty in pictures, interesting, substantial and great tasting, which is all that matters. Well, that and seeing what havoc gets unleashed in Episode 3, the halfway point for the final season. Stay tuned for the next scone or (spoiler alert) mini scone…
Special thanks to:
Alice for the creative spark that led to this and so many Game of Scones contestants.
Patty, Jean and Sister A for the supply of Meyer lemons from Northern and Southern Cal, the remains of which made it safely to NH in my luggage and kept my clothes lemony fresh!

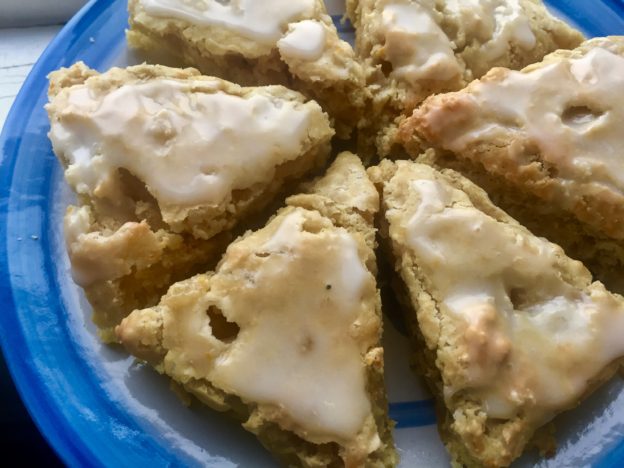
Sassy Sansa Lemon Ginger Scone
From Flour Bakery c/o Martha Stewart
Makes 10
For a full scone Tutorial see this post on the White Hot Jon Snow Scone by Erica Wilson of Queen Bee’s Kitchen
Ingredients
Scones
- 2 3/4 cups unbleached all-purpose flour, plus more for dusting
- 1/3 cup granulated sugar
- 1 1/2 teaspoons baking powder
- 1/4 teaspoon baking soda
- 1/4 teaspoon kosher salt
- 1/2 cup finely chopped crystallized ginger
- 1/2 teaspoon ground ginger
- Grated zest of 2 lemons
- 1 3/4 sticks (14 tablespoons) cold unsalted butter, cut into 8 to 10 pieces
- 1/2 cup cold buttermilk
- 1/2 cup cold heavy cream
- 1 large egg, well chilled
- 2 tablespoons grated fresh ginger
Lemon Glaze
- 1 cup confectioners’ sugar
- 2 to 3 tablespoons fresh lemon juice
Directions
1. Scones: Preheat oven to 350 degrees with rack in center.
2. In a mixer fitted with the paddle attachment, beat together flour, granulated sugar, baking powder, baking soda, salt, crystallized ginger, ground ginger, and lemon zest. Add butter; beat on low speed until butter is somewhat broken down with some visible pieces remaining, about 30 seconds.
3. In a liquid-measuring cup, whisk together buttermilk, cream, egg, and grated ginger. With mixer on low, add buttermilk mixture and beat until dough just comes together, 20 to 30 seconds (there will still be some flour mixture at bottom of bowl).
4. Remove bowl from mixer. Using your hands, gather and lift dough, turning it over in the bowl, until remaining flour mixture has been incorporated into dough. *This so did not unfold this way for me, but see below and carry on.
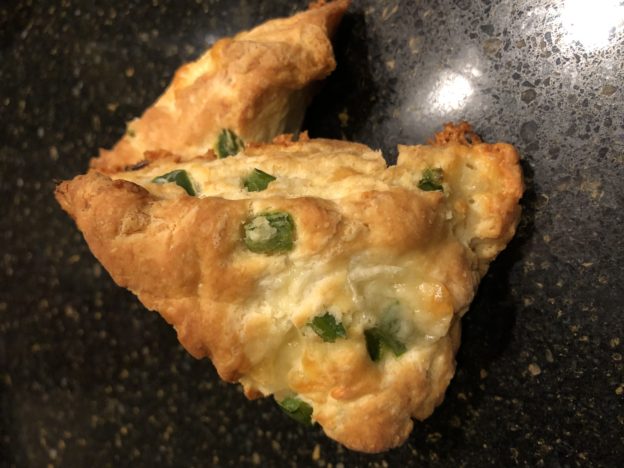
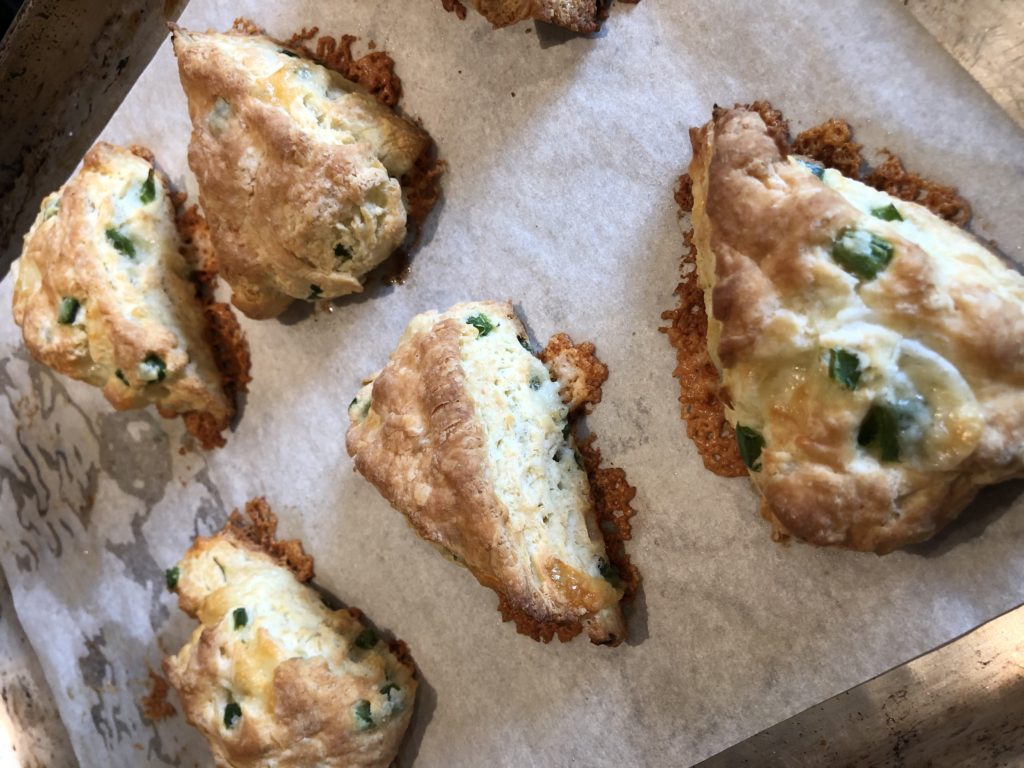
5. Turn dough out onto a lightly floured surface and gently roll out 1 inch thick. Using a 2 1/2-inch round cutter, cut out 10 rounds, rerolling scraps as necessary. Transfer to a parchment-lined baking sheet, spacing about 2 inches apart. **Big Bring It slacker note here: My dough was too moist (perhaps I forgot a cup of flour??). Rather than cut the scones I dumped the whole shebang on a parchment lined cookie sheet and shaped it into two circles, which I cut into scone wedges, gently separating each a bit so they had their own baking space. We all need our own baking space.
6. Bake until light golden brown, 30 to 35 minutes. Transfer sheet to a wire rack; let cool 10 minutes.
7. Lemon Glaze: In a small bowl, whisk together confectioners’ sugar and enough lemon juice to make a smooth, thick, pourable glaze. Brush glaze over warm scones and serve.
Cook’s Notes
If you’re more Martha than Edie, here are the exact measuring weights. This probably would have saved me some anxiety:
385 grams unbleached all-purpose flour
70 grams granulated sugar
80 grams finely chopped crystallized ginger
200 grams cold unsalted butter, cut into 8 to 10 pieces
120 grams cold buttermilk
120 grams cold heavy cream
140 grams confectioners’ sugar
Unbaked scones can be frozen, tightly wrapped in plastic, up to 1 week. If baking from frozen, add 5 to 10 minutes to the baking time.
Scones are best enjoyed the day they are made, but can be stored in an airtight container at room temperature up to 3 days.
Glaze can be stored in an airtight container at room temperature up to 1 week.
*** More Slacker notes: Out of necessity, I used almond milk and lemon juice instead of buttermilk and cream. As mentioned above, I baked them as one big round, scored into scone wedges. In short, my execution was not excellent, but the scones were fantastic. As Sansa knows, even if you only get the execution right one time, you can be satisfied.