Pilgrim Pie: When cranberries get nutty

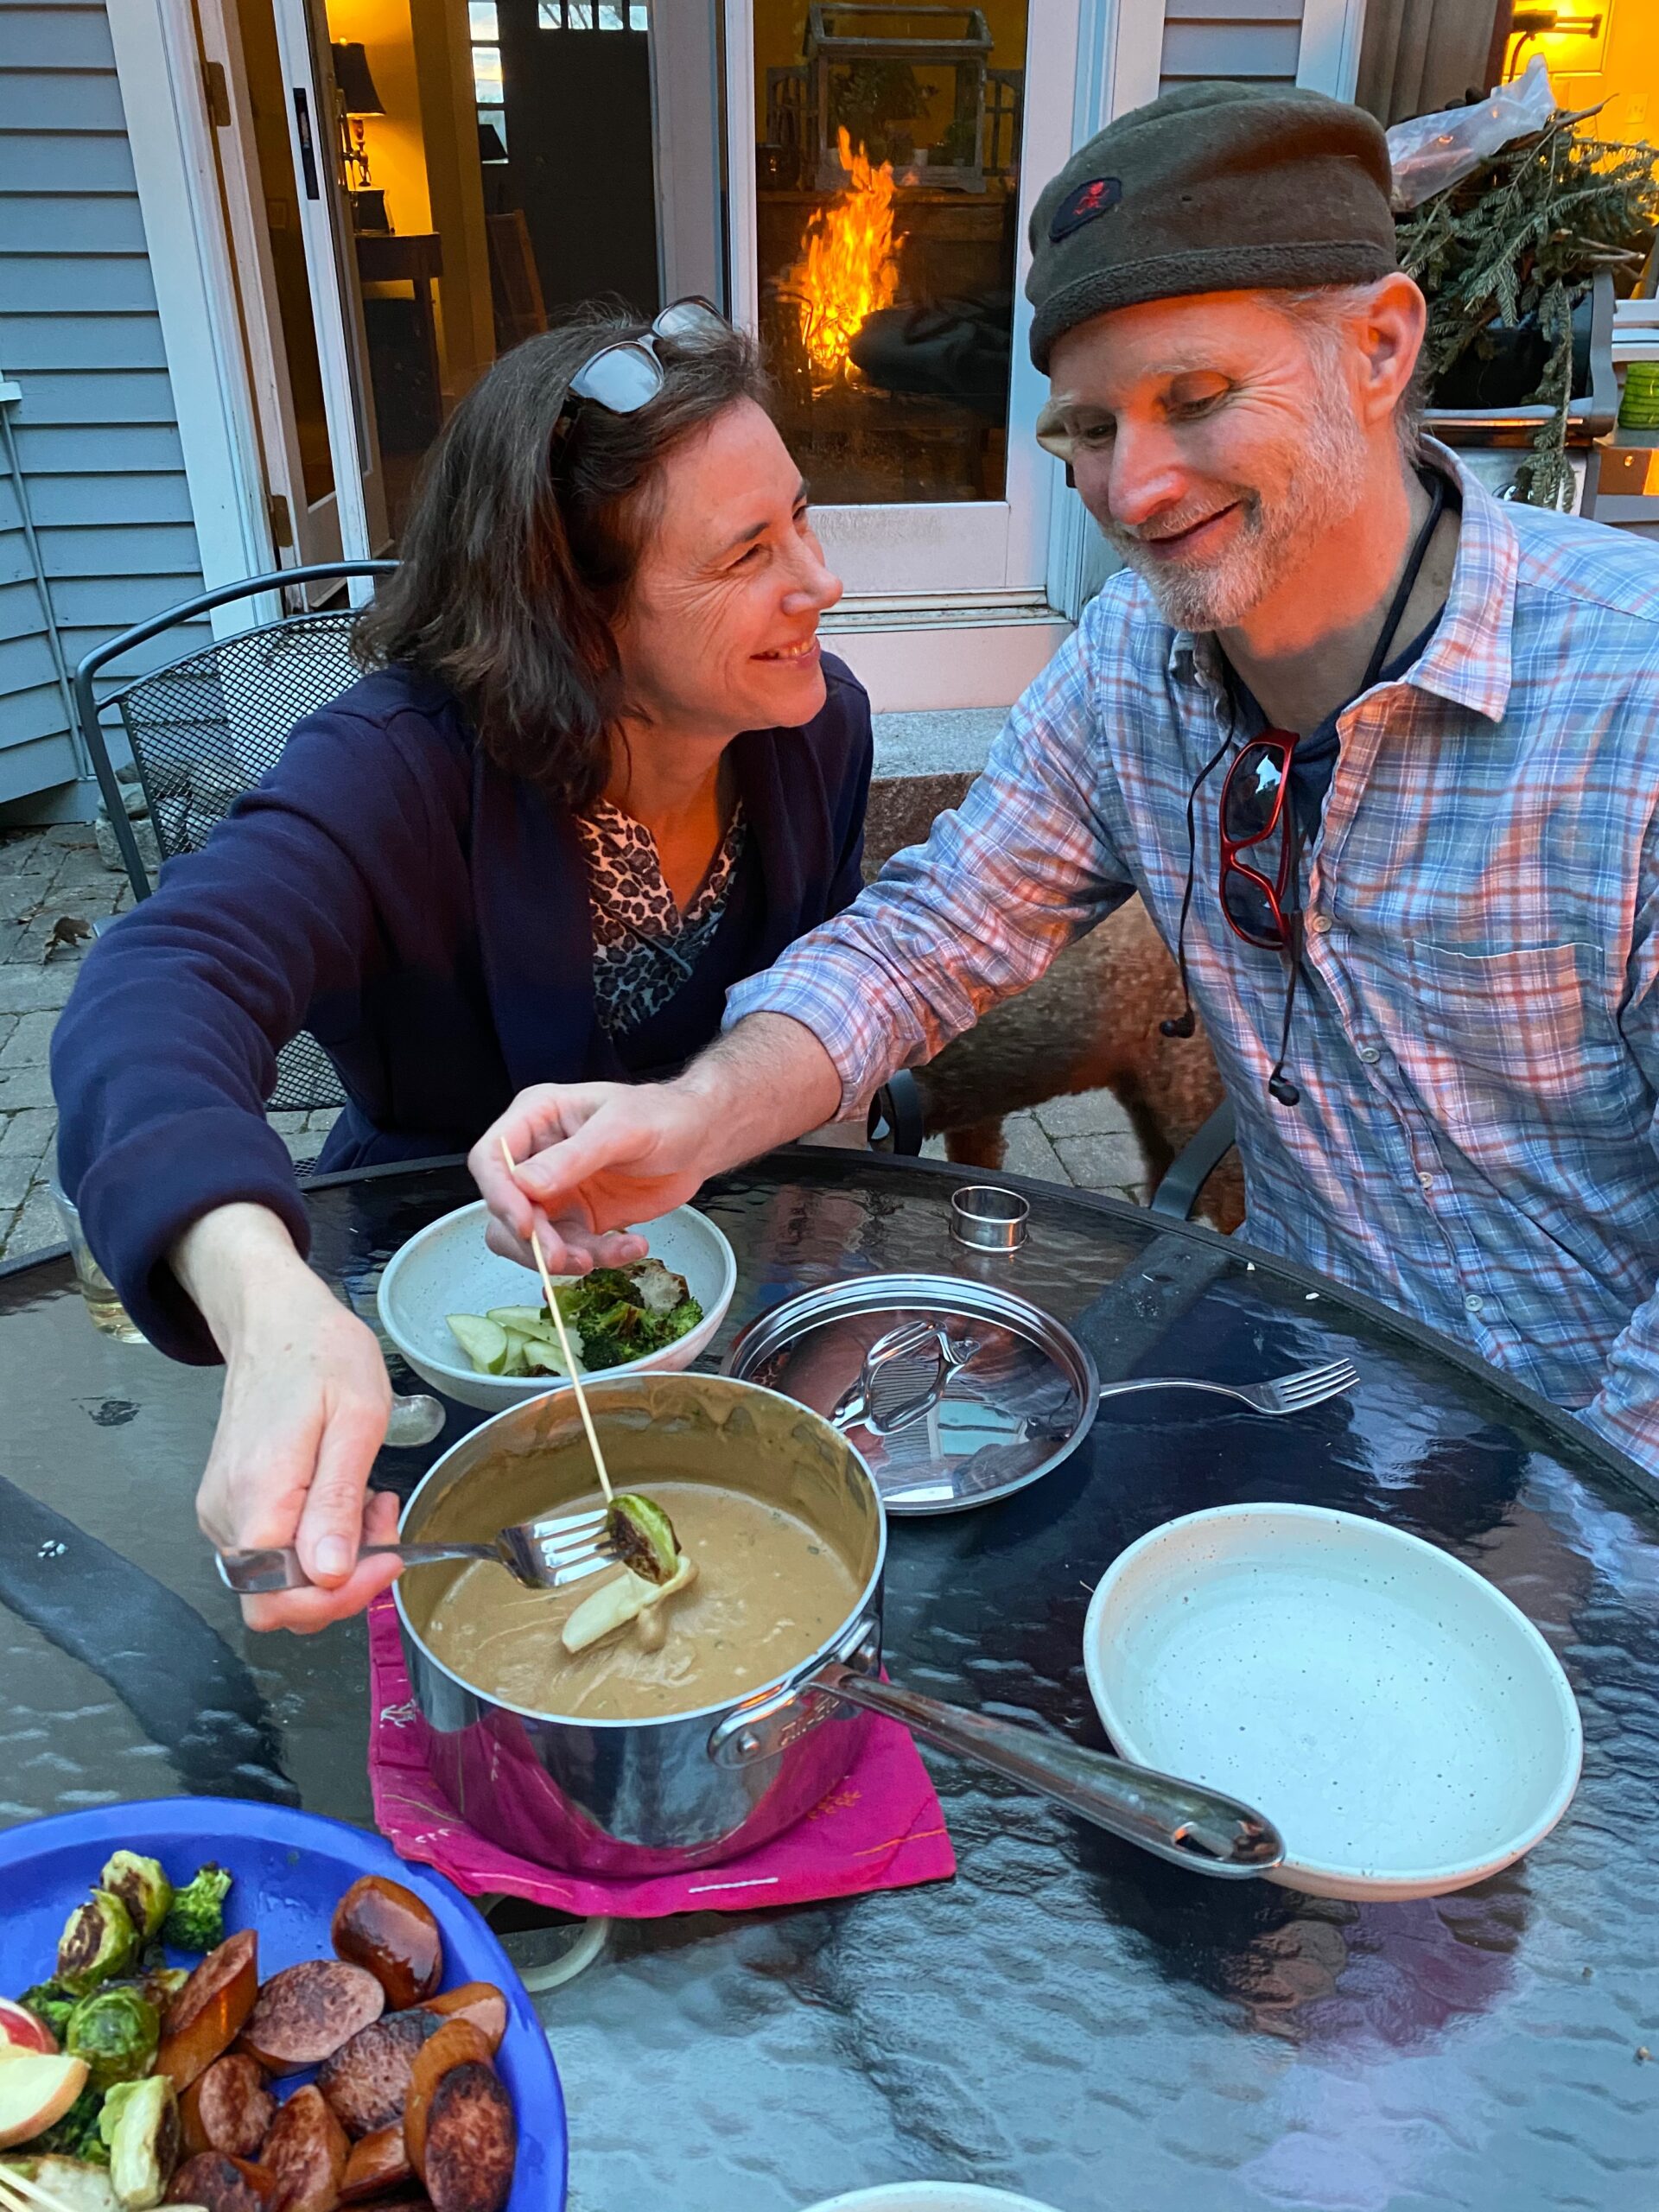
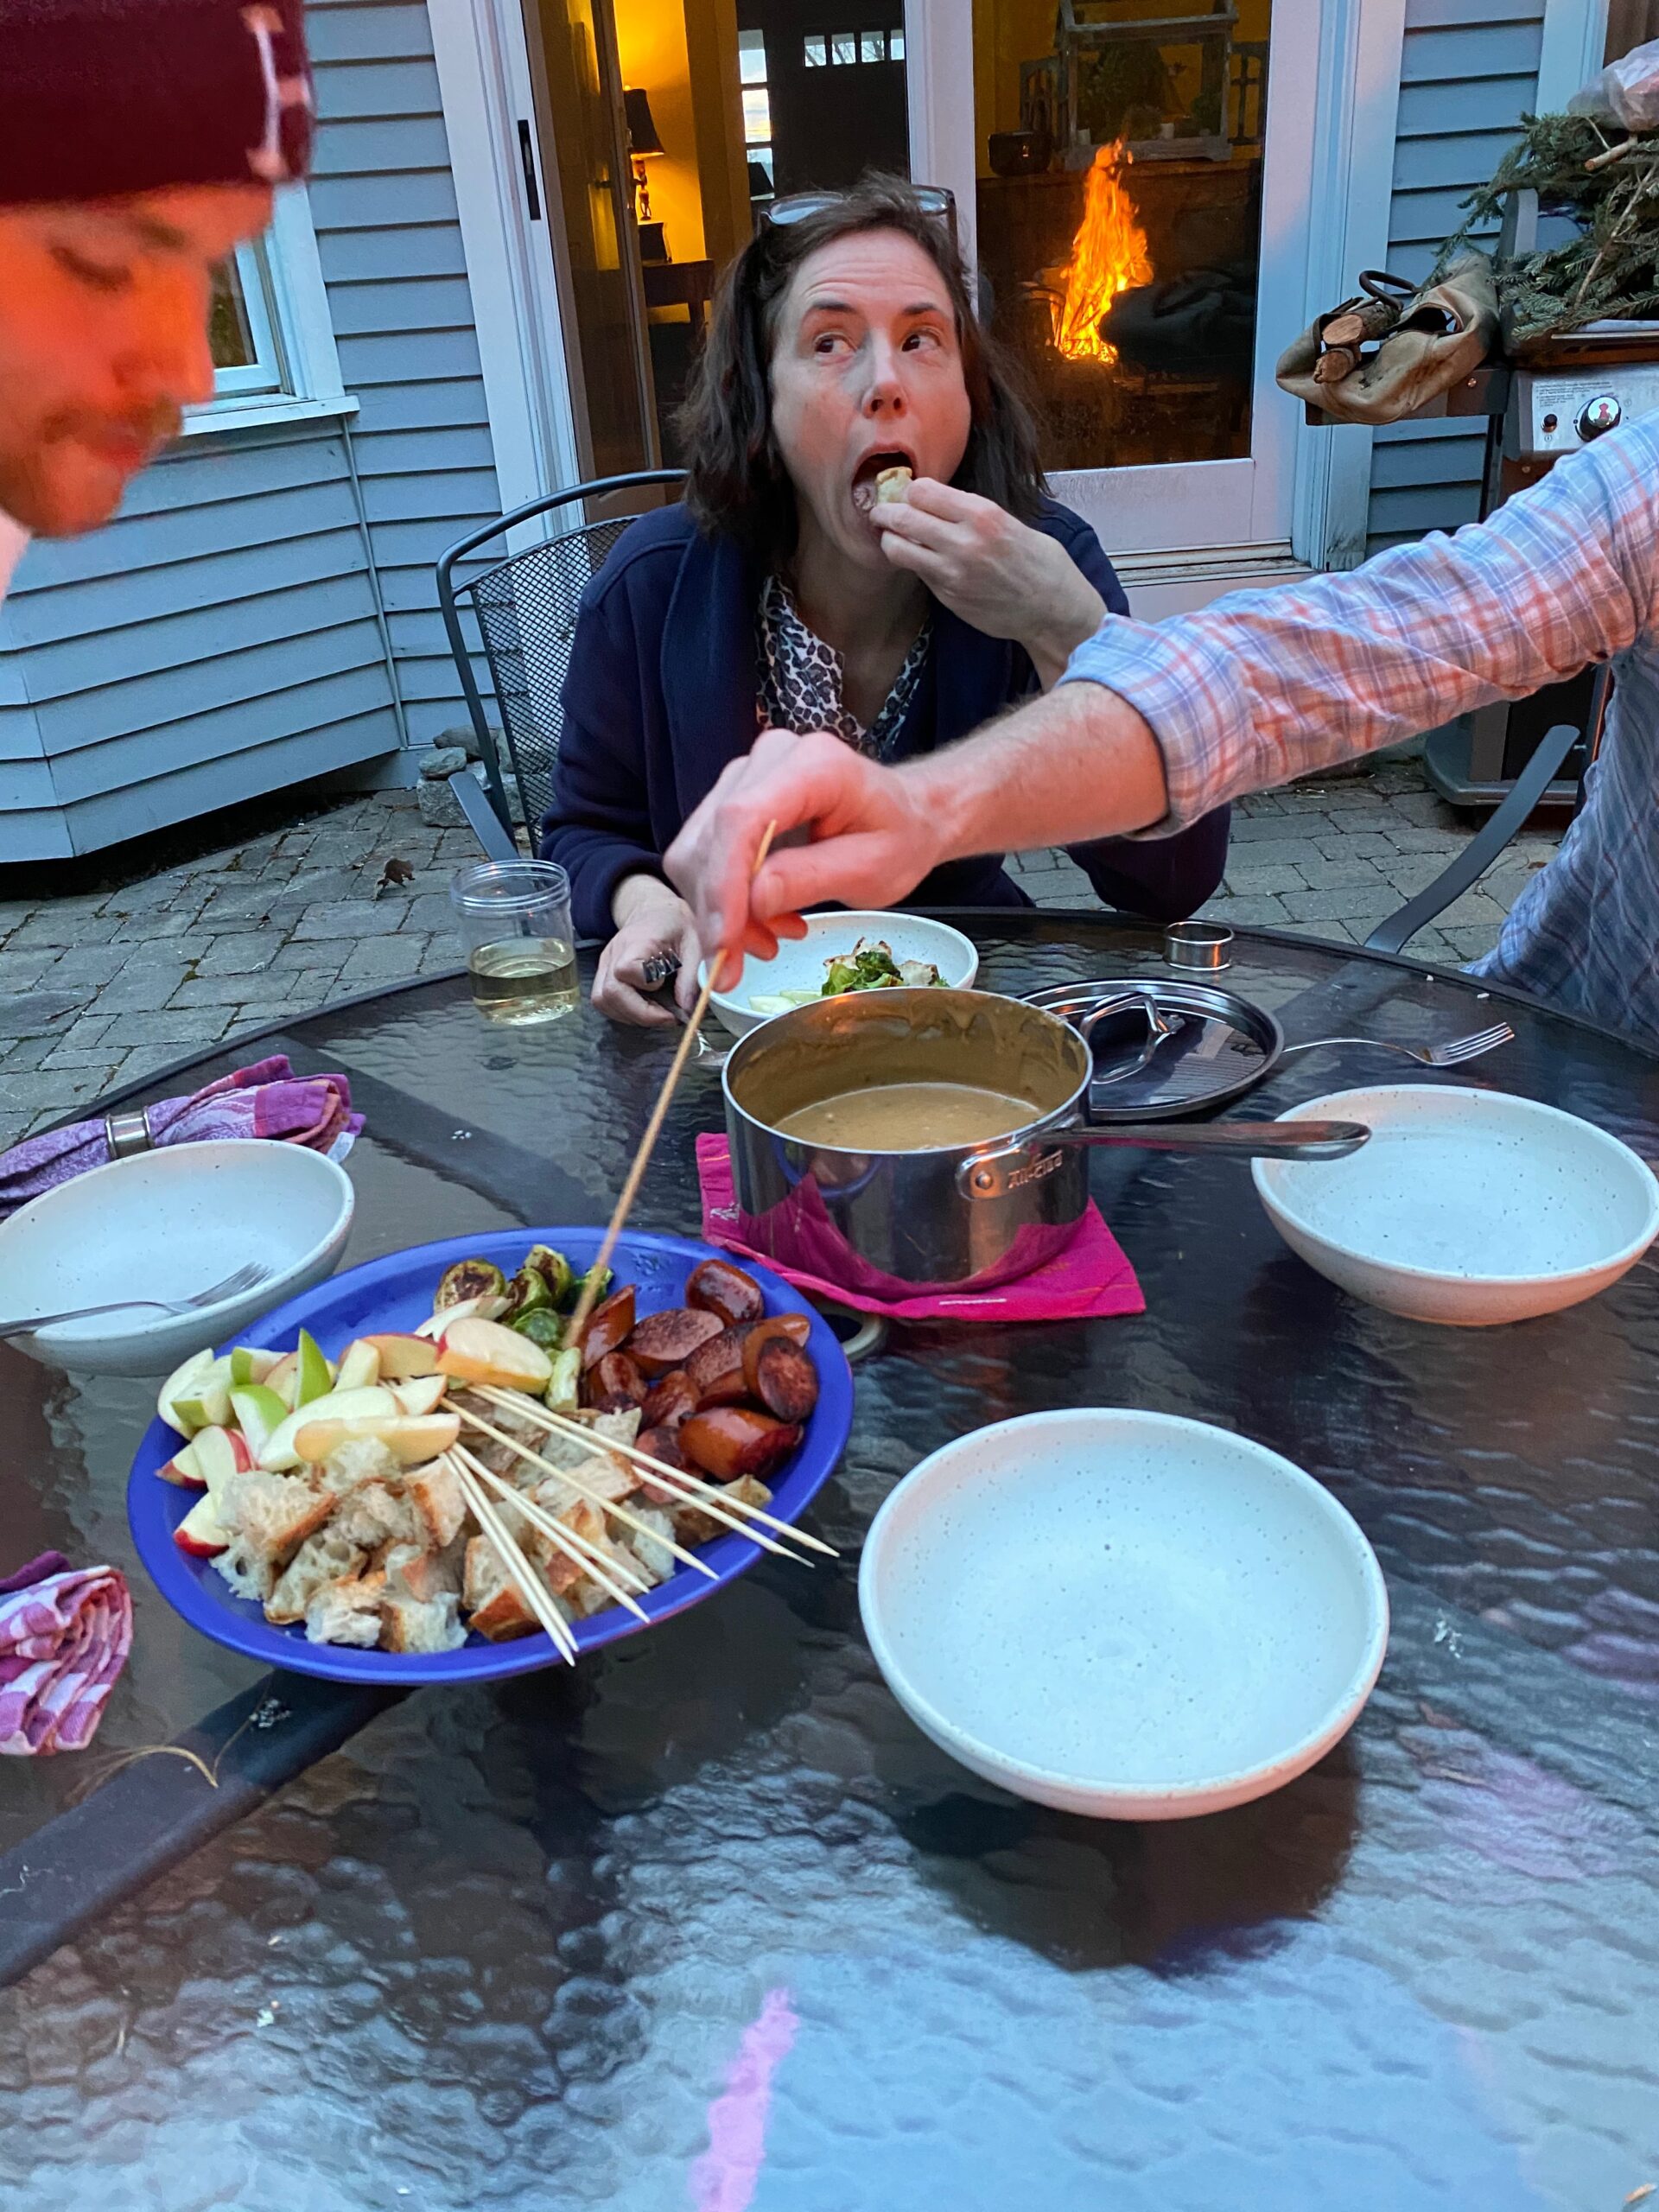
Here’s an idea. Since this Thanksgiving is going to be necessarily smaller, probably weird and definitely unique, maybe we take a different approach. Maybe we bag the turkey and the hassle of all those sides, cut to the chase and make it all about pie.

I know…ain’t gonna happen. Once everybody gets themselves swabbed for COVID before showing up, they’re going to deserve a proper feast for the effort.

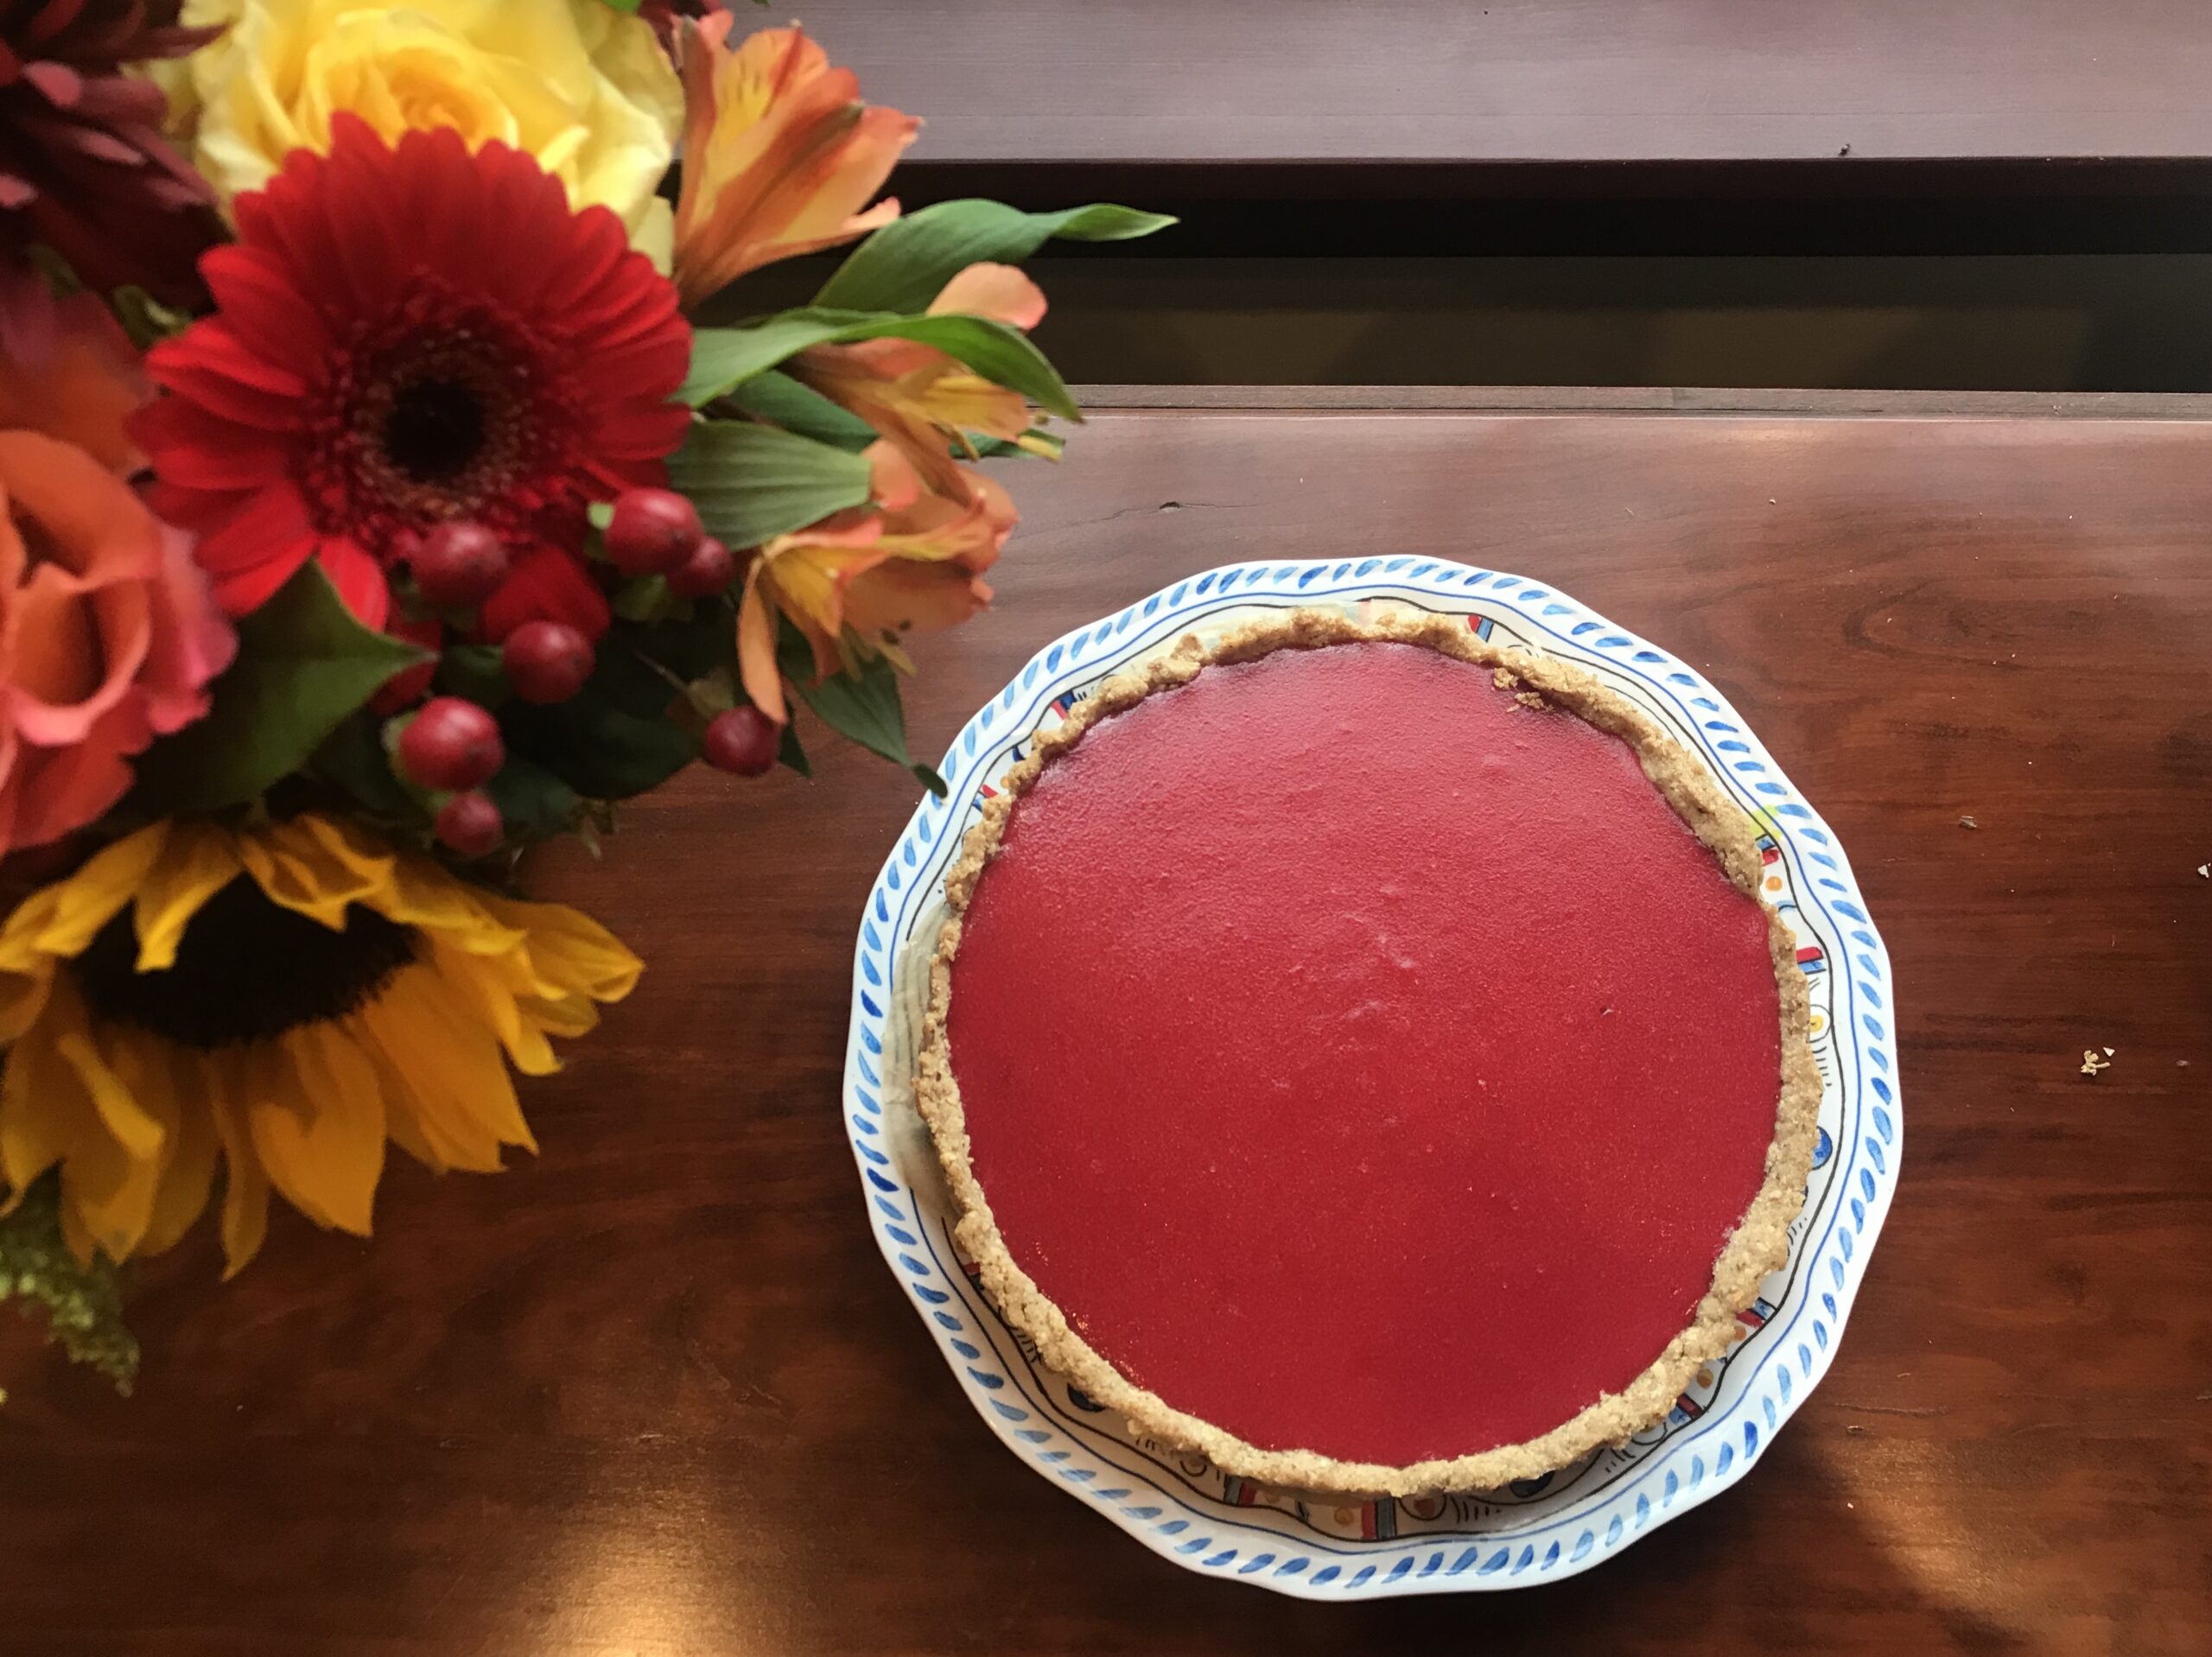
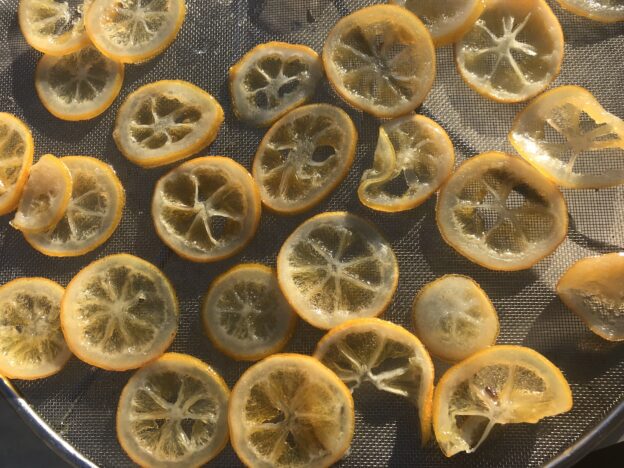
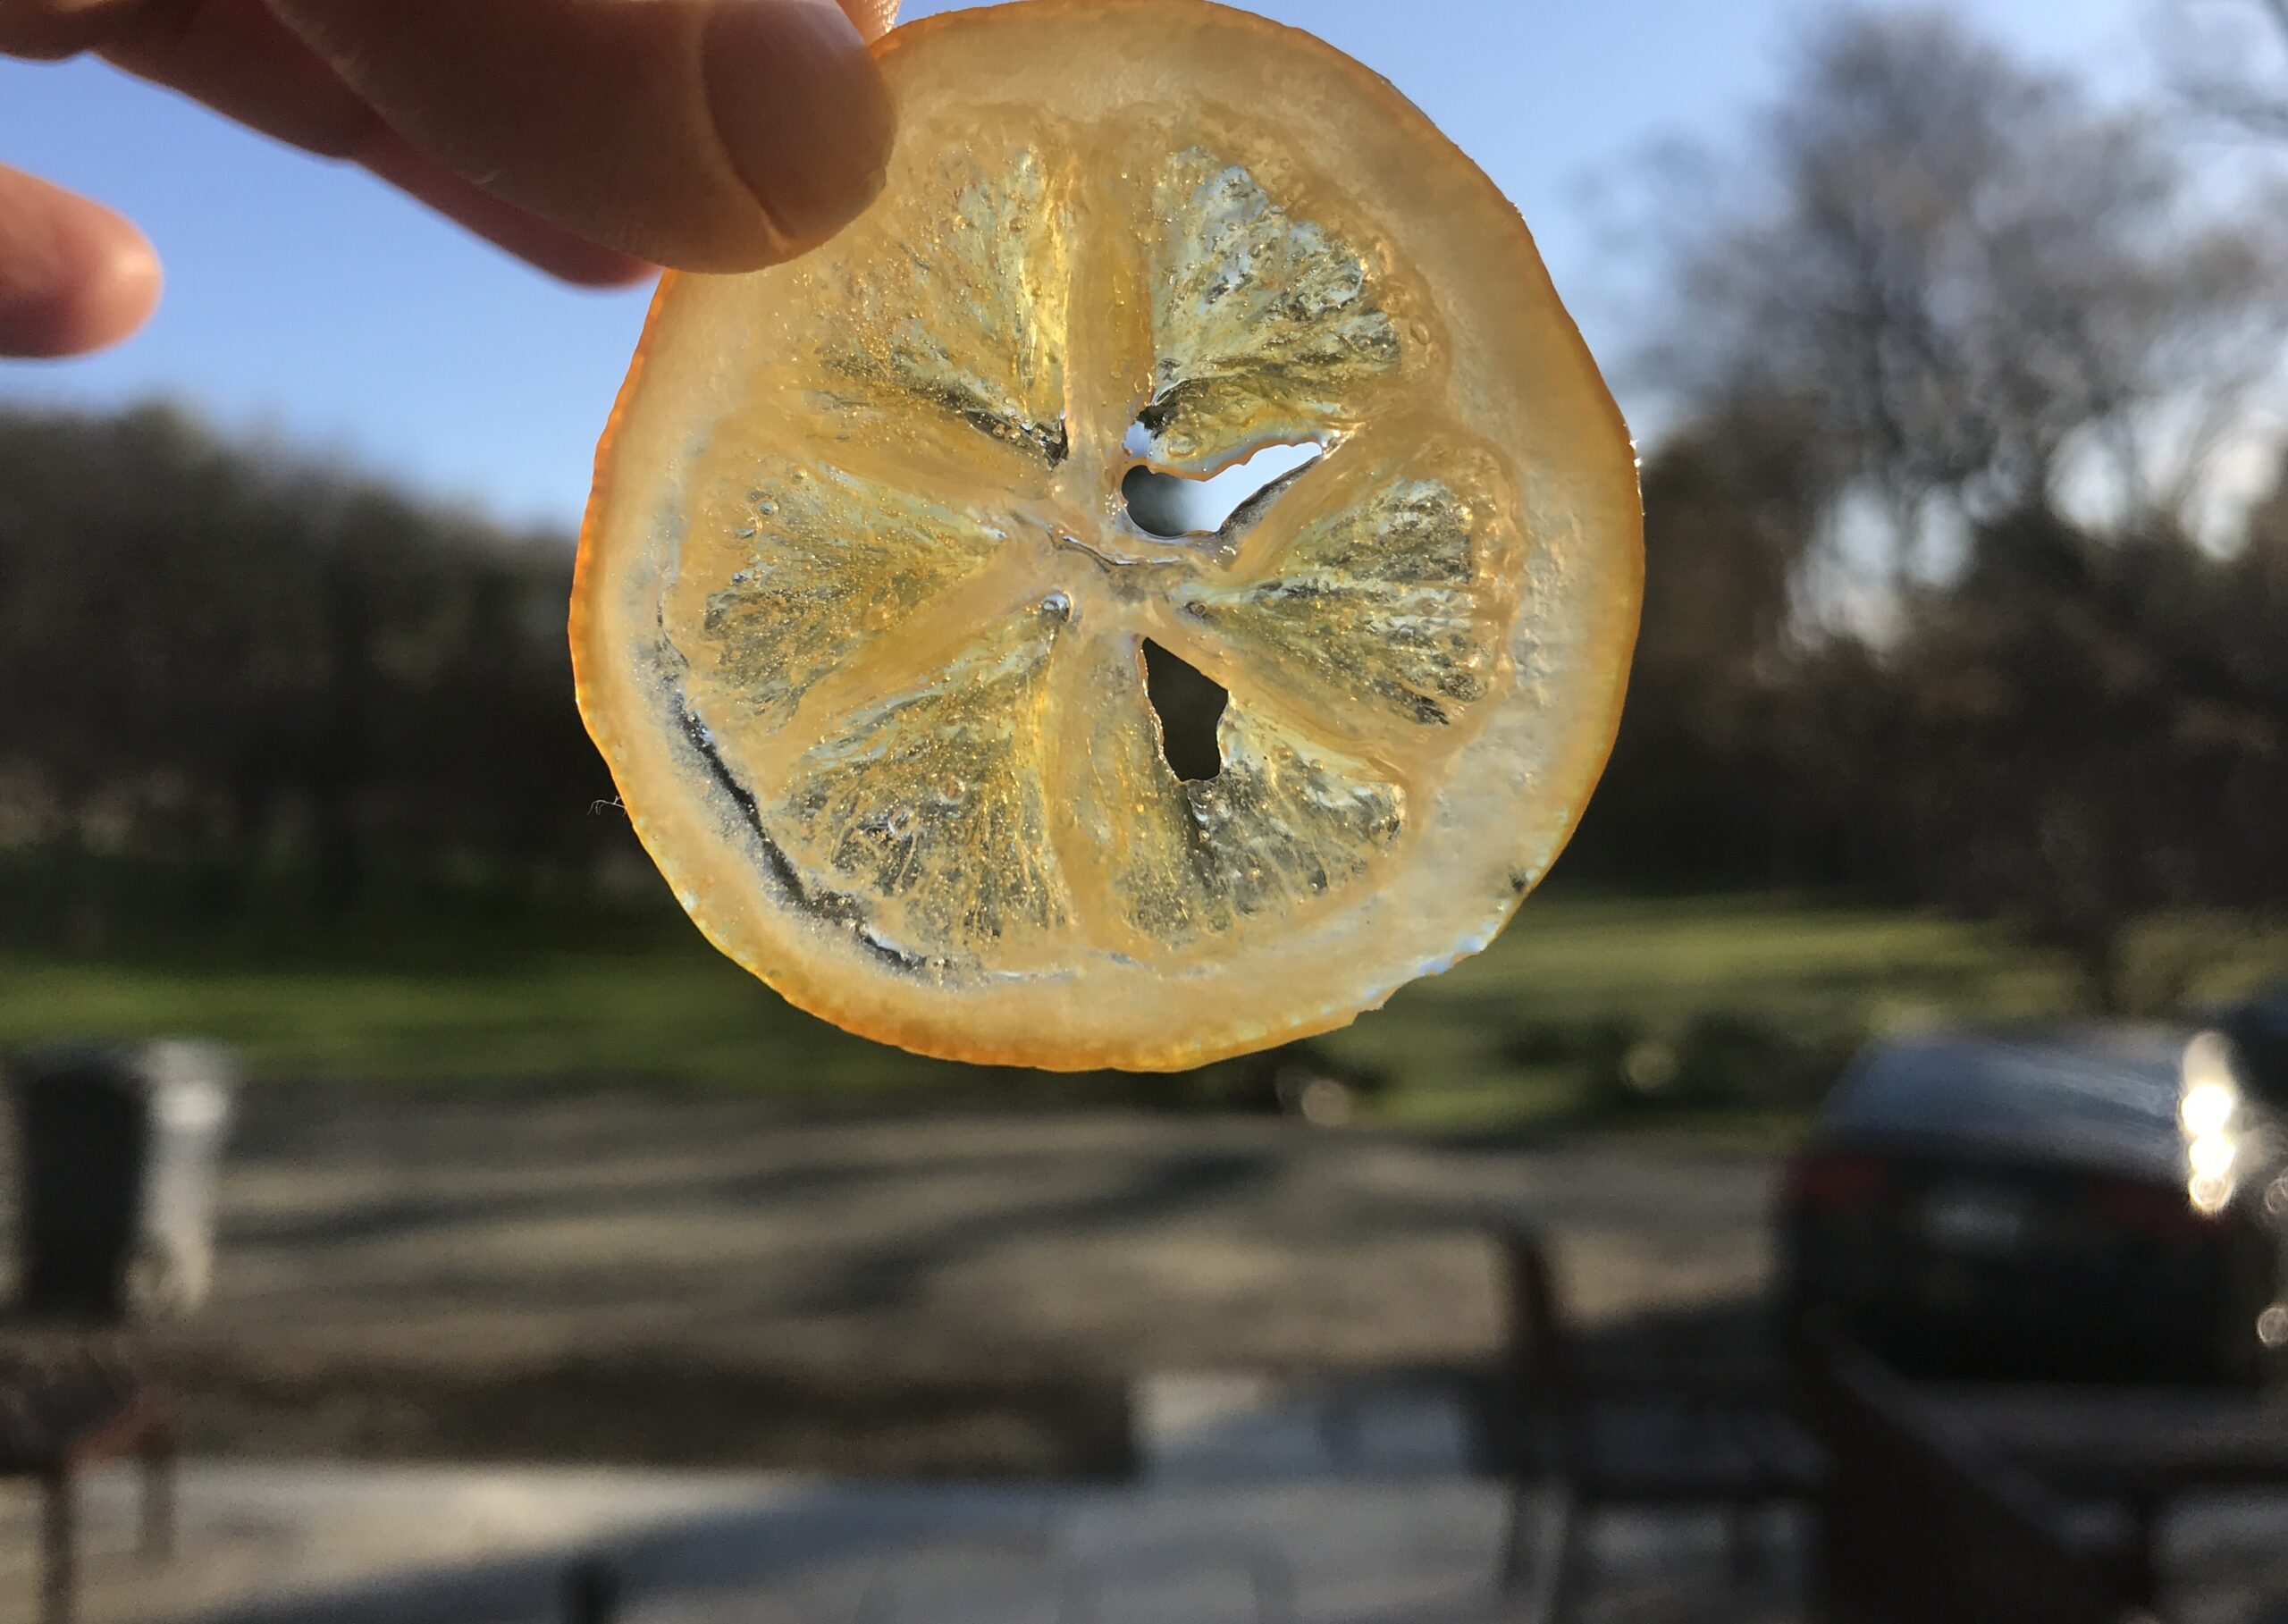
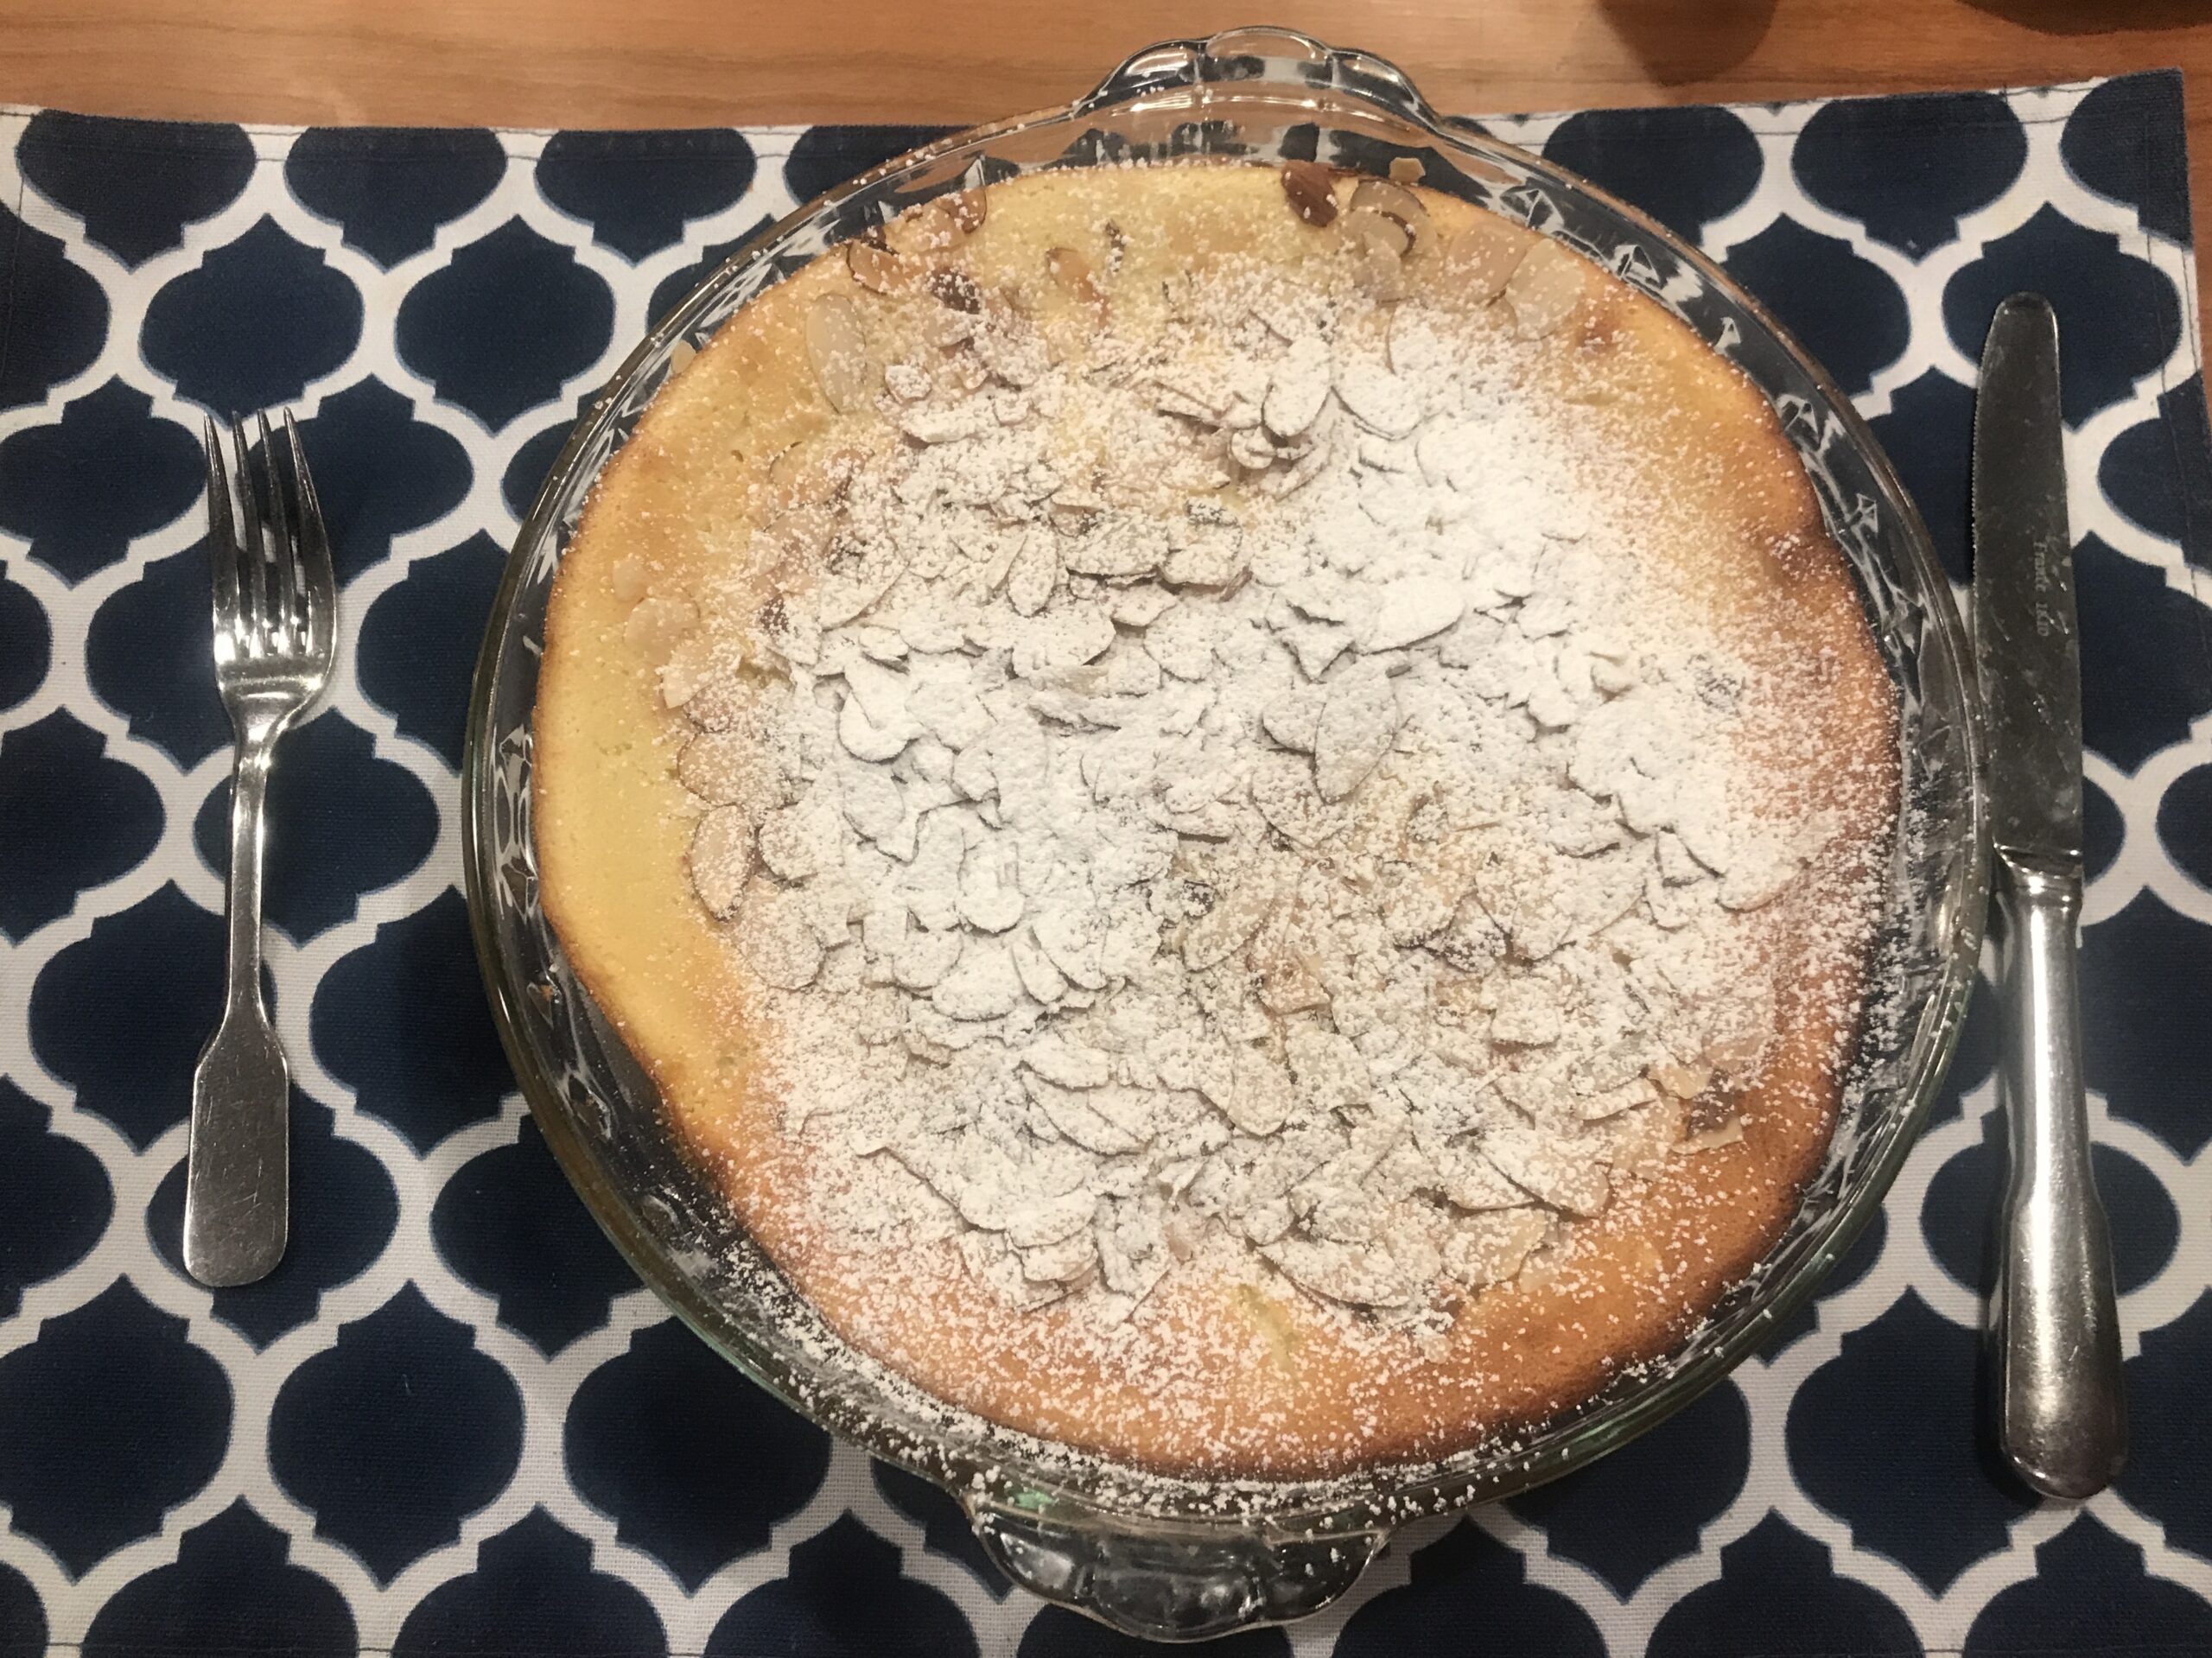
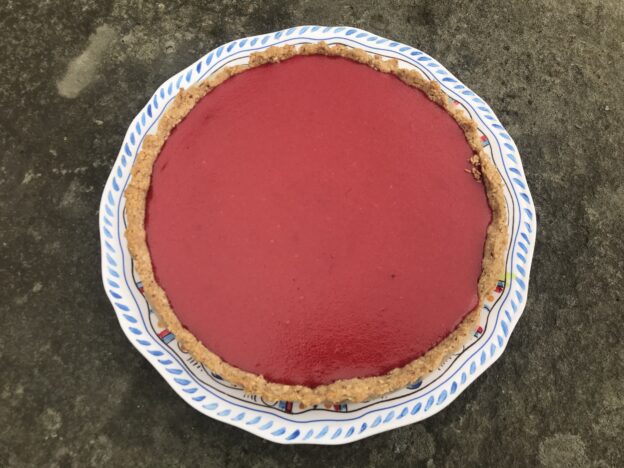
But for some of us, it’s still all about pie. For a new take on it this year, I highly suggest Pilgrim Pie, AKA the cranberry curd tart that has been all over the Internet. It’s kind of like a lemon meringue pie but with cranberries and without the meringue. With the toasted nut crust it definitely becomes it’s own thing.

This version is a hybrid of the one that appeared recently in the New York Times and the one in the Hannaford flyer. It is the best of both recipes. As a bonus, I sifted through the hundreds of comments on the NY Times one (you’re welcome, and…damn those readers have a lot to say!) and assimilated the complaints and suggestions into hacks and options. Because it took me three pies to get a decent photo, I got a lot of practice with all my tweaks.

Bottom line: Make this pie! I know you need pumpkin and apple and pecan and maybe mincemeat for that one person who insists it is edible.  I feel your pain. But I urge you to dig deep. It’s Thanksgiving and we’re all hanging on by a thread. One thing you CAN handle is another pie.

Some notes: The nut crust is what really does it for me. I have tried it as written, with hazelnuts, and also with almonds and a mix of almonds and walnuts. Love the nut you’re with. For a healthier version the pecan coconut crust from knockout vegan pumpkin pie would also be divine, especially if you doubled it and made it super thick like this one.

The filling is strained through a sieve, and you will need a rubber spatula for this. Some rogue commenters didn’t bother straining the filling and said it was just fine that way, so if you’re the rustic type go for it. If you’re going for perfection, do scrape the sides of the pan periodically with that rubber spatula as it cooks, to keep the filling silky smooth .

That’s all. Happy Baking!  

Size matters? Not so much. With pie it’s all good!

Pilgrim Pie

Ingredients

For the nut crust:

  • 1 ¼ cups raw hazelnuts or sliced almonds.
  • 1 cup flour (rice flour to go GF, sprouted wheat flour to be fancy)
  • ¼ teaspoon salt
  • ½ cup sugar
  • 6 tablespoons softened butter

For the cranberry curd:

  • 12 ounces cranberries (~3 cups)
  • 1 cup plus 2 Tbsp sugar
  • ½ cup water
  • 1 tsp lemon zest
  • ¼ cup fresh lemon juice
  • ¼ tsp salt
  • 2 large eggs plus 3 egg yolks
  • 8 Tbsp unsalted butter (1 stick), cut into 8 chunks

Method

  1. Make the crust: Heat oven to 325 degrees. If using hazelnuts, roast them on a baking sheet for 10 to 15 minutes, until skins darken and crack. Put roasted nuts in a clean towel and rub off skins. Discard skins and let nuts cool. For sliced almonds, 10 minutes of toasting ought to do it.
  2. In a food processor, grind nuts. Add the flour and salt and pulse together. Add the cut up butter and pulse until it hangs together when you squeeze a bit of it.
  3. Press dough evenly into the bottom and around sides of a 10-inch tart pan or 9-inch pie dish; Prick bottom with a fork and freeze for 30 minutes (or several days if desired).
  4. Heat oven to 350 degrees. Bake chilled tart shell about 15 minutes until lightly brown. Cool.
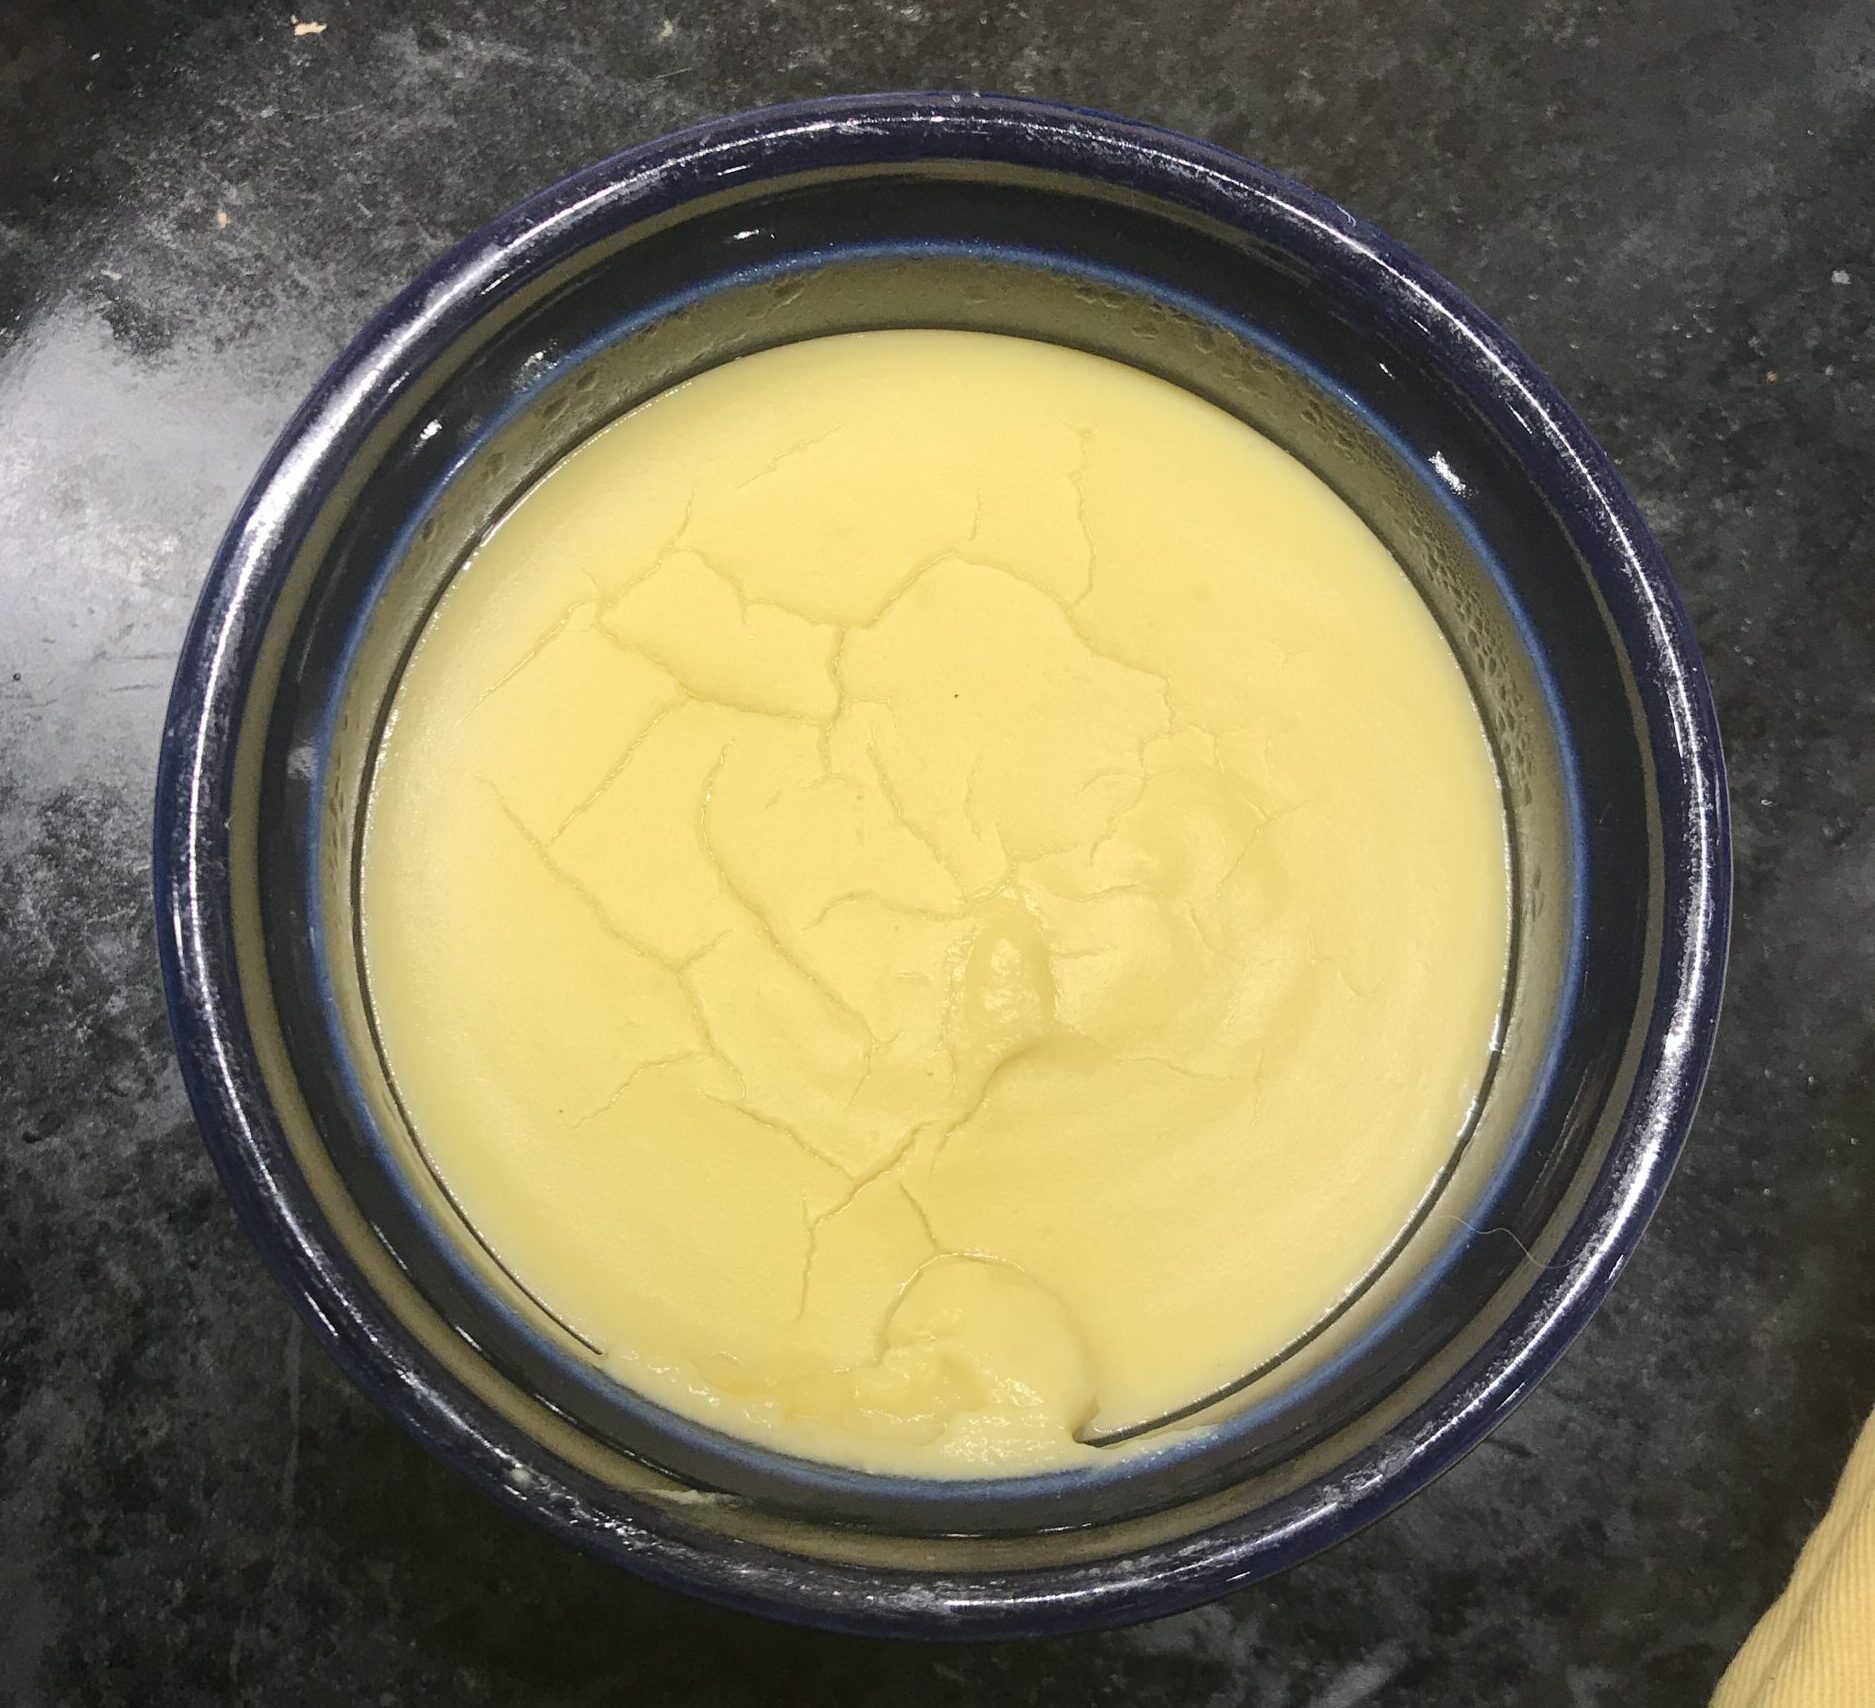
  5. While the crust bakes and cools, make the cranberry curd: Put cranberries, sugar, water and lemon zest in a saucepan over medium heat. Simmer until cranberries have popped and softened, about 10 minutes. Puree the cranberries in a food processor until smooth (careful here—they’re hot), wipe out the pan, then strain mixture through a fine-mesh sieve back into the saucepan, pressing on solids with a rubber spatula. Discard solids (or sneak them on toast to bide your time). You can also use an immersion blender to puree the mixture, then strain it into another saucepan.
  6. Combine eggs and egg yolks into a bowl and beat lightly. Slowly whisk 1/3 cup of the warm cranberry liquid into the eggs to temper, then pour eggs into the saucepan and whisk together.
  7. Cook over low heat, stirring constantly and scraping the sides and bottom with a rubber spatula until mixture has thickened and reaches 170 degrees (8-12 minutes if you, like me, can’t find that dang thermometer)
  8. Remove from heat, whisk in butter one chunk at a time until fully incorporated, then whisk in lemon juice.
  9.  If using immediately, let cool to room temperature-ish. If working ahead, cool to room temperature, cover with plastic wrap (press wrap against curd) and refrigerate. (Curd may be cooked up to 1 day ahead.)
  10. Pour cooled cranberry curd into the cooled prebaked tart shell and smooth top with a spatula. Bake at 350 degrees for 10 minutes to set curd. Cool on a rack. Store at room temperature for up to 2 days.
  11. Serve topped with whipped cream.

Variations:

Healthy it up a bit with the pecan coconut crust from this Vegan pumpkin pie.

Sub in orange zest and juice for the lemon zest and juice.

Go nutty and switch out the nuts with whatever turns your crank

That’s about all I’m going to mess with here. It’s darned near perfect.

Squash Season with a side of Pumpkin Muffins

Those cute Halloween pumpkins?  Going, going…gone! It’s time to put them to work. It seems we skipped right over apple season. I know that we didn’t really skip over it. Pies and crisps were made, cider was chugged. But apples did not get their due on Bring It this year. Let’s just blame COVID and move on.

Move right along to squash.  The phrase “too many squash” is never uttered in my kitchen (by me at least). Butternut and denser, drier kabocha squash fill the void left by watermelon at summer’s end, finding their way into my cart every time I go to the grocery store.  This year, I hit the jackpot when a friend shared her bounty of homegrown butternut squash and sugar pumpkins (thank you Carole!), so we’re having a full-on Squashtacular.

To celebrate, I’m sharing a round up of my favorite winter squash recipes, with a bonus new pumpkin muffin recipe at the end. They are my faves by far after way too much experimenting. For me, pumpkin baked goods can be a tough sell, as they usually involve way too much sugar, oil and spice to overcompensate for being vegetable based. They’re like the macho player of baked goods.

BUT, put squash in the savory role, and it becomes something else entirely, something comfortable with itself that doesn’t have to try too hard. It adds body and nutrition and enough sweetness to become its own special treat without dressing itself up like dessert.

My go-to squash recipes start with the ever-satisfying Sugar and Spice Squash Soup, featuring the brilliant threesome of red curry paste, coconut milk and candied ginger. For an even simpler, an very similar version try almost instant Halloween Soup.

Almost instant squash soup, with pro toppings for extra credit.

For appetizers, you can’t go wrong when you invite caramelized onions into the mix with some butternut squash on toast. Work through your kale supply with the easily made ahead Roasted Squash, Kale and Cranberry salad.

If you’re willing to get a little weird on pizza (or pasta) night, try Butternut Squash Sauce, or an easy, outstanding creamy pumpkin pasta  (a little crumbled bacon on top shuts the doubters right up).

And finally, my baked goods comment notwithstanding, I’ve fallen back in love with Knockout Vegan Pumpkin Pie. It’s all about the crust, which I made with hazelnuts instead of pecans this time. Soooo good. 

If you still have some pumpkins hanging around, fergawdssakes get them into the oven! …and save a bit to try these healthyish whole grain muffins that are proud to be themselves—just sweet enough, moist but not greasy, and only mess up one bowl in your kitchen. Happy November…the countdown is on!

Proud Pumpkin Muffins

Based on these from Cookie and Kate

Makes 12 muffins

Ingredients

  • ⅓ extra-virgin olive oil or melted coconut oil 
  • ½ cup maple syrup or honey (as if…maple all the way baby!)
  • 2 eggs, at room temperature (or 6 Tbsp aquafaba)
  • 1 cup pumpkin (or winter squash) purée
  • ¼ cup milk of choice (plant, animal, whatev)
  • 2 teaspoons pumpkin spice blend (or 1 teaspoon ground cinnamon, ½ teaspoon ground ginger, ¼ teaspoon ground nutmeg, and ¼ teaspoon ground allspice or cloves)
  • 1 teaspoon baking soda
  • 1 teaspoon vanilla extract
  • ½ teaspoon salt
  • 1 ¾ cups whole wheat flour (preferably white whole wheat)
  • ⅓ cup old-fashioned oats, plus more for sprinkling on top
  • Optional: 2 teaspoons turbinado (raw) sugar for a sweet crunch

Method

  1. Preheat oven to 325. Grease or line all 12 cups of your muffin tin.
  2. In a large bowl, beat the oil and maple syrup or honey together with a whisk. Add the eggs or aquafaba, and beat well. Add the pumpkin purée, milk, pumpkin spice blend, baking soda, vanilla extract and salt.
  3. Add the flour and oats to the bowl and mix with a large spoon, just until combined (a few lumps are ok). If you’d like to add any additional mix-ins, like nuts, chocolate or dried fruit, fold them in now. (a heaping half cup chopped walnuts is outstanding)
  4. Divide the batter evenly between the muffin cups. Sprinkle the tops of the muffins with about a tablespoon of oats, followed by a light sprinkle of raw sugar and/or pumpkin spice blend if you’d like. Bake muffins for 22 to 25 minutes, or until a toothpick inserted into a muffin comes out clean.
  5. Place the muffin tin on a cooling rack to cool. These muffins are delicate until they cool down. You might need to run a butter knife along the outer edge of the muffins to loosen them from the pan.
  6. These muffins taste even better after they have rested for a couple of hours! They’ll keep at room temperature for up to 2 days, or in the refrigerator for up to 4 days. They keep well in the freezer in a freezer-safe bag for up to 3 months (just defrost individual muffins as needed).


Late Summer Zucchini Tian

The summer veggies are hanging in there, but we’re definitely bridging into squash and apple season. I’m looking to you, potatoes, to help us across that divide, by adding a little heft to the rest of the zukes and tomatoes.

Behold the tian, which is basically a whole lot of veggies layered over each other in sequence, each layer blessed with a drizzle of olive oil and a sprinkle of salt. The whole shebang is then topped with cherry or grape tomatoes and breadcrumbs and then melded together in the oven. It’s pretty brilliant in its simplicity and humble (until I bragged about it) elegance. 

This recipe has the clever touch of being assembled over a low burner so the potato base layers get a little head start cooking. I’m including the whole recipe—as written by Chef Gabrielle Hamilton of Prune fame—but also giving you the Cliffs Notes, because this is more technique than exact recipe.

You’re melting the butter in the bottom of a big pan, making a base of two layers of sliced potatoes, then covering that with successive concentric layers of onions, zukes, potatoes, onions, zukes and finally all the tomatoes and a sprinkling on breadcrumbs. Each veggie layer  gets its own drizzle of oil and a sprinkle of salt, and cooks along as you keep slicing away.

You can futz with amounts, but there are some key points to follow, starting with the your slicing. To get an A+ tian your potatoes, onions and zucchinis all need to be sliced thinly, hence the mandoline. If you don’t have one, I highly recommend springing for it. My $12 beauty is admittedly bare bones but it does the job and I still have all my fingers, so there’s that. On that note, do pay attention and use the protective pusher when you get anywhere near the end of your veggies. Those blades are sharp!

Also, the stove-top steaming step is key to cooking the potatoes. I got lazy and made a second  tian by layering everything in my baking dish (some of us only own 1 cast iron pan) then putting it in the oven. It was good, but not great, mostly because the potatoes were not as perfectly cooked. If you go that route, cover your vessel with foil for the first half hour of cooking and leave it in for an extra 15 minutes, uncovered.

I also distilled the comments from the New York Times version of this recipe, which are many. They separate into two camps, both pretty indignant. The “How can you possibly not include garlic and fresh herbs in this?” camp and the “Keep it simple and let the fresh ingredients sing” camp. The latter crowd reminds us that the dish originated from a nonna in Puglia, and Pugliese hate garlic. Who knew? Thankfully, pretty much everybody agrees that blanching the tomatoes is only for teacher’s pets, and quite unnecessary.

Anyway, the bottom line is that both camps like this dish a whole lot, and with a long potato season in our future, it seems like a good time to get comfy making tian.

Ingredients:

  • 2 tablespoons unsalted butter
  • 3 medium Yukon Gold potatoes (about 12 ounces)
  •  Kosher salt and freshly ground black pepper
  • ¼ cup extra-virgin olive oil
  • 1 large yellow onion (about 12 ounces)
  • 2 zucchini (about 12 ounces), washed and wiped free of any clinging grit
  • 1 pint yellow Sungold cherry tomatoes
  • ⅓ cup coarse bread crumbs

Method

  1. In a pot, boil 2 inches of water for blanching tomatoes (OR NOT). Place an 8- or 9-inch cast-iron skillet on a burner over low heat, and add butter to melt.
  2. Peel the potatoes, and slice on a Japanese mandoline into 1/4-inch-thick disks, then arrange in a single layer circle covering the bottom of the cast-iron skillet with its melted butter, keeping the skillet on the burner and leaving the heat on while you start to build the tian.
  3. Add a second layer of potato slices, and season with salt and pepper, add a drizzle of olive oil and cover with a lid to slightly steam while you slice the yellow onion.
  4. Peel the onion, then slice into even ¼-inch or thinner rounds. The Japanese mandoline is sometimes too narrow to use for this, so you may have to use a sharp knife and do it manually.
  5. Layer abundantly half the onion rings evenly around the pan on top of the steamed potatoes, season with salt and pepper and a drizzle of olive oil, and recover the pan with a lid while you slice the zucchini.
  6. Slice the zucchini into ¼-inch-thick rounds, and layer half of them in concentric, just-overlapping shingled circles over the onions to create a neat layer. Season with salt and pepper, drizzle with oil and recover with the lid while you blanch the tomatoes.
  7. (FOR OVERACHIEVERS ONLY) Season the now-boiling water with a few good pinches of salt, and drop the tomatoes into the boiling water. As soon as their skins split — about 30 seconds — retrieve the tomatoes and run under cold water to quickly cool enough to handle; set aside.
  8. Build another ring of potato around the tian on top of the now-steaming zucchini, this time just a single layer. Drizzle with oil, season with salt and pepper and recover with the lid to steam a bit while you slip the skins off the tomatoes (IF YOU MUST).
  9. Layer the other half of the onions as before, season and drizzle and replace the lid as before, while you split the tomatoes in half horizontally with a small sharp knife.
  10. Add final layer of zucchini to the tian, and season with salt and pepper and a drizzle of olive oil. Cover, and let steam while you heat the oven to 375 degrees.
  11. Place the tomatoes around the top of the tian evenly, and sprinkle the bread crumbs over the top evenly. Drizzle with oil, season with salt and pepper and place in the oven to bake for 30 minutes.* (If your skillet threatens to bubble over, slip a sheet pan underneath to prevent any burned wreckage in the bottom of your oven.)
  12. With a spoon, baste, and drizzle the pan juices that accumulate in the tian over the top when you remove it from the oven at the end. Allow the tian to cool, settle and kind of meld for an hour before eating.

*I’m pretty sure this is meant to go in uncovered though none of the bazillion comments actually answered this. Mine goes in uncovered, and it’s darned good.


Coolest Cucumber Soup

Labor Day be damned summer is NOT over yet. Well, not totally. Sadly, I was skunked at two corn suppliers yesterday, so that ship is quickly sailing. But cukes and zukes are still going strong. I’ve got a pretty epic zucchini creation coming soon (I was so busy marveling at it that I forgot to take a picture), but while we’re waiting, here’s a cool way to use up some of the many cucumbers you may be experiencing.

I discovered while searching for a soup that involved zero cooking or warming of any kind, and could all be made in the blender. Slackers delight!

This one goes out to you Californians and westerners who are feeling the heat, and the smoke, and the earthquakes. As a bonus, it involves an avocado. The original recipe calls for the avocado on the soup, but this is not my first soup rodeo. Adding the avocado to the blender adds heft and creaminess without actual cream.

I hope this soup helps you soak up every last bit of summer, and frees up some space in your fridge.

Coolest Cucumber Soup

 Adapted from The New York Times

Ingredients

  • 1 pound cucumbers, peeled, halved lengthwise and seeded
  • 2 cups buttermilk (or use 1 1/2 cups plain yogurt plus 1/4 cup water) *
  • 1 large garlic clove, peeled and smashed
  • 2 anchovy fillets (optional) **
  • 2 small whole scallions, trimmed
  • ½ jalapeño, seeded and chopped
  • ½ cup packed mixed fresh herbs (like mint, parsley, dill, tarragon, basil and cilantro)
  • ½ teaspoon sherry or white wine vinegar, more to taste ***
  • ¾ teaspoon kosher sea salt, plus more to taste (omit if using miso, then add if needed)
  • ½ avocado ****

All The Options

  • 4 slices toast of choice
  • ½ avocado, pitted, peeled and thinly sliced
  • ½ lemon
  • 2 tablespoons crumbled feta cheese
  • Extra-virgin olive oil, for serving
  • Freshly ground black pepper
  • 1 ear of corn, shucked, kernels sliced off
  • Fresh dill, for serving
  • Fried shallots or onions (if you’ve got ’em, why not?)

* Vegans, you have your milks. Use them here, soured with vinegar or lemon juice
**I used 2 tsp miso paste instead, for saltiness and funk, or what one might call “umami,”
*** I used 1 Tbsp lime juice (half a lime)
**** I threw the avocado intended as a topping right into the blender. Save the other half for toast…or throw it in as well. Did anyone ever complain about too much avocado? Ok, except for my husband?

Method

  1. In the bowl of a blender or food processor, combine cucumber, buttermilk, garlic, anchovy, scallions, jalapeño, fresh herbs, sherry vinegar and salt. Blend until smooth and adjust seasoning as needed.
  2. Smash avocado slices on the toasted bread. Sprinkle with crumbled feta, squeeze the juice of the lemon half over the top and finish each with a drizzle of olive oil and some pepper. Transfer to a plate and set aside.
  3. Distribute soup between 4 bowls and garnish with raw corn kernels and a drizzle of olive oil. Serve avocado toast on the side.


Corn Star: A One Ingredient Summer Fantasy

We’re hanging on to summer here, even if it was the weirdest summer ever, with the haziest boundary on either end. We’re not sure when it started but it is definitely ending. I know this because it is corn season.

Cooking inspiration has been lacking in this household, thanks to the general laziness that goes along with hot days. For a recipe to get me back in the game and try something new it has to be really good or really weird. When it is both…Hallefreakinlujah!

First, some context on why this recipe is so perfect right now. I mentioned corn season, and my people take it very seriously. More nights than not, we’re having fresh corn. Our compost pile, with its layers of corn husks and watermelon rinds, pretty much tells the story. That means we have plenty of opportunity for corn experimentation.

This recipe came via Sister A, purveyor of all things Vegan, who knows I appreciate weirdness. It is a little bit of food magic and alchemy that turns corn first into milk and then into butter. Basically, you’re cutting corn off the cob, pulverizing it, straining it,  then cooking the resulting “corn milk” for just a few minutes until it thickens up into creamy deliciousness.

The result is a summer fantasy—the essence of fresh corn in a luscious spread. It does not taste like butter, but it looks like it, spreads like silk and is simply delish.  It has the added bonus of being Vegan, which you can either use as a selling point or keep to yourself. 

Slacker note: Now that I’m on to it, I’ve read versions of this recipe using canned corn, and that don’t even call for straining the corn. I will likely try that come November when fresh corn is a distant memory. But for now, I’m sticking with this version, which is a bit labor intensive but sublime.

If corn on the cob is your jive, there’s no shame in that. But if you’re looking for other ways to enjoy the bounty of the season, I highly suggest giving this a whirl. It pairs well with zucchini “butter,” another brilliant recipe that will use up the August veggie filling your fridge.  

Sweet Corn Butter

From Whitney Wright via Food52

Ingredients

  • 8 ears fresh sweet corn (or less), shucked
  • Salt and butter, to taste (optional)

Method

  1. Cut off kernels: Use a chef’s knife to cut the kernels from each ear. 8 ears of corn will yield 4 to 5 cups of kernels (I got way more). If you’re a go-getter, you can also scrape the back of your knife along the cob to get the juice.
  2. Blend: Put the kernels in a blender or food processor and buzz them up like crazy—let the blender run on the highest speed for about 2 minutes. Once the kernels are blended into a smooth puree, pass the puree through a strainer with a rubber spatula. Ta-da! Corn juice.
  3. Whisk and cook: Here’s where the magic happens. Pour the juice into a medium saucepan. Heat the juice over medium heat, whisking constantly. Continue whisking until the mixture begins to thicken and the frothy bubbles begin to disappear, about 4 minutes. When the mixture is thick and bubbling, whisk and cook for about 30 seconds more. Remove from the heat.
  4. Season (optional): Taste it—and look for sweet, smooth, earthy, and buttery. If you want, add a few pinches of salt and pats of butter (defeats the purpose of this exercise I’m thinking, but do what you must). The corn butter will keep for about 3 to 5 days in the fridge.

How do you use it? The original author, a fancy pants chef, suggests these ways, to which I added:

  • Slather onto cornbread, a muffin, toast or fresh bread instead of butter
  • Use it on sandwiches instead of mayonnaise
  • Put it in quesadillas or omelets
  • Fold it into sautéed spinach with onions, and finish with just a touch of cream for killer creamed spinach
  • Dribble it onto a hot dog for a DIY corn dog
  • Stir it into risotto and finish with Parmesan
  • Blend it with vanilla ice cream for a crazy delicious milkshake
  • Top tacos or fajitas with it. Or…pizza anyone???
  • Mix it with shredded cheese, a little sour cream, and a jar of drained jalapeños, bake and serve as a LIFE ALTERING (and so not Vegan) dip for tortilla chips
  • Layer it on zucchini or tomato anything

Pure buttahhhh


Stay-In Sesame Noodles 

It’s not you, it’s me. Or maybe it’s you, too. As we’re entering month four of a full house, I’m just tired of coming up with new things to make and serve, so I’ve been relying on my tried and true. It’s not the worst thing to get reacquainted with these no fail recipes that are easy to prepare and even easy to learn by heart.  

Best of all, these recipes can fill the local army with homemade fare without breaking the bank, or spending all day cooking.  I’m talking about Easiest French Bread Ever, Maple Oat Breakfast Bread and Everyday Granola in the morning, a constant supply of blender salsa and chile crisp, plus a big bowl of broccoli salad whenever I need a no cook veggie fix, which is pretty much always. It’s also the perfect time to fill your freezer with a Tupperware of Frosecco or any other frozen concoction. The slurpee mothership is kind of like your sourdough starter of cocktails. Just keep scooping it out, and adding more as needed. Is that a problem? Do I care?

Now that we’re getting out a little, I am running in to people who have been spending more time cooking while in quarantine. They have been making some Bring It all stars, which are also excellent for entertaining. Things like Funitella Bruschetta (recently updated!) and, of course, Hero Slaw. And for dessert, Loosey Goosey Strawberry Rhubarb Crisp and Beach Pie because, ‘tis the season!  

Along the lines of no-fail fare, I give you my new favorite go-to recipe, which already feels like an old fave. Add this to your repertoire, and buy yourself some time to think about something other than “what’s for dinner?”  

Takeout (or Stay-In) Noodles 

From the New York Times

 Ingredients 

  • 1 pound noodles, frozen or (preferably) fresh 
  • 2 tablespoons sesame oil, plus a splash 
  • 3 ½ tablespoons soy sauce 
  • 2 tablespoons Chinese rice vinegar 
  • 2 tablespoons Chinese sesame paste (or tahini; see notes)
  • 1 tablespoon smooth peanut butter 
  • 1 tablespoon granulated sugar 
  • 1 tablespoon finely grated ginger 
  • 2 teaspoons minced garlic 
  • 2 teaspoons chile-garlic paste, chile crisp or chile oil, or to taste 
  • Half a cucumber, peeled, seeded and cut into 1/8-inch by 1/8-inch by 2-inch sticks 
  • ¼ cup chopped roasted peanuts  

Preparation 

  • Bring a large pot of water to a boil. Add noodles and cook until barely tender, about 5 minutes (or recommended amt if using dried). They should retain a hint of chewiness. Drain, rinse with cold water, drain again and toss with a splash of sesame oil. 
  • In a medium bowl, whisk together the remaining 2 tablespoons sesame oil, the soy sauce, rice vinegar, sesame paste, peanut butter, sugar, ginger, garlic and chili-garlic paste. (You can also use an immersion blender or regular blender)
  • Just before serving, pour the sauce over the noodles and toss. Transfer to a serving bowl, and garnish with cucumber and peanuts. 

Notes:  

These are infinitely adaptable, and for suggestions, scroll through the many comments on the original NY Times post here. I hit the high points and recommendations here, in case you are sharing your paltry Internet connection with many young, curious, ever- streaming tenants. 

The Chinese toasted sesame paste called for here is not the same as tahini, the Middle Eastern paste made of raw, untoasted sesame. You can use tahini in a pinch, adding a little toasted sesame oil to compensate for flavor, or make your own from scratch with toasted sesame seeds and olive oil.  

To prevent dry noodles, serve immediately, or hold the sauce. I usually multiply the sauce recipe many times (I use a stick blender), and add a fairly minimal amount of the sauce to the noodles when they’re still warm. Chill the undersauced noodles until you are ready to serve, and then mix in as much extra sauce as you need 

Mind your noodles. The recipe says fresh or frozen, meaning egg noodles. It’s totally ok to use dried, as in regular spaghetti (my fave) or linguini, but 1.5 or double the sauce for a full pound of dried noodles.  

This is serious picnic fare, and can accommodate Vegans and carnivores alike with a variety of toppings like: shredded duck or chicken, tofu, cucumber, sweet red pepper, hot pepper, scallion, jicama, carrots, etc, all cut to roughly the same size.  


Lemonpalooza Part Deux and Lemon Almond Pudding Cake

Well hello spring! It finally warmed up enough to unclench the earth, and to make the outside inviting. On cue, enter the black flies. Thank you, New England! Back in the kitchen, the work of feeding the tribe something more than frozen pizza continues. As I was about to embark on finding something to make with the glorious box of lemons from last week, I got a King Arthur email full of pictures and recipes featuring their five favorite citrus recipes. We’re on the same page!

Here’s where we’ve been with my lemons. They’ve gone in tea, of course, and they’ve been thinly sliced to go atop slow baked salmon. They’ve gone in to this spring vegetable Israeli couscous  (hello asparagus and peas!), preserved lemons and for no reason other than flaunting my bounty, I made these candied lemon slices. (I have no idea what to do with them, but they’re hanging in my fridge, looking pretty and ready to roll.)

Come here, my pretty

Rocky Mountain correspondent Tania sent me this recipe for Lemon Tiramisu which looks amazing, but also has too many steps for this particular phase of quarantine. How has going nowhere become so time consuming?

For today’s recipe, I looked for something even easier than Lemon Beach Pie (don’t get me started on this beauty!), something easy and delish. This came from the quarantine recipe club—not the recipe chain letter you may fear, but a weekly newsletter with all kinds of recipes contributed from all kinds of people like us, who are wrassling up vittles for a houseful, with an ever changing list of available ingredients.

Enjoy your Sunday!

Now, THAT’S dessert, or maybe dinner.

Lemon Almond Pudding Cake

Ever so slightly adapted from How Sweet Eats

Ingredients

  • 3/4 cup sugar
  • 1/3 cup all-purpose flour
  • 1/4 teaspoon salt
  • 3 large eggs separated
  • 2 tablespoons unsalted butter  melted and slightly cooled
  • 1 cup milk the original recipe calls for skim, I used whole with good results
  • 5 tablespoons fresh lemon juice
  • 1 teaspoon finely grated lemon zest
  • 1/2 teaspoon almond extract
  • powdered sugar and sliced almonds for topping. Fresh berries wouldn’t hurt either!

Method:

  1. Preheat the oven to 350 degrees F. Spray a 9-inch pie plate with nonstick spray liberally. Or brush it with melted butter!
  2. In a bowl, whisk together the sugar, flour and salt.
  3. In another bowl, whisk together the egg yolks and melted butter. Whisk in the milk, lemon juice, almond extract and lemon zest until combined. Stir in the dry ingredients.
  4. Beat the egg whites in the bowl of your electric mixer until stiff peaks form. Slowly fold the egg whites into the lemon mixture, gently, until combined. Pour the batter into the pie plate.
  5. Bake for 30 to 35 minutes, until set. Top with a dusting of powdered sugar and a handful of sliced almonds and serve.

Get more lemon inspiration at Lemonpalooza Part 1


A Box Full of Sunshine for Mother’s Day

Happy Mother’s Day! My gift came a day early, from California. My amazing Auntie Tina, who knows how much I covet her Meyer Lemon tree, sent a surprise care package straight from her tree and her kitchen.  It was the very best thing in the world to open on a snowy, windy May morning in New Hampshire. Money may not buy you happiness, but fresh lemon marmalade on toast sure will.

Tina makes me think of great moms and of the way they make you feel special on every day. My Nina was all that, and I’m really happy and excited that she’s getting some airtime in today’s New York Times. I hope you get a chance to read this, and that it brings a little peace to people who need it on Mother’s Day, or any day.

For kids out there, of any age, wondering if you can pull off making breakfast for your Mom, you CAN! And you can probably do it with what you have on hand. Might I suggest Dutch Bunny, Blueberry Dutch Bunny, Popovers or 3-3/2-2 crepes, all of which benefit from a squeeze of fresh lemon. Whatever you come up with, you know she’ll appreciate the effort, so here’s the only part of the recipe you truly need to follow: Serve it up with a whole lotta love!

Whether or not cooking is happening, let’s give it up for our mom’s today. And when life gives you lemons, say “Thank you!” 

 Thank you for the sunshine Tina!

It’s the weekend— Have a ball!

Props to the McNultys of Hanover, for coming up with the idea of theme dinners to turn these Saturday nights in quarantine into something a little less, uh, quarantiny (as in, the state of restriction vs the popular cocktail). Last weekend they kicked it off with an après ski theme featuring Bring It’s own Guinness Fondue.

Their outdoor firepit version was not only inspiring, but also an excellent choice considering our fine spring weather. With the polar air expected this weekend, fondue is a solid option.  

Or….might I suggest, balls! Meatballs and “meat” balls are very versatile, can be made ahead and can accommodate many dietary needs. We’ve got Buffalo Chicken Meatballs, these quite excellent gingery sheet pan meatballs that I have made many times and never managed to capture on camera, the vaunted Ikea meatballs (secret recipe just revealed) and, featured here today, the shockingly tasty and “meaty” meatless meatballs.

This is a great recipe to have in your arsenal especially now that the shortage du jour is meat of all kinds. Whether you are trying to eat less or no meat, or you just can’t get your hands on the stuff, you need a good vegetarian meatball recipe, and here it is friends.

They take a bit of elapsed time, because you have to cook the water out of the mushrooms and let the whole shebang sit in the fridge for a spell, but they’re totally easy. And hey…we’ve got time! You can even show off  your domestic skills, make a double batch and stock your freezer.

As a bonus this recipe comes with a soundtrack suggestion suitable for any stage of creating or eating your Saturday night special. Crank yourself up some Queen because, well, we’re having such a good time, we’re having a ball.

Where’s the picture? Have you ever tried to get an appetizing picture of meatballs? Enough said…but how about another pic of fondue night? Happy weekend all!

 Ooh la la! Just another typical night around the fire pit.

Chef John’s Meatless Meatballs                                                                      

Barely adapted from AllRecipes

Ingredients
Makes 20 meatballs

1 tablespoon olive oil
1 lb / 453 gr white mushrooms, finely chopped (use the food processor to save time)
1 tablespoon butter*
½ cup finely chopped onion
2 garlic cloves, minced
½ cup quick cooking oats
4 to 5 tablespoons grated Parmesan cheese*
½ cup breadcrumbs
4 tablespoons fresh chopped parsley
2 eggs, divided*
1 teaspoon salt
¼ teaspoon ground black pepper
¼ teaspoon dried oregano
Pinch cayenne pepper

3 cups of your favorite tomato sauce
½ cup shredded mozzarella cheese (or any other cheese you prefer, or no cheese at all).*

*Vegans and Vegan dabblers you’ve totally got this. I’ve made these with Vegan butter, your favorite cashew parm, aquafaba and no cheese on top and they were delicioso.

Directions

Heat olive oil in a large skillet over medium-high heat. Add mushrooms, sprinkle with one pinch of salt and cook, stirring every so often until the liquid from the mushrooms has evaporated, about 10 minutes.

Stir in the butter, and cook on medium for about 5 minutes, or until golden brown.
Add onions and sauté for 5 further minutes, until translucent. Add garlic and sauté for 1 further minute, until fragrant.

Transfer mushroom mixture to a large mixing bowl.

Stir in oats and mix until thoroughly combined. Add Parmesan cheese, breadcrumbs, parsley, 1 egg, salt, pepper, oregano, and cayenne pepper (if using).

Mix together with a fork until crumbly. Stir in remaining egg and mix to combine.
The mixture should hold together when pressed.

Cover and refrigerate for at least 2 hours (overnight best).

When ready to cook, preheat oven to 450°F (230°C). Line a baking sheet with parchment paper.
Scoop 1 heaping tablespoon of mixture, and with dampened hands roll into meatballs.

Arrange on the lined baking sheet.

Bake until golden brown, about 15 to 20 minutes. Remove from the oven and let cool completely.

At this point you can refrigerate or freeze the meatballs until ready to use, or use immediately.
Bring tomato sauce to a boil in a large skillet (or saucepan), lower to a simmer, and gently stir meatballs into the sauce until coated.

Simmer meatballs in sauce for about 30 to 45 minutes. Sprinkle with mozzarella cheese, cover with a lid and let the cheese melt (about 4 to 5 minutes).

Sprinkle with chopped fresh parsley and serve over spaghetti, zoodles, spaghetti squash, in a meatball sub or just plain nekkid.

PS. Can’t get enough Vegan balls? Got more cans of black beans than you know what to do with? Try these from Minimalist Baker, who never steers you wrong.

           Eat UP people!

Easiest Tomato Soup: Beating the lunch curve

Red alert! This recipe was updated and simplified Feb 11, 2024 after intensive field trials and consumer research. The only effort required for any batch size is opening cans, quartering onions and running an immersion blender. You’ve got this!

Gluten has made a serious comeback in our house, mostly out of desperation. Baking, once a rarity, is now a daily or twice daily thing, as the little darlings (read locusts) can work through two loaves of Easiest French Bread Ever in a day. To keep everyone fed, I’m turning to old favorites I can crank out with minimal effort. I’d love to try new recipes, but now is not the time to gamble precious ingredients—especially flour, the new toilet paper—on anything that might not work out.

I’m also trying to make mornings more pleasant by getting ahead of the breakfast curve the night before: making granola; mixing up batter for popovers, blueberry muffins, victory bran muffins; or stirring together the dough for Maple Oat Breakfast Bread.  

All those freshly baked goods may earn you some peace and joy in the morning, but by lunchtime—just when the coffee is worn off—it turns out you also need something to go with the carbs.

A lot of favorite recipes are labeled as “best” and “easiest,” tall claims that make it hard to choose what to try first: Best, easiest, best, easiest. It will surprise nobody that I opted for the one, from cousin Michelle, entitled “Easiest Tomato Soup.”

A quick look at the ingredient list confirmed that this would satisfy the recipe trifecta, by being: easy, cheap and requiring no trip to the store. I’ve been burned by minimalist recipes that taste like they are missing ingredients and steps, so I wanted to see just how good this was, exactly as written. I resisted every urge to add a little bit of this or that, things like: Maple syrup; a glug of sherry; a squeeze of basil from those yummy herb tubes; a splash of cream.

For a serial recipe tweaker this abstinence was tough, but I did it. I am so glad I did, because I can now attest that this soup over delivers on its promise. Maybe the simplicity is why it is so good, though it must also have to do with cooking time. Don’t cheat on the 45 minute simmer—that’s where the magic happens. Confession: It was not until writing that line that I realized this is essentially a pureed version of Marcella Hazan’s pasta sauce but with broth. Mystery solved. Of course it’s good!

As further endorsement, I barely had time to stage a photo of this before my family ate the shot and then the entire batch. The next day, I doubled it, amortizing the minimal effort over even more servings.

Enjoy a bowl of this with a grilled cheese, or any of the aforementioned carbs, and consider yourself comforted…at least until dinner.

Really Truly Easiest Tomato Soup

Serves 3-4

Ingredients:

  • 4 Tbsp (1/2 stick) butter
  • 1/2 large white onion
  • 1 28 oz can tomatoes (preferably whole, but pureed or diced works too. Extra credit for San Marzano tomatoes)
  • 1 1/2 cup chicken broth or broth of choice
  • 1/2 tsp fine salt and some pepper

Method:

  1. Cut the half onion in half
  2. Melt butter in large pot. Add onion, canned tomatoes and stock to pot
  3. Bring to a boil then turn down heat and simmer uncovered for ~40 minutes
  4. When done cooking, pour soup into blender and blend until smooth. Better yet, use an immersion blender right in the pot.
  5. Add salt and pepper to taste
  6. That’s it!

*Edie’s note here. Don’t tell my family (God knows they will never ever read a food blog), but I used fake butter and veggie “Better than Bouillon.” So, yes it can be Veganized if you like, and the carnivores won’t even notice. Also, feel free to add some minced garlic in with the onion if that is your jam. I usually don’t bother.

Bringing It

This has become a college carnival classic because it is very lodge-friendly and is a welcome warm up on a chilly day. Make a triple batch, heat it up in the morning and pour it into a gallon Thermos container. Pour into paper cups and enjoy with a slice of Easiest French Bread Ever