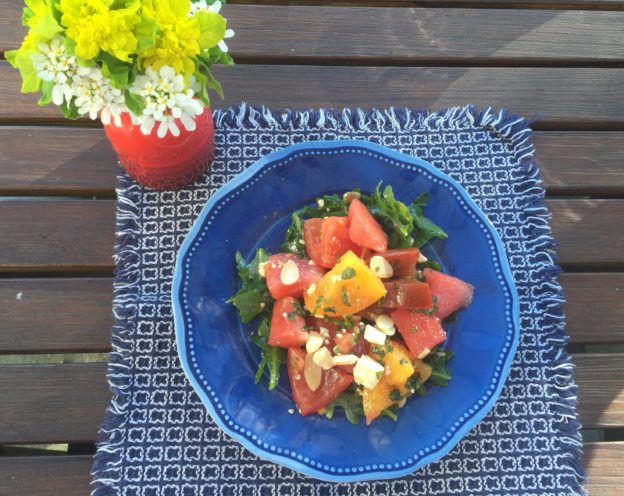
All the Fixin’s for a Poke Feast
At about this time, in the height of summer, we might as well throw up our hands and say, “It’s all about watermelon!” Seriously, between watermelon rosemary lemonade, watermelon salad, watermelon gazpacho and the soon-to-be shared watermelon jalapeño margaritas, I am hard pressed to get really excited about any other ingredient. But, like mama said, you must eat your veggies. And your protein. And your condiments (summer is condiment season after all).
This brings me to the poke bowl (say po-kay unless you want to horrify foodies and make Californians smirk). Poke originated as a thing in Hawaii, where fisherman needed a tasty way to use the trimmed scraps of freshly caught tuna. Bonus points for being able to serve it all out of a cooler. They did this by marinating it, putting it over sticky rice and then dressing it up with whatever condiments felt right. Intrigued by the sheer magnitude of food combining possibilities in one dish, I set out in search of my perfect poke match. I’m a huge fan of fresh raw tuna, as long as it is procured, prepared and paid for by someone else. When I saw watermelon poke taking over the Internet, I knew I’d met my destiny.
Watermelon poke, where watermelon stands in for tuna, is often made with raw watermelon which is quickly marinated. It is fine but bears little resemblance in taste or texture to tuna, and the perkiness drains right out of the watermelon after serving time. This version, adapted from Bon Appetit—in which the watermelon is marinated, cooked, then chilled until ready to be used—produces watermelon that is strangely similar in taste, texture and appearance to tuna. This not only gives you an easy, storable for days, cheap alternative to tuna, but it also makes the Vegans (not to mention the tuna) happy. Ba-da-bing! We have a winner!
As with any new type of food, the process can seem daunting at first. I promise, however, that it is low skill and effort/ high return. Here is what you’re doing:
- Dicing the watermelon, and putting it in a simple marinade, ideally overnight.
- Cooking that entire mixture down for 30 minutes then chilling it. At this point, or after the next step, it can chill in the fridge for up to a few days.
- Tossing the cooked, cooled watermelon with sliced sweet and green onions, sesame seeds and soy sauce. Chill until needed (see above)
- Cooking up a batch of sushi rice with some honey and vinegar. This can be served hot or made ahead and served cold.
- Assembling your universe of your favorite fresh toppings, sauces and condiments.
Poke bowls are built around the upside of prep. Set up your basic elements and you can throw them together anytime, anywhere. They use what you have, what you love and what is fresh and available. They are the perfect cultural marriage of all your favorite things and a fully customizable feast.
With so many topping choices it is hard to decide what actual recipes to include here in your watermelon poke primer. For me, and for my very satisfied (and patient) extended family, the key components are the watermelon, the sushi rice and a few key condiments. The toppings are where you make this your own, and change it up based on mood, dietary constraints, availability, etc. My must haves among these are: pickled ginger for zing, avocado for creaminess, toasted peanuts or sesame seeds for crunch; scallions, chives or some such representative from the onion family to keep your taste buds honest.
Sauces? Homemade are awesome, but sometimes enough is enough. Store bought faves can be as good or better.
And now, for the main event. Make a batch of the watermelon poke and store it in the fridge for poke bowls as needed. Bring it chilled, along with your cooked rice and an array of condiments to make a poke bowl bar for a party or picnic. This right here, my friends, will rocket you straight to the Bring It All Star Zone.

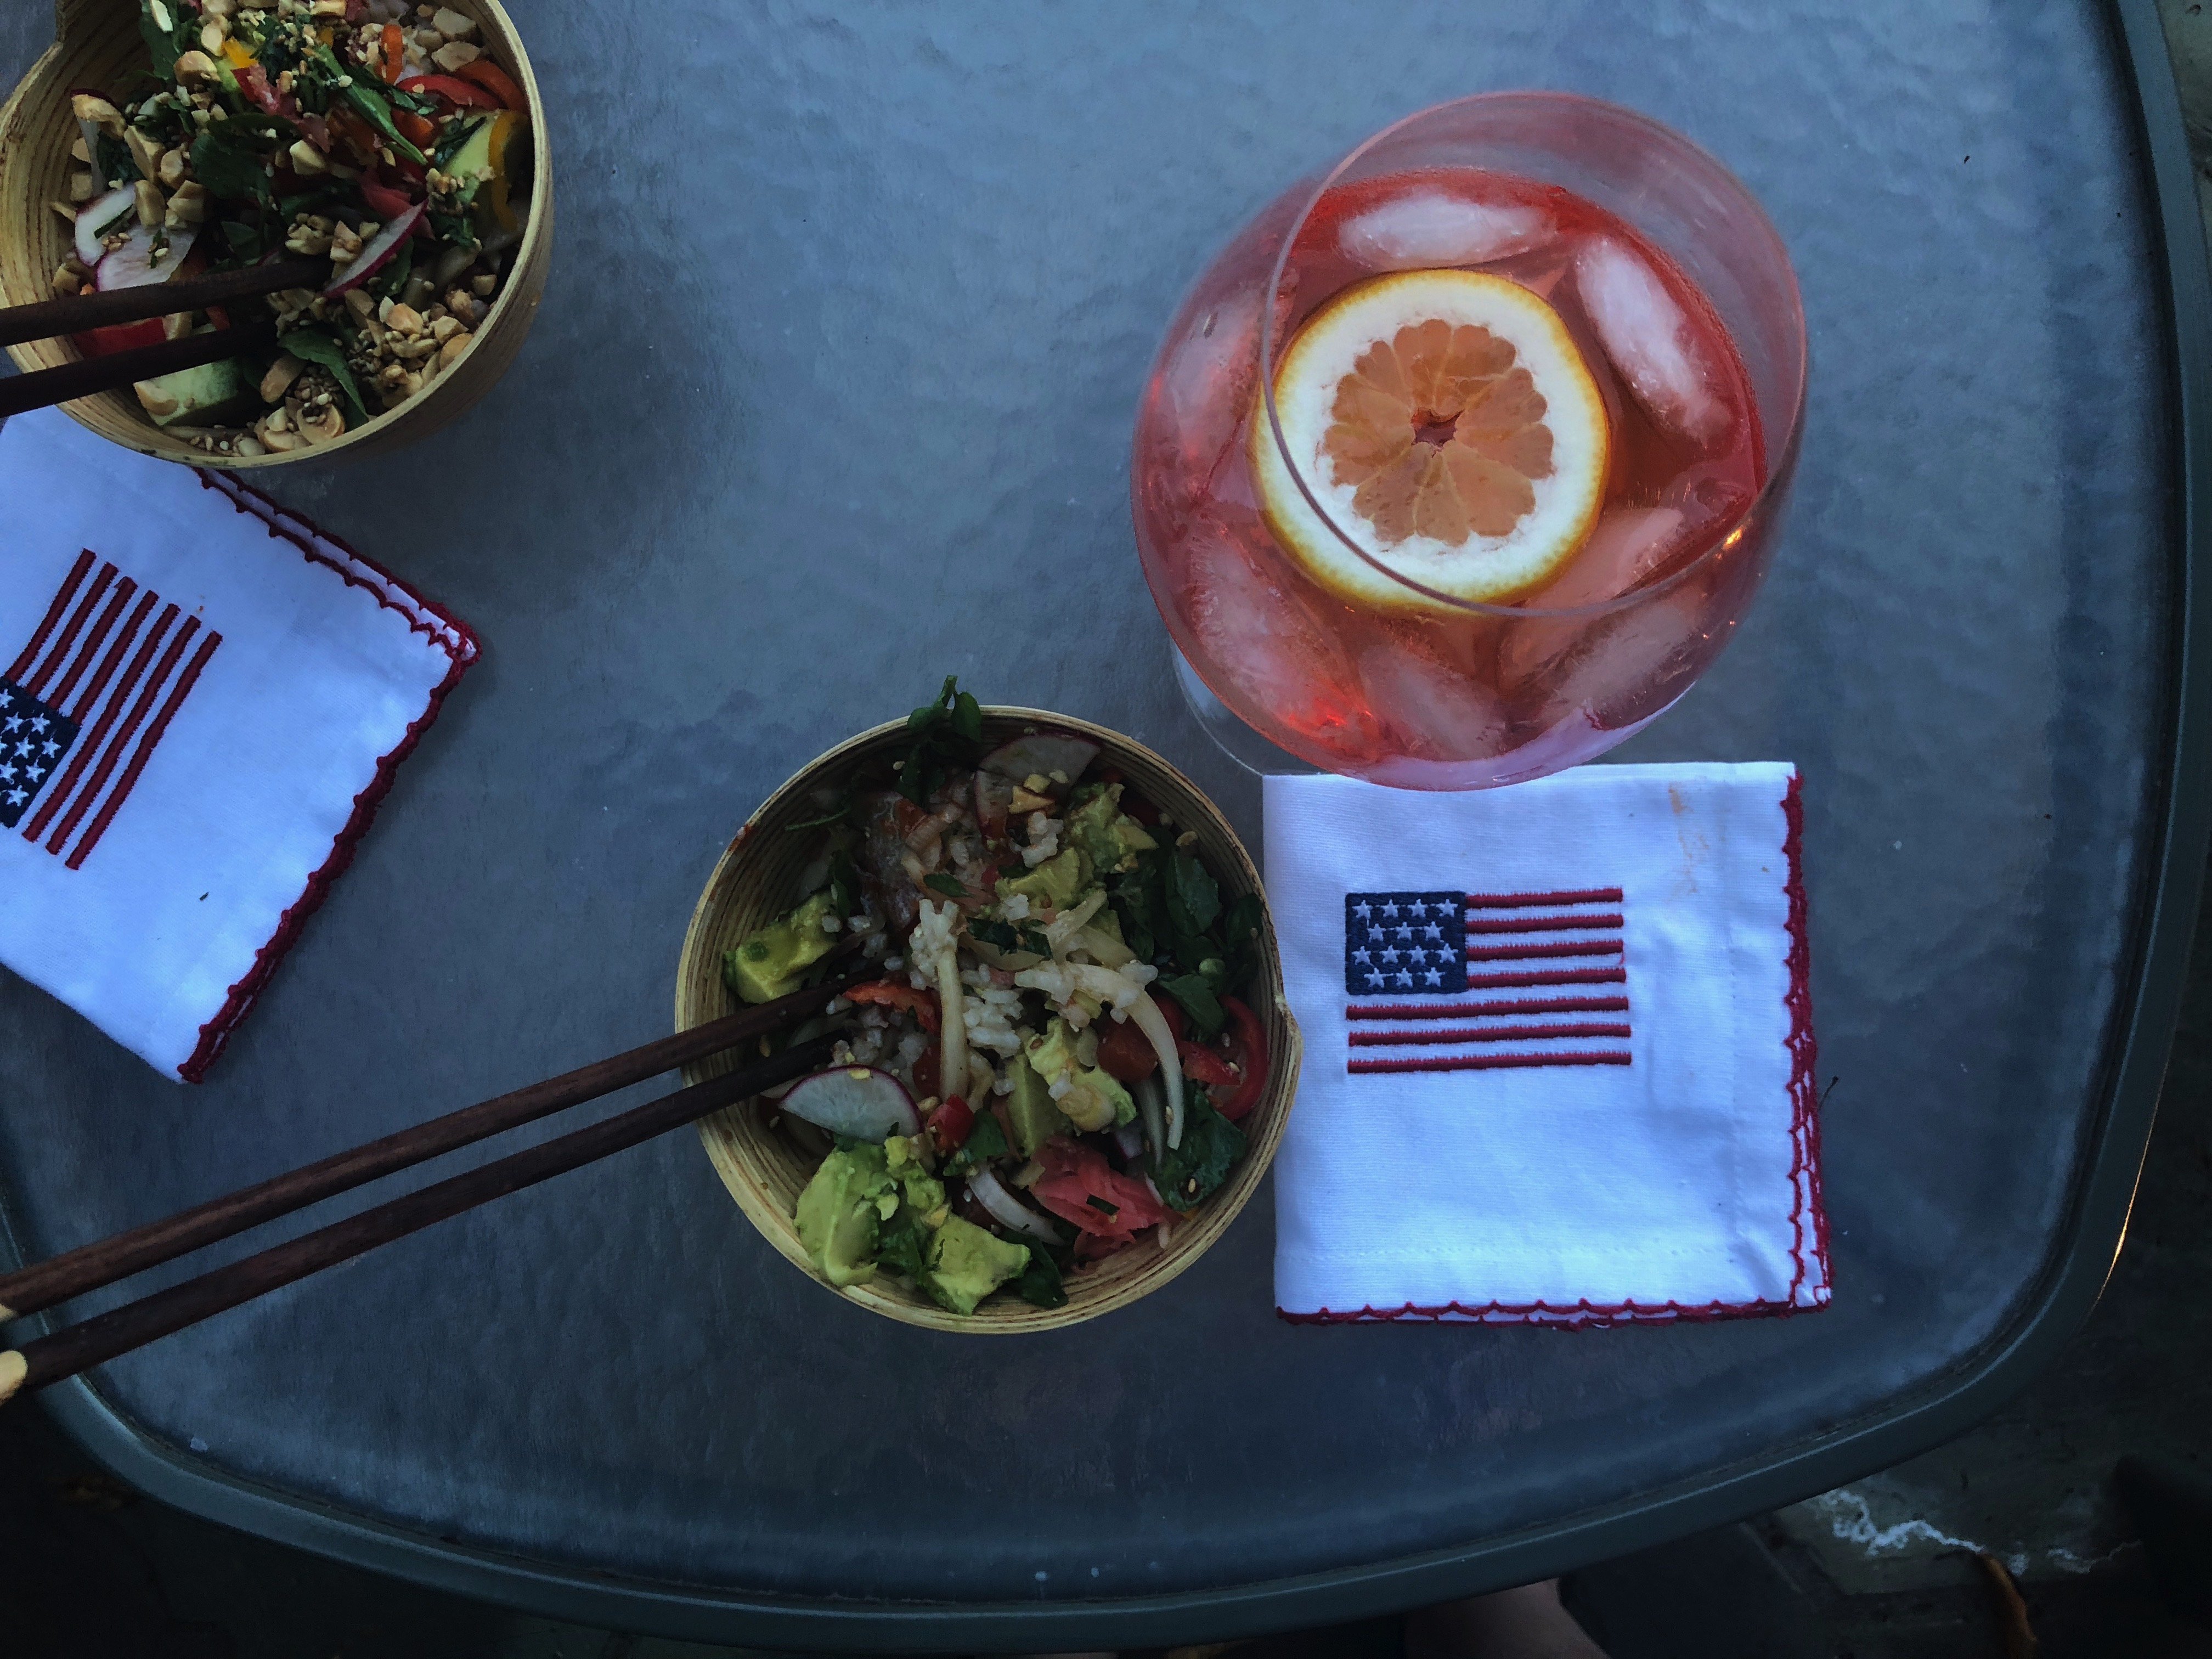
Watermelon Poke Bowl with a creamy sesame sriracha sauce.
Watermelon Poke Bowls
Mostly from justthefood.com
- Watermelon Poke (recipe below)
- Sweet sushi rice (recipe below)
- Diced cubed fresh vegetables
- Savory sauces, crunchy toppings and condiments
The Watermelon Poke
Don’t fear cooking the watermelon. It will not disintegrate, but will assume the look and texture of raw tuna. Trust the process that will transform your watermelon from sweet to savory and into a weirdly awesome, Vegan-friendly science project.
For the marinated watermelon
Ingredients:
- ¼ cup rice vinegar
- 2 tablespoons sesame oil
- 2 tablespoons Tamari or soy sauce
- 1 tablespoon balsamic vinegar
- 2 pounds cubed red seedless watermelon (about 6 cups), cut it into small cubes no larger than ½-inch. The consistent, smallish dice is key.
Method:
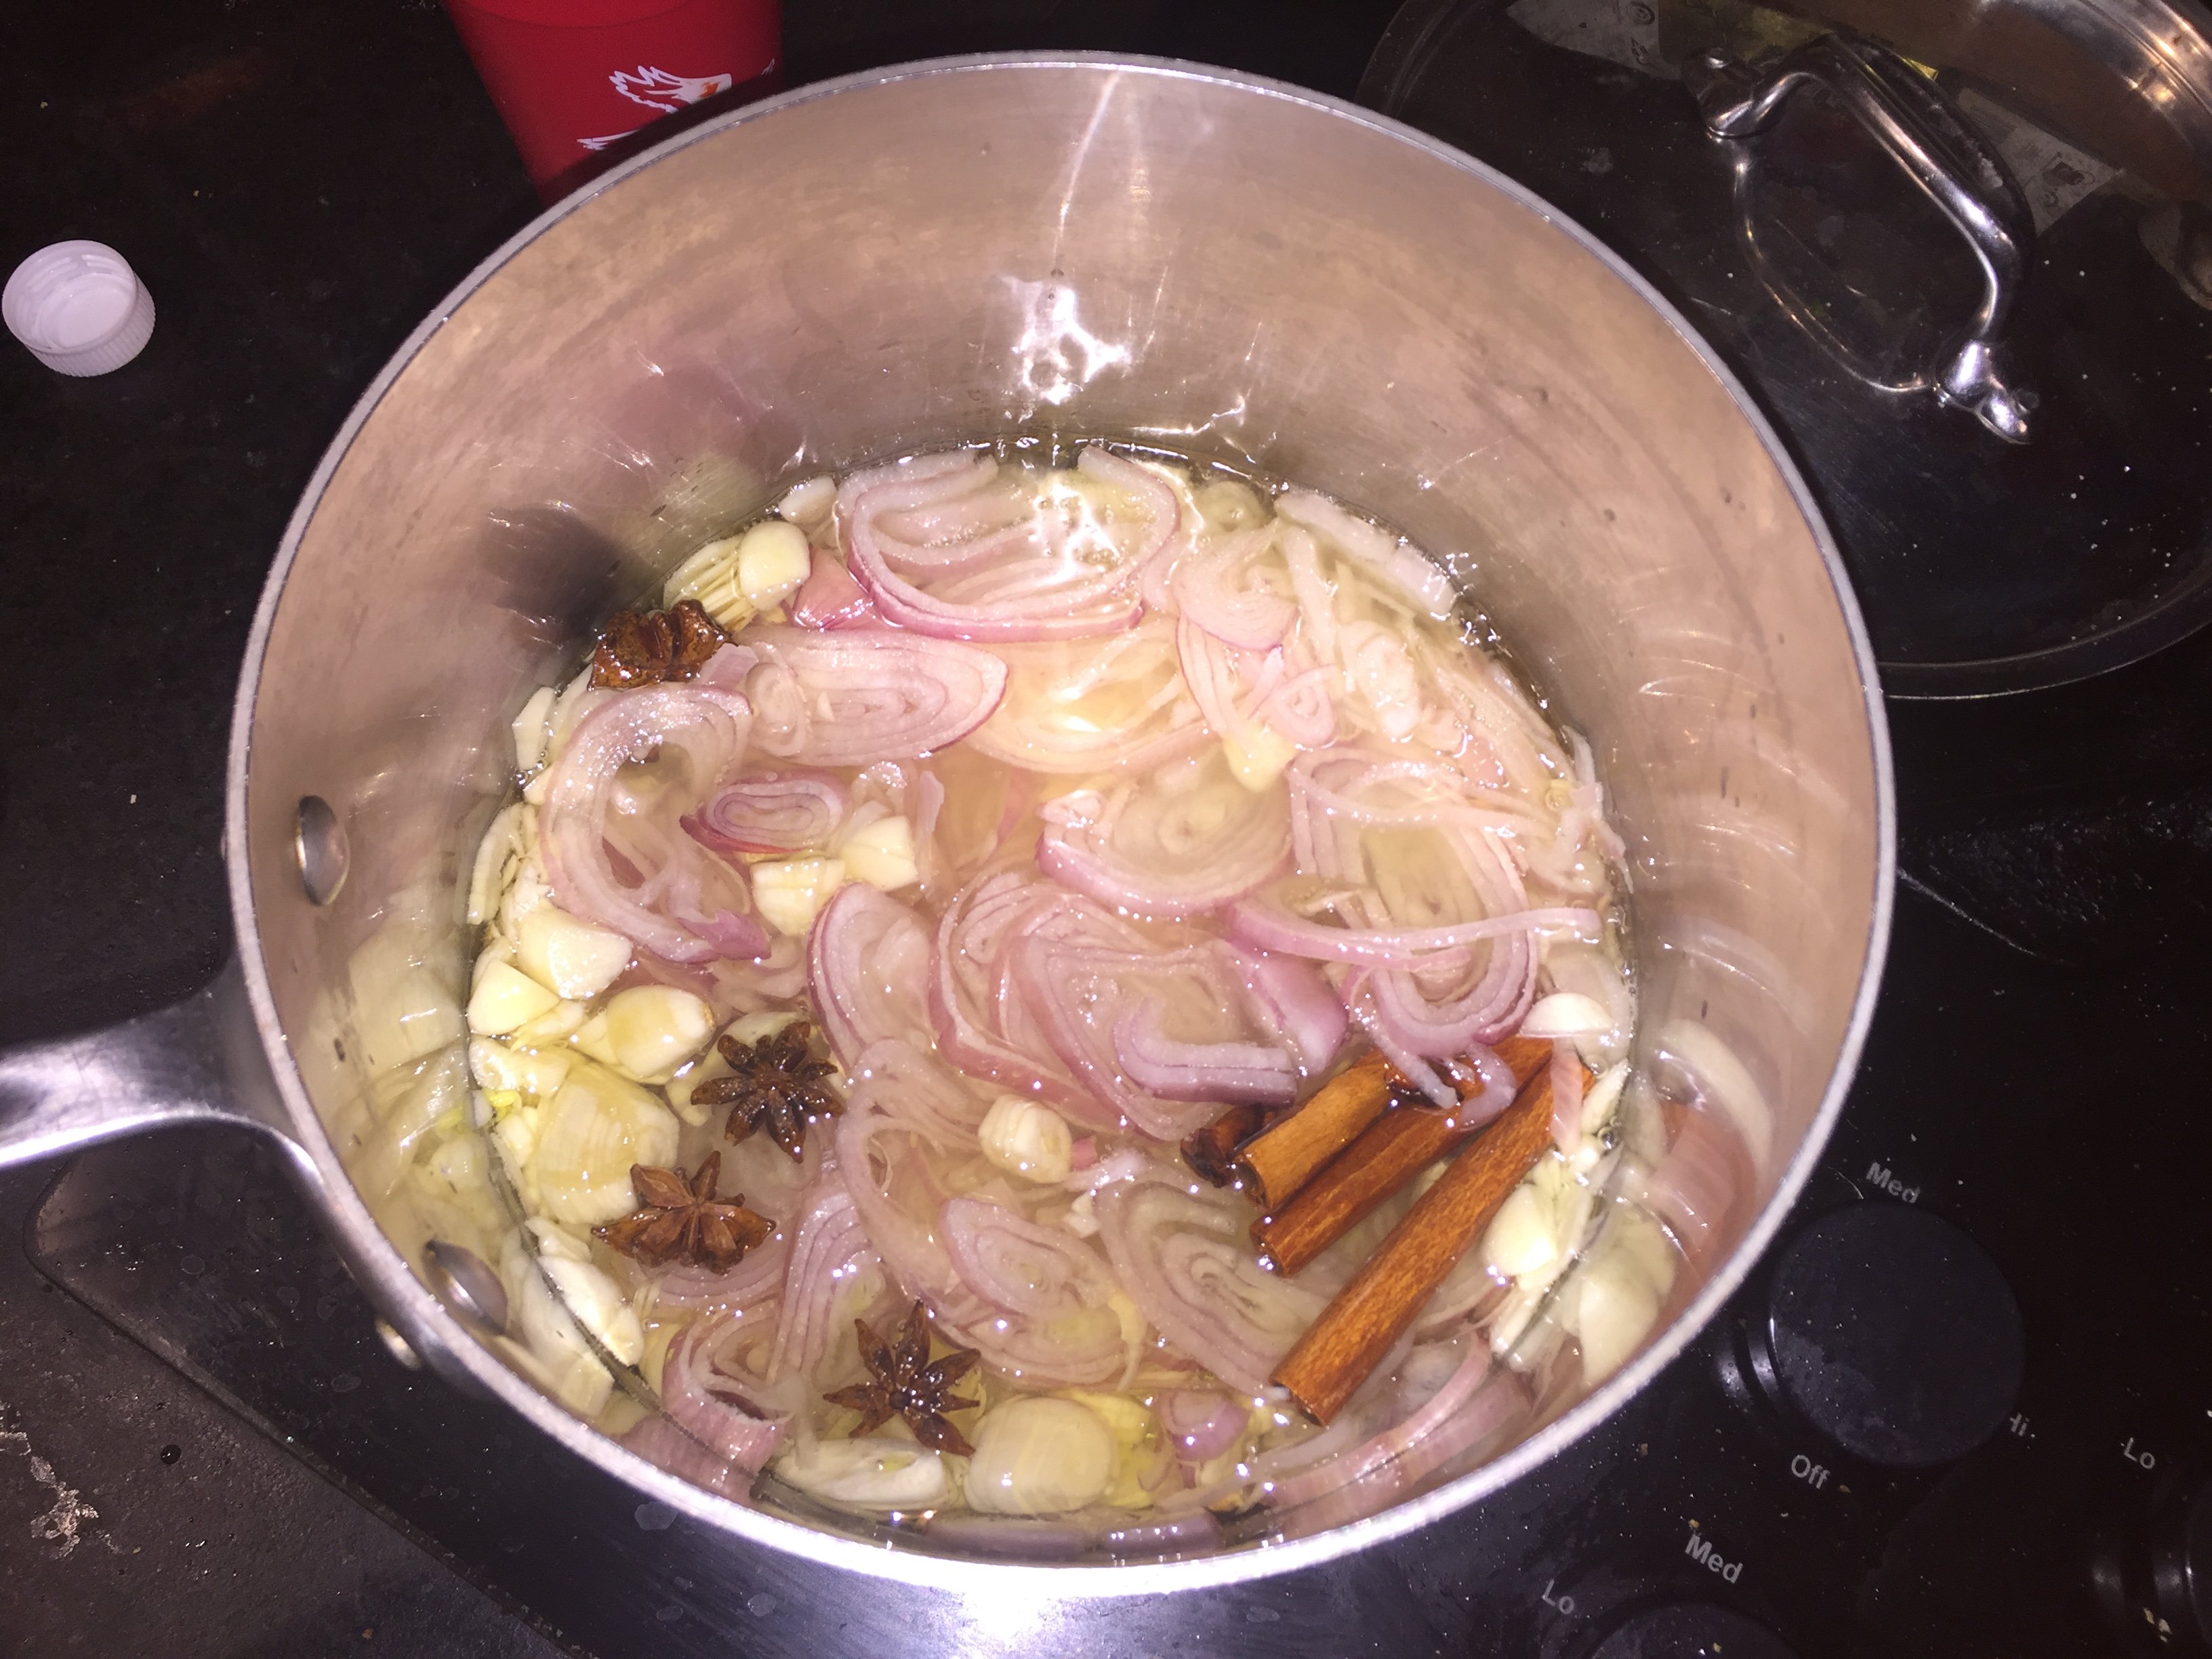
Mix together marinade in a shallow dish with a lid, or a re-sealable plastic bag.
Add watermelon and refrigerate for at least one hour, but it’s even better if you can do it overnight. Transfer marinated watermelon to a pan with a lid.
Cook covered on medium high heat for about 20 minutes, stirring occasionally.
Remove the lid and continue cooking for about 10 minutes more, or until deep red and translucent and most of the liquid has been absorbed. If you have a really juicy watermelon, you can drain off any excess liquid.
Chill until ready to serve.
For the Poke
- 1 recipe marinated watermelon
- 1 cup julienne cut Maui Onions
- 1 cup chopped green onion
- 1 tablespoon sesame seeds
- 2 teaspoons soy sauce
Add all ingredients to a bowl and toss to coat. Keep chilled until ready to serve.
The Sweet Sticky Rice
This sweet rice makes a perfect base to serve under your Poke. Use an Ice Cream Scoop for perfectly shaped balls of rice.
Ingredients:
- 2 cups short grain arborio or sushi rice, rinsed
- 3 1/2 cups water
- 2 tablespoons honey or agave
- 1 tablespoon rice wine vinegar
- 1/2 teaspoon salt
Method:
Mix all ingredients together in the bowl of your rice cooker and follow the directions on your rice cooker. If you do not have a rice cooker, bring salt and water to a boil in a pot with a tight fitting lid. Stir in remaining ingredients. Return to a low simmer, cover and simmer for about 20 minutes, or until water has been absorbed.
The Condiments
Here’s a list of options to get you started:
- Pickled ginger
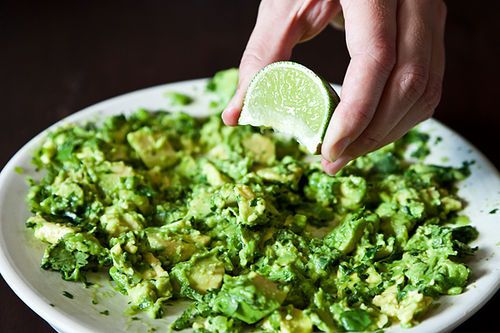
- Cubed avocado
- Cubed mango
- Cubed cucumber
- Thinly sliced radishes
- Thinly sliced scallions
- Chopped chives
- Fried shallots
- Dry roasted peanuts, roughly chopped
- Toasted sesame seeds
- sprouts and/or seeds
- Cilantro or mint
- Ponzu or shoyu sauce
- Furikake (now that you’ve got it from your popcorn adventure)
Assembling the Poke Bowls
Mound a scoop of rice in a bowl (not on an plate—that’s just the way it’s got to be).
Top with a scoop of watermelon poke. Top it off with your favorite condiments, then add a drizzle of your favorite sauce(s). You know what to do!