Hiking a ridge in Ticino Switzerland
What beats hiking in New England in the fall? My recent trip to Switzerland gave it a pretty good run for its money! I mostly hike in the White and Green Mountains of New Hampshire and Vermont. But this fall my husband, son, and I decided to take a trip to Switzerland to go hiking in the Alps. To say it was stupendous is an understatement. The Swiss have hiking dialed. The trails are perfectly marked and maintained. The views at the top are ridiculous. And the huts along the way are über charming, clean, and well stocked with food, beer, wine, and soda pop. This is a hiker’s paradise. All I had to think about each day was the food that would go in my backpack for snacks and lunch. Being that we were in Switzerland, the obvious choices were bread, cheese, and chocolate. But many other great snacks and hiking food found their way into my pack each day. Below are some of these ideas and I’m sure you have many more. Feel free to share with Bring It! We love your ideas! Oh, and these snacks are not just for hiking. They can be packed for long drives, a lunchbox, or anytime you are on the go.
Selection of meats. Salami, pepperoni, and other hard sticks of meat are great for hearty fillers. Harder sticks of meat (including beef jerky) have great staying power on the trail. Don’t forget a utility knife so you can cut the meat into slices. Or just take “hauls” off the stick and pass them around (this is what my husband and son prefer).
Spicy mustard. In Switzerland the mustard comes in a tube (like toothpaste). This was a great way to carry small amounts of mustard and make it easy to pack and store while hiking. Unfortunately, I couldn’t find this type of packaging here in the US, so I use a small plastic container like the one in the photo below. You can find these type of containers at EMS or REI. Long distance athletes generally fill them with honey or a sweet GU like energy snack and squeeze as they go.
GORP and Granola Bars – I’m sure you all have your favorites so just add them to your pack and you are ready at all times.
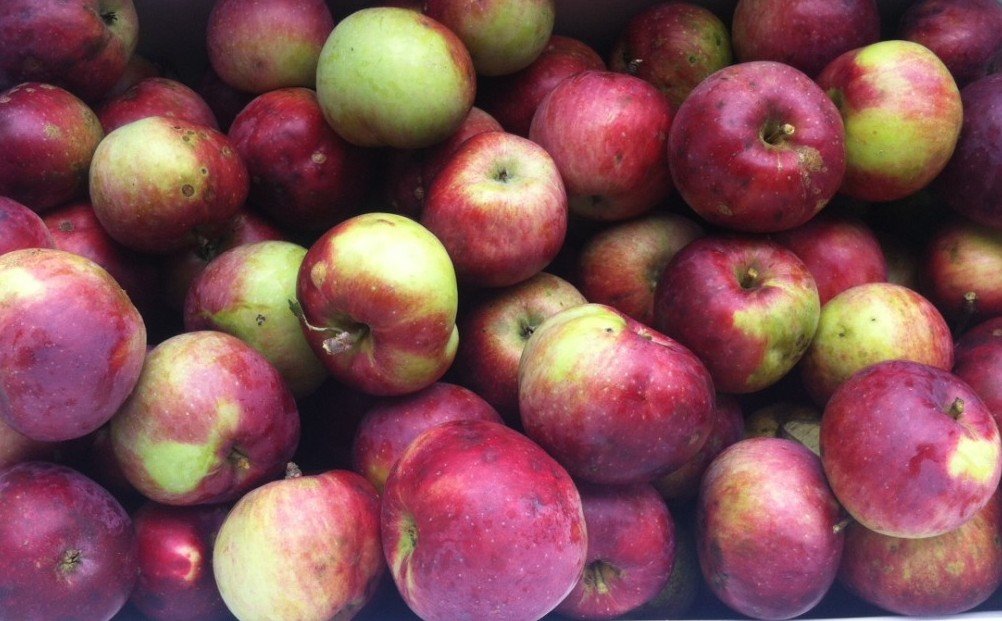
Dried and fresh fruit. If you go with fresh fruit, make sure it is a sturdy selection. Apples are always my first choice. If apples aren’t available, pick the hardest piece of fruit from the fruit bowl.
Small thermos with tea or hot chocolate. This really depends in the temps, but if it’s cold outside or likely to be chilly at the top , nothing beats a thermos filled with a hot beverage. Pass it around for others that did not have the forethought to pack this heart-warming treat. It will be a real crowd pleaser.
Peanut Butter and Jelly Sandwich. For everyone who knows me, you know peanut butter is my all-time favorite food…..making the peanut butter and jelly sandwich an obvious choice. It packs well, does not need to be refrigerated, and always tastes great, even if smushed. (Another great way to pack PBJ is to spread it on a tortilla or wrap, roll it up, then pre-slice the “log” into individual PBJ spirals.)
Gummi Bears, Swedish Fish, or Jelly Beans. I pretty much don’t leave the house without them. Find your favorite and Bring It!!

Sawyer rounding the bend on the Jegihorn, Saas Grund

View from a mountain hut

Nice perch above the clouds
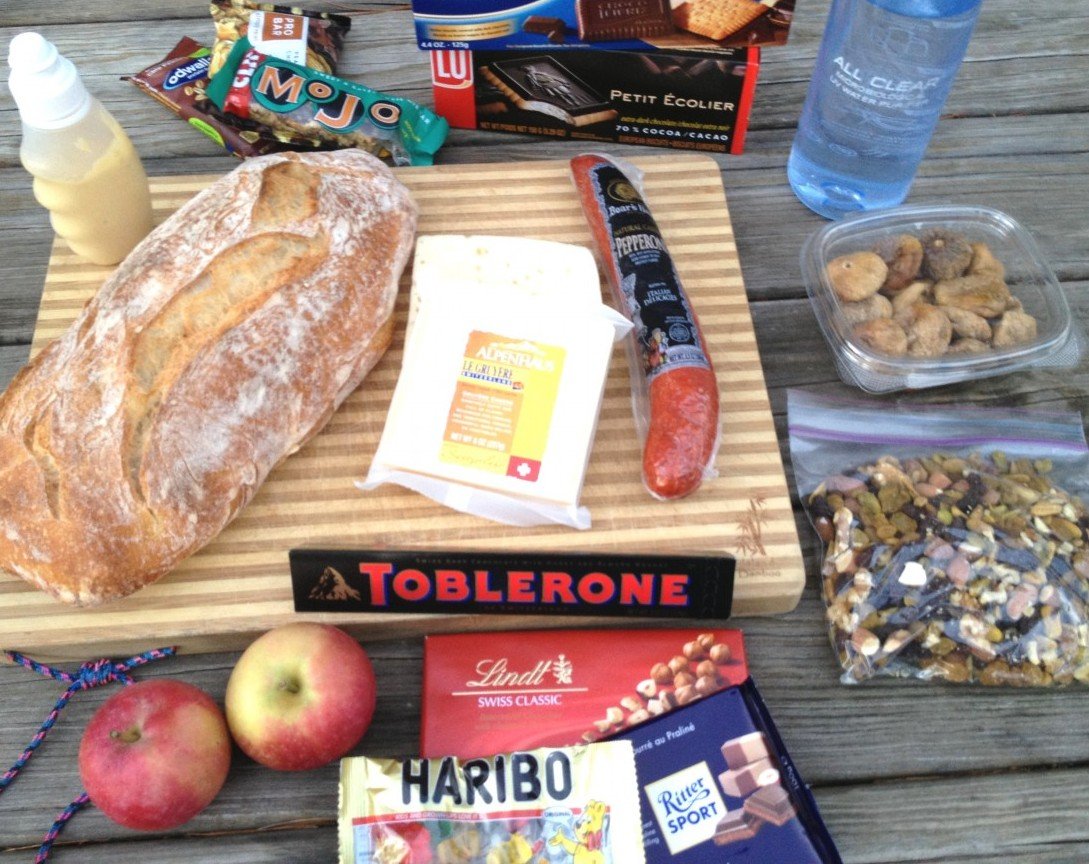
Snacks in a pack!