Category Archives: Appetizers

Bacon Wrapped Dates

bacon-wrapped-dates

Sue describes herself as “almost vegetarian” so she will not be looking at this post. I suggest others of the veggie persuasion do the same. Now, for the rest of you, listen up, because we are talking sweet, chewy, salty, crispy and bacony all in one bite. You need to know this recipe. In fact when my son heard I was starting a food blog the first thing he said was, “You HAVE to put those bacon wrapped thingies in there.” So here they are.

Ingredients

1 lb bacon (not thick cut)
3/4 lb or so pitted dates. I used Deglet because that is what is readily available (read cheapest).
**Optional: Almonds or chunks of softish cheese

The amounts here vary on the size of the dates. Wrapping anything in bacon is not a perfect science. Roll with it.

Method

With your handy kitchen shears, cut the entire slab of sliced bacon into thirds crosswise.

Wrap-ready bacon

Wrap-ready bacon


bacon and dates on baking pan


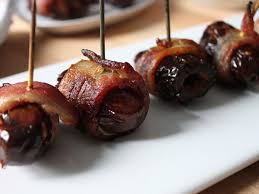
Wrap each date in one piece of bacon and place it seamside down on a baking sheet. Toothpicks make this process neat and easy but are not necessary.*

Bake at 400 for 10-15 minutes or until its all you can do to not reach in and grab one off the pan. Nobody but nobody likes raw bacon, but these will crisp up a bit as they sit, so don’t overdo it.

Yield: It varies depending on the bacon you use, but 1 lb of Mackenzie bacon is 16 slices, times 3, which with my math makes 48 nuggets of bacony bliss.

Bring it!

Pre cook them on the baking sheet, then transfer to an oven safe serving dish, and cover with foil. If it’s a long drive pop them into a warm over for a few minutes at your destination. These will even lure kids off the trampoline.

*Make ahead: You can knock these off up to this point first thing in the morning. Cover the pan in plastic wrap and put it in the fridge until you are ready to bake them.

**Ramp it up: If you’re feeling nutty, stuff a smidge of cheese or an almond in the vacated pit space of each date before wrapping them. Honestly, dealing with cheese is a bit of a pain, and sometimes involves slicing the date, so while yummy I opt for the almond variation if anything. Those babies nestle right into the date like they’re heading into a mummy bag. If you really want to escalate this brush the outsides with maple syrup before baking.

But trust me, you won’t get complaints from the simple two-ingredient version.


Bruschetta Deconstructed

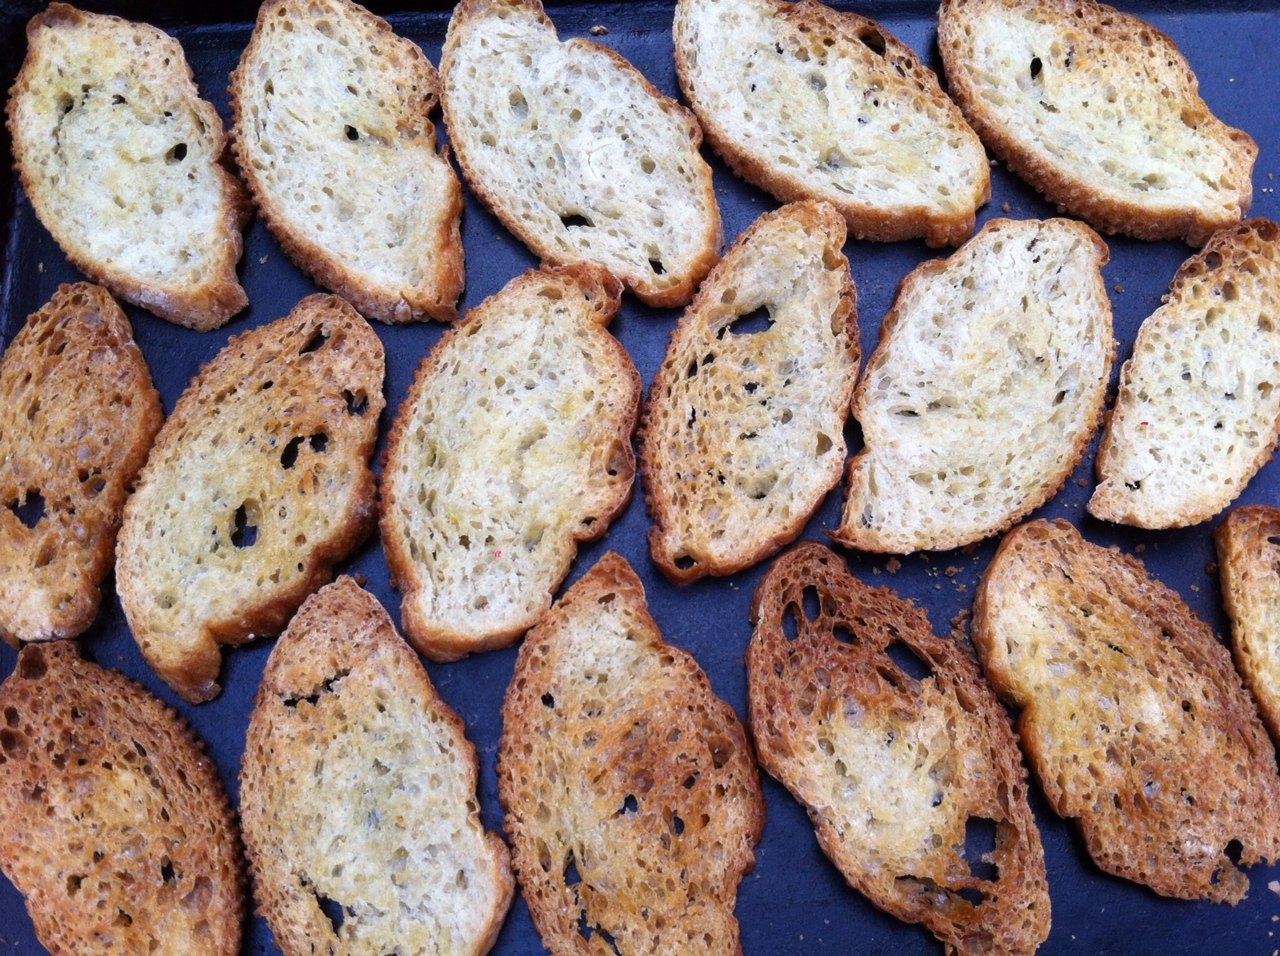
toasted-toastsWe’re taking liberties and calling every iteration of tasty stuff delivered on small pieces of toast “bruschetta.” This is of course not a purist approach. Some of my all-time favorites in that family of apps are called “crostini” which is technically grilled bread. And many of the best bruschetta or crostini fixins are just as good on flatbread, pizza crust, tortillas, pita chips, baked mochi or really any other carb vehicle. They’re also good on planks of taro or sweet potatoes or even rolled up in a leaf of romaine for our paleo friends.

But because we don’t want to leave anyone hanging on how to make bruschetta, crostini or whatever you want to call it we are simply offering up a good basic method for making appetizer-worthy toasts, and an illuminating crostini blurb in Bon Appetit to help you avoid common mistakes that threaten to RUIN EVERYTHING, if you are so inclined to have toasts ruin anything in your life.

Ingredients

Take a loaf of Easiest French Bread Ever, or a store bought baguette-like loaf that is not too airy inside. You want to have a solid surface for toppings. Slice thin (1/2″ thick or less), but again remember this bread has a job to do, so it has to have some heft. Arrange as many slices as you can on a baking sheet by fitting them together with Tetrus-like space management. Brush lightly with olive oil and sprinkle some kosher salt over all.

Bake in a 350-400 degree oven until just beginning to brown. Oven temp is not critical, which allows you to bake these up while you are baking other things. Cooking time will vary according to temperature, but at 350 degrees start looking at the toasts after 15 minutes. Cool and use immediately or pack away for later.

Method

Its nice to have pre-made hors d’oeuvres, but sometimes its also nice to allow guest to create their own combinations…especially when you are short on time. If you go the DIY route just present a few pre-made masterpieces as a guide and offer each component with the proper implement.

First Layer: Here you are creating a base of flavor and also a barrier between the toast and toppings that are often steeped in juice or vinegar or something that could turn toast to mush on contact. A spreadable consistency for your base material makes your job easier and allows for build-your-own-options. Fancy, creamy, goat, blue and brie-like cheeses are great, as is plain old cream cheese mixed with herbs, spices, dried fruit or whatever sounds good to you. Whipped lemony feta à la Ina Garten is a good place to start as well.

Second Layer: This is the really good stuff. Pickled figs, tomatoes and fresh herbs, caponata, marinated fruit, citrusy/herb-infused anything. Insert purr sound here. There are so many possibilities, including the ever-popular and oh-so-easy Funitella Bruschetta.

Third Layer: This is all about crunch. Toasted nuts or seeds, a pinch of something salty, fried, candied or otherwise decadent (turn away Sue…pssst–crumbled bacon!) Pull out whatever favorite topper is in your pantry arsenal. Steal an idea from the “pickled fig crostini” and keep a small stash of your favorite toasted nuts, chopped fine then lubed up with olive oil and a sprinkle of salt. That’s a worthy topper for pretty much anything, unless you hate nuts, in which case you might want to avoid anything I bring.

Bring it!

Pack the toasts in a good ziploc bag, and bring all other mixtures in their own separate sealed travel containers, or covered serving bowls. Make sure the crispy/crunchy stuff is isolated to maintain its mojo. And don’t forget the serving tray, spreaders, spoons and knives if needed.

Funitella Bruschetta

Red alert, in June 2020!!!

This was one of my very first posts on Bring It, and just today, nearly seven years later, I discovered from a friend that it has a giant hole in it. It’s fixed now below, to put in the step where you pour the tomato mixture over the feta before baking. Wow! I am so sorry for all those raw tomatoes the devoted have consumed over the years, though, as Uschi will attest, it’s kind of awesome that way too. And now for the real Funitella Bruschetta…

This was my first course in neighborhood recipe dynamics. I got it from Pierces Inn, and they later scoffed at taking any credit since they got it from another neighbor in Etna. As I let myself become locally famous for my bruschetta another neighbor went to visit my parents in Squaw Valley where he rode the funky tram-like gondola called the Funitel. In a flash of inspiration the next time I saw him, on our patio enjoying said dish, he dubbed it “Funitella,” which sort of tied it to my Squaw Valley roots. It later became funitella bruschetta, which gave a better clue about the recipe type, while also sounding like a stripper or a hot Austin Powers agent.

Ingredients

  • 35 oz canned tomatoes, well drained over a sieve. (Petite dice is ideal but not necessary. I use a combi of regular, and burgundy+olive oil, or Italian herb tomatoes)
  • ½ cup olive oil (I use a bit less)
  • 1/4 cup balsamic vinegar (I use more…enough that Pierce’s Inn disowns the recipe as made by me. Your call to taste.)
  • 4 garlic cloves minced or pressed
  • A good handful fresh basil, chopped fine
  • Coarse salt and pepper to taste
  • Chunk of feta cheese (enough to crumble over the bottom surface of your dish)

Method

The tomato mixture

The tomato mixture

feta-in-dish

The feta. These two really ought to meet…


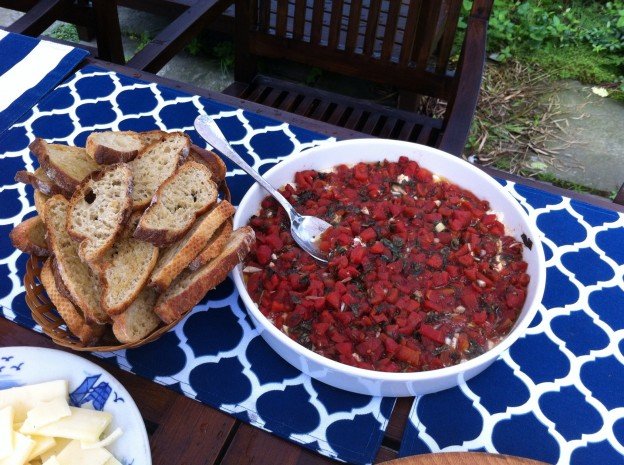
Mix all ingredients except feta. Let it sit awhile if you can to combine flavors. Crumble feta in the bottom of a shallow baking dish. Pour tomato mixture over the feta, in an even(ish) layer. Bake uncovered at 350 for 20 minutes. Top with shaved Parmesan if desired. Serve on top of bruschetta toasts (ideally made from easiest french bread ever).

Bring It!

I always serve it in the Simon Pearce round white dish the fabulous Suzi gave me. It just seems better in a friend’s dish. You can also bring it deconstructed, in separate containers and quickly assemble it at your destination. Any leftover tomatoes are awesome in omelets, quesadillas, salads, etc.