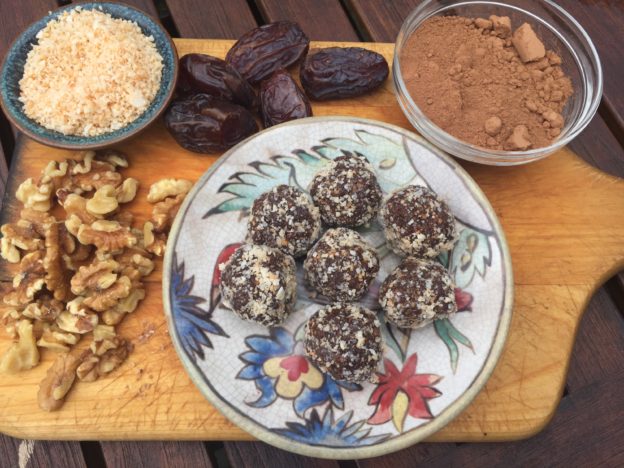
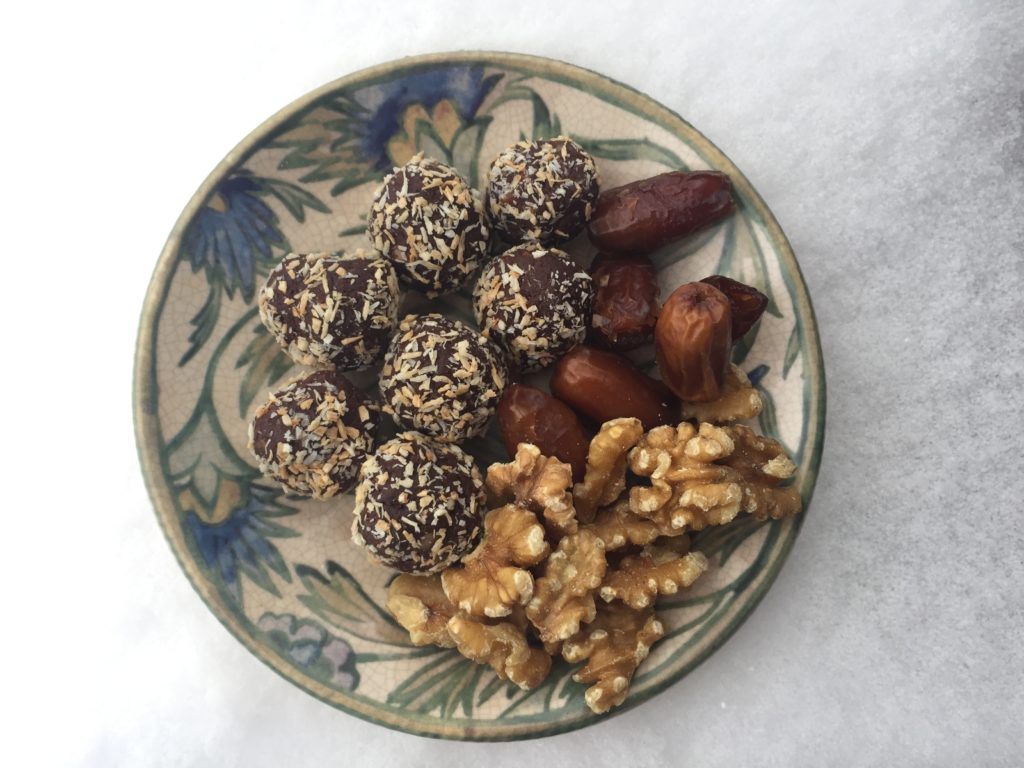
This is the first of two posts featuring the holy trinity of healthy treat ingredients: dates, nuts and cocoa. Why so holy? If you can get your Vegan, Paleo and Gluten-free friends at the same table, eating the same thing and loving it, there’s some divine intervention going on.
I’m posting them separately so they each get full credit, and you can find them more easily when needed. Both recipes are quick, easy and 100 percent free of added sweeteners, dairy, or grains. This first one is slightly more labor intensive because, well, balls require some care. (sorry, couldn’t resist). Neither recipe requires one bit of cooking, but they both will give your food processor an honest workout.
First up, are these cocoa nutty balls. (If you do the highly recommended pro move and roll them in toasted coconut when you’re done you can call them coconutty balls. See how that works? ) These are well known and loved in the paleo world and for good reason. They get sweetness and smoothness from dates, heft and texture from walnuts and chocolatey goodness from cocoa. The pinch of salt gives them some sass and the optional coating lets you add your own customized cha-cha.
But wait there’s more! These can hang out in the freezer until you need them. They transport well for hiking, picnics, lunchboxes, road trips or any eating on the fly. I offered these to a bunch of burly ski racers between their runs and they inhaled them. Either the lodge had run out of cheeseburgers or they actually liked them. I hope you’ll like them too!
Cocoa Nutty Balls
Ingredients
- 1 1/2 cups walnuts (or a mix of walnuts and almonds or skinned hazelnuts*)
- Pinch of salt
- 1 cup pitted dates (Medjool if you can. Deglet if you must)
- 1 tsp vanilla
- 1/3 cup unsweetened cocoa powder
- (Optional for pro version) Toasted unsweetened coconut—or whatever added crunch you like—for coating.
Method
Add walnuts and salt to a blender or food processor. Mix until the walnuts are finely ground.
Add the dates, vanilla, and cocoa powder to the blender. Mix well until everything is combined. With the blender still running, add a couple drops of water at a time to make the mixture stick together. (If it really won’t stick together in a ball, add another date or two)
Slacker version: Using a spatula, transfer the mixture to a small (8″x 8″) pan and smoosh it flat, sprinkle optional topping/coating evenly on top and press it into the surface. (A layer of parchment paper makes this easy.) Let cool in the fridge and cut into whatever sized bites or bars you want.
Semi Pro Version: Transfer the mixture into a bowl. Using your hands, form small round balls (I aim for walnut sized), rolling in your palms. They’ll come together and feel a little greasy, making them perfect for the…
Pro Version: Toast raw coconut flakes or shreds in a 350ish degree oven a few minutes (until just golden) and let them cool. If flakes, whirl them in the food processor until finely ground, but not yet buttery. Add a pinch of salt is that’s your jive (it’s mine).** Remove the blade from the bowl and drop in three or four balls at a time, rolling them around to coat.
You can store bars or balls in an airtight container in the refrigerator for up to a week or the freezer for a looooong time.
*Skinning hazelnuts will be fully discussed in the next post. If you just can’t wait for this fascinating discussion (I know, you’re only human) check out this treatise on the topic.
**store leftover toasted coconut in a jar to sprinkle on yogurt, oatmeal, fruit, etc.

