Spring is by far my favorite season. Although New England tries hard to convince me otherwise, with too many springs of all mud and no snow, this year spring is back, baby! Even in the east, we’ve got snow on the mountain and sun (sometimes) in the sky. And in the west, you have 20x all that.
I also love spring because it means Easter and Easter means good things like happy kids, tons of candy and cute bunnies. AND it reminds me of my mom, Nina. She hated the effort, planning and hoopla of the big holidays, but Easter—which is all about creativity and messy fun, and no rules—Easter was Nina’s jam!
Let’s be honest here, the green light on eating chocolate throughout the day, starting at breakfast, was and is a big draw. As much as I wish I could buy up all the half price malted milk robin’s eggs and Reese’s peanut butter eggs at CVS the day after Easter, it’s just not a good life plan.
That said, if there was a healthy, yummy, easy-to-make alternative that I could mass produce and keep in my freezer year-round, I’d be all over it. Well don’t you know, there is such a thing, and this recipe straight from Minimalist Baker is it.
The interior taste and texture is spot on, but without any hazardous ingredients. For God’s sake they’re Vegan, gluten-free and grain-free. We’re talking peanut butter, almond flour, maple syrup and salt. And it’s all wrapped up in the chocolate of your choice so you can pick your own adventure there.
My Easter candy fantasy ship has come in, and I invite you to climb aboard. These may or may not forever change your life, but at the very least they’ll let you feel a lot better about eating candy for breakfast. Hippity Hop and Happy Easter to all!
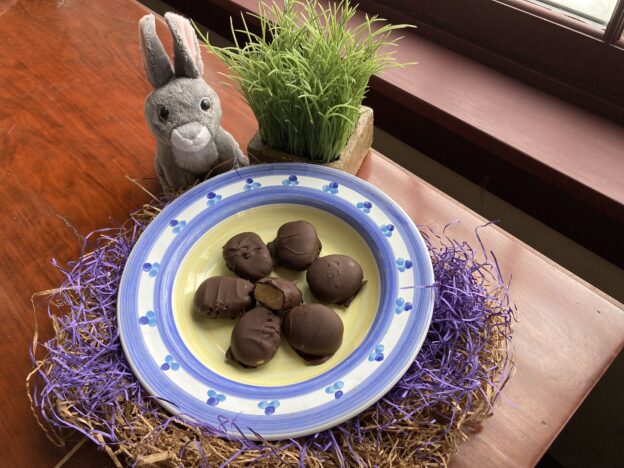
Chocolate Peanut Butter Possibly Breakfast Easter Eggs
AKA Easy Vegan Peanut Butter Eggs from Minimalist Baker
Ingredients
- 2/3 cup almond flour
- 1/3 cup creamy, drippy peanut butter
- 2 ½ Tbsp maple syrup
- 1/8 tsp sea salt
- 1/2 cup semi-sweet chocolate chips (for Vegan/dairy-free Minimalist Baker suggests Enjoy Life)
- 1 tsp coconut oil
Method
- Line a small baking sheet or plate with parchment paper and set aside.
- To a small mixing bowl, add almond flour, peanut butter, maple syrup, and sea salt. Use a spatula or spoon to thoroughly mix together. If it seems too wet to handle, add more almond flour. If it seems too dry, add more peanut butter.
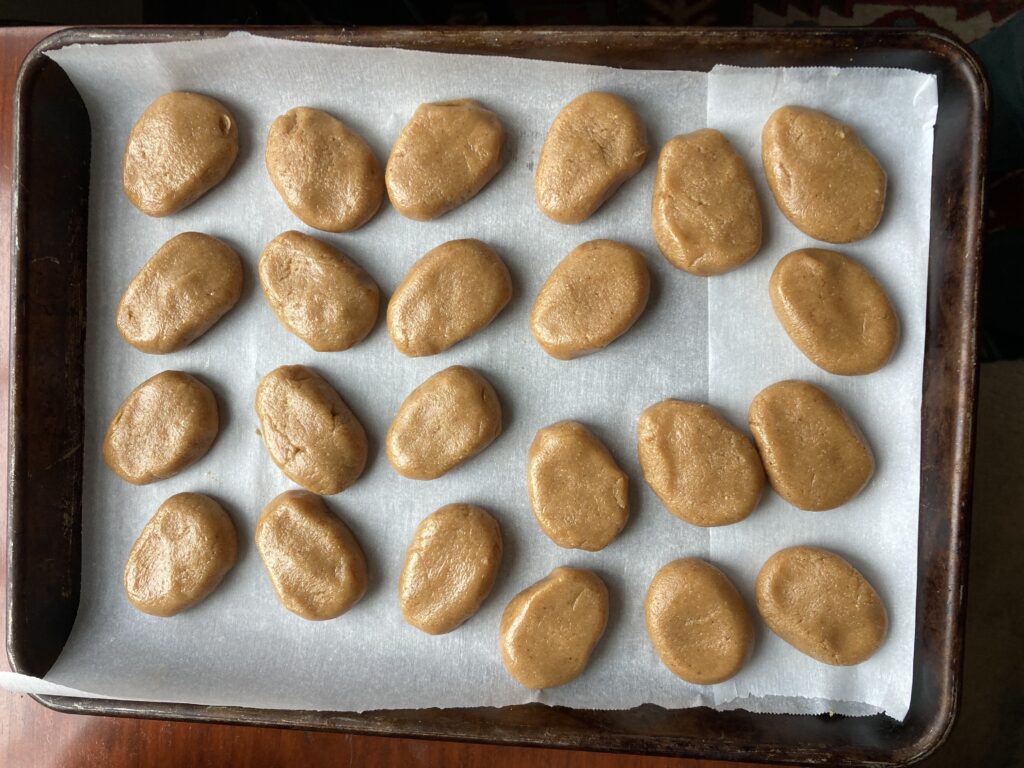
- Use a tablespoon-sized measuring spoon to measure out 1 scant Tbsp of filling and roll it in between your hands to form an oval. Flatten it slightly to form it into an egg shape. Place on the parchment-lined baking sheet or plate. Repeat with the remaining dough.
- Once all of the eggs are formed, place the baking sheet or plate into the freezer and freeze for at least 15 minutes.
- Meanwhile, place the chocolate chips and coconut oil into a small microwavable bowl (small is better than large so that you can more easily dip the eggs into it) and microwave in 30-second intervals, stirring in between to prevent burning, until smooth and melted. You can also melt on the stovetop by adding chocolate and coconut oil to a small glass or metal bowl and carefully placing it over ~1 inch of simmering water in a small saucepan, then stirring until melted. Set aside.
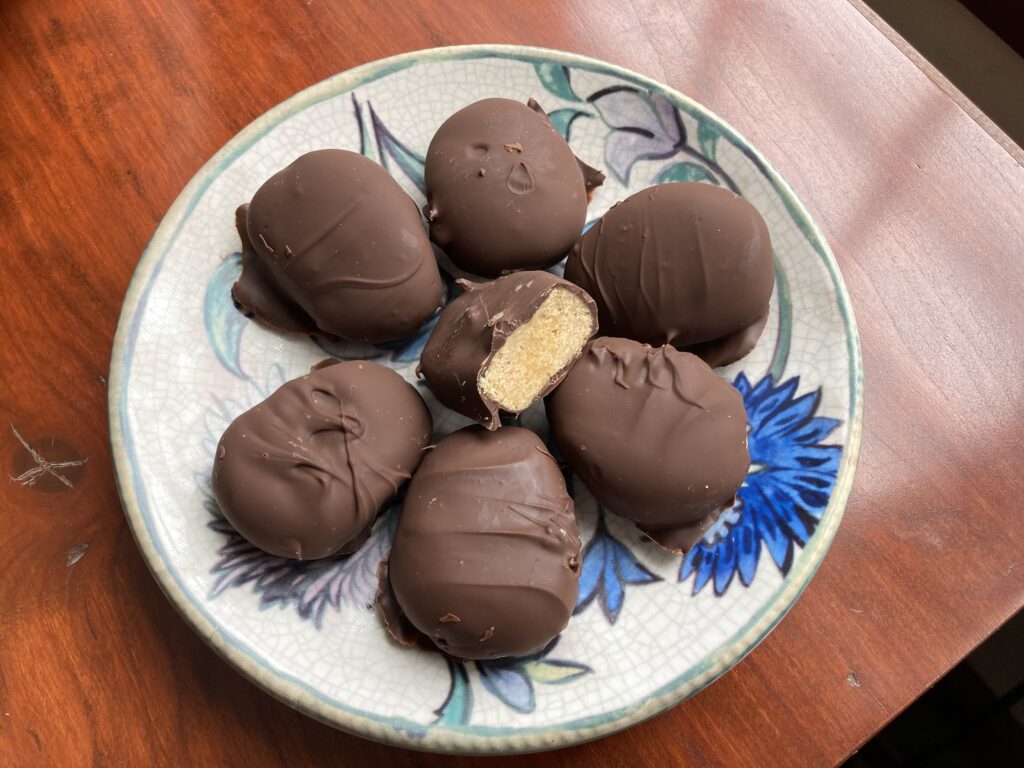
- When the peanut butter filling is set, remove it from the freezer and use a fork to dip an egg into the melted chocolate, turning it over to coat evenly. Shake off the excess chocolate and place the egg back onto the baking sheet. Repeat with the remaining eggs.
- When finished coating, place the eggs back into the freezer until set — at least 10 minutes. You can enjoy them directly from the freezer or store in the refrigerator. Store leftovers in the refrigerator for up to 1-2 weeks or in the freezer for up to 1 month.
Bringing It:
Channel your inner Easter Bunny and have at it!
Note: If you are at all nervous about your chocolate coating/dipping skills, I highly suggest following the instructions closely and watching the short video on the original post. I have a history of toddler-level chocolatiering but I followed the instructions and mine turned out perfectly first try.


