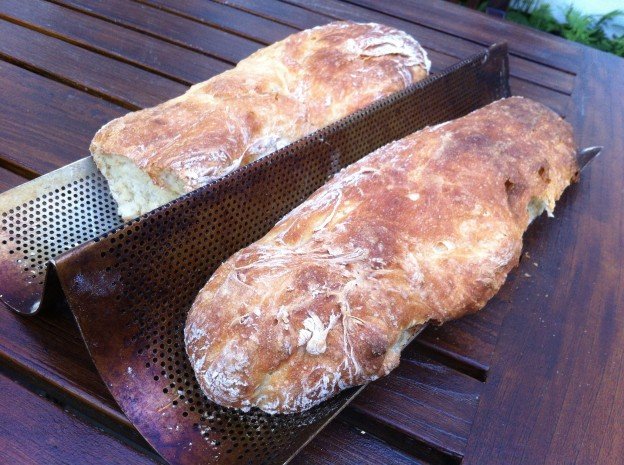
Good friends, good food.
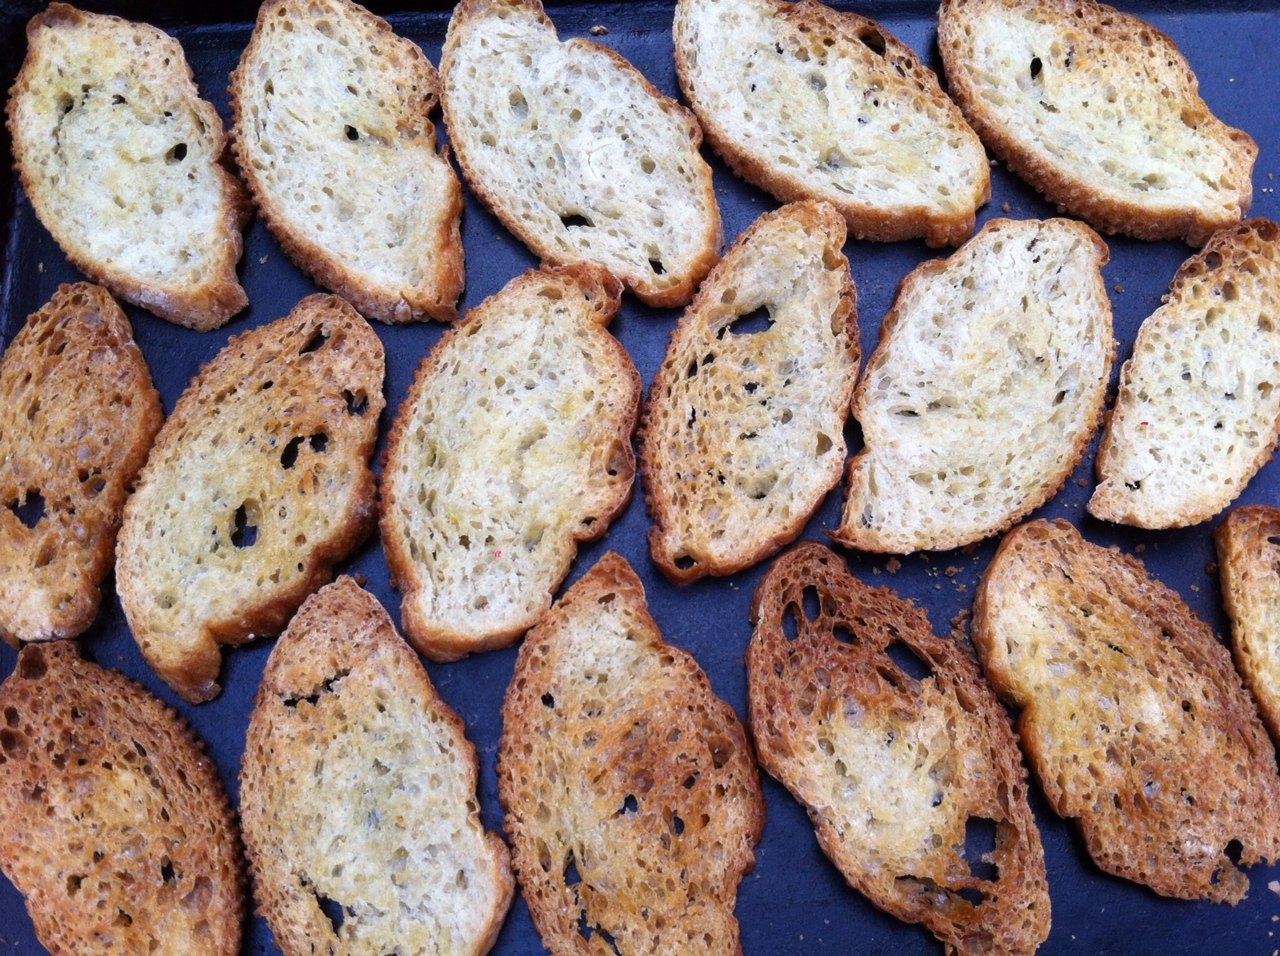
Hot from the oven. Mmmm mmm good!
This recipe comes with a big shout out to Doug and Kelley Lewis who every summer for the past 24 years have psyched up the sportiest of sporty youths at their Eliteam training camps in Vermont (and now Park City). Doug is a two-time Olympic Downhill Racer and World Champ bronze medalist, so he’s got the creds. But he’s also got charisma, boundless energy, an infectious positive attitude and an equally impressively awesome wife Kelley who makes it all happen.
The camp challenges kids with ropes courses in the woods, climbing walls, agility and obstacle courses, mountain biking, yoga and team building. But Eliteam goes well beyond mere sweat and smiles. What gives Eliteam serious chops is its goal to develop healthy, confident, “complete” athletes by incorporating sports psychology, sports physiology and sports nutrition into the mix.
All this means that Doug could be the Patron Saint of Positive Snacks, a concept inspired by Positive Tracks that we are all about. Here’s what he says on the topic: “As athletes, what they get out of their bodies on the race hill or on the field of play depends on what they put into their bodies. Nutrition is critical to performance. At ELITEAM we teach them the foundations of good nutrition so they are better informed when shopping, cooking and eating before training and competition. It would be such a waste of time to train so hard for an entire year and then sabotage your race day with a poorly planned breakfast.”
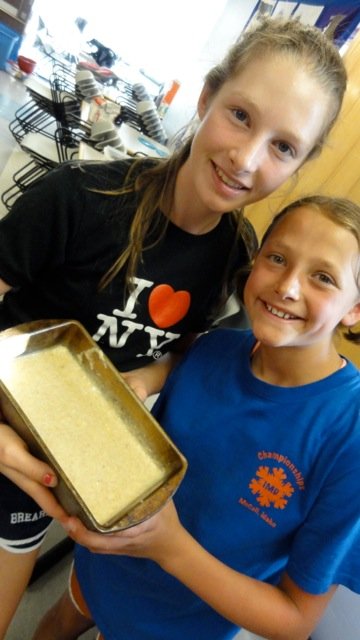
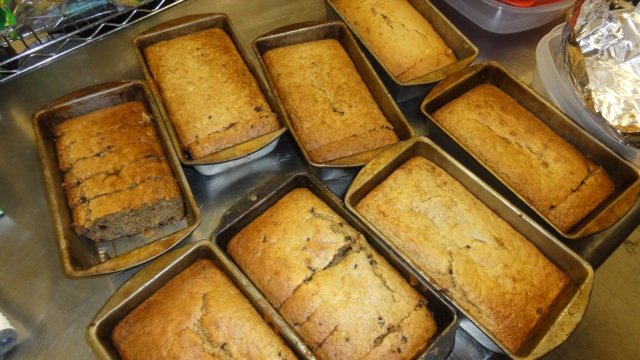
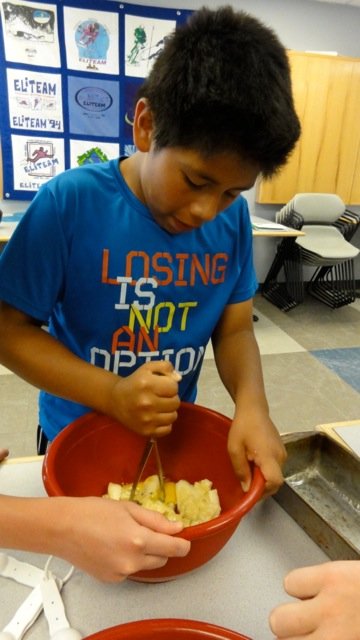
These photos from a recent camp session show athletes taking on the kitchen to make Yogurt Banana Bread, which is healthy and, as you can tell from the pictures, fun to make. “The campers get a lot of pride eating what they baked,” says Kelley. “Plus it tastes soooooooo good!”

FUN! It’s all part of the mix.
Ingredients
3/4 cup sugar
2 eggs
1/4 cup butter
1/4 cup applesauce
1 1/2 teaspoon vanilla
3/4 cup white flour
3/4 cup whole wheat flour
1 Tbsp wheat germ (optional)
1 Tbsp wheat bran or oat bran (optional)
1 teaspoon baking soda
1/2 teaspoon salt
1 cup mashed banana (approx. 2 large bananas)
1/2 cup Greek yogurt (plain or flavored)
1/4 cup chocolate chips (optional)
1/4 cup chopped walnuts (optional)
Method
Preheat oven to 350 degrees. Grease or spray one 5×9 inch loaf pan. In a large bowl, cream butter, sugar, eggs, applesauce and vanilla.
Add all dry ingredients, then mashed bananas, yogurt, chocolate chips & nuts. Mix well and pout into prepared pan. Bake at 350 degrees for approximately one hour. Let cool, if you can. As Kelley reminds us this bread, like most, is best eaten right out of the oven when it is warm. Enjoy!
Makes 1 large loaf.
PS: Check out the Eliteamers at last year’s CHaD Hero Half event last fall. 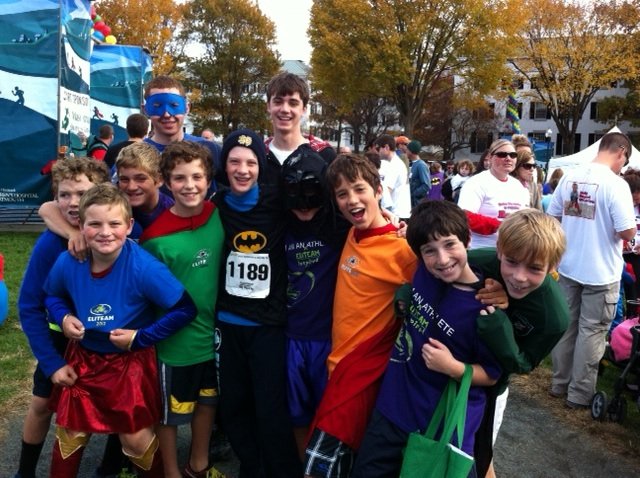
Positive Tracks doubled their fundraising efforts for CHaD (Children’s Hospital at Dartmouth) and everyone got the chance to dress up in capes and work out. Want a piece of that? Then join them this October!