It’s go time…the last week of shopping and baking and pretending to work before we get completely sucked in to the holiday vortex. In reality, we’re already there, which makes this week of quasi denial even tougher. But you’re here, you’re reading, and you’re definitely thinking of what to make for the neighbors, the party hosts, the UPS guy and your family…in that order.
So, no new recipes this time (because, who really needs another cookie recipe right now?), but I listed a few faves at the end. Others are embedded in these tips and cautions. Good luck my friends, and when you feel like you’re about to snap, just smile and wave.
DO make a whopping batch of Champion Chip Cookies so you’re ready to make someone’s day. DON’T think you’re so smart that you can make them by heart and end up using double the flour.
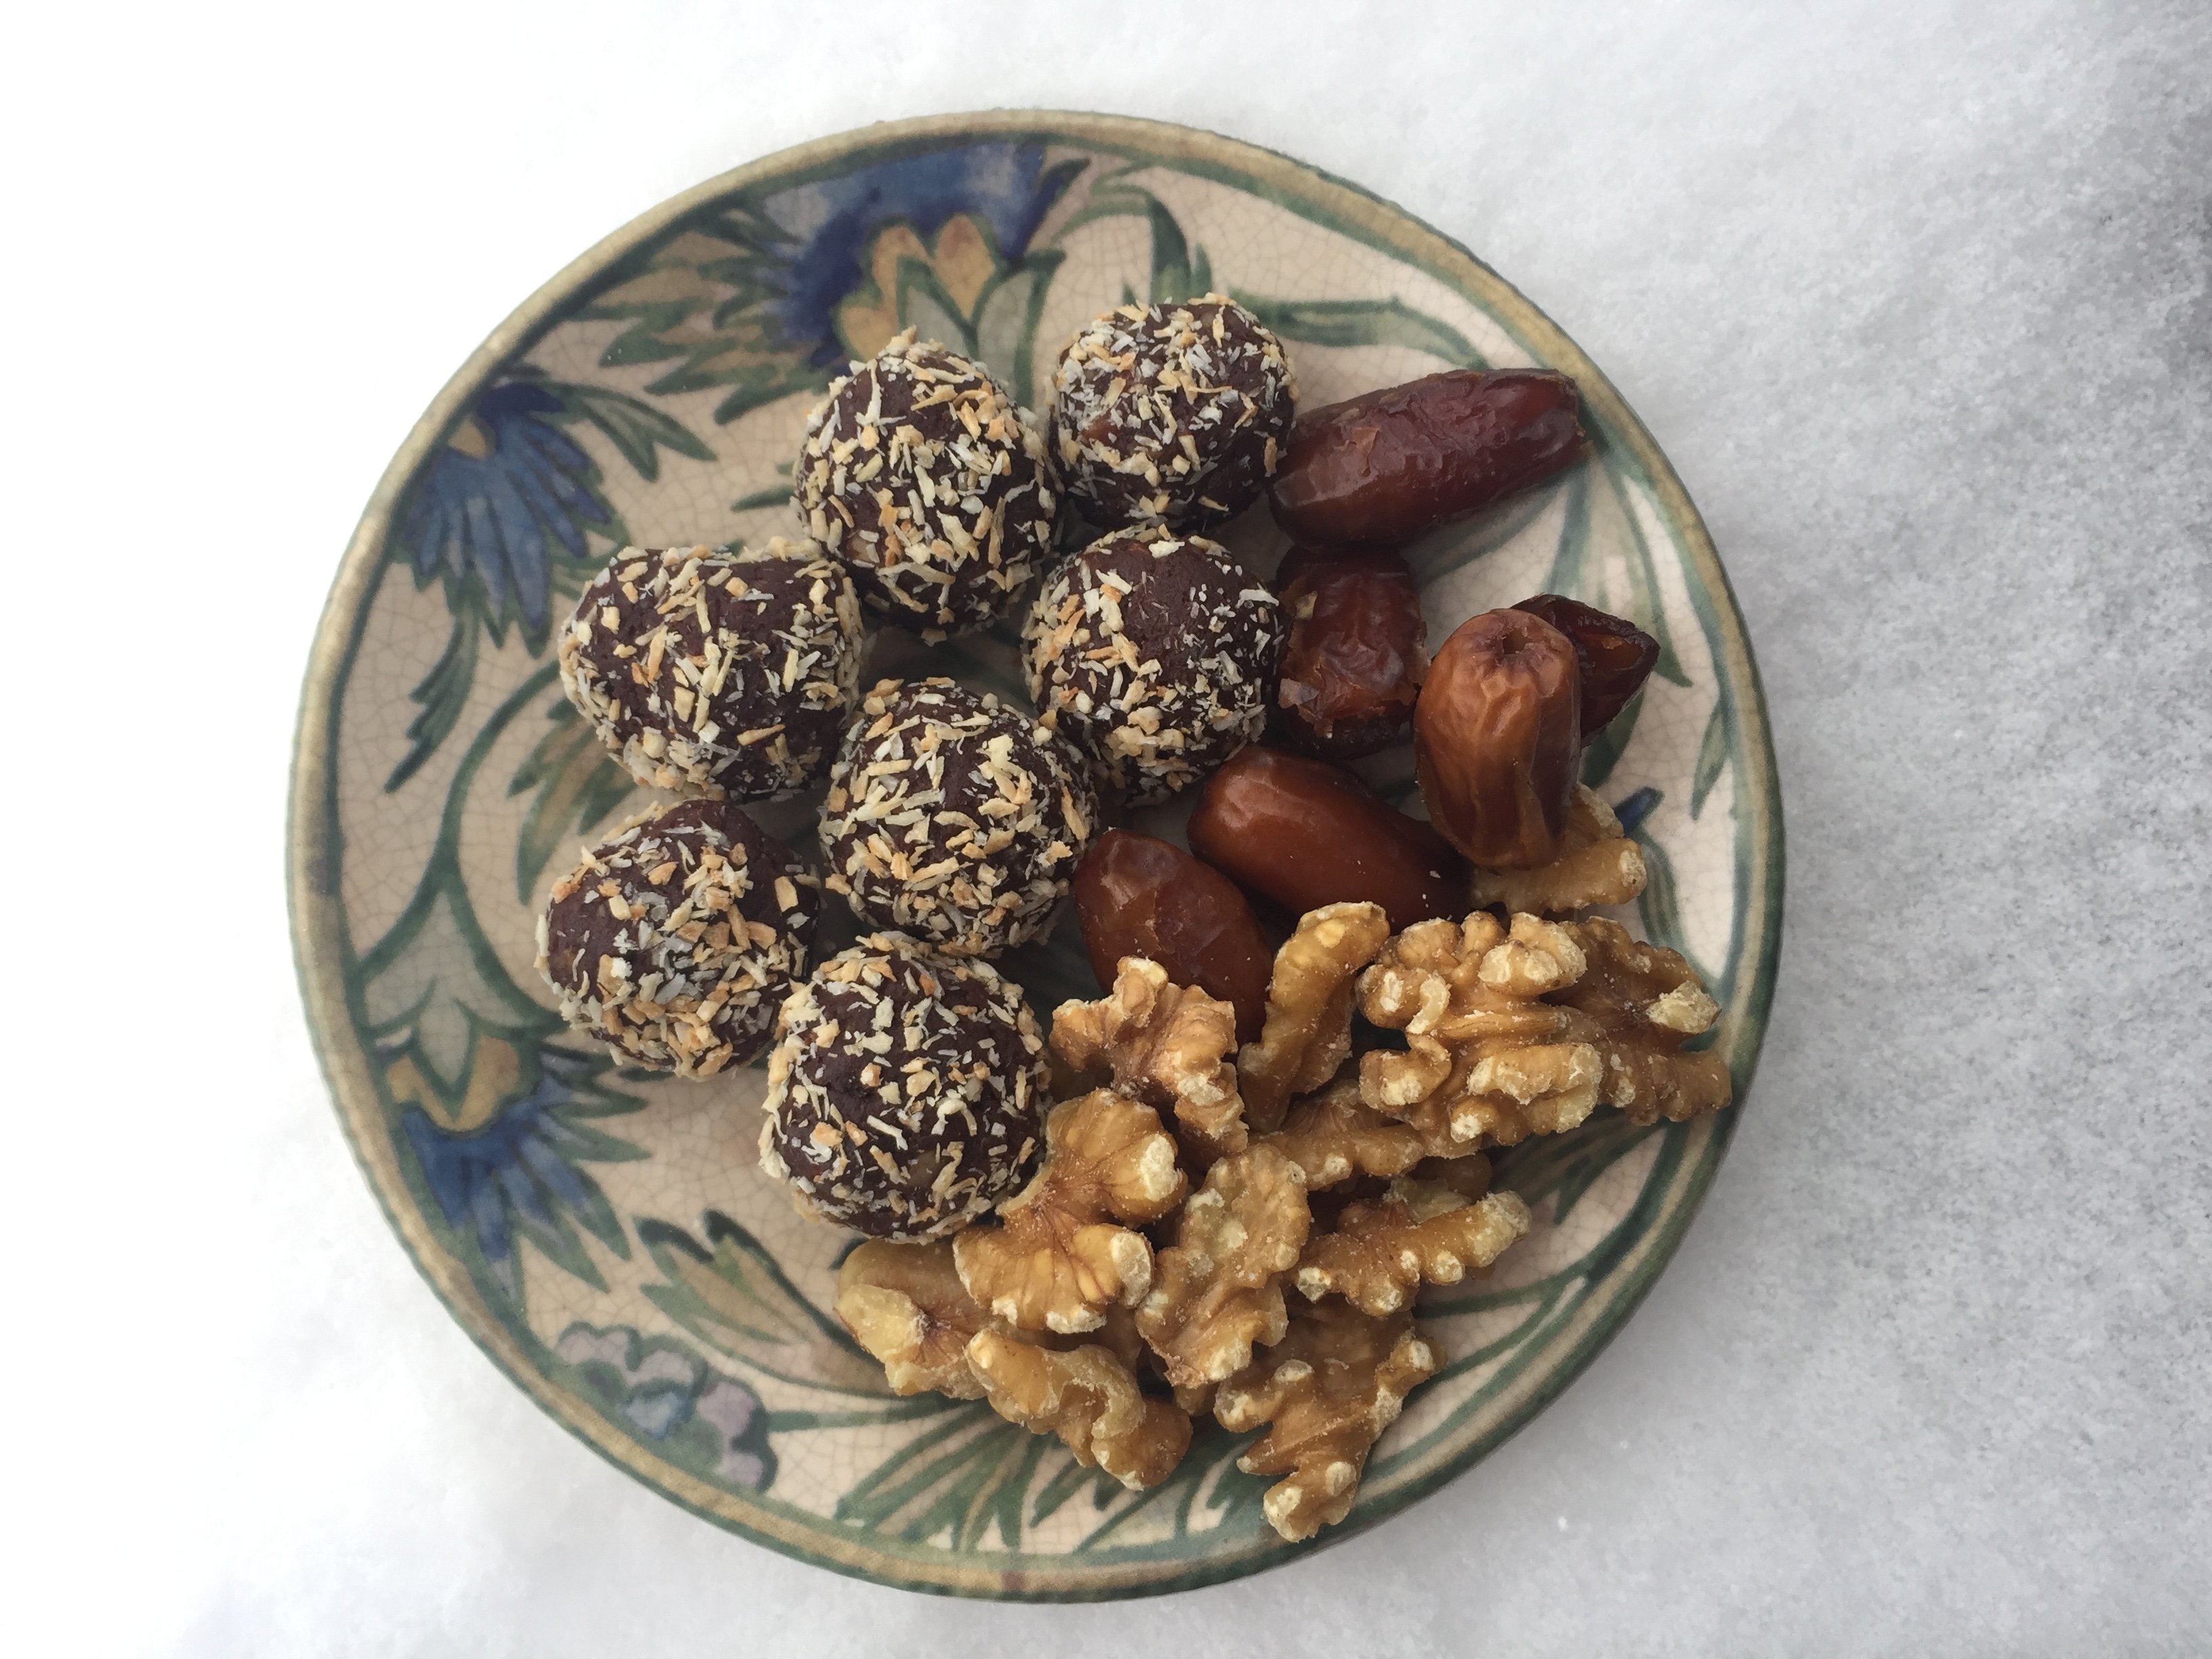
DO, figure out a few things you enjoy making (crackle, crackers, spiced nuts) and make a whole lot of them. DON’T go long on an untested recipe and end up with a whole lot of mediocre or inedible treats.
DO watch this clinic on deseeding a pomegranate. It will open your world to mass pomegranate consumption. DON’T position your 2 cups of pomegranate arils precariously in the fridge in a poorly sealed container.
Per above, DO keep a lot of seltzer on hand for stains. DO wear the same color you are drinking. DON’T forget the power of aprons.
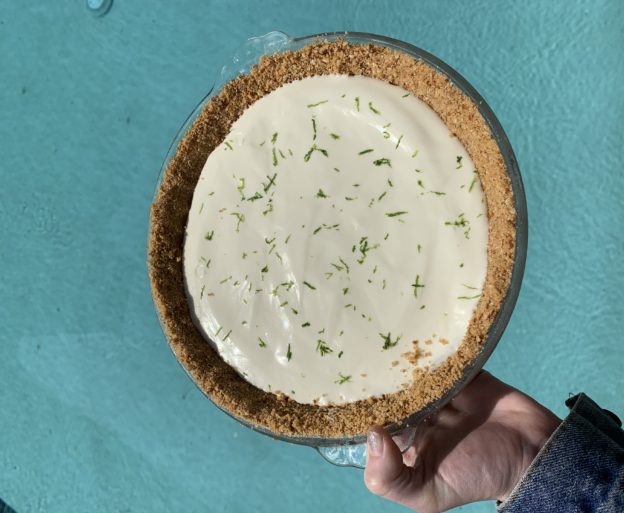
If you’ve got people with special diets coming, DO make Knock Out Vegan Pumpkin Pie. DON’T go rogue and substitute the pecan coconut crust with a gluten free pretzel crust. Gah!
DO make Guinness Fondue for a cozy evening gathering. Don’t try to pass off this puree of roasted rutabagas and potatoes spiked with nutritional yeast as “fondue”, even in air quotes. That said, DO make up a batch of the above “faux fondue” (air quotes be damned), or of Sugar and Spice Squash Soup, and offer it as a healthy option alongside the real stuff, but DON’T oversell it. Just have it available and you may be surprised how many people appreciate (and dare I say like) it.
Do plan ahead, read through your recipes and check all your ingredients before you dive in. DON’T, realize too late you are missing a key ingredient, or make your treat arsenal when you are hungry. It is astounding how adversely this affects your yield.
DO have a refreshing or comforting drink and get into the spirit by turning on fun music or entertaining podcasts. DON’T Listen to Impeachment hearings. It will not make you jolly.
DO read this cocktail shaking guide, and consider a monster cocktail shaker as a hostess gift. DON’T shake fizzy drinks in a cocktail shaker. Just don’t.
DO divvy it up, vs taking it all on yourself. DON’T be a holiday martyr. Ain’t nobody got time for that!
DO get into the spirit by dressing up in something super fancy or super cheesy. DON’T let your fraternity brother pick your outfit.
The downside of using a personal shopper.
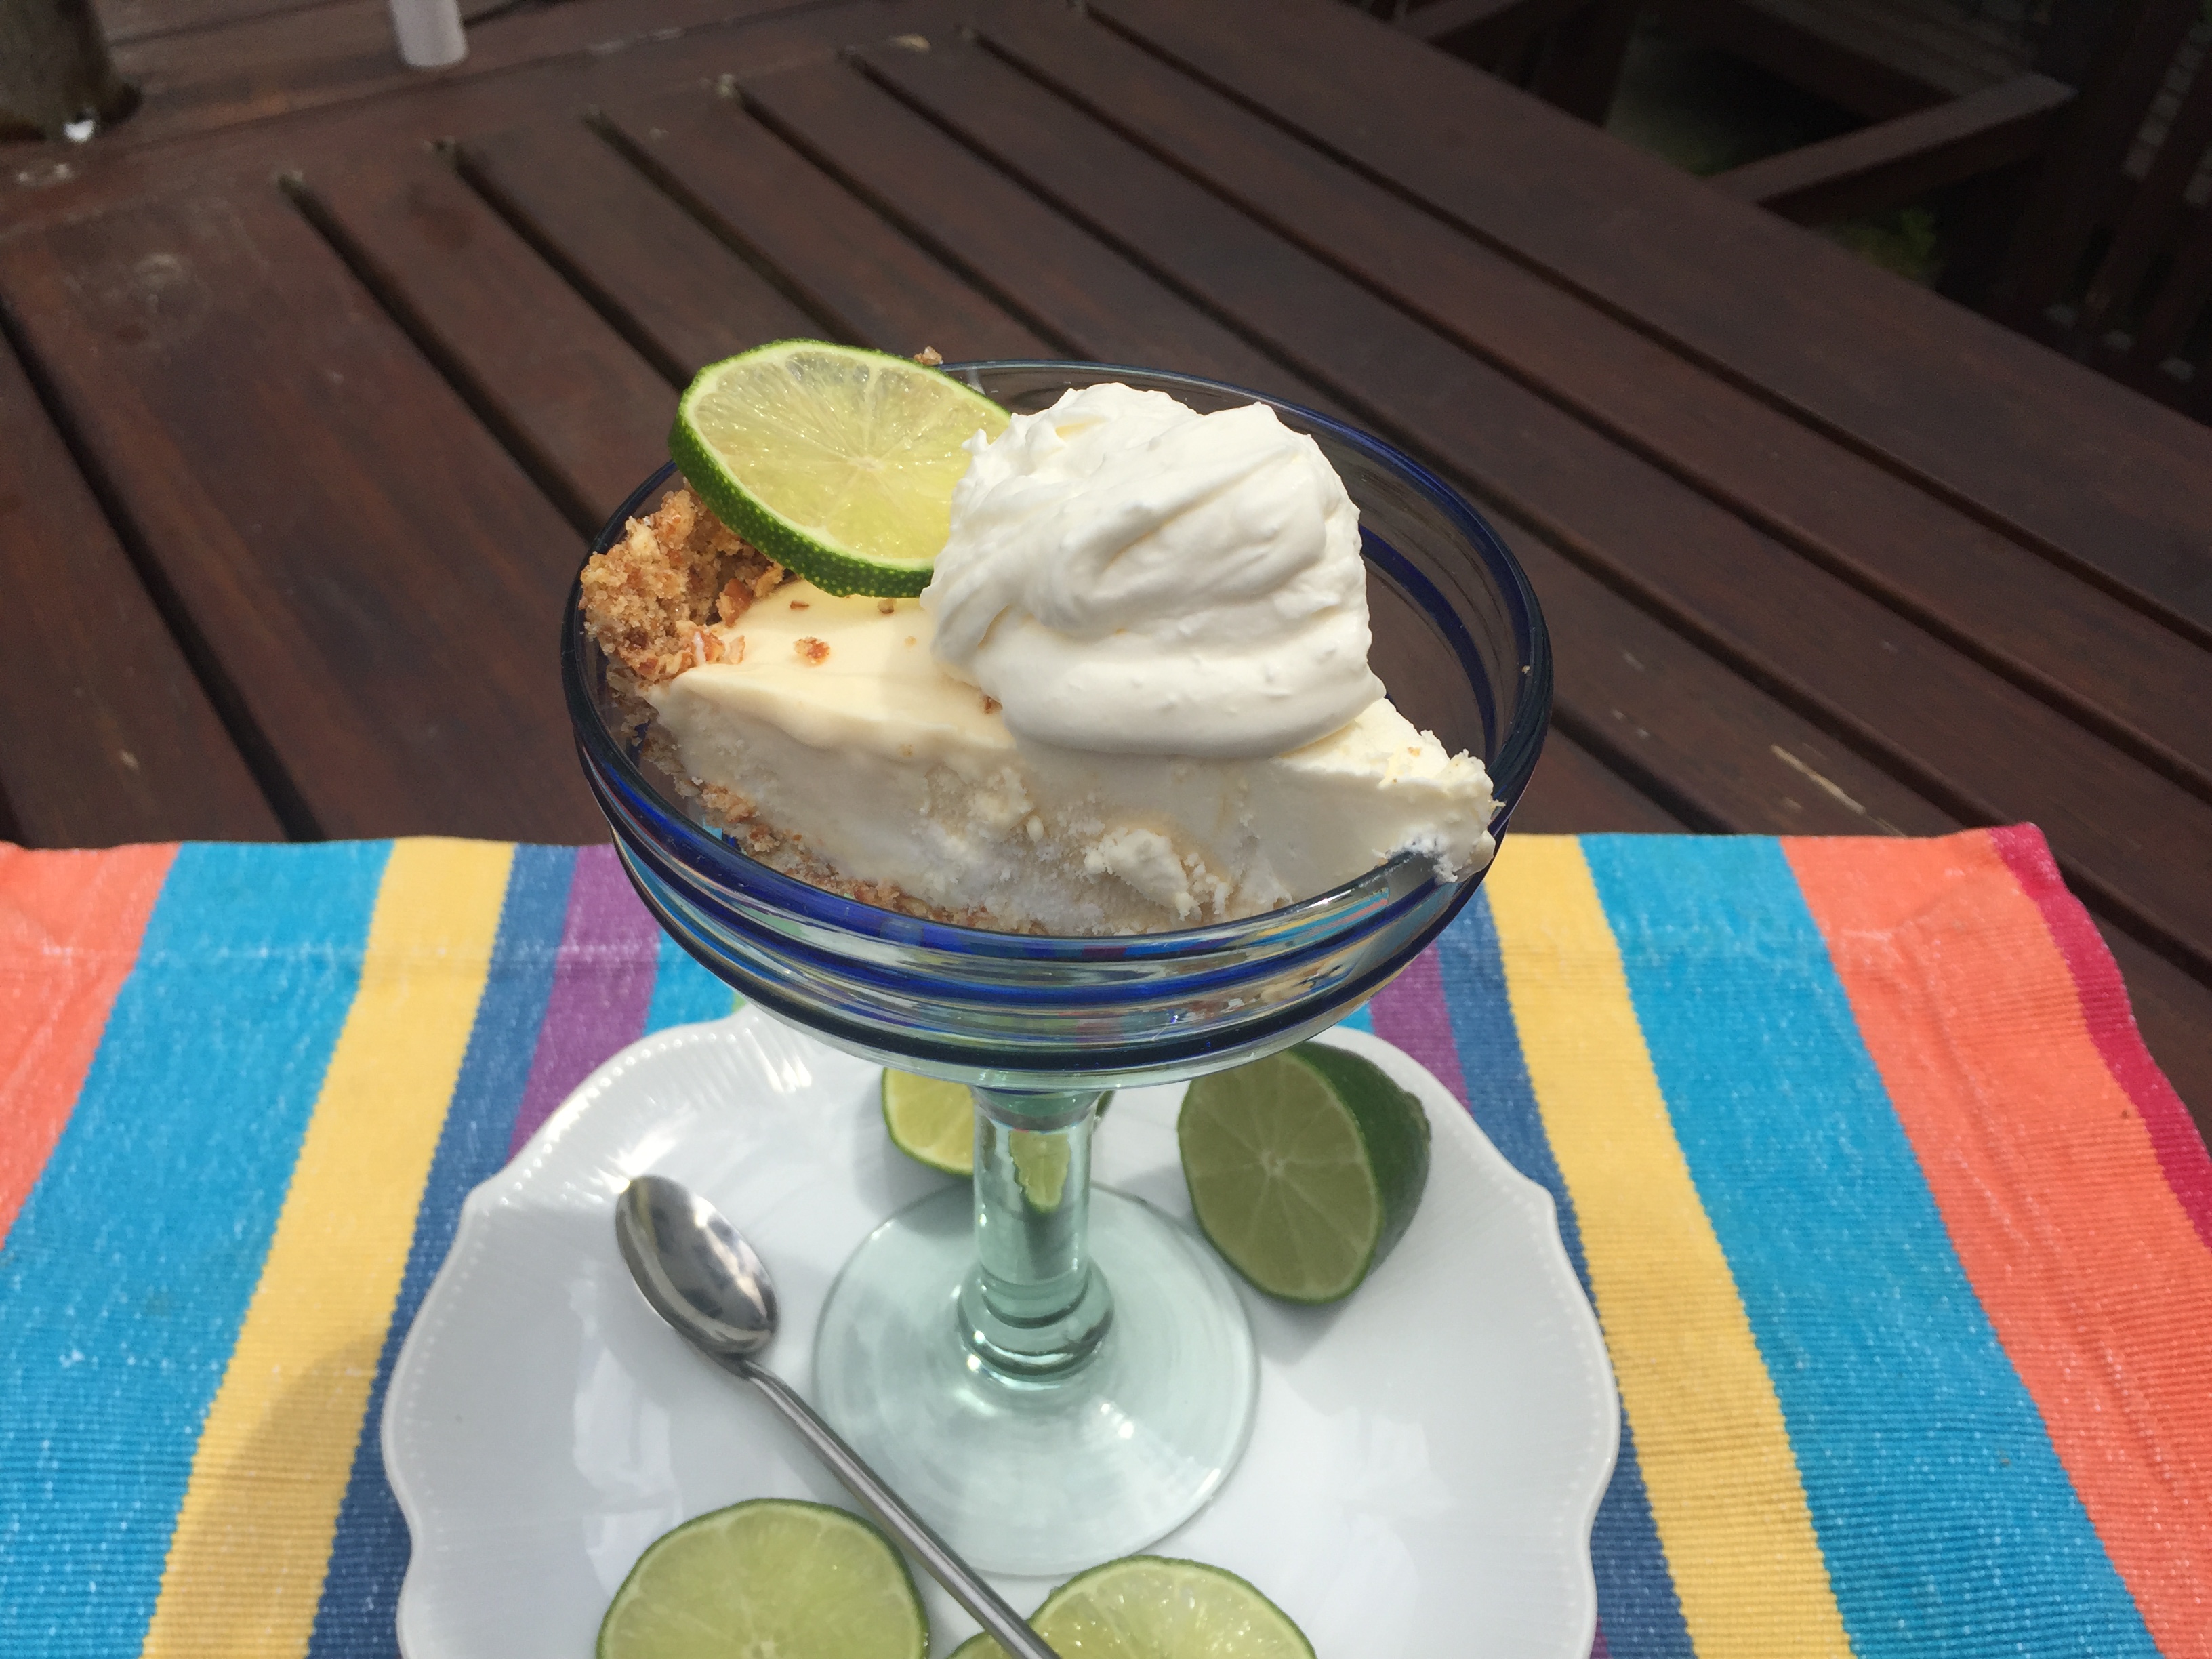
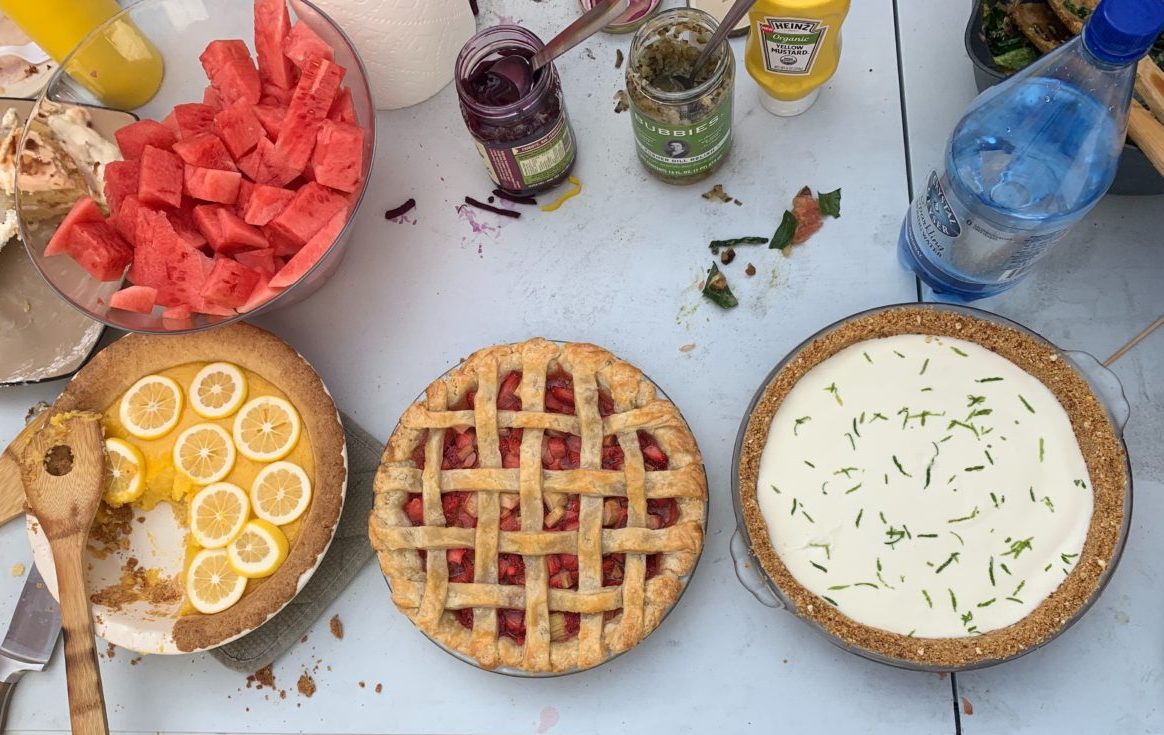
Here are some of my favorite holiday gifting recipes. I promise–they taste best when made with love and a smile.
Healthy and Healthyish
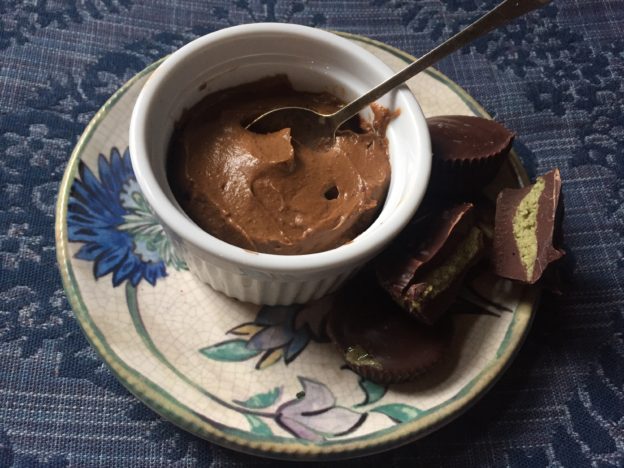
Heart of Darkness Chocolate Cups
Reeses Redemption Cups
Endurance Crackers
Lifechanging crackers
Paleo Crackers
Gingerbread Granola
Seed Bark Granola
NUTS! Like rosemary maple walnuts, honey thyme walnuts, sesame almonds
Triple Crunch Sesame Peanut Snack Bars
Not so healthyish
Crackle
Crackle 2.0
Cheddar Crisps
Champion Chip Cookies
Morning Paper Oatmeal Cookies
Cholliesauce