Category Archives: Appetizers

Stay-In Sesame Noodles 

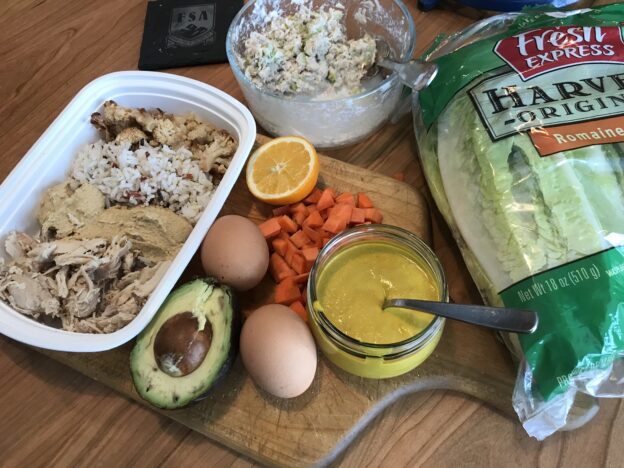
It’s not you, it’s me. Or maybe it’s you, too. As we’re entering month four of a full house, I’m just tired of coming up with new things to make and serve, so I’ve been relying on my tried and true. It’s not the worst thing to get reacquainted with these no fail recipes that are easy to prepare and even easy to learn by heart.  

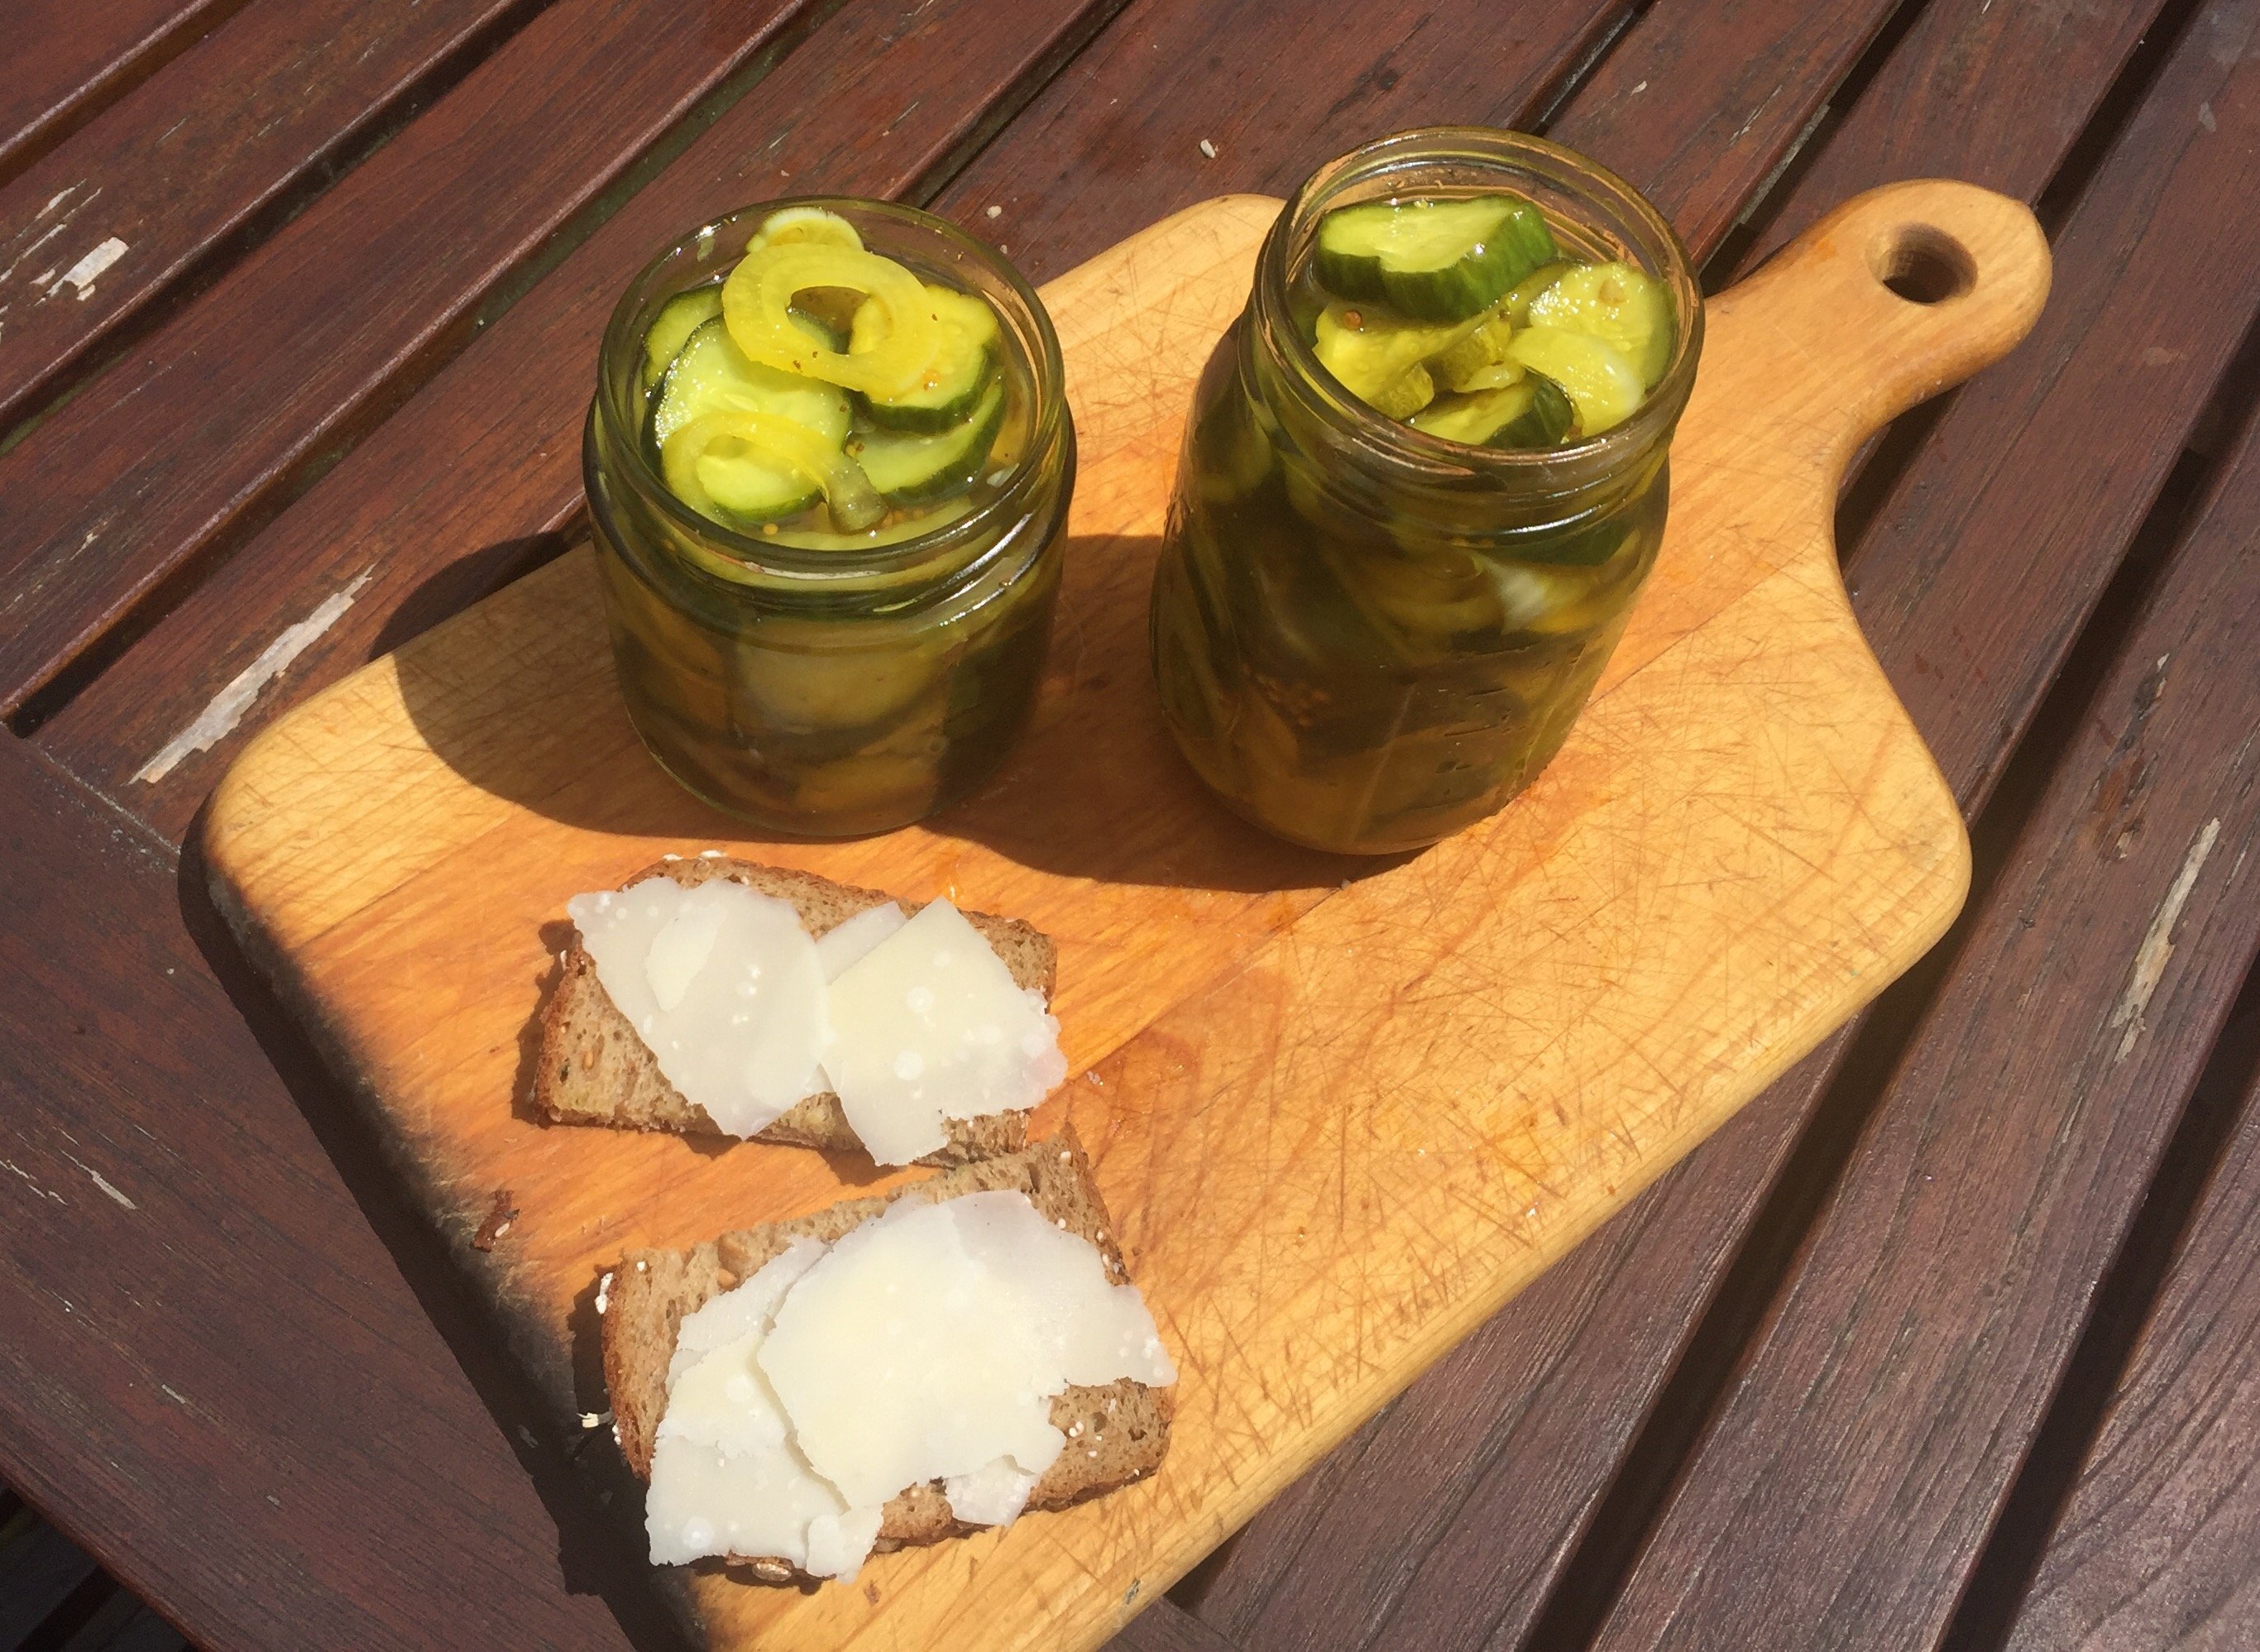
Best of all, these recipes can fill the local army with homemade fare without breaking the bank, or spending all day cooking.  I’m talking about Easiest French Bread Ever, Maple Oat Breakfast Bread and Everyday Granola in the morning, a constant supply of blender salsa and chile crisp, plus a big bowl of broccoli salad whenever I need a no cook veggie fix, which is pretty much always. It’s also the perfect time to fill your freezer with a Tupperware of Frosecco or any other frozen concoction. The slurpee mothership is kind of like your sourdough starter of cocktails. Just keep scooping it out, and adding more as needed. Is that a problem? Do I care?

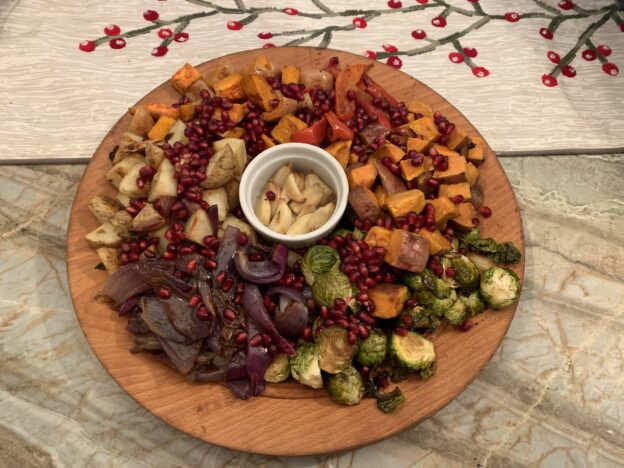
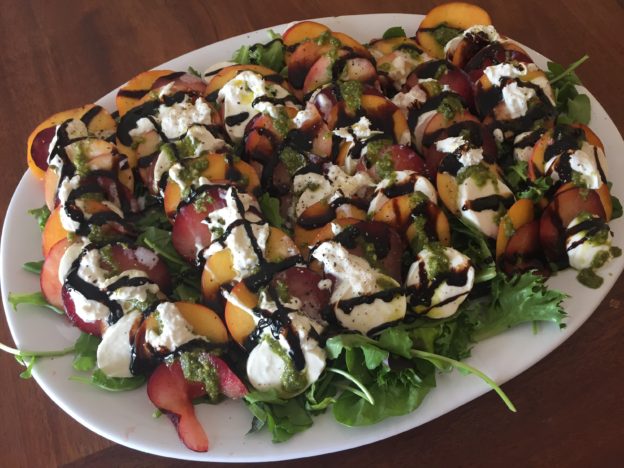
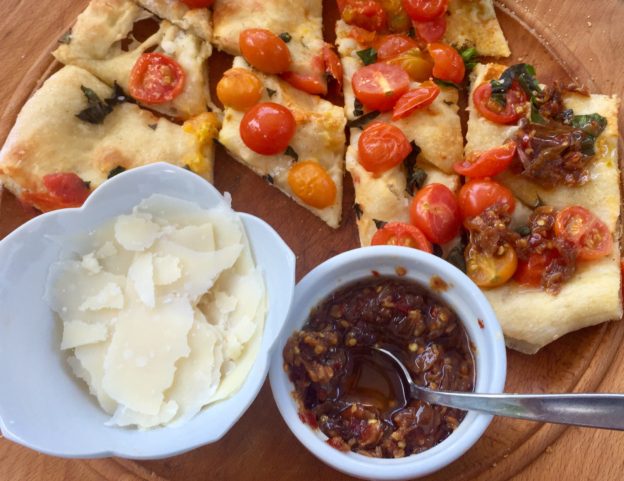
Now that we’re getting out a little, I am running in to people who have been spending more time cooking while in quarantine. They have been making some Bring It all stars, which are also excellent for entertaining. Things like Funitella Bruschetta (recently updated!) and, of course, Hero Slaw. And for dessert, Loosey Goosey Strawberry Rhubarb Crisp and Beach Pie because, ‘tis the season!  

Along the lines of no-fail fare, I give you my new favorite go-to recipe, which already feels like an old fave. Add this to your repertoire, and buy yourself some time to think about something other than “what’s for dinner?”  

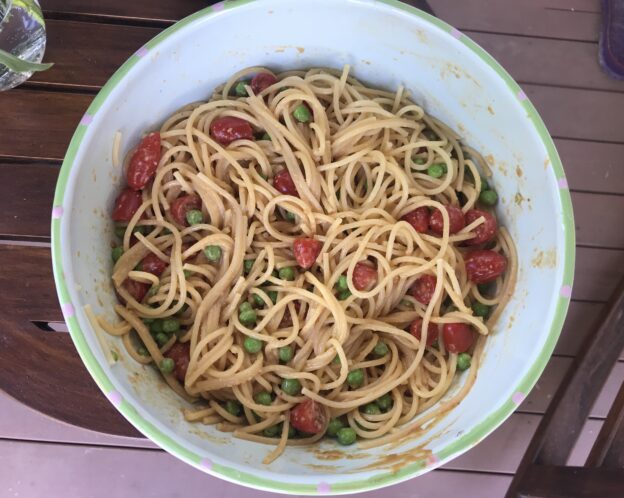
Takeout (or Stay-In) Noodles 

From the New York Times

 Ingredients 

  • 1 pound noodles, frozen or (preferably) fresh 
  • 2 tablespoons sesame oil, plus a splash 
  • 3 ½ tablespoons soy sauce 
  • 2 tablespoons Chinese rice vinegar 
  • 2 tablespoons Chinese sesame paste (or tahini; see notes)
  • 1 tablespoon smooth peanut butter 
  • 1 tablespoon granulated sugar 
  • 1 tablespoon finely grated ginger 
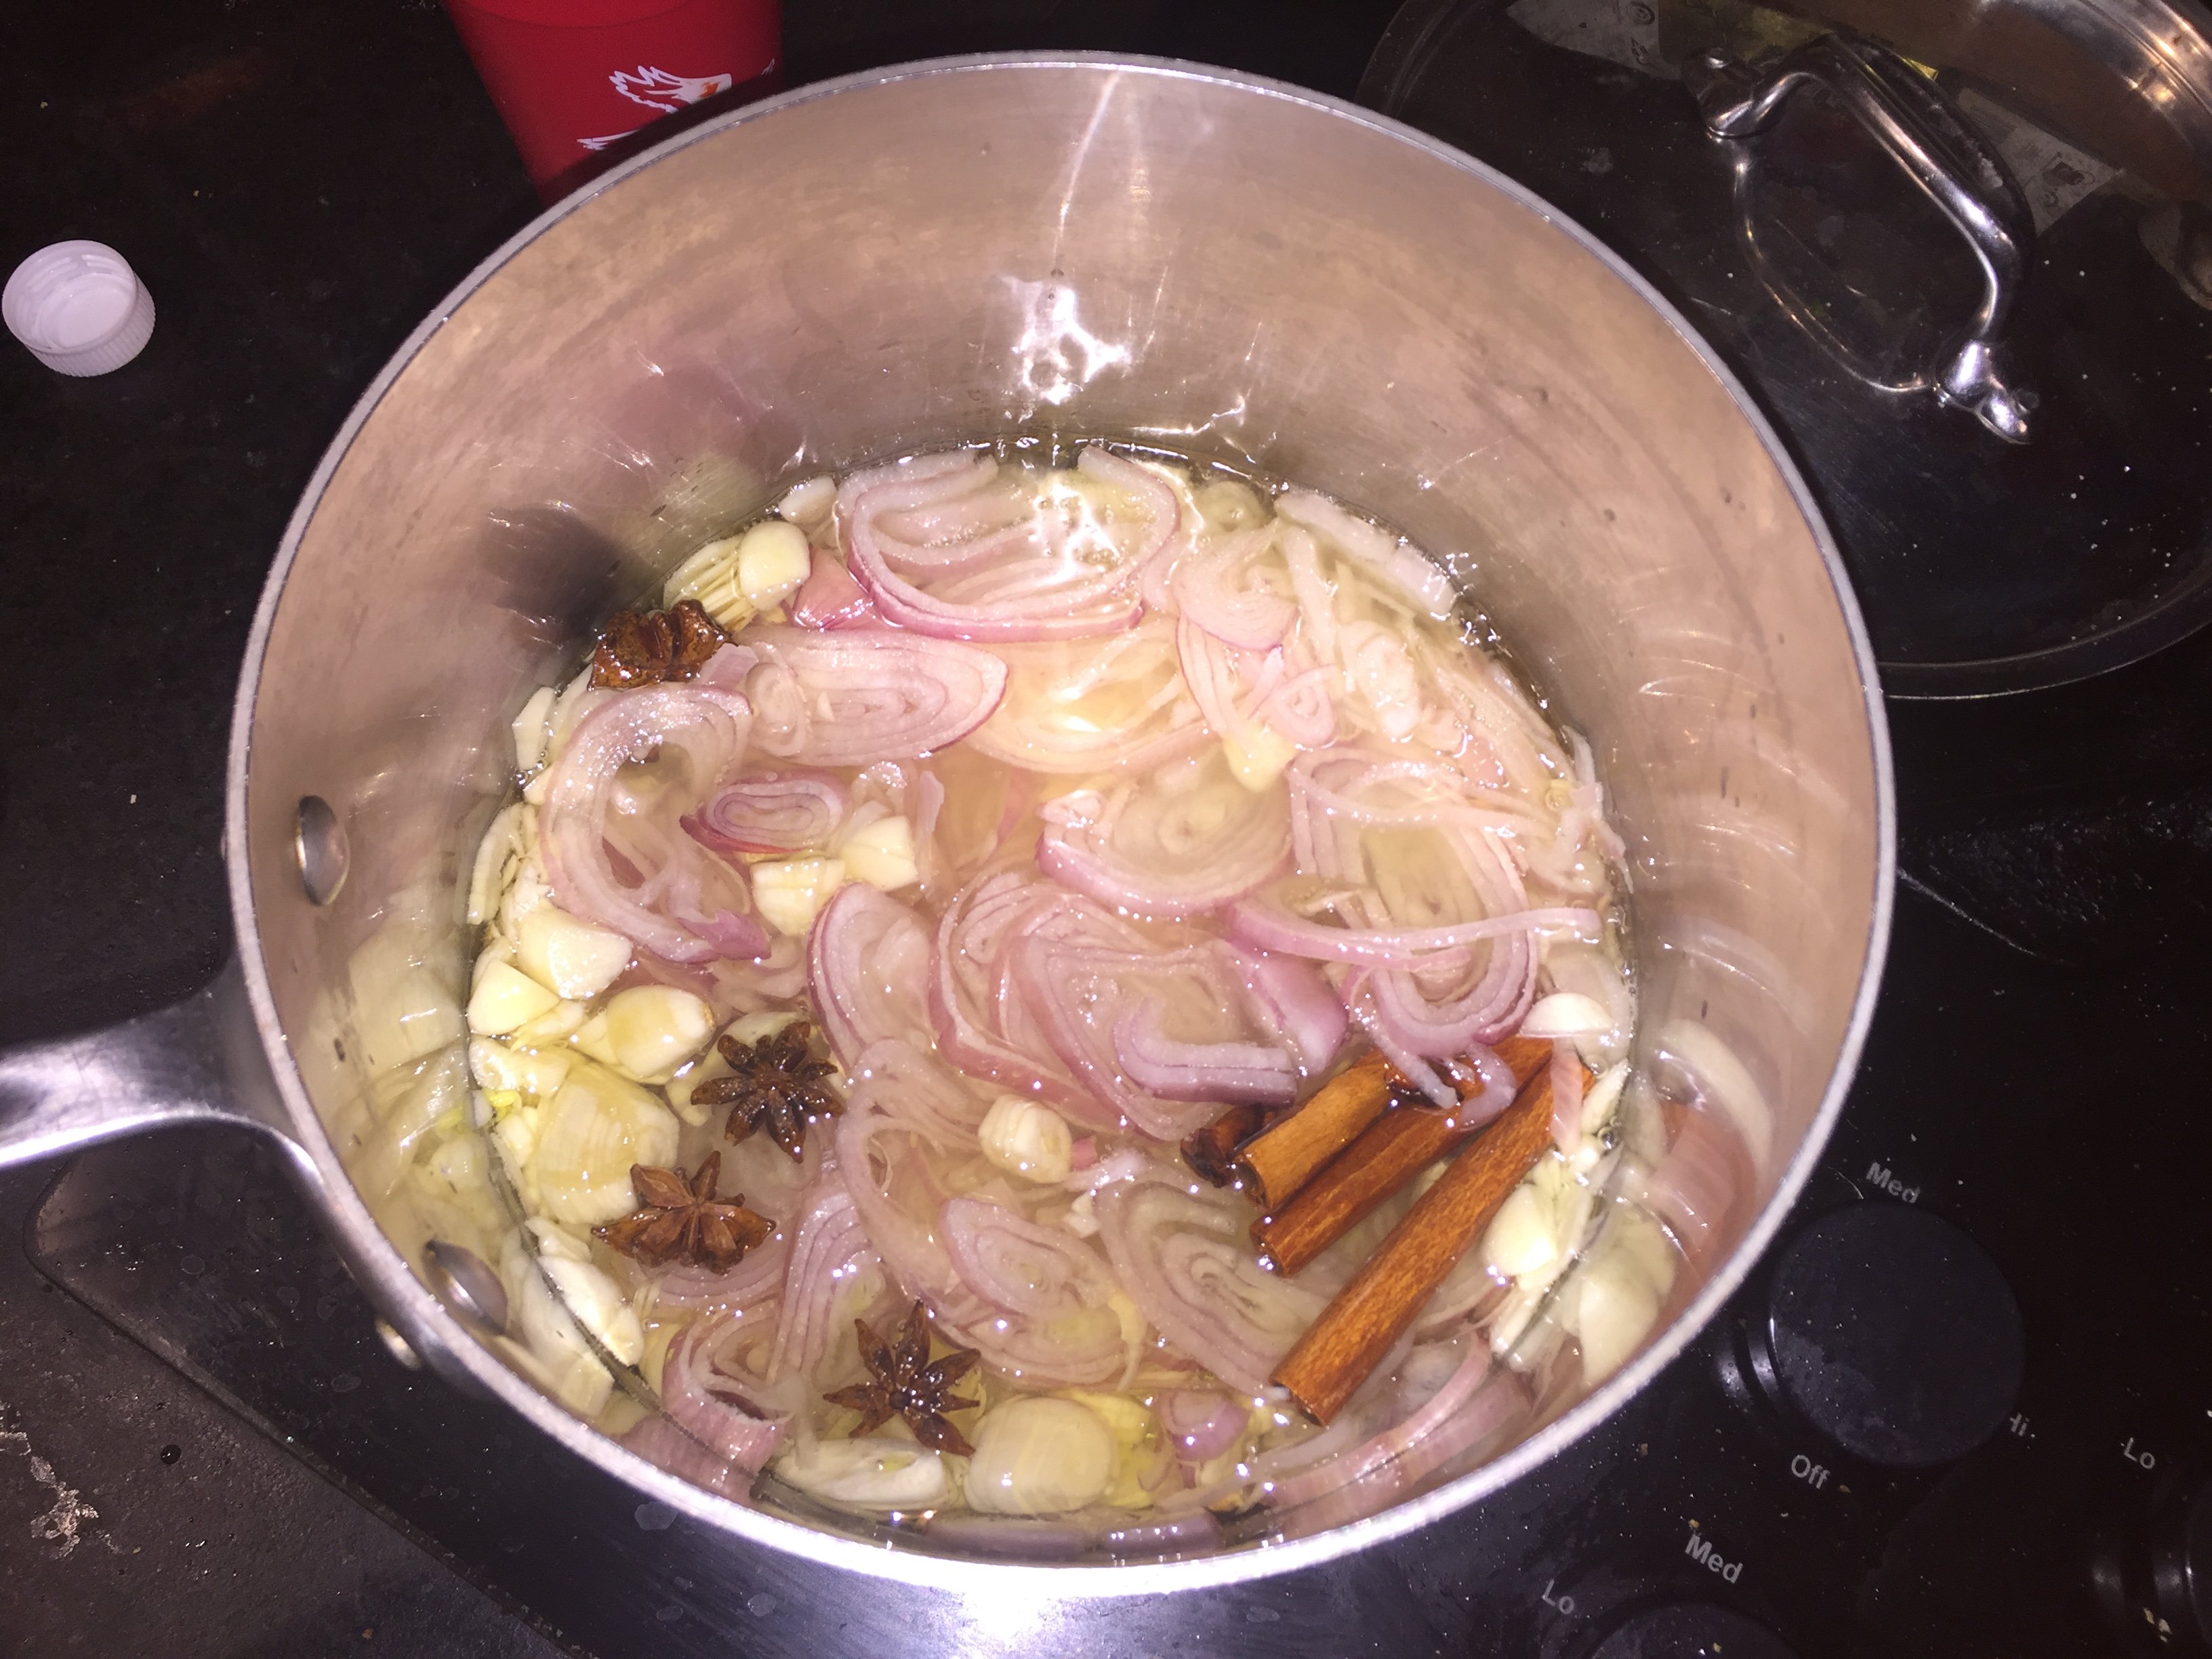
  • 2 teaspoons minced garlic 
  • 2 teaspoons chile-garlic paste, chile crisp or chile oil, or to taste 
  • Half a cucumber, peeled, seeded and cut into 1/8-inch by 1/8-inch by 2-inch sticks 
  • ¼ cup chopped roasted peanuts  

Preparation 

  • Bring a large pot of water to a boil. Add noodles and cook until barely tender, about 5 minutes (or recommended amt if using dried). They should retain a hint of chewiness. Drain, rinse with cold water, drain again and toss with a splash of sesame oil. 
  • In a medium bowl, whisk together the remaining 2 tablespoons sesame oil, the soy sauce, rice vinegar, sesame paste, peanut butter, sugar, ginger, garlic and chili-garlic paste. (You can also use an immersion blender or regular blender)
  • Just before serving, pour the sauce over the noodles and toss. Transfer to a serving bowl, and garnish with cucumber and peanuts. 

Notes:  

These are infinitely adaptable, and for suggestions, scroll through the many comments on the original NY Times post here. I hit the high points and recommendations here, in case you are sharing your paltry Internet connection with many young, curious, ever- streaming tenants. 

The Chinese toasted sesame paste called for here is not the same as tahini, the Middle Eastern paste made of raw, untoasted sesame. You can use tahini in a pinch, adding a little toasted sesame oil to compensate for flavor, or make your own from scratch with toasted sesame seeds and olive oil.  

To prevent dry noodles, serve immediately, or hold the sauce. I usually multiply the sauce recipe many times (I use a stick blender), and add a fairly minimal amount of the sauce to the noodles when they’re still warm. Chill the undersauced noodles until you are ready to serve, and then mix in as much extra sauce as you need 

Mind your noodles. The recipe says fresh or frozen, meaning egg noodles. It’s totally ok to use dried, as in regular spaghetti (my fave) or linguini, but 1.5 or double the sauce for a full pound of dried noodles.  

This is serious picnic fare, and can accommodate Vegans and carnivores alike with a variety of toppings like: shredded duck or chicken, tofu, cucumber, sweet red pepper, hot pepper, scallion, jicama, carrots, etc, all cut to roughly the same size.  


It’s the weekend— Have a ball!

Props to the McNultys of Hanover, for coming up with the idea of theme dinners to turn these Saturday nights in quarantine into something a little less, uh, quarantiny (as in, the state of restriction vs the popular cocktail). Last weekend they kicked it off with an après ski theme featuring Bring It’s own Guinness Fondue.

Their outdoor firepit version was not only inspiring, but also an excellent choice considering our fine spring weather. With the polar air expected this weekend, fondue is a solid option.  

Or….might I suggest, balls! Meatballs and “meat” balls are very versatile, can be made ahead and can accommodate many dietary needs. We’ve got Buffalo Chicken Meatballs, these quite excellent gingery sheet pan meatballs that I have made many times and never managed to capture on camera, the vaunted Ikea meatballs (secret recipe just revealed) and, featured here today, the shockingly tasty and “meaty” meatless meatballs.

This is a great recipe to have in your arsenal especially now that the shortage du jour is meat of all kinds. Whether you are trying to eat less or no meat, or you just can’t get your hands on the stuff, you need a good vegetarian meatball recipe, and here it is friends.

They take a bit of elapsed time, because you have to cook the water out of the mushrooms and let the whole shebang sit in the fridge for a spell, but they’re totally easy. And hey…we’ve got time! You can even show off  your domestic skills, make a double batch and stock your freezer.

As a bonus this recipe comes with a soundtrack suggestion suitable for any stage of creating or eating your Saturday night special. Crank yourself up some Queen because, well, we’re having such a good time, we’re having a ball.

Where’s the picture? Have you ever tried to get an appetizing picture of meatballs? Enough said…but how about another pic of fondue night? Happy weekend all!

 Ooh la la! Just another typical night around the fire pit.

Chef John’s Meatless Meatballs                                                                      

Barely adapted from AllRecipes

Ingredients
Makes 20 meatballs

1 tablespoon olive oil
1 lb / 453 gr white mushrooms, finely chopped (use the food processor to save time)
1 tablespoon butter*
½ cup finely chopped onion
2 garlic cloves, minced
½ cup quick cooking oats
4 to 5 tablespoons grated Parmesan cheese*
½ cup breadcrumbs
4 tablespoons fresh chopped parsley
2 eggs, divided*
1 teaspoon salt
¼ teaspoon ground black pepper
¼ teaspoon dried oregano
Pinch cayenne pepper

3 cups of your favorite tomato sauce
½ cup shredded mozzarella cheese (or any other cheese you prefer, or no cheese at all).*

*Vegans and Vegan dabblers you’ve totally got this. I’ve made these with Vegan butter, your favorite cashew parm, aquafaba and no cheese on top and they were delicioso.

Directions

Heat olive oil in a large skillet over medium-high heat. Add mushrooms, sprinkle with one pinch of salt and cook, stirring every so often until the liquid from the mushrooms has evaporated, about 10 minutes.

Stir in the butter, and cook on medium for about 5 minutes, or until golden brown.
Add onions and sauté for 5 further minutes, until translucent. Add garlic and sauté for 1 further minute, until fragrant.

Transfer mushroom mixture to a large mixing bowl.

Stir in oats and mix until thoroughly combined. Add Parmesan cheese, breadcrumbs, parsley, 1 egg, salt, pepper, oregano, and cayenne pepper (if using).

Mix together with a fork until crumbly. Stir in remaining egg and mix to combine.
The mixture should hold together when pressed.

Cover and refrigerate for at least 2 hours (overnight best).

When ready to cook, preheat oven to 450°F (230°C). Line a baking sheet with parchment paper.
Scoop 1 heaping tablespoon of mixture, and with dampened hands roll into meatballs.

Arrange on the lined baking sheet.

Bake until golden brown, about 15 to 20 minutes. Remove from the oven and let cool completely.

At this point you can refrigerate or freeze the meatballs until ready to use, or use immediately.
Bring tomato sauce to a boil in a large skillet (or saucepan), lower to a simmer, and gently stir meatballs into the sauce until coated.

Simmer meatballs in sauce for about 30 to 45 minutes. Sprinkle with mozzarella cheese, cover with a lid and let the cheese melt (about 4 to 5 minutes).

Sprinkle with chopped fresh parsley and serve over spaghetti, zoodles, spaghetti squash, in a meatball sub or just plain nekkid.

PS. Can’t get enough Vegan balls? Got more cans of black beans than you know what to do with? Try these from Minimalist Baker, who never steers you wrong.

           Eat UP people!

Easiest Tomato Soup: Beating the lunch curve

Red alert! This recipe was updated and simplified Feb 11, 2024 after intensive field trials and consumer research. The only effort required for any batch size is opening cans, quartering onions and running an immersion blender. You’ve got this!

Gluten has made a serious comeback in our house, mostly out of desperation. Baking, once a rarity, is now a daily or twice daily thing, as the little darlings (read locusts) can work through two loaves of Easiest French Bread Ever in a day. To keep everyone fed, I’m turning to old favorites I can crank out with minimal effort. I’d love to try new recipes, but now is not the time to gamble precious ingredients—especially flour, the new toilet paper—on anything that might not work out.

I’m also trying to make mornings more pleasant by getting ahead of the breakfast curve the night before: making granola; mixing up batter for popovers, blueberry muffins, victory bran muffins; or stirring together the dough for Maple Oat Breakfast Bread.  

All those freshly baked goods may earn you some peace and joy in the morning, but by lunchtime—just when the coffee is worn off—it turns out you also need something to go with the carbs.

A lot of favorite recipes are labeled as “best” and “easiest,” tall claims that make it hard to choose what to try first: Best, easiest, best, easiest. It will surprise nobody that I opted for the one, from cousin Michelle, entitled “Easiest Tomato Soup.”

A quick look at the ingredient list confirmed that this would satisfy the recipe trifecta, by being: easy, cheap and requiring no trip to the store. I’ve been burned by minimalist recipes that taste like they are missing ingredients and steps, so I wanted to see just how good this was, exactly as written. I resisted every urge to add a little bit of this or that, things like: Maple syrup; a glug of sherry; a squeeze of basil from those yummy herb tubes; a splash of cream.

For a serial recipe tweaker this abstinence was tough, but I did it. I am so glad I did, because I can now attest that this soup over delivers on its promise. Maybe the simplicity is why it is so good, though it must also have to do with cooking time. Don’t cheat on the 45 minute simmer—that’s where the magic happens. Confession: It was not until writing that line that I realized this is essentially a pureed version of Marcella Hazan’s pasta sauce but with broth. Mystery solved. Of course it’s good!

As further endorsement, I barely had time to stage a photo of this before my family ate the shot and then the entire batch. The next day, I doubled it, amortizing the minimal effort over even more servings.

Enjoy a bowl of this with a grilled cheese, or any of the aforementioned carbs, and consider yourself comforted…at least until dinner.

Really Truly Easiest Tomato Soup

Serves 3-4

Ingredients:

  • 4 Tbsp (1/2 stick) butter
  • 1/2 large white onion
  • 1 28 oz can tomatoes (preferably whole, but pureed or diced works too. Extra credit for San Marzano tomatoes)
  • 1 1/2 cup chicken broth or broth of choice
  • 1/2 tsp fine salt and some pepper

Method:

  1. Cut the half onion in half
  2. Melt butter in large pot. Add onion, canned tomatoes and stock to pot
  3. Bring to a boil then turn down heat and simmer uncovered for ~40 minutes
  4. When done cooking, pour soup into blender and blend until smooth. Better yet, use an immersion blender right in the pot.
  5. Add salt and pepper to taste
  6. That’s it!

*Edie’s note here. Don’t tell my family (God knows they will never ever read a food blog), but I used fake butter and veggie “Better than Bouillon.” So, yes it can be Veganized if you like, and the carnivores won’t even notice. Also, feel free to add some minced garlic in with the onion if that is your jam. I usually don’t bother.

Bringing It

This has become a college carnival classic because it is very lodge-friendly and is a welcome warm up on a chilly day. Make a triple batch, heat it up in the morning and pour it into a gallon Thermos container. Pour into paper cups and enjoy with a slice of Easiest French Bread Ever

Liquid Gold

At a time like this, we all have questions. For the less pressing ones, I have an answer, and it involves sauce. The one, big, solvable daily question we are all facing is this: how am I going to make all these random leftovers into a meal without going to the store? This leads to satellite questions like, how much broccoli salad can one person eat in a day (answer: a shocking amount); and, when we’ve reached that point, what am I going to do with all this tahini I bought for that recipe

I’m so glad you asked. Thankfully the internet is now mobbed with tips like this on how to use the things that have been hanging in your pantry, waiting for their moment and your desperation. As mentioned in “get saucy with me,” (a darned useful collection of taste sensations), the right sauce or dressing is sometimes all you need to pull together humble ingredients and make them a feast.

Even though tahini opens up many options, you may need to wait for your next store run to make this baby that minimalist baker calls “liquid gold.” It is easy, fast and delicious, but requires some advanced pantry staples, all of which I promise we’ll use in the weeks to come. Namely, you’ll probably need to wrangle up some nutritional yeast and chickpeas* (Vegans can relax–I know you have these on auto delivery). The rest of you for sure have curry powder, right? And likely turmeric, from that time you vowed to mix up a comforting mug of golden milk to drink after your daily yoga. Or maybe because you actually are drinking golden milk after daily yoga. Namaste you! The rest is all pretty standard pantry fare.

This goes well as a dip or a dressing, and can transform rice, pasta, baked potatoes, sandwiches, quesadillas, salads, etc into something a little more exciting that “that stuff in Tupperware.” Bake up a couple loaves of easiest French bread ever, and you’ve just bought yourself a day off from lunch and snack duty.

Check out Lunch Deconstructed as a solid starting point for how to make leftovers into a feast, and stay tuned for some crock pot clinics on mass production of foundational lunch/snack fare. Does it get more exciting???

I hope you all are staying healthy, sane and well-fed!

*careful and prompt readers will note that the first version of this called out raw cashews. In my isolated state I somehow forgot that no cashews will be pulverized for this sauce. Bonus!

Liquid Gold Sauce

From Minimalist Baker

Ingredients

  • 1/2 cup chickpeas (rinsed and drained)
  • 1 Tbsp nutritional yeast
  • 2 small cloves garlic, skin removed
  • 1 Tbsp lemon juice (or sub lime)
  • 1 Tbsp tahini (or cashew butter)
  • 1/4 tsp sea salt, plus more to taste
  • 1/4 tsp ground turmeric
  • 1/4 tsp curry powder
  • 1/8 tsp ground cumin (for milder sauce, omit the cumin and use only curry powder)
  • 1 dash cayenne pepper (optional // omit for less heat)
  • 2 tsp maple syrup (plus more to taste)
  • 1/3 cup water, plus more as needed

Method

  1. To a small blender or food processor (though it won’t be as creamy), add chickpeas, nutritional yeast, garlic, lemon, tahini, salt, ground turmeric, curry powder, ground cumin, cayenne (optional, but c’mon), maple syrup, and water.
  2. Blend on high until creamy and smooth. Add more water as needed until a thick, pourable sauce is achieved.
  3. Taste and adjust flavor as needed, adding more salt to taste, curry powder for spice, tahini for creaminess / nuttiness, lemon for acidity, cayenne for heat, or maple syrup for sweetness.
  4. Use immediately or store covered in the refrigerator up to 1 week. You can also freeze it up to 1 month and thaw before use (do not heat) although best when fresh.
  5. Perfect for use on just about anything — think roasted sweet potatoes, burrito bowls, salads, and more!

Going for the gold!

New Year’s Resolution Vegetables with Pomegranate Cha-Cha

Hey! You there by the last swig of eggnog. This is your year. It’s your year to be the one who brings vegetables to the party with your head held high, and your hand held up for a high five. This recipe is your first mission. 

It comes to us from Here and Now’s resident chef Kathy Gunst.  I first made it for this past Thanksgiving. Since then, it’s made a lot of appearances, thanks in large part to the pomegranate de-seeding savvy that can be yours in one quick video tutorial.

As Kathy notes this is a mix and match dish. There is no magic formula, so clean out the veggie drawer, grab the rogue pomegranate that is still hanging in the fruit bowl looking for a purpose, and prepare to impress. The main things to remember here are:

  • Roast vs steam the vegetables. As in, give them their space, and…
  • Group them by type so you can remove veggies that roast quicker and let the others get their due.

Other than that, this recipe is pretty loose, though I’d say Brussels sprouts, some kind of winter squash and red onion are kind of key. This recipe makes tons of dressing, so go ahead and overdo the vegetables if that’s your thing, or just be psyched to have extra pomegranate vinaigrette in your arsenal.

And as if this healthy, beautiful, tasty dish needed another bonus, the veggies can be roasted earlier in the day and the vinaigrette can be made a day ahead of time. Assemble it all just before serving, hot or at room temperature.

Roasted Vegetables with Pomegranate Cha-Cha

Ingredients

  • 8 new potatoes, scrubbed and left whole (if large, cut in half or into quarters)
  • 1 medium sweet potato, scrubbed, and cut into 1/2-inch thick pieces
  • 1 small Acorn or Carousel winter squash, peeled, cut in half, deribbed, deseeded and cut into 1/2-inch pieces
  • 1/2 to 1 pound Brussels sprouts, ends trimmed and outer leaves removed, left whole
  • 1 large sweet red pepper, cut into 3/4-inch wide strips
  • 1 whole garlic, 1/4-inch sliced off top and left whole
  • 1 medium red onion, peeled and cut in quarters
  • 1 sweet white Vidalia onion, peeled and cut into quarters
  • 1 cup baby turnips, ends trimmed and left whole (if turnips are bigger than a golf ball, cut in half or into quarters)
  • 8 ounces carrots — about 8 small carrots or 3 to 4 larger ones — peeled, trimmed and cut into 1/2-inch long pieces
  • About 1/4 cup olive oil
  • Salt and freshly ground black pepper
  • 1/3 cup balsamic vinegar

The Pomegranate Vinaigrette

  • 1 cup pomegranate seeds and 1/3 cup of pomegranate juice (from 2 fresh pomegranates, or use 1 cups preseeded pomegranate seeds plus 1/3 cup bottled pomegranate juice)
  • Salt and freshly ground black pepper
  • 3/4 cup olive oil
  • 1/3 cup balsamic or white or red wine vinegar

Instructions

  1. Heat the oven to 425 degrees.
  2. Prepare all the vegetables as described above. Place the vegetables a row at a time (keeping all the carrots together, all the onions together in row, etc.) on a large sheet pan or two pans or a shallow roasting pan. You don’t want to use a pan with high sides or it will steam the vegetables rather than let them roast and turn golden brown. Drizzle the olive oil on top and season liberally with salt and pepper. Roast for 20 minutes.
  3. Remove from oven and drizzle vinegar on Brussels sprouts. Flip vegetables over and then return the pan(s) to oven for 20 minutes. Check to see if vegetables are done by piercing with a small sharp knife. Remove any vegetables that are tender and continue cooking the others until softened, about 5 to 10 minutes. The vegetables can be roasted a day ahead of time; cover and refrigerate.
  4. Make the vinaigrette: In a small bowl or Mason jar, mix half the pomegranate seeds and juice (if using), salt, pepper, oil and vinegar. Taste for seasoning. The dressing can be made a day or two ahead of time.
  5. If you made the vegetables a day ahead of time, remove from the refrigerator. After you remove the turkey from the oven, place the vegetables in a 300-degree oven for about 10 minutes or until warmed through.
  6. Arrange the vegetables on a serving platter and drizzle with a few tablespoons of the vinaigrette and the remaining 1/2 cup of pomegranate seeds. Serve remaining vinaigrette on the side.

Holiday Do’s and Dont’s

It’s go time…the last week of shopping and baking and pretending to work before we get completely sucked in to the holiday vortex. In reality, we’re already there, which makes this week of quasi denial even tougher. But you’re here, you’re reading, and you’re definitely thinking of what to make for the neighbors, the party hosts, the UPS guy and your family…in that order.

So, no new recipes this time (because, who really needs another cookie recipe right now?), but I listed a few faves at the end. Others are embedded in these tips and cautions. Good luck my friends, and when you feel like you’re about to snap, just smile and wave.

DO make a whopping batch of Champion Chip Cookies so you’re ready to make someone’s day. DON’T think you’re so smart that you can make them by heart and end up using double the flour.

DO, figure out a few things you enjoy making (crackle, crackers, spiced nuts) and make a whole lot of them. DON’T go long on an untested recipe and end up with a whole lot of mediocre or inedible treats.

DO watch this clinic on deseeding a pomegranate. It will open your world to mass pomegranate consumption. DON’T position your 2 cups of pomegranate arils precariously in the fridge in a poorly sealed container.

Per above, DO keep a lot of seltzer on hand for stains. DO wear the same color you are drinking. DON’T forget the power of aprons.

If you’ve got people with special diets coming, DO make Knock Out Vegan Pumpkin Pie. DON’T go rogue and substitute the pecan coconut crust with a gluten free pretzel crust. Gah!

DO make Guinness Fondue for a cozy evening gathering. Don’t try to pass off this puree of roasted rutabagas and potatoes spiked with nutritional yeast as “fondue”, even in air quotes. That said, DO make up a batch of the above “faux fondue” (air quotes be damned), or of Sugar and Spice Squash Soup, and offer it as a healthy option alongside the real stuff, but DON’T oversell it. Just have it available and you may be surprised how many people appreciate (and dare I say like) it.

Do plan ahead, read through your recipes and check all your ingredients before you dive in. DON’T, realize too late you are missing a key ingredient, or make your treat arsenal when you are hungry. It is astounding how adversely this affects your yield.

DO have a refreshing or comforting drink and get into the spirit by turning on fun music or entertaining podcasts. DON’T Listen to Impeachment hearings. It will not make you jolly.

DO read this cocktail shaking guide, and consider a monster cocktail shaker as a hostess gift. DON’T shake fizzy drinks in a cocktail shaker. Just don’t.

DO divvy it up, vs taking it all on yourself. DON’T be a holiday martyr. Ain’t nobody got time for that!

DO get into the spirit by dressing up in something super fancy or super cheesy. DON’T let your fraternity brother pick your outfit.

The downside of using a personal shopper.

Here are some of my favorite holiday gifting recipes. I promise–they taste best when made with love and a smile.

Healthy and Healthyish

Heart of Darkness Chocolate Cups
Reeses Redemption Cups
Endurance Crackers
Lifechanging crackers
Paleo Crackers
Gingerbread Granola
Seed Bark Granola
NUTS! Like rosemary maple walnuts, honey thyme walnuts, sesame almonds
Triple Crunch Sesame Peanut Snack Bars

Not so healthyish

Crackle
Crackle 2.0
Cheddar Crisps
Champion Chip Cookies
Morning Paper Oatmeal Cookies
Cholliesauce


Just Peachy Caprese Salad

I figured it was over…summer, patio nights, ice cream stands—the whole thing. But when I walked in the store earlier this week I saw them—peaches. In fact, we officially have a few more days of summer. So, hold your apples and squash. We’ll get to those soon enough. For now, we have, well, not really recipes, but inspiration for how to fully exploit the last of the summer produce. I’m looking at you, peaches. And corn, you’re next.

Wayyy earlier this summer a very stylish friend introduced me to the most gorgeous take on a caprese salad, substituting ripe peaches, nectarines and plums for tomatoes. Brilliant! It was so good and so perfect (so long ago) I figured I’d missed the peach train. But she was wily that friend, and must have had some inside track on perfect pre season peaches. Flash forward to a few weeks later in California, when another friend brought massive, juicy white peaches to the party. Still later back in the northeast another friend gave me a bag of the most insanely sweet pluots. I vowed, a: to keep these friends close, and b: to buy peaches, plums and related stone fruits like it was my job until they were gone.

If they weren’t ripe I shoved them into a paper bag and waited until they were. If they were ripe they were lucky to get home before getting cut up immediately. I made peach salsa, a simple concoction of peaches and all the usual salsa suspects: jalapeno, lime, red onion, cilantro. That morphed easily into a peach bruschetta by spooning it atop toasts spread with mascarpone cheese. I even made a sugarless, no oil or fat added super virtuous peach tart which was delicious but was also the least photogenic thing on the planet. I urge you to try it, and focus on its inner beauty. Then, there was the brilliant blogger who suggested freezing leftover white wine (what’s that anyway?) and blending it up with fresh peaches for an instant Happy Hour Slurpee.

So there we have it—a few ways to enjoy your peaches and stone fruits, even though they are perfect as is. If you need an actual recipe, here is one from Real Life Delicious (which never disappoints). If you’re good with freelancing it, here is a loose guide for making Peach Caprese Salad. If you are so moved to add a sprinkling of fresh corn, you might start a trend.

Just Peachy Caprese Salad

Ingredients:

  • Greens of choice
  • Ripe peaches, nectarines, plums or pluots in any combo
  • Fresh Burrata or Mozzarella or a bit of both
  • Avocado (optional, but kind of not optional for Vegans)
  • Pesto or torn basil leaves
  • Olive oil
  • Balsamic glaze or good balsamic vinegar (extra credit to mix the vinegar with some maple syrup if you don’t have the glaze)
  • Salt and pepper

Method:

Arrange greens in a layer on a platter.

Top with fruit slices.

Cover with slices or shreds of cheese, and/or slices of avocado.

Drizzle with pesto or scatter basil leaves on top.

Drizzle with just enough olive oil so all your ingredients feel a little love.

Drizzle (because you are so good at it now) with balsamic glaze, balsamic vinegar or balsamic/maple concoction.

Give the whole shebang a shake of salt and pepper.

Bringing it:

This is a total make on site thing. Bust out the fresh produce and get your friends to help, or let them drink their peach slurpees and watch you create the masterpiece. It’s all good.


Chile Crisp, Condiment of the Year

And now, in time for your Labor Day entertaining, I present the third of three condiments, and by far the best. I discovered this recipe way back in early summer, nestled in the margin of “The Simple Issue”  of Bon Appetit. Within a week the page was permanently folded back, stained and a little greasy, and since then my fridge has never NOT had a jar of chile crisp in residence.

The catch on this spicy, sassy, savory creation is that it takes some effort to make. You can cut yourself some slack by buying pre-peeled garlic cloves. Even with those, you’re still going to have to do a lot of thin slicing. Soooo, dig deep! It’s the last weekend of summer, people. Get yourself a sharp knife and a good playlist and get going. There’s still time to make yourself the MVP by bringing this to the party, or spicing up your own patio fare.

But first, a couple of things: I’ve now made this several times , and each time I’ve overdone it on the volume of shallots. Only once did they really crisp up—which was tremendous and worth cranking up the heat a bit and then babysitting the pot until they were evenly brown. That said, it was pretty tremendous all the other times too. Just make sure you brown the shallots and garlic without burning them. I now use a bigger pot than seems necessary, which allows the shallots to really relax in their hot oil bath.

It’s worth going to the original Bon Appetit recipe and reading the comments. I think “off the hook” is the best reader description. We’ve put it on burgers, quesadillas, sandwiches, pizza, baked sweet potatoes and eggs; into salads and on bruschetta and burratta and toast. It’s so going to get stirred into soups this fall. I may draw the line at using it as an ice cream topper, but…no promises.

Finally, there is apparently an excellent version of this at Trader Joe’s called chile onion crunch. Add that to the pain of not having a TJ’s near me. For now, I chop.

PS This one goes out to Sister B, who hates bread and butter pickles and cilantro (see quick, easy, cheap salsa), but hung in there for this. Three’s the charm, baby.

Chile Crisp

Ingredients

  • 4 small shallots, thinly sliced (I end up with 1 1/2 cups or so, which is probably wayyyy too much, but I’m greedy and my shallots are apparently jumbo)
  • 2 heads of garlic (HEADS, not cloves), separated into cloves, sliced. (Google says that’s about 24 cloves)
  • 1½ cups vegetable oil
  • 2 3″ cinnamon sticks
  • 6 star anise pods
  • 1 2″ piece ginger, peeled, very finely chopped
  • ¼ cup crushed red pepper flakes
  • 2 Tbsp. soy sauce
  • 2 tsp. sugar

Method:

  • Bring shallots, garlic, oil, cinnamon, and star anise to a simmer in a medium saucepan over medium heat. Cook, reducing heat as needed to maintain a gentle simmer and swirling pot occasionally, until garlic and shallots are browned and crisp, 20–25 minutes.

    Shallots prepping for the spa

    (Take your time—you want to drive all the moisture out before they brown.)

  • Mix ginger, red pepper, soy sauce, and sugar in a medium bowl. Strain shallot mixture through a fine-mesh sieve set over ginger mixture. Let garlic and shallot cool in sieve (this will allow them to crisp further) before stirring back into chile oil. This is the time to take out the cinnamon and star anise too.
  • Do Ahead: Crisp can be made 1 month ahead. Cover and chill.

Bringing It:

Divide the goods into one big jar or smaller jars that you can fit a spoon into. Put the lids on tight and prepare to make a lot of friends. If you pour off a bunch of the oil you can then use it to make a sassy version of aquafaba mayo.

A shortcut worth every penny

Quick, Easy, Cheap Salsa

I know, it’s summer and we should be all about fresh tomatoes (and corn of course). That said, when it comes to salsa, you can really never have enough. So, when there is a quick, easy and cheap way to make a boatload of salsa yourself, bring on the can opener. (For further proof of canned tomato greatness, see Funitella Bruschetta.)

No need to belabor the intro here. I love a chunky fresh salsa with all kinds or weirdness in it: beans, corn, mango, etc. I also love a straight up tomato salsa with fresh jalapeno, lime and cilantro. This is that salsa, AKA Pioneer Woman’s Restaurant Salsa (she even gives you a video in case pushing buttons is a challenge). It makes a TON, so get a few jars ready, fire up your food processor and be ready for the weekend.

Coming up next: The third of three must-have condiments. Get a playlist and a sharp knife and prepare for some chopping. I promise it’s worth it!

Quick, Easy, Cheap Salsa

Ingredients

Two 10-ounce cans diced tomatoes and green chiles, such as Rotel
One 28-ounce can whole tomatoes with juice 
1/2 cup fresh cilantro leaves (or more to taste)
1/4 cup chopped onion
1 clove garlic, minced
1 whole jalapeno, quartered and sliced thin, with seeds and membrane (2 is perfectly reasonable)
1/4 teaspoon ground cumin
1/4 teaspoon salt
1/4 teaspoon sugar
1/2 whole lime, juiced

Method

This is a very large batch. you’re totally safe with a 12-cup food processor, or you can process the ingredients in batches and then mix everything together in a large mixing bowl.

  • Combine the cilantro, onions, garlic and jalapeno in a blender or food processor and pulse a few times to get them in the same zone size wise, not too pulverized. (If you do this step you can be a little lazier with your chopping). Add the diced tomatoes, whole tomatoes, cumin, salt, sugar and lime juice.
  • Pulse until you get the salsa to the consistency you’d like. I do about 10 to 15 pulses. Test seasonings with a tortilla chip and adjust as needed. 
  • Refrigerate the salsa for at least an hour before serving.

Bringing it:

Divide the batch into as many jars as you like and you are ready to take your show on the road. This is NOT shelf stable, so keep it in the fridge.


Bread and Butter Pickles, the easy way

Got an update for you: It’s blueberry season. So why are you looking at pickles? Let me ‘splain. To be sure, every day that passes without me getting out to the amazingly awesome Super Acres to pick blueberries, reminds me summer is ticking by too fast. But, sadly, that ticking isn’t enough to get me out there…yet. Those of you who are more industrious can get busy with your blueberries by making Blueberry Dutch Bunnyovernight blueberry muffins or blueberry mint lemonade .

For the rest of you, here is a tasty consolation prize. I’m about to hit you with three straight posts on condiments. Sure, summer is all about grilling, and picnics, but both beg for condiments. Great condiments can elevate anything on a bun or a bed of greens. This summer (while not at the blueberry patch), I’ve been making three excellent condiments that now have permanent residence in my fridge.

First off, bread and butter pickles, for a lot of good reasons:

  1. They’re just so darned unsophisticatedly delicious.
  2. They add that little streak of brilliance to egg salad, tuna salad, sandwiches, burgers, the end of your fork, etc.
  3. For guilty pleasures, they are pretty low-consequence. Yes they’ve got sugar, but unless you are drinking the brine it can’t be THAT much, right?
  4. Pickles, even when not made by the super responsible canning process, keep fresh in the fridge for a long while.
  5. And finally, pickles because in fact you CAN have too many cucumbers.

I discovered this after a chance evening encounter with a neighbor who kindly gave me an armful of cukes. I’m always grateful for fresh produce, but cucumbers straight up can be a tough sell in my house. They are not easily disguised, either by grating into a burger or a stir fry, and they don’t freeze well, unless your end game is to weaponize them.

If you end up with a stash of cucumbers, or if you are a pickle lover with no patience for the canning process, these babies are for you. Just a few ingredients and zero talent required. All you need is a little time for them to hang out in the fridge. Basically you can go from evening neighbor garden encounter to proud pickle producer by the time you settle in to Netflix, or bed, or whatever makes you happy.

Just add…anything really. Get your pic-nic on!

Bread and Butter Pickles, the Easy Way

From Brown Eyed Baker

Prep 15 minutes; Cook 5 minutes
Resting 2 hours 40 minutes; Total 3 hours

Makes 4 cups of pickles

Ingredients

  • 5½ cups about 1½ pounds thinly sliced (about ¼-inch) pickling cucumbers
  • 1½ tablespoons kosher salt
  • 1 cup thinly sliced sweet onion
  • 1 cup granulated sugar
  • 1 cup white vinegar
  • ½ cup apple cider vinegar
  • ¼ cup light brown sugar
  • 1½ teaspoons mustard seeds
  • ½ teaspoon celery seeds
  • 1/8 teaspoon ground turmeric

Directions

  1. Combine cucumbers and salt in a large, shallow bowl; cover and chill 1½ hours. Move cucumbers into a colander and rinse thoroughly under cold water. Drain well, and return cucumbers to bowl. Add onion to the bowl and toss with the cucumbers.
  2. Combine the granulated sugar, white vinegar, apple cider vinegar, brown sugar, mustard seeds, celery seeds and ground turmeric in a medium saucepan; bring to a simmer over medium heat, stirring until the sugar dissolves.
  3. Pour the hot vinegar mixture over cucumber mixture; let stand at room temperature 1 hour. Cover and refrigerate 24 hours. Store in an airtight container in refrigerator up to 1 month.

Recipe Notes

As made here these are not shelf stable. Store them in the fridge. If you’re looking for proper canning instruction, get back on your google and good luck—I’ll be cheering you on!